Acknowledgment: This assignment is adapted from a foundations assignment developed for Pratt Institute.
BRIEF
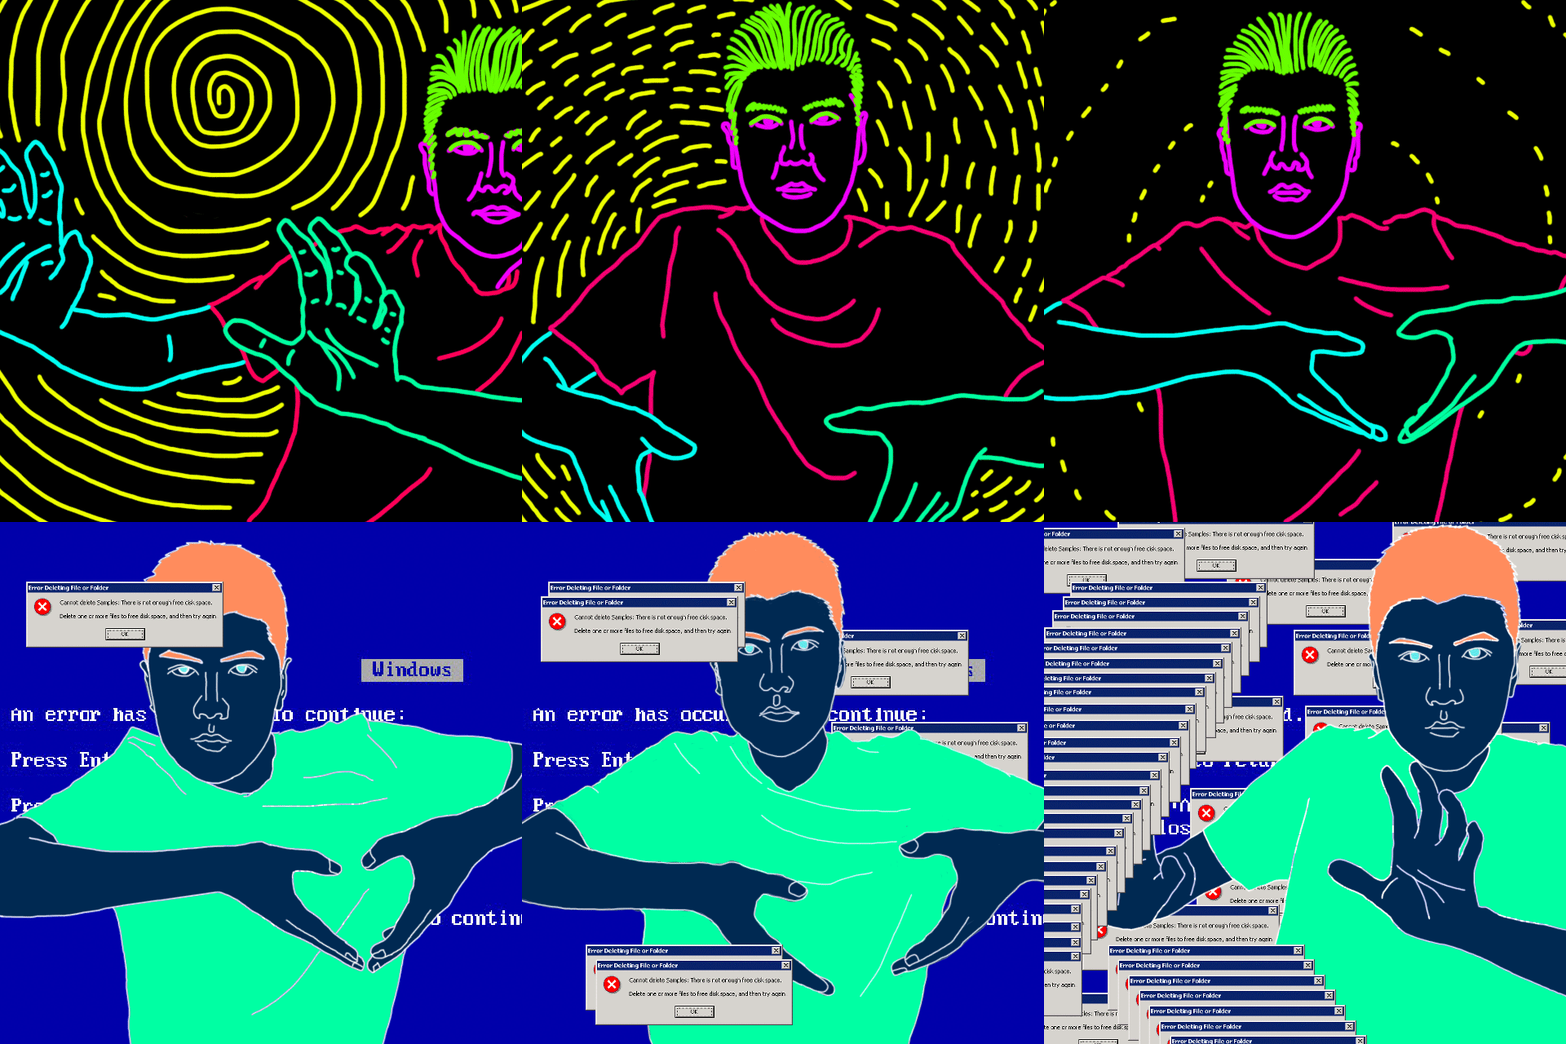
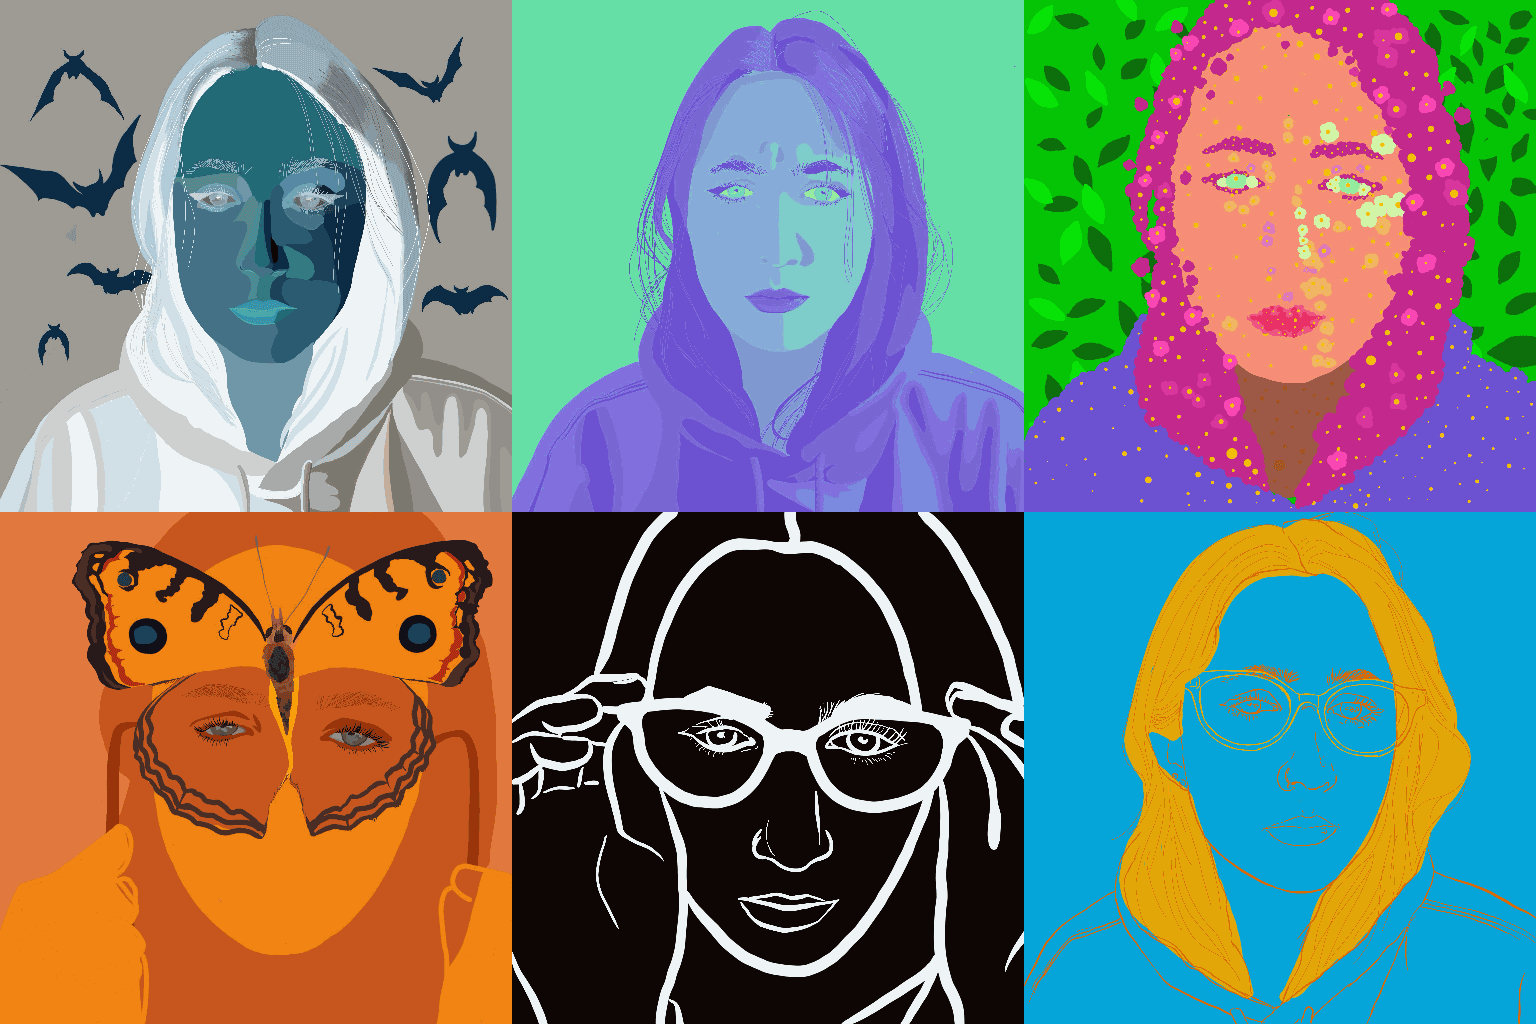
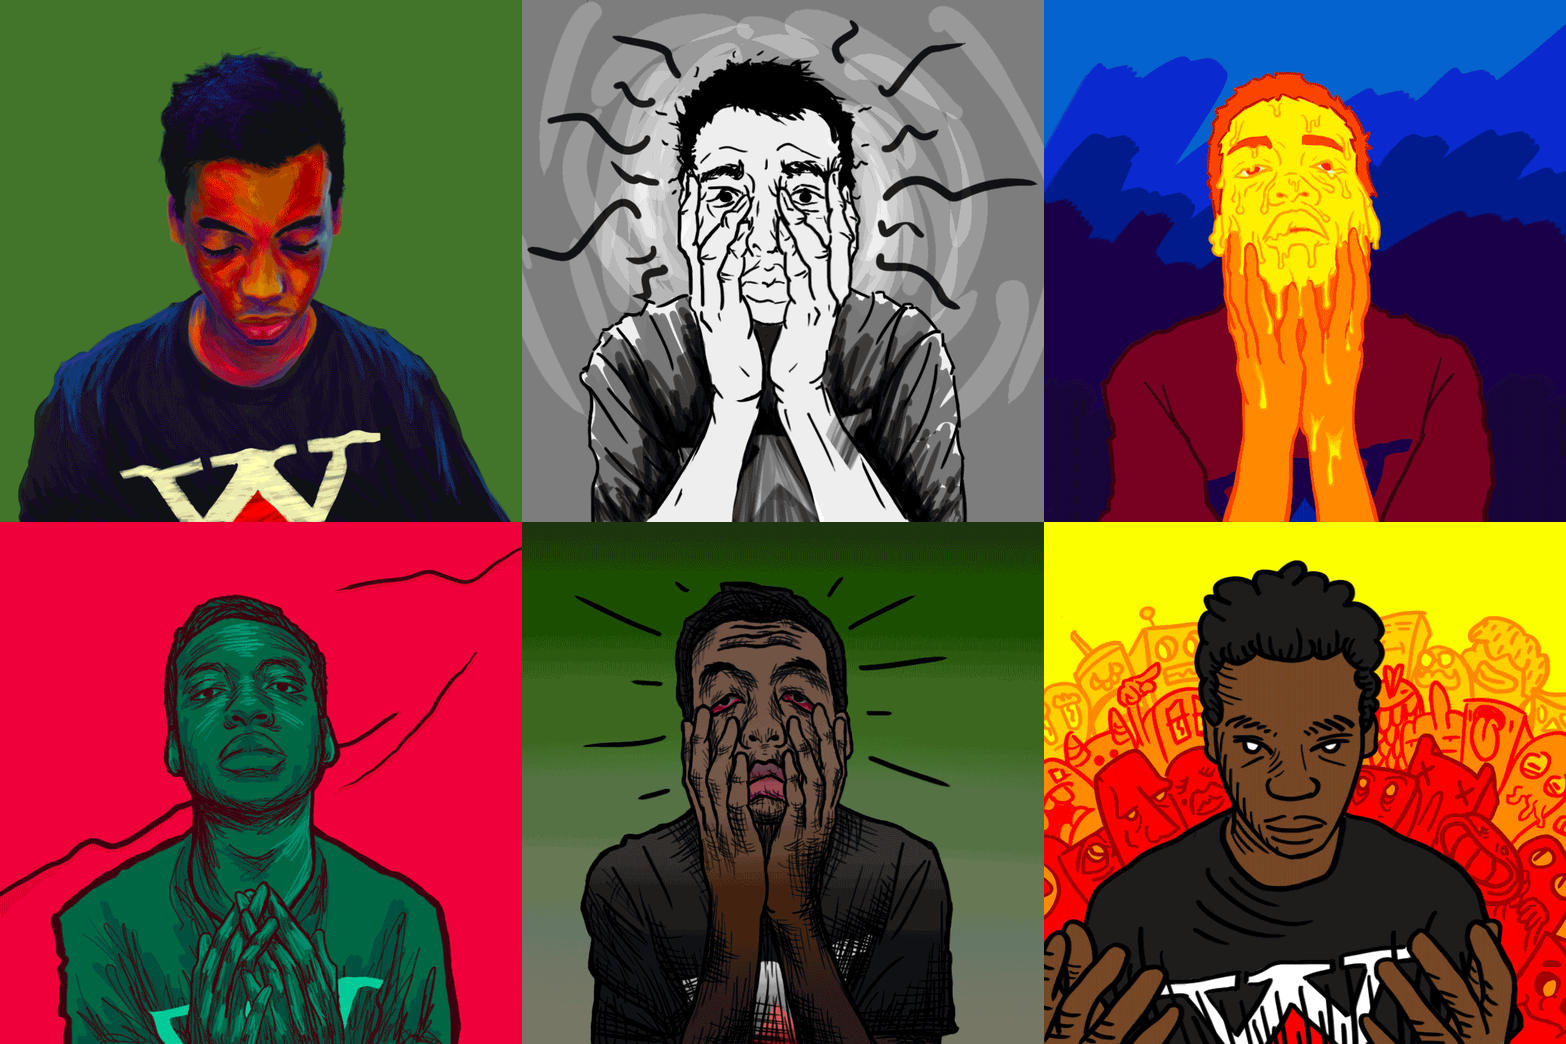
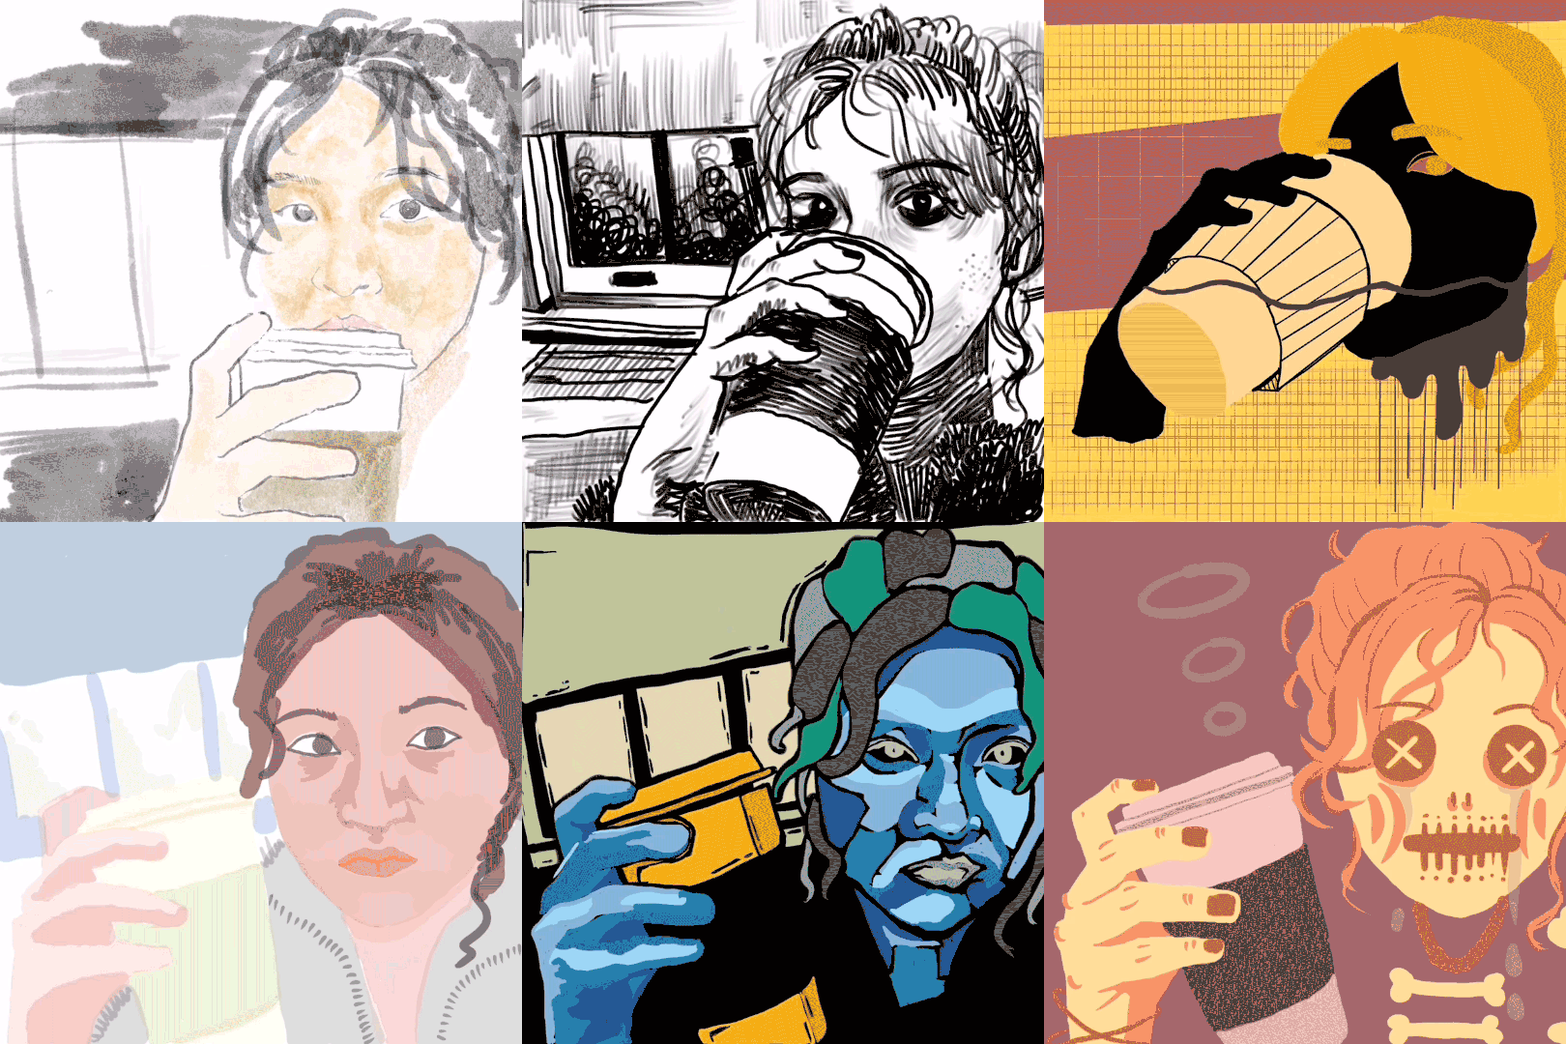
Create a unique, dynamic, and expressive self-portrait using frame-by-frame animation and rotoscoping.
BACKGROUND
Rotoscoping is a a classic animation technique that involves tracing or painting over film footage on a frame-by-frame basis. This allowed filmmakers to isolate characters and objects and combine them with different footage (the way greenscreens are used today), add animated elements and characters to scenes, or recreate complex movements through animation. Photographed live-action movie images were projected onto a glass panel and re-drawn by an animator; this projection equipment is referred to as a rotoscope.
PROCESS
A description of Photoshop’s GIF import and editing process is linked here.
Part 1: Image Sequence
- Capture yourself slowly and gradually making a fluid, dynamic motion using your face, head, and hands using PhotoBooth or preferred image capturing software, or camera (with tripod only). For instance, you could use your hands to create a butterfly motion in front of your face. Or, if you wear glasses, you could take them off and on, and make an extreme expression (smile, frown, etc) in between. Capture at least six images.
- Review and edit the captured images in Photobooth’s thumbnail preview, or your folder using Preview/icons. Toggle through the images using the left and right arrow keys to see if a fluid sequence of motion is achieved. Re-capture as necessary.
- Select the desired images, then copy and paste into your Strange Loop project folder. Moving forward we will call these images “frames.” Rename the files using a numerical sequence so that the images are in the correct order. For instance, Frame 1, Frame 2, and so on.
- Open your frames in Photoshop using “Scripts > Load files into Stack.” This will load each frame into its own Layer as seen in the Layer Palette, and create a PSD document.
- Resize and/or crop your Photoshop document to 720×720 pixels.
- Make any overall position adjustments to your Layers so that your figure is central to the Canvas and the motion is readable.
Part 2: Frame Animation
- Open the Timeline tool to create a Frame Animation from your layers. Once a Frame Animation is created, you will see that every Frame in the Timeline represents the Layer(s) that are visible in the Layer Palette.
Change “Video Timeline” to “Frame Animation” using the right arrow on the central button. Click “Create Frame Animation.”
Using the fly-out menu on the top right of the Timeline window:- Select “Create Frames From Layers”
- Next, “Reverse Frames”
- DESELECT “New Layers Visible in All Frames”
- Review the sequence, then adjust frame duration to influence the velocity of your sequence for the desired expression.
Part 3: Rotoscope and Create
Employ the “rotoscope” technique using Photoshop’s adjustment layers and graphic tools to further augment your expressive motion portraits. You can vary your design style from frame to frame, or keep it consistent for the entire sequence
-
- In the layer palette, Create a new Group for each frame’s layer. Name each layer group “Frame 1,” “Frame 2,” and so on. Create new layers above the original photograph, namely, color-blocked backgrounds, contours, shapes, custom graphic designs, etc. Each frame should be its own digital painting. NONE OF THE ORIGINAL PHOTO SHOULD BE VISIBLE. You are completely replacing the original content, not just applying filters/adjustments.
- Play the sequence in the Timeline and adjust durations/graphics as necessary. Even though the graphic style may vary in shape, size, color, and line quality from frame to frame, the overall sequence should still look fluid and readable.
Part 4: GIF Export
- Once the sequence is complete, export as a GIF using “File -> Export -> Save For Web (Legacy)”, using the “GIF 128 Dithered” preset from the dropdown in the export window. Post to OpenLab, tagged with “Project 6: Strange Loop”
SCHEDULE & DUE DATES
Dec. 8 – project assigned
Dec. 12 – Part 1 complete
Dec. 15 – Part 2 complete, significant progress in part 3
Project Due: December 19
EXAMPLES OF STUDENT WORK


