Class Info
- Date: Thursday, November 2, 2023
- Meeting Info: In person, Pearl 116, 8:30 to 11:00am, followed by Professor’s office hours from 11:00am to noon in Pearl 116.
Announcement
On Friday, November 3rd, at 11:30 AM in room P117 there will be a special presentation by Dr. Dori Tunstall as she discusses her latest book, Decolonizing Design: A Cultural Justice Guidebook. Below is a description sent by the school.
“In Decolonizing Design, Tunstall offers an on-the-ground look at the ways modernist design has colonized and oppressed Indigenous, Black, Asian, and Latinx communities, and offers practical and forward-looking ways of rethinking design. “
Topics
- Review Classification. Do this on your own. It’s always good to refresh what you know over the course of time.
- Applying lettering to a 3-Dimensional image.
- Project 2 PreCheck due Today in preparation for Presentation of Project 02 in Class 20 on Tuesday, Nov. 7.
Activities
There are three activities.
- 1. Type Talk. Typefaces on covers.
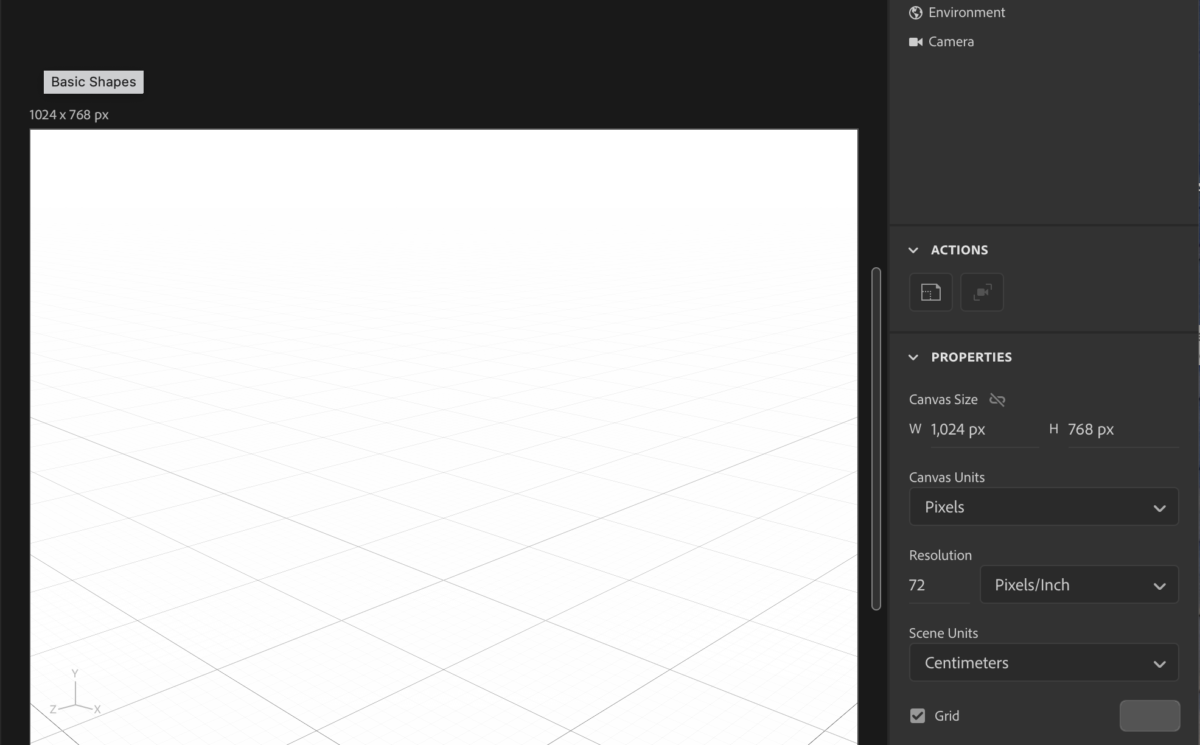
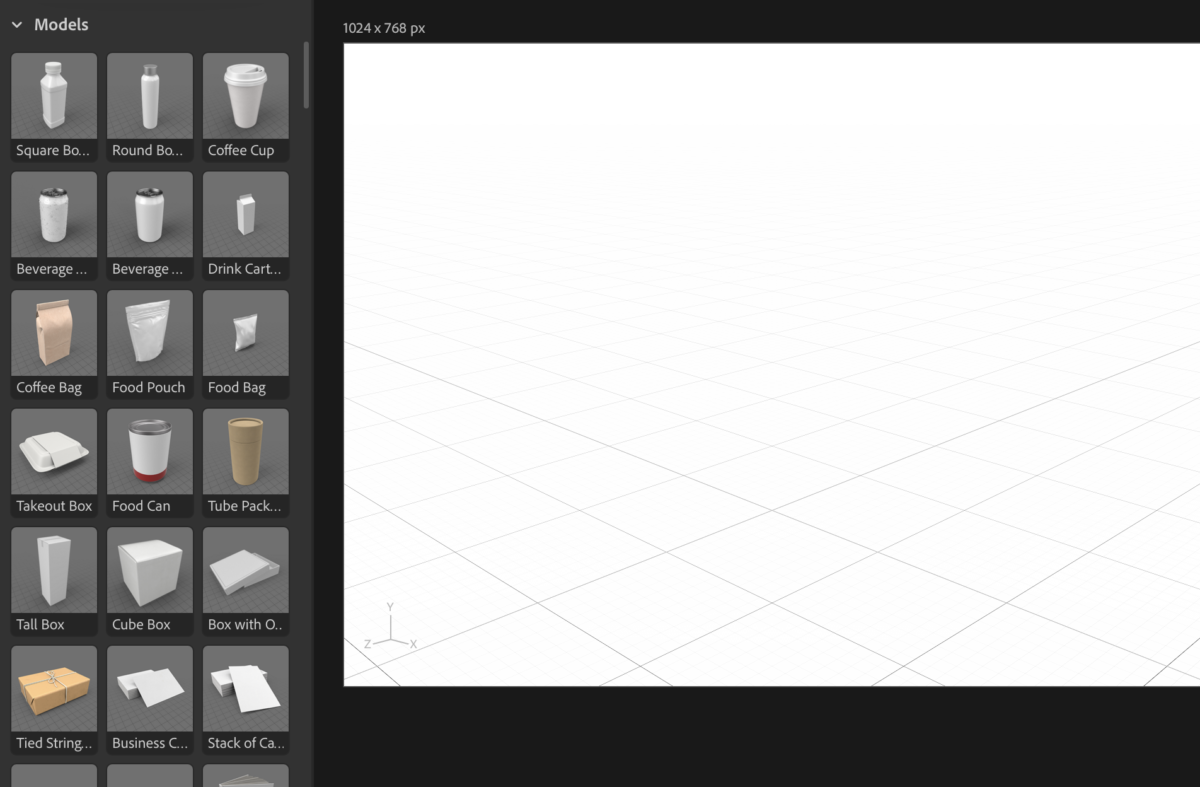
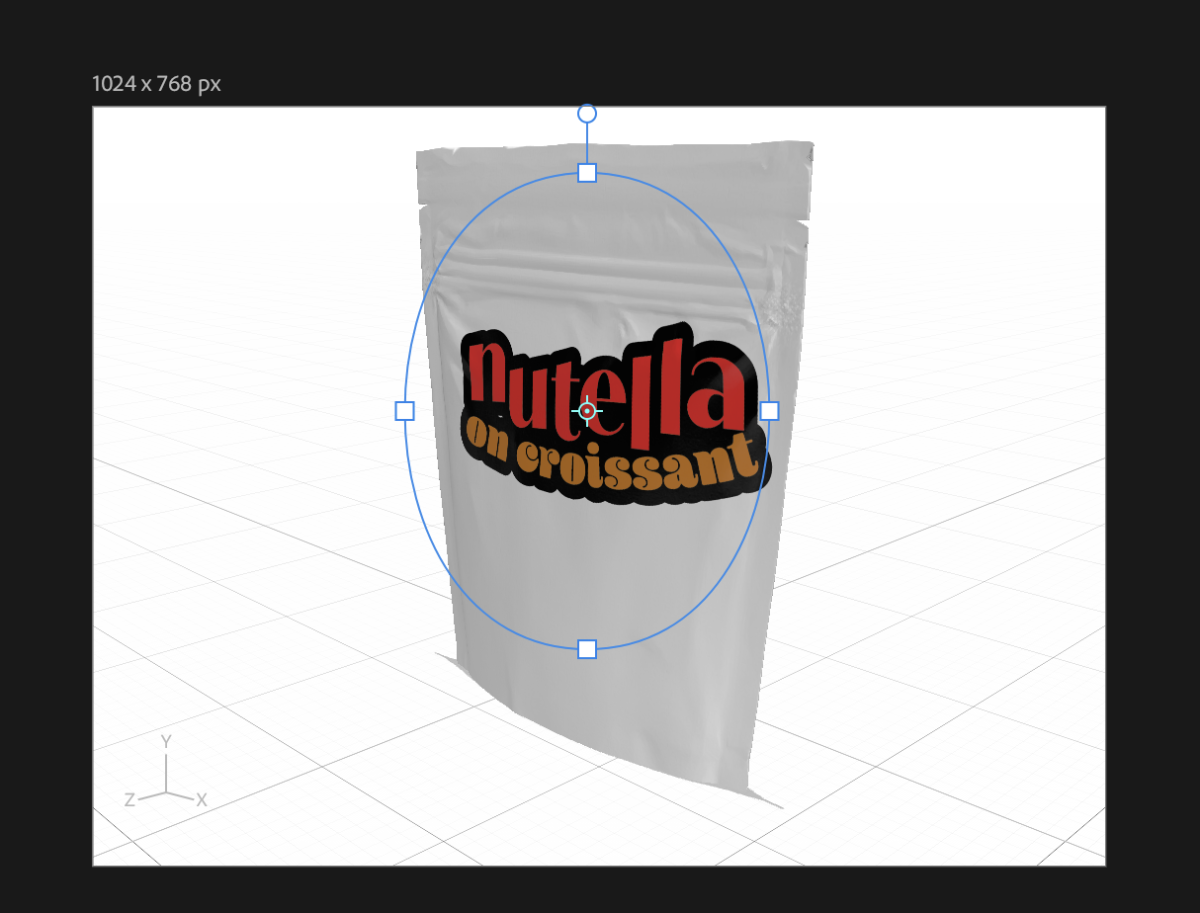
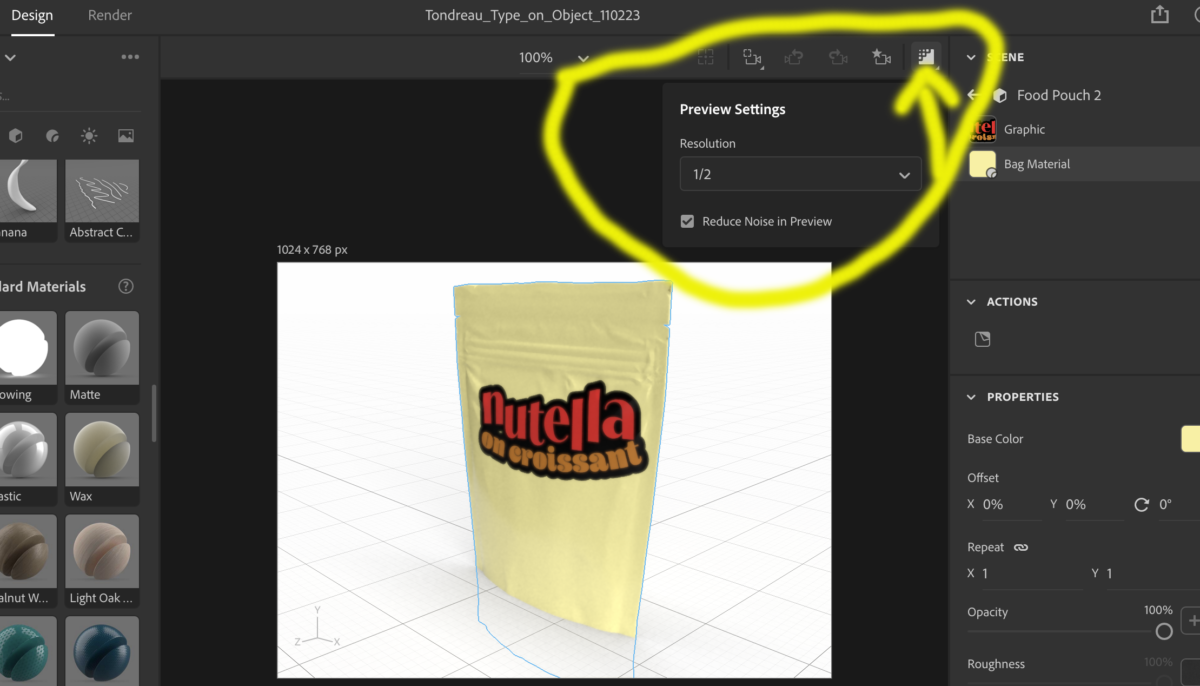
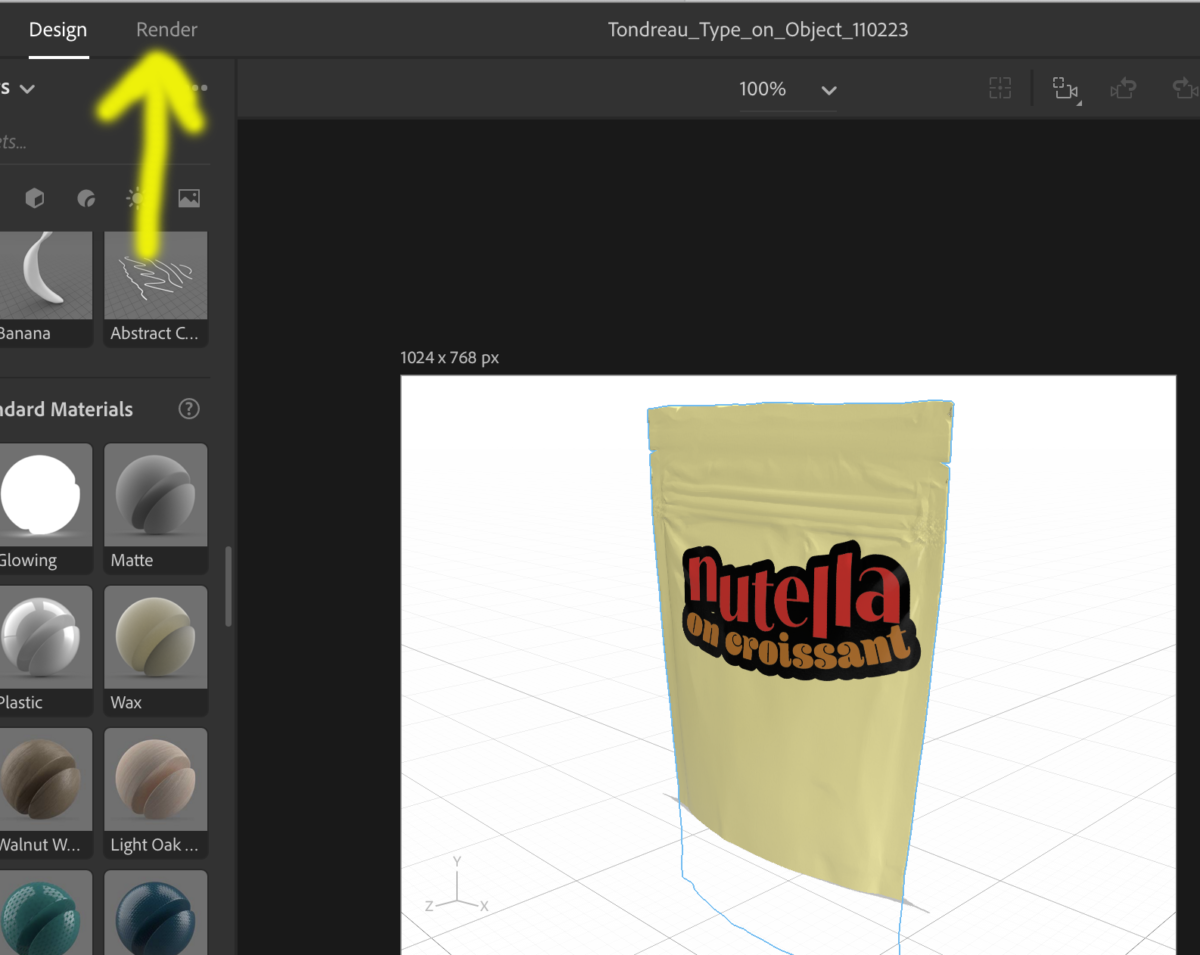
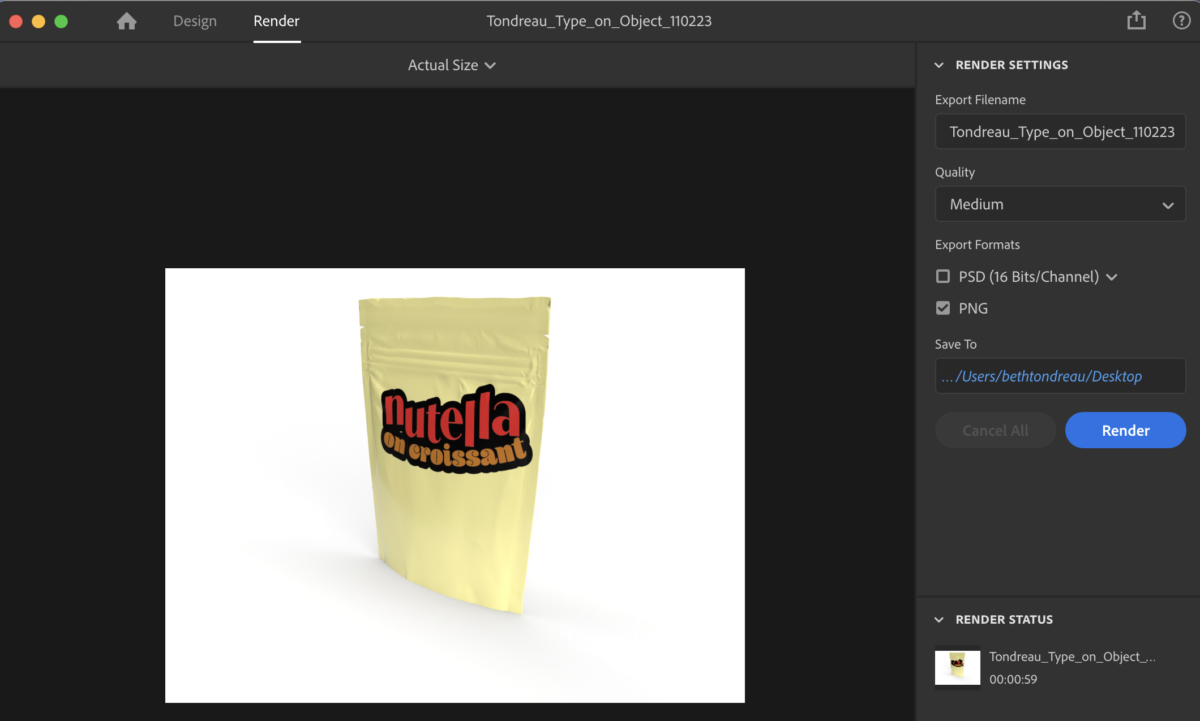
- 2. Type on a 3-D object. Take your Lettering, save as a png, and apply it to a 3-Dimensional Object using Adobe Dimension.
- 3. Project 02 Presentation = Review Presentation pre-Check, refine, and complete “Presentation.” Once you have refined your Presentation, do the next two activities (Type Talk and Type Challenge). Activity 3 is important. It’s refining and finishing your Project 02 presentation.
Activity 1. Type Talk
Review the four examples below anddiscuss the type in each. Sans Serif? Bold? Extruded? Playful? Hand-Lettered? Extruded? 3-Dimensional? How does the typography represent the subject matter? You can do a little research using the links provided.
- 1 Dream in Color by Tre Seals.
- 2 EXTRA BOLD a feminist inclusive anti-racist nonbinary field guide for graphic designers by Ellen Lupton, Farah Kafei, Jennifer Tobias, Josh A. Halsted, Kaleena Sales, Leslie Xia, Valentina Vergara.
- 3 Centered: People and Ideas Diversifying Design by Kaleena Sales.
- 4 The Art of Oubey. Slipcase to hold 5 paperback books of the work of the German artist OUBEY. Design by Stefan Sagmeister.


Type Talk goes into STUDENT POSTS > TYPE TALK.
Name your post: lastname_TT_110223
____________________________
Activity 2. Type on a 3-D Object
- Apply your lettering to an object.
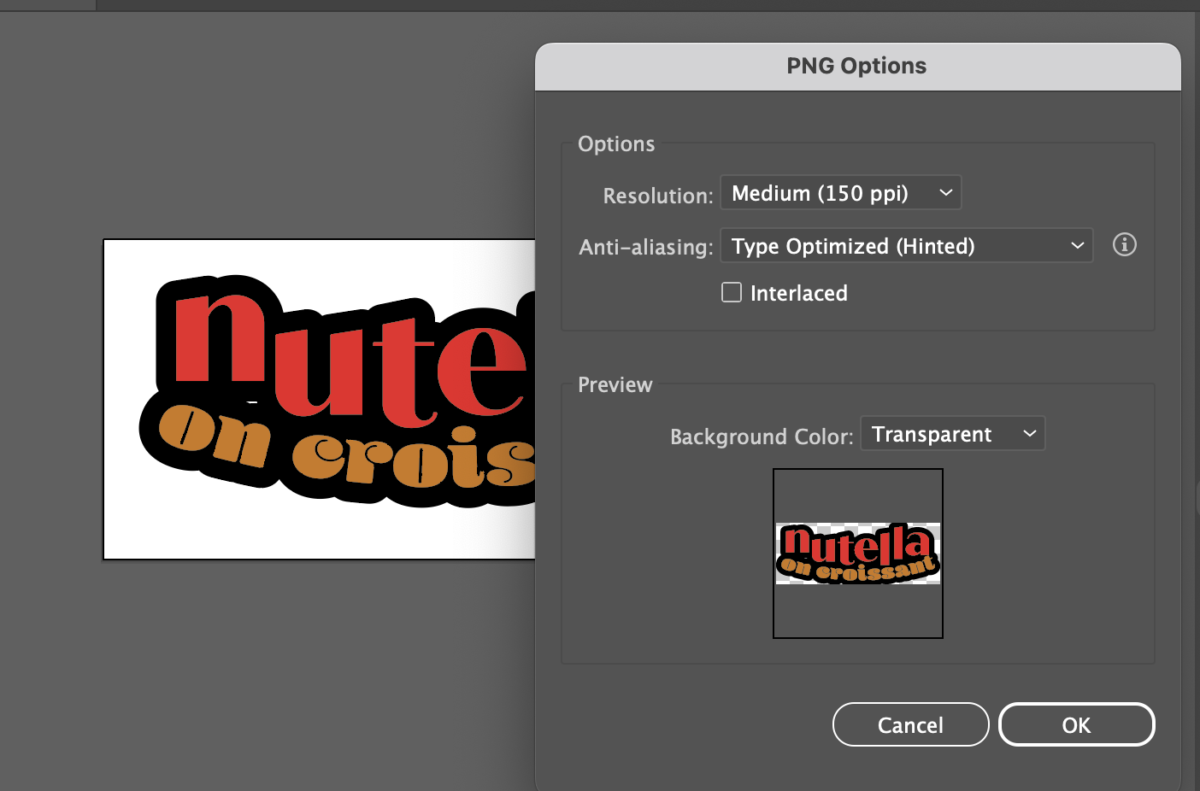
- Get your the final version of your expressive type showing your favorite activity, food etc. Save as a png with resolution of 150ppi and with a transparent background.
- Demo
- Render and insert into your InDesign Document for Project 2 Presentation.


______________________________________
Activity 3. Project 2
If you haven’t already set up your document, follow the Step-by-Step instructions from Class 18. See updated sample in Dropbox.
Do not use page A. Insert your own work (not the samples).
__________________________________________________________________________________________
At end of today, upload a packaged file of your presentation through the end of class.
- name: Save as: lastname_Project02_precheck2_110223 (you’ll upload the final by Monday, Nov. 6 for presentation on Tuesday, Nov. 7).
THEN, adjust and uploaded to Dropbox by Monday evening, Nov. 6.
- REVIEW OF Overview of Presentation Specs. Again, Please see PDF in Dropbox.
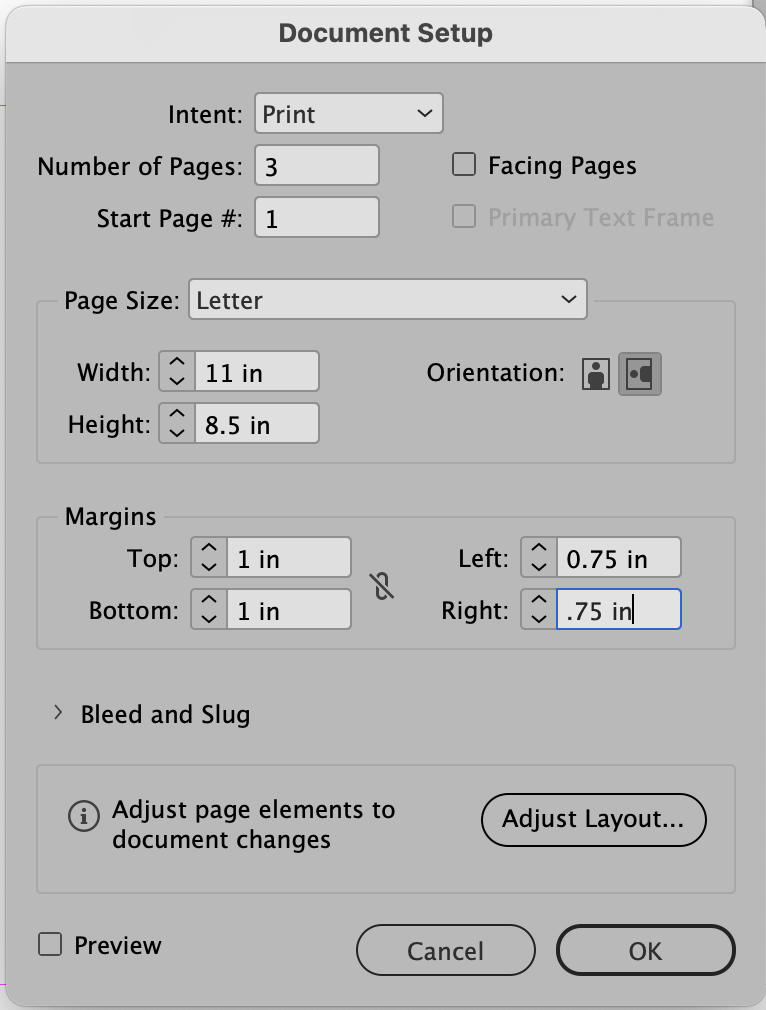
- Create an InDesign document to size of 11 x 8.5 inches
- 7 page document
- Landscape
- NO facing pages
Margins: - 1″ top and bottom margins
- .75 left and right margins
- Again, see example PDF (page A gives margins; you do not need to include page A.
- Once your document is completed, insert content as listed below and on sample PDF.
- Save your InDesign File,
- Then Package.
- name: Save as: Lastname_Project02_precheck2_110223 (you’ll upload the final by Monday, Nov. 6 for presentation on Tuesday, Nov. 7).
- Upload packaged file to Dropbox.
__________________________________________________________________________________________
Below is repeated info.
Set up your document.
- 11 inches wide.
- 8.5 inches high. 1 inch margins top and bottom.
- .75″ margins left and right.
Make sure to have 7 pages
In PARENT PAGE, Add heading and footer with your name. See caption.
In your child pages, insert subheadings.
NOTE: to unlock the text box created in the Parent Page, use the COMMAND and SHIFT keys simultaneously.
Once your document is completed, insert (also known as place) the following content:
- Page 1: Insert the sketches of your four words (Expressive Type)
- Page 2: Insert your 4 words in Illustrator
- Page 3: Insert 4 variations of the word “drip” done in 3 dimensions.
- Page 4: Insert the sketches of your Lettering/Favorite food, sport, pastime.
- Page 5: Insert the final design of the Lettering assignment
- Page 6: Insert the application of your Lettering to a 3-D object.
- Page 7: Insert the stand-alone Exercise: the Legibility Study with textures you made (Class 17)
See Class 18 for recap re: saving 4 words done in Illustrator and pulling into InDesign.
_______________
For pages 1 and 4, the placement of files/images will vary based on the independent nature of the work.
___________________________________________________________
Assignment / Homework
***Type Talk. If necessary, complete and then post in Student Posts>Type Talk. Discuss 3 samples. See questions above.
+
***Type on a 3-D object. Complete your 3-D image into page 6 of your InDesign document. Insert into your InDesign presentation document.
+
*** Project 2. Two Parts: one at end of class and one by Monday Nov. 6 for Nov. 7.
- First part: Complete your final edits and prep for presentation. Package your InDesign file. Lastname_Project02_precheck2_110223. Upload folder to Dropbox AT THE END OF CLASS.
- Second part: Upload your by November 6 to be absolutely ready for presentation for Project 2 in Class 20 on Tuesday, November 7.
File and folder name: Lastname_Project02_Presentation_for_110723
Project 02 is 10% of your grade.
Work is due the night before class.
Print this page


Leave a Reply