Class Info
- Date: Tuesday, October 31, 2023
- Meeting Info: In person, Pearl 116, 8:30 to 11:00am, followed by Professor’s office hours from 11:00am to noon in Pearl 116.
Happy Halloween!
Topic
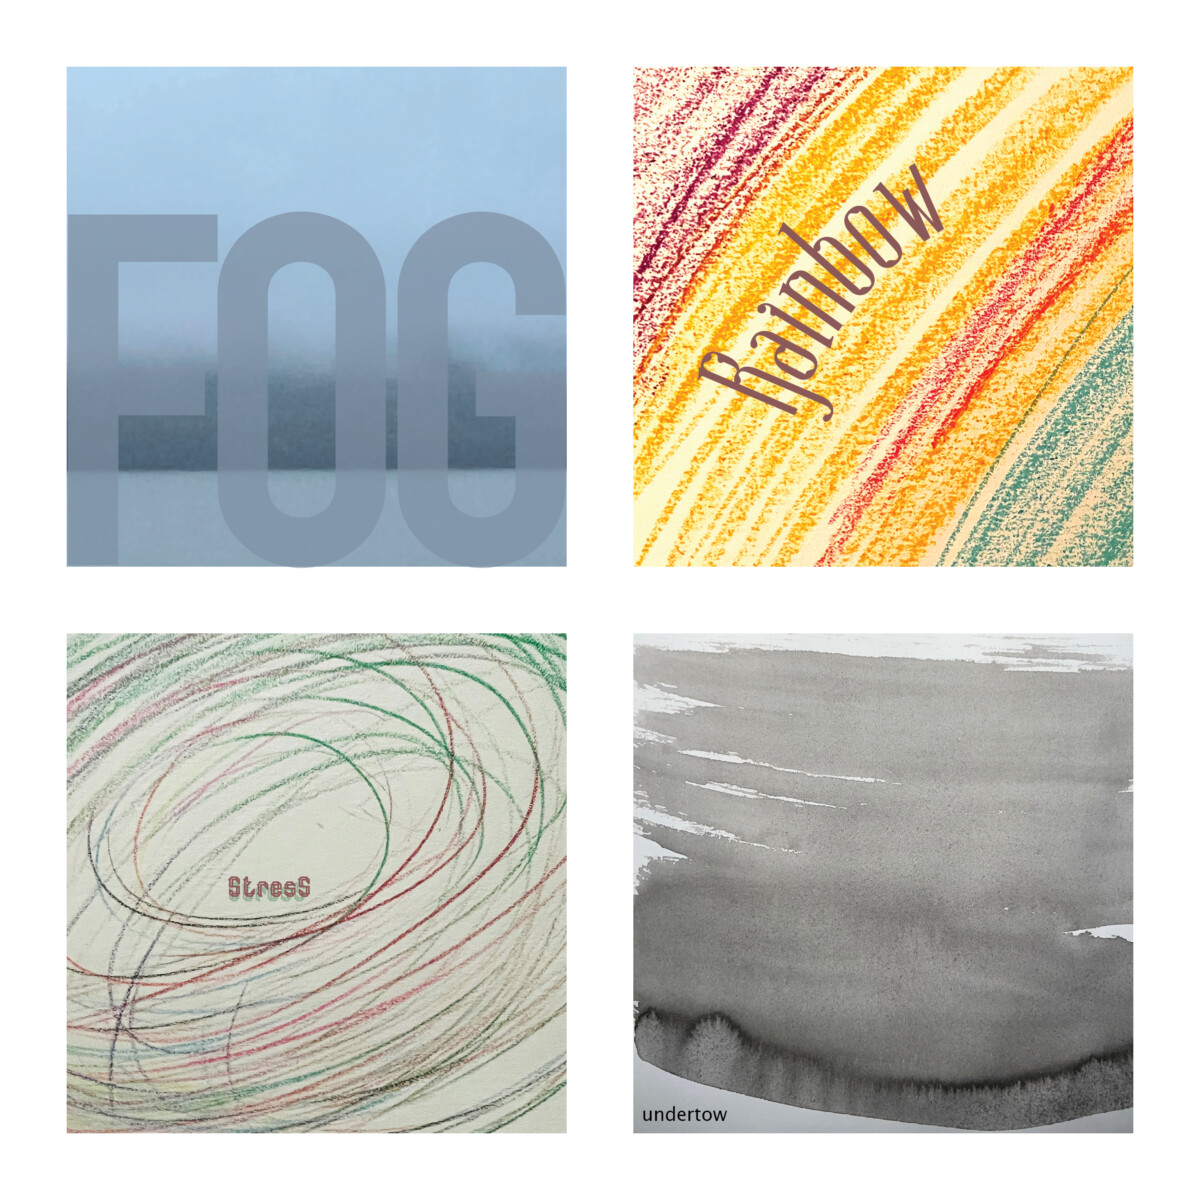
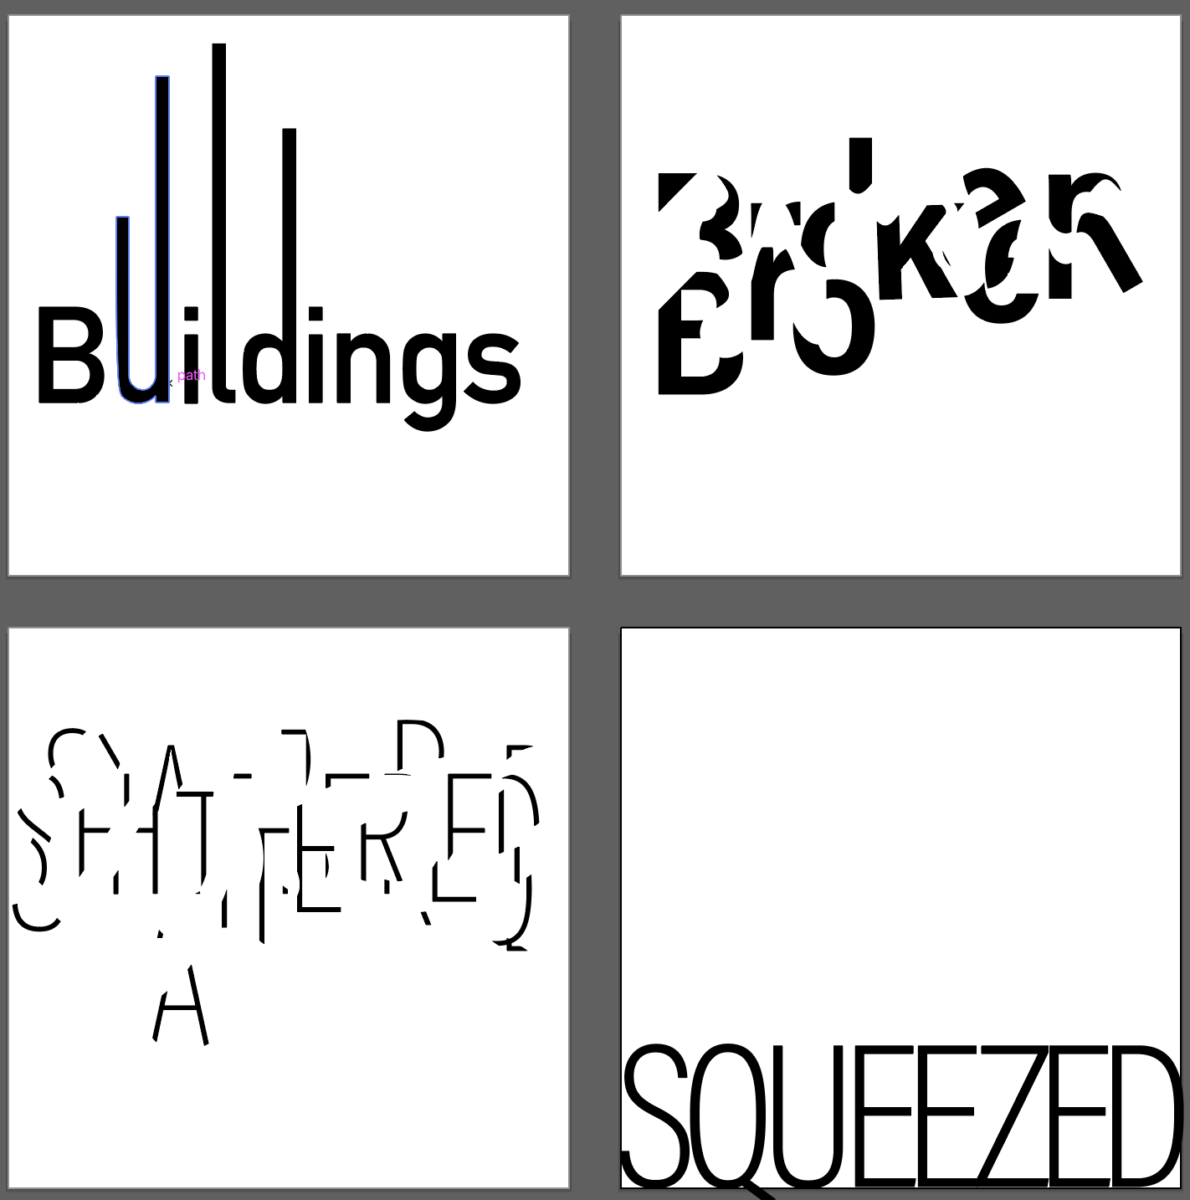
- Review and refine legibility (in class word associations on textures) from Class 17.
- 3-Dimensional type.
- Possibly apply lettering to a 3-D object (more likely class 19).
- Project 2. Complete files After Class 19 (Thursday, November 2) in prep for Class 20. Upload by Monday Nov. 6 for presentation of Project 02 on Tuesday, November 7.
- Review File Submissions to clean up in preparation for completed Project 2.
- Think ahead to Class 19 on Nov. 2 so presentations can start on time during Class 20 (Nov. 7).
Activities
Activity 1. Recap: Legibility
Post-Class update: I reviewed most of these one-on-one.
From Class 17:
Activities
Activity 2. 3D Type
Post-Class update: this was really our main activity.
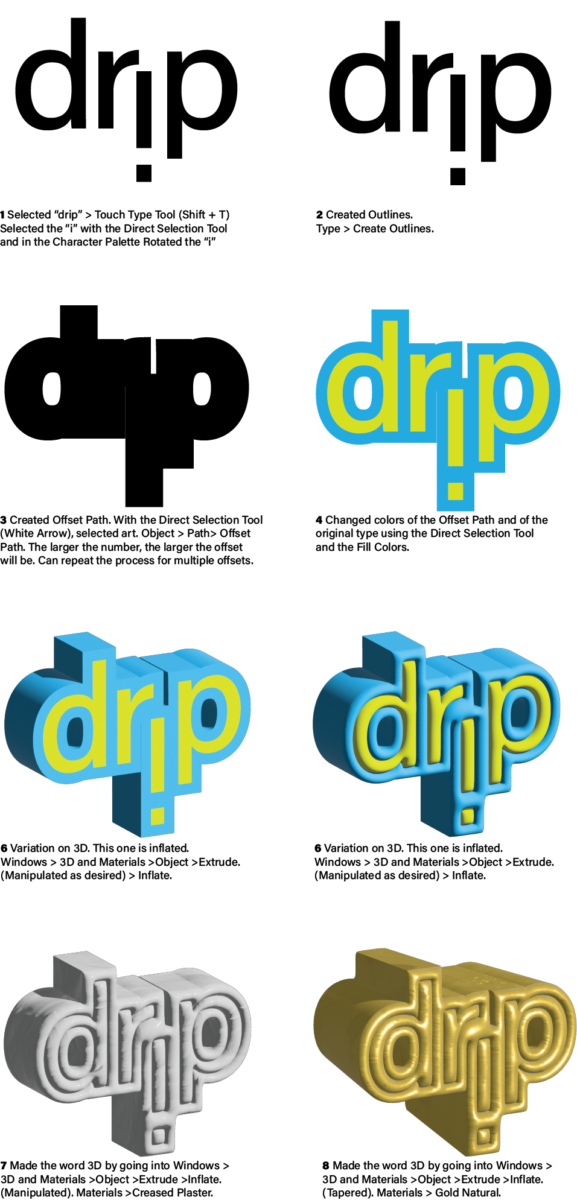
We’ll take the word “Drip” and render it in 3-D.
See Handout in Dropbox. Also see an 8-panel PDF in Dropbox and Image below.
- Create an Illustrator Document. 3 inches square. 4 artboards. Spacing .5″ (half inch).
- Take the word “drip.” Use the Touch Type Tool to move letters around.
- Create outlines
- Add an offset path. Change colors.
- Go to Windows>3D and Materials. Then Object >Extrude (manipulate as desired).
- Go to Windows >3D and Materials. Then Objext > Extrude > Inflate
- Go to Windows > 3D and Material s. Then Object > Extrude > Inflate > Choose a Material.
- EXPERIMENT. DO FOUR VARIATIONS (starting with Step 4, below).
For your Project 2 presentation, you need only 4 words. Do your own. Experiment.

Activities
Activity 3. Complete your Lettering to apply to an object.
_______________________________
Preview
Presentation Prep for Class 19 / 20. Looking ahead to presentation.
- Overview of Presentation Specs is below. Also, see Example in Dropbox.
- Create an InDesign document to size of 11 x 8.5 inches
- 7 page document
- Landscape
- NO facing pages
Margins: - 1″ top and bottom margins
- .75 left and right margins
- See below for additional measurements.
- Once your document is completed, insert the following content:
- Page 1: Place the sketches of your four words (Expressive Type)
- Page 2: Place your 4 words in Illustrator
- Page 3: Place 4 variations of the word “drip” in 3D
- Page 4: Place the sketches of your Lettering/Favorite food, sport, pastime.
- Page 5: Place the final design of the Lettering assignment
- Page 6: Application of your Letting to a 3-D object.
- Page 7: Stand-alone Exercise: the Legibility Study with textures you made (Class 17)
- Save your InDesign File,
- Then File> Export as a PDF
- Naming: Save as: Lastname_Project2_precheck_110223.
- NOTE: The name of your presentation file for Class 20 will be: Lastname_Proj2_ToPresent_110623 (for November 7th)
- Place PDF in DROPBOX
Below is how to set up your InDesign Document for Presentation.
Set up your document.
- 11 inches wide.
- 8.5 inches high. 1 inch margins top and bottom.
- .75″ margins left and right.
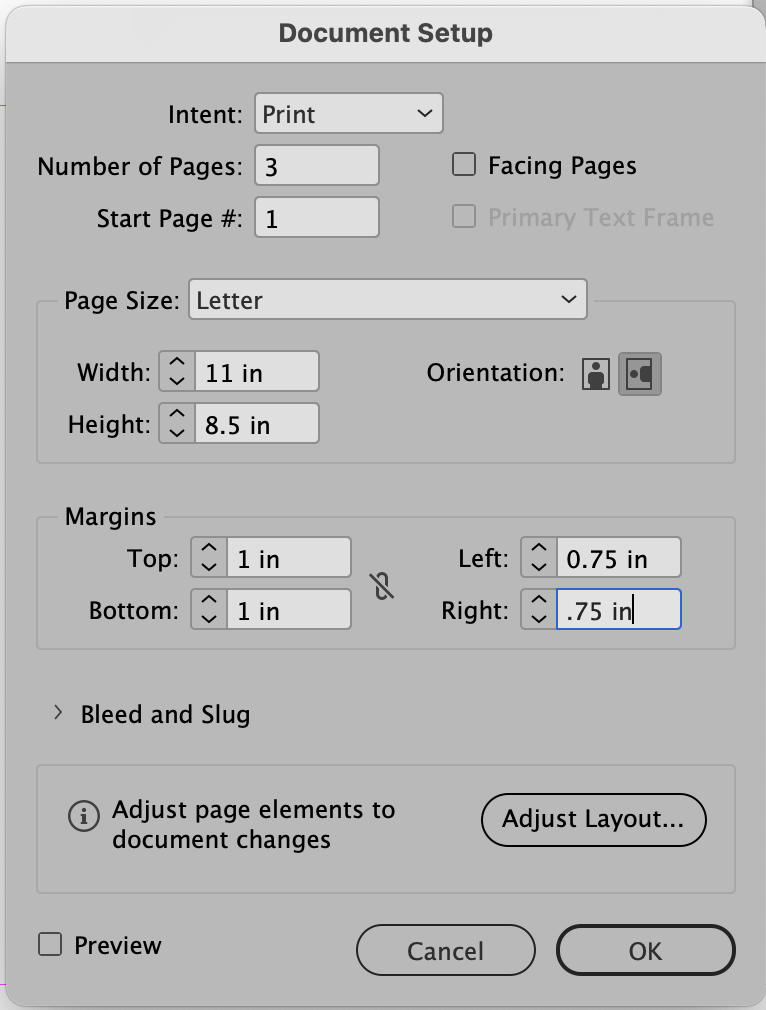
Include 7 pages:
In PARENT PAGE, Add heading and footer with your name.
In your child pages, insert subheadings.
NOTE: to unlock the text box created in the Parent Page, use the COMMAND and SHIFT keys simultaneously.
Page 1
Sketches of your 4 words.
Page 2
Your 4 words using a Sans Serif typeface, done in Illustrator. For this first page, follow the margins for the 4 picture boxes. Including a .5pt frame, each of the four picture boxes will be 3 inches square. See below.
Page 3
The word “drip” in 3D.
Page 4
Sketches for your Lettering of Favorite Food, Sport, Pastime.
Page 5
Your Chosen Lettering, completed.
Page 6
Your Lettering applied to an object.
Page 7
Your Legibility studies from class 16.
_______________________________________________________________________________________________________________
Notes re your: 4 words, done in Illustrator (during classes 12 and 13)
- Since now we are going to place our 4 words from Illustrator into InDesign, it is best to have them as PDFs (not as jpegs). NOTE: jpegs are pixel-based and don’t provide as clear a resolution as desired.
- Your 4 words are in Illustrator. So, open the file with your 4 words, remove any borders if you have them. Save your Illustrator FILE.
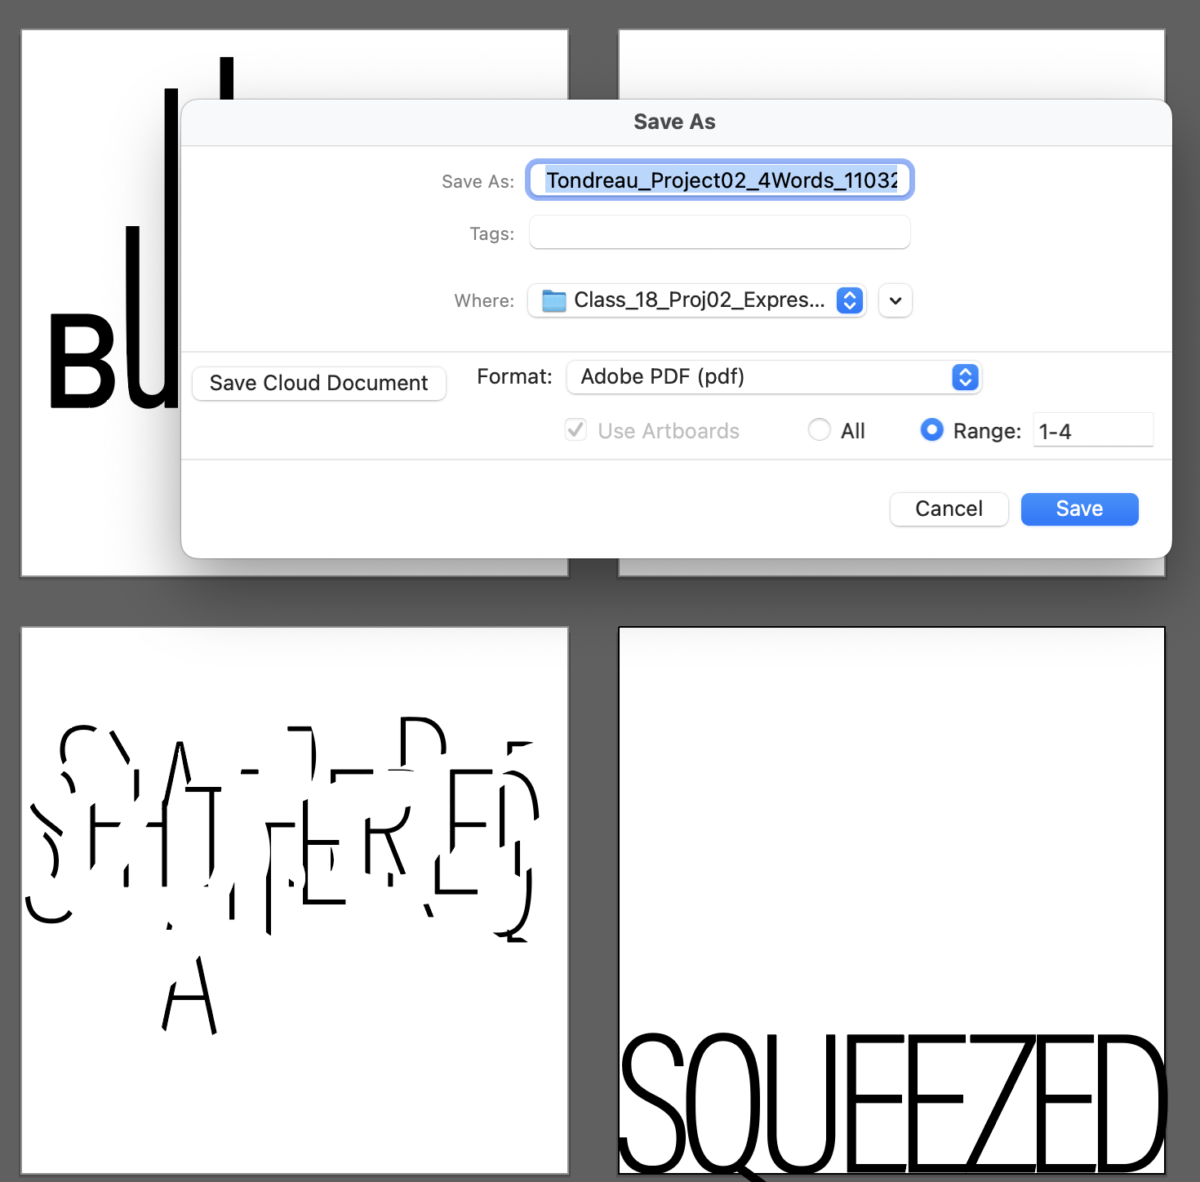
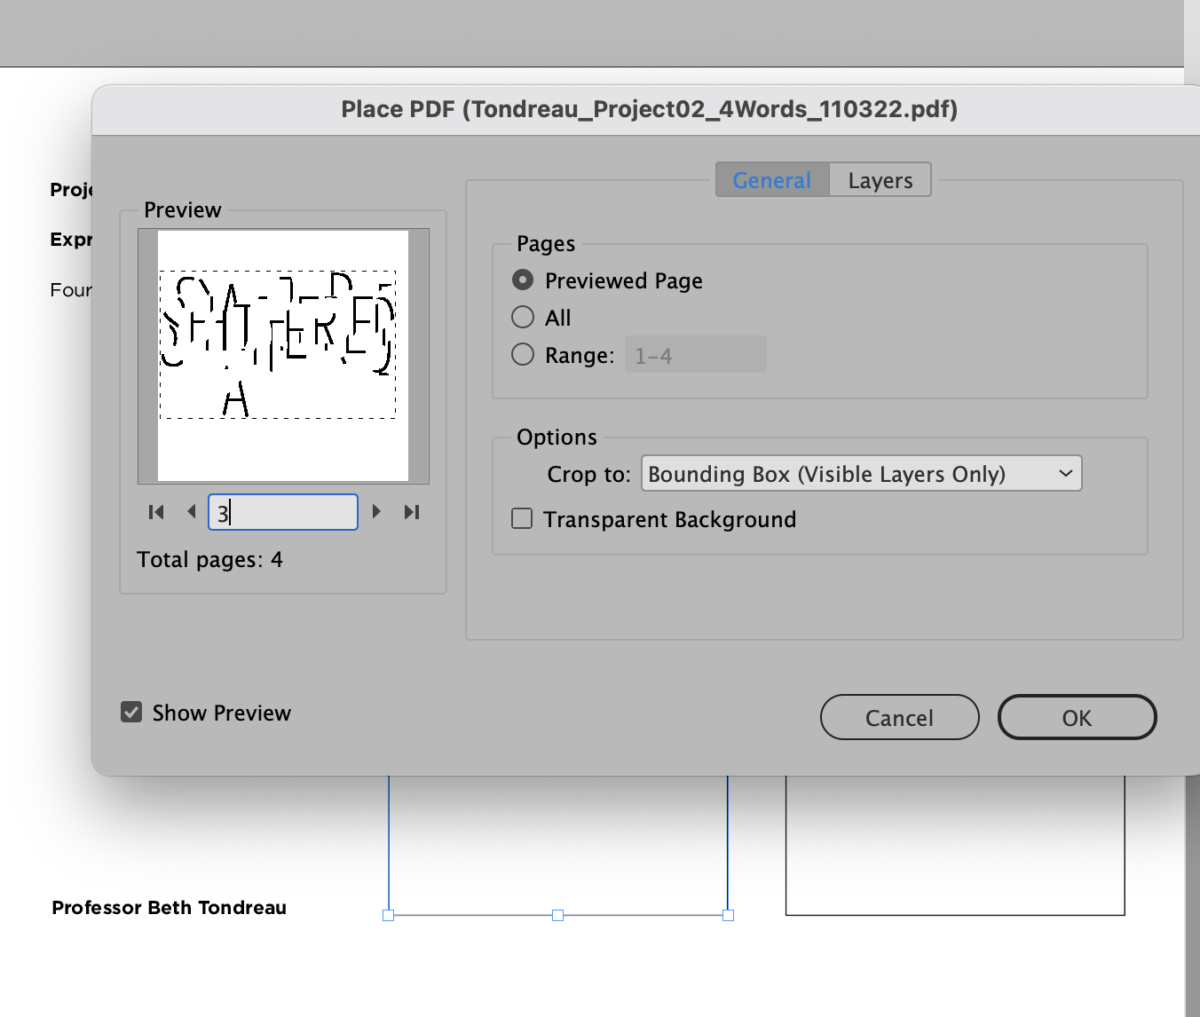
- GO TO FILE>SAVE AS. Under FORMAT SELECT PDF > then Use Artboards>range: 1-4
- This will give you 1 pdf file with 4 pages

Next, return to the InDesign file you’ve created for your Presentation.
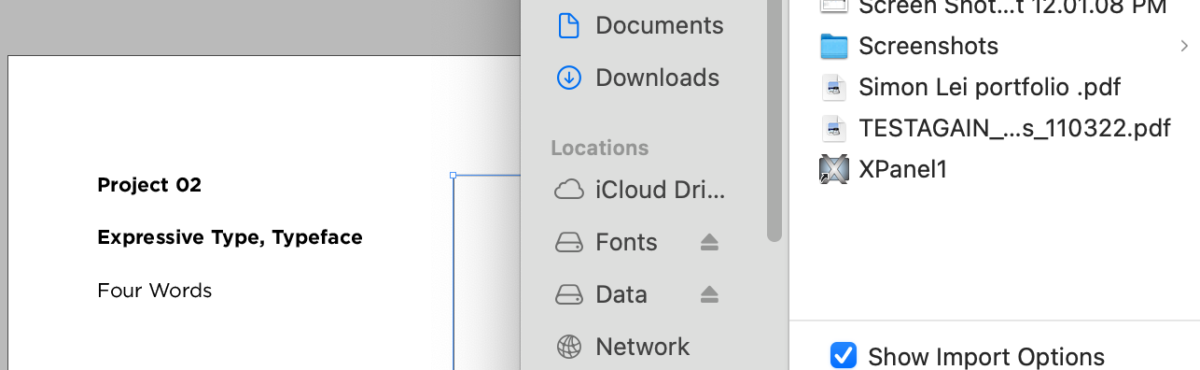
Go to File > Place.
Alternatively, use the keyboard commands: Command and D simultaneously.

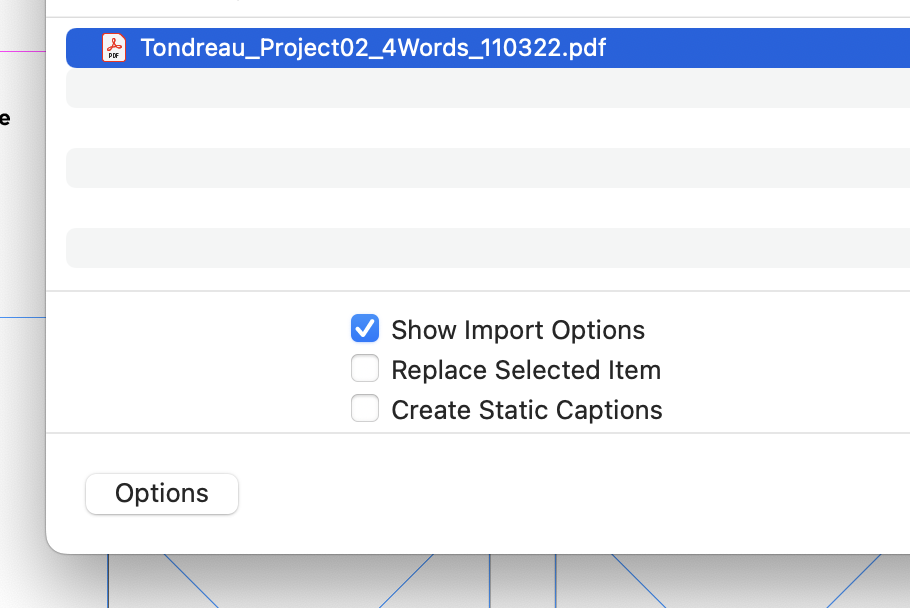
To get the option to insert pages individually, check “Show Import Options.”
This is from the mac in P-116.
This is from Professor Beth’s laptop.
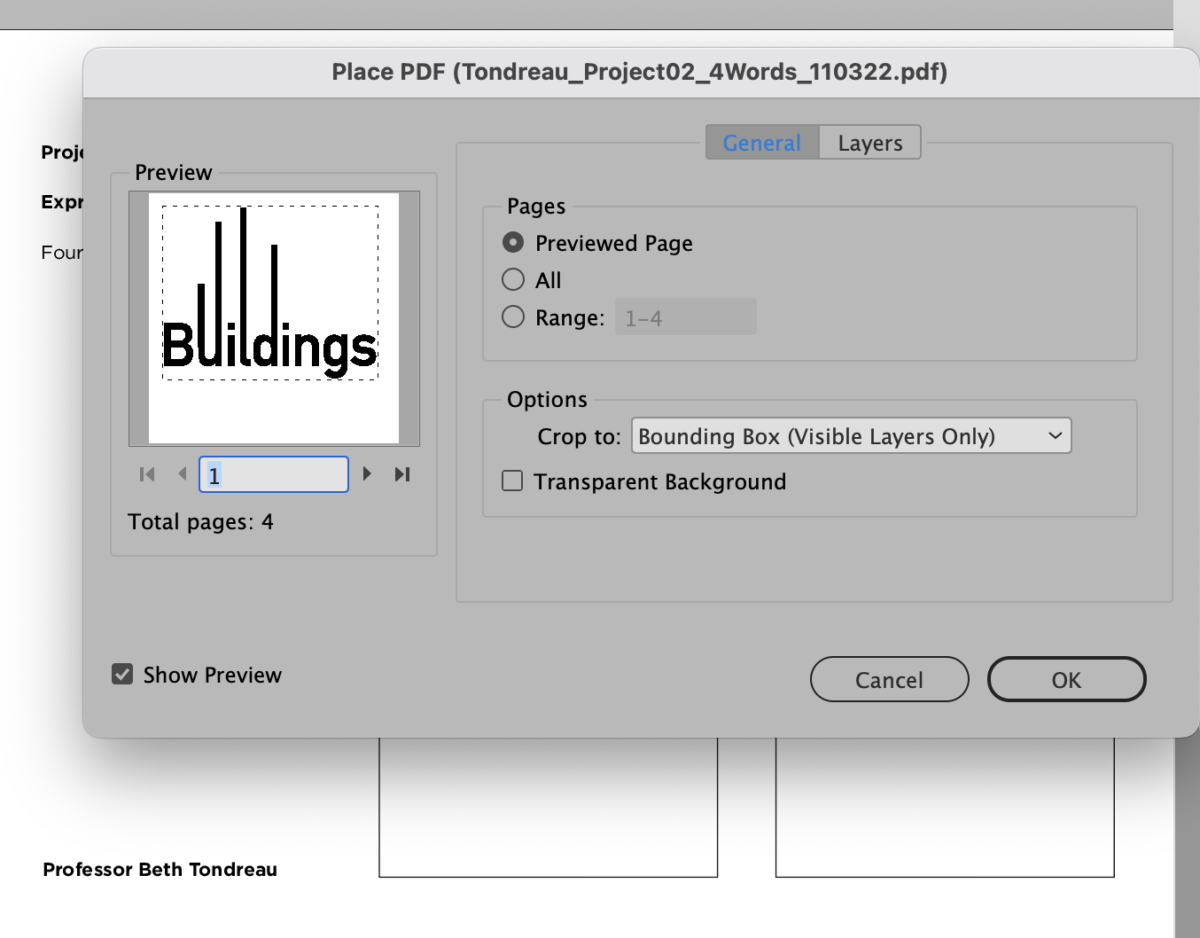
On the right, make sure it is under PAGES>Previewed Page.
Under Options: DESELECT Transparent Background (this will maintain a white background).
On the right, make sure it is under PAGES>Previewed Page.
Under Options: DESELECT Transparent Background (this will maintain a white background).
NOTE: Choose IMPORT OPTIONS to enable you to choose each of the four pages.
Depending on the software version, 1 PDF file with 4 pages may not work. If that’s the case, save 4 different PDFs.
____________________________
NOTE: For pages 1 and 4, the placement of the files/images of your sketches will vary based on the independent nature of your work.
_________________
Assignment / To Do/Continue after Class:
***Complete and upload Legibility exercise
***Complete 3-D type exercise. You do not need to upload it. You will insert the PDFs of your four panels with “drip” in 3_D into your InDesign document
*** Continue final edits of your lettering.
*POSSIBLY prepare for in-class presentation and file submission
Project 2 Final Versions of Expressive Type and Lettering DUE for Class 19 (by Nov. 1 as a pre-check for Class 19 (Nov. 2) and presentation on Class 20 (Nov. 7). If you’re at the stage where you’re working on your InDesign document, package it. File name: Lastname_Projext2_precheck_103123
Remember:
- Save File in InDesign
- Save as: “Lastname_Project02_precheck_103123”
- Package
- Upload PDF to DROPBOX
Project 02 is 10% of your grade.
Happy and safe Halloween!


Leave a Reply