Hello Everyone,
Topic: Problem Solving, Span Set, and Cable Termination
Stage Rigging Handbook pg. 189 – 228
Before I start, McCullough announced:
Lab Day
When: Saturday, April 22nd
Time: 10AM – 4pm
What we are doing: Setting up hardware and truss
In the beginning of class, we discussed about our midterms:
Based on the exam, McCullough provided a data analysis of what questions we did/didn’t understand, i.e., question #2, which we discussed in class about finding the reactions for the free body diagram.
In the Stage Rigging Handbook, page 11 – 12, provides examples of free body diagrams, similar to the first page of the midterm.
In the Data Analysis PowerPoint, McCullough asked us how we studied for the midterm, whether we studied alone, or in groups, and we chose to study alone by reviewing our homework and our notes. But for the final, we can try to study in groups by doing practice questions and comparing our notes, helping each other out.
Midterm Questions, based on Fiber Rope, you have to:
- Determine the Load
- Choose the DF (Design Factor)
- Find the Rope
- WLL x Efficiency > Load
1) Problem Solving
Strategy to Problem Solving:
- Define the problem
- How are you going to solve it
- Method for solving
- Determine Known Relevant Info
- Determine Unknown Info
- Find Unknown Info
When problem solving, McCullough made a template of what he knows and don’t know. We should try that method to solve the problem as well.
2) Span Set
Knot of the Week: 3 Round Sling Knots

- The Choker Hitch
- Same as the Lark’s Head except the ends are connected to each other
- Capacity of 2100lbs, which is less than the vertical hitch capacity, roughly 80% less because they wrap around sharp ends
- Put on the bottom of the truss, which are smooth and round
- Advantage:
- It doesn’t move because as you apply the load, it tightens the load so it doesn’t slip and slide, which is called Good Load Handling
- It requires less hardware than the vertical hitch
- Disadvantage:
- Protect the edges of the sling from coming into contact with sharp corner
- If the object lifting is fragile, choker hitch is not recommended because it will crush
- Vertical Hitch
- Uses the full strength of the sling
- Capactiy of 6500lbs
- You want to make sure they are not twisted
- Flat Nylon Sling has a dashed line so that you can indicate that it is not twisted.
- The simpliest hitch
- Advantage:
- Very efficient – you get to use the entire strength of sling
- Disadvantage:
- It needs 1 or 2 pieces of hardware to connect to the sling, i.e., shackle, hook
- Basket Hitch
- Capacity of 10,000lbs, which is double the weight of the vertical hitch
- Sling goes underneath the object, like a basket
- Advantage:
- It has great strength
- Disadvantage:
- It’s going to move around
- You need pieces of hardware
- Need to be careful with what object you are going to lift with the basket hitch
These three sling knots are called hitches because they attach to a pipe and hitches are the type of knot that attaches the rope to other objects.
Note: Attaching two slings together is not a good idea unless you have a shackle or some piece of hardware in between the two slings.
You need to have equal tension and equal balance when lifting an object with the slings.
3) Cable Termination
Backstage Handbook pg 103 – 104
There are 2 Primary Methods of Terminating Steel Cable
- Swage Sleeve or NicoPress Sleeve:

- Efficiency: 95% to 100%, Derate to 95%
- A lot stronger than wire rope clips
- Prefer Swages over Wire Rope Clips because they are:
- Smaller
- Stronger
- Take up less space on the cable
2. Wire Rope Clips or Crosby Clips:

- “Never Saddle a Dead Horse” – Saddle should be on the loaded side and the U-bolt should be on the non loaded side
- Efficiency: 80%
- Bigger than swage sleeve
- Cheaper than swage sleeve
- Common
- Torque Wrench Needed: Tighten at 15 Ft-lbs
- You know it’s fully tightened when you hear a click at the end.
- When using wire rope clips, you need to load the cable and then tighten it again.
Before creating a wire rope with swage sleeves ourselves, McCullough demonstrated how to assemble a wire rope clips on a wire rope with 1/4″ cable
- Needs minimum of 2 wire rope clips
- 4-3/4″ Turn back from Thimble (BH pg. 103)
Lab: Creating a 1′-6″ Eye to Eye, Swage Sleeve Wire Rope
Materials used for this lab: Tool:
- 1/8″ Wire Rope 1. Cable Cutter
- 1/8″ Thimble A. C9 (9mm)
- 1/8″ NicoPress
2 Tools when Crimping the NicoPress

- Swaging Tool
- Once crimped, you can’t crimp again
- Gauge after you make another crimp
- If it fits, you are good to go, but if it doesn’t fit you need to make a new one

2. Hand Swage Tool (Compression Tool, BH pg. 104) A. After crimped once, may need to crimp 2 or 3 more times.
Note: Backstage Handbook pg 104 has a crimping order of 2, 3, 1 (CROSS THAT OUT), it’s an incorrect crimping order.
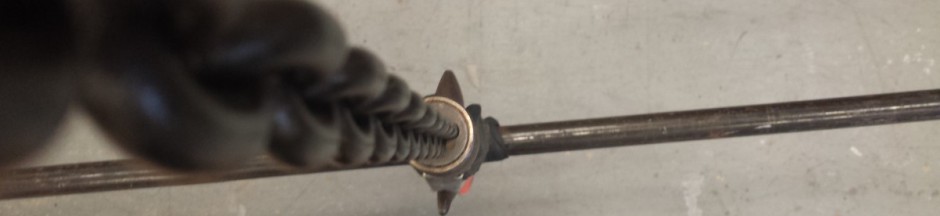
The correct crimping order should be 1, 2, 3. 1 is next to the thimble. There is a picture below showing the correct crimping order.
These are all three topics that was covered on March 28, 2017
Jess

