
Week 5 Lab – Vivisection (images to be posted when I get home)
OBJECTIVE: Vivisection of MP3-4 Multimedia Player
MATERIAL: MP3-4 Portable game multimedia player, 2 Philips screwdrivers, macro-cameras, helping hands, Dr. Baker and Peter the CLT
PROCEDURE:
pre-vivisection
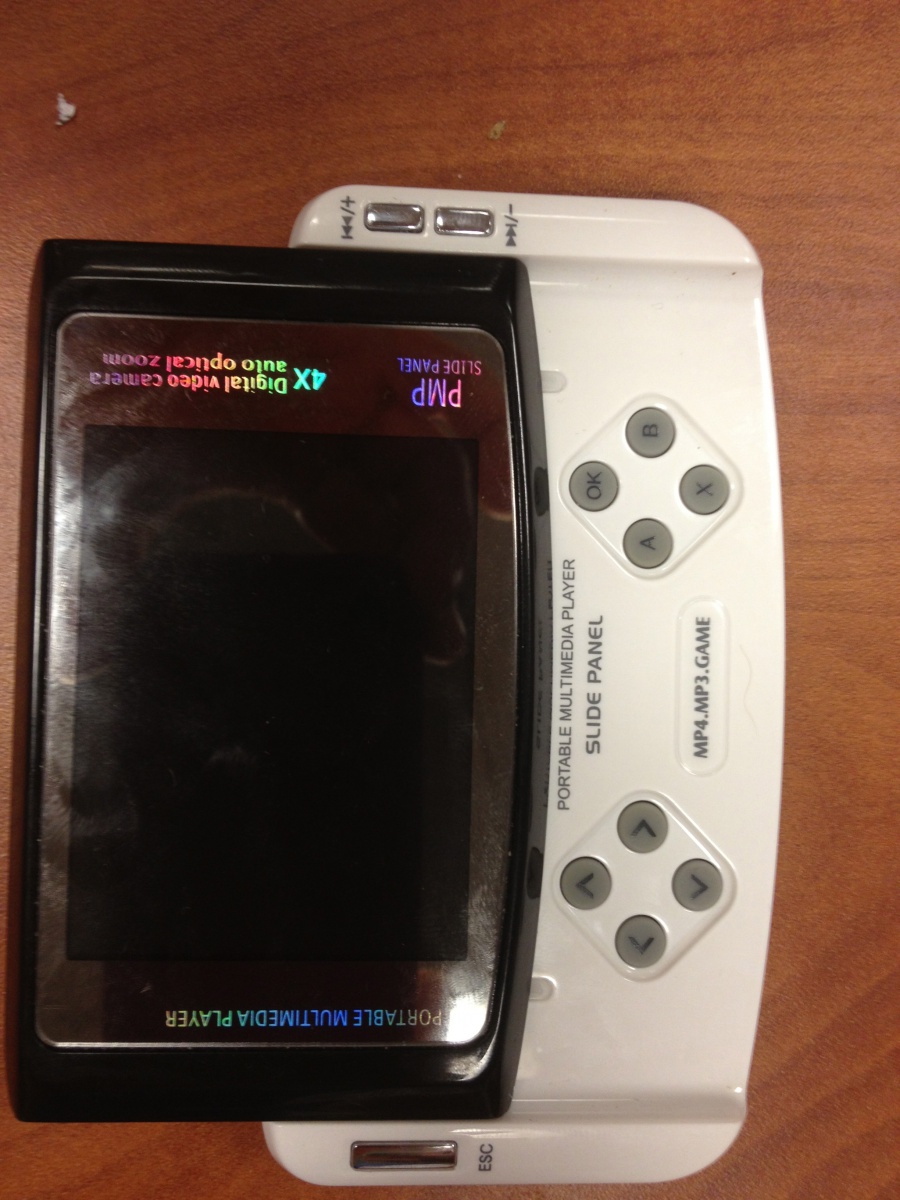
- Take “before” picture of device
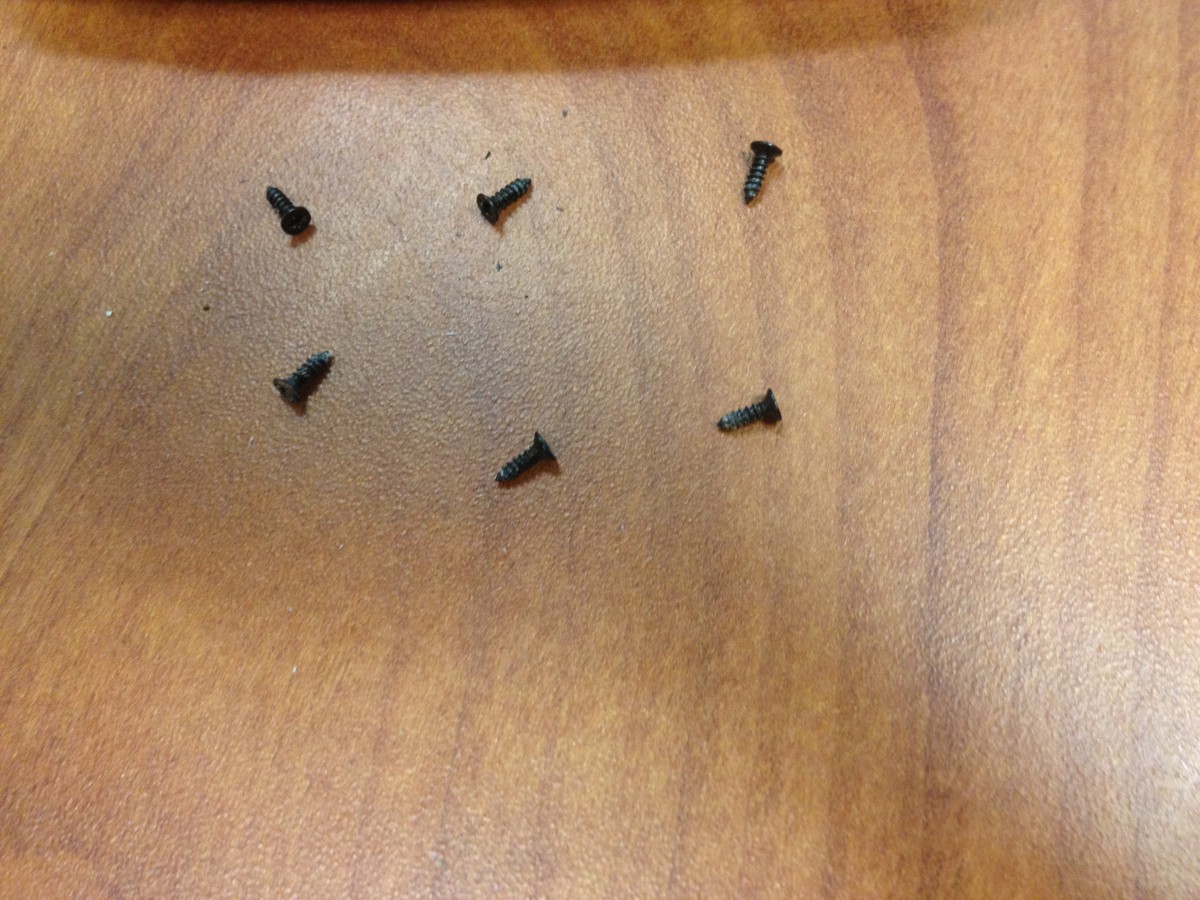
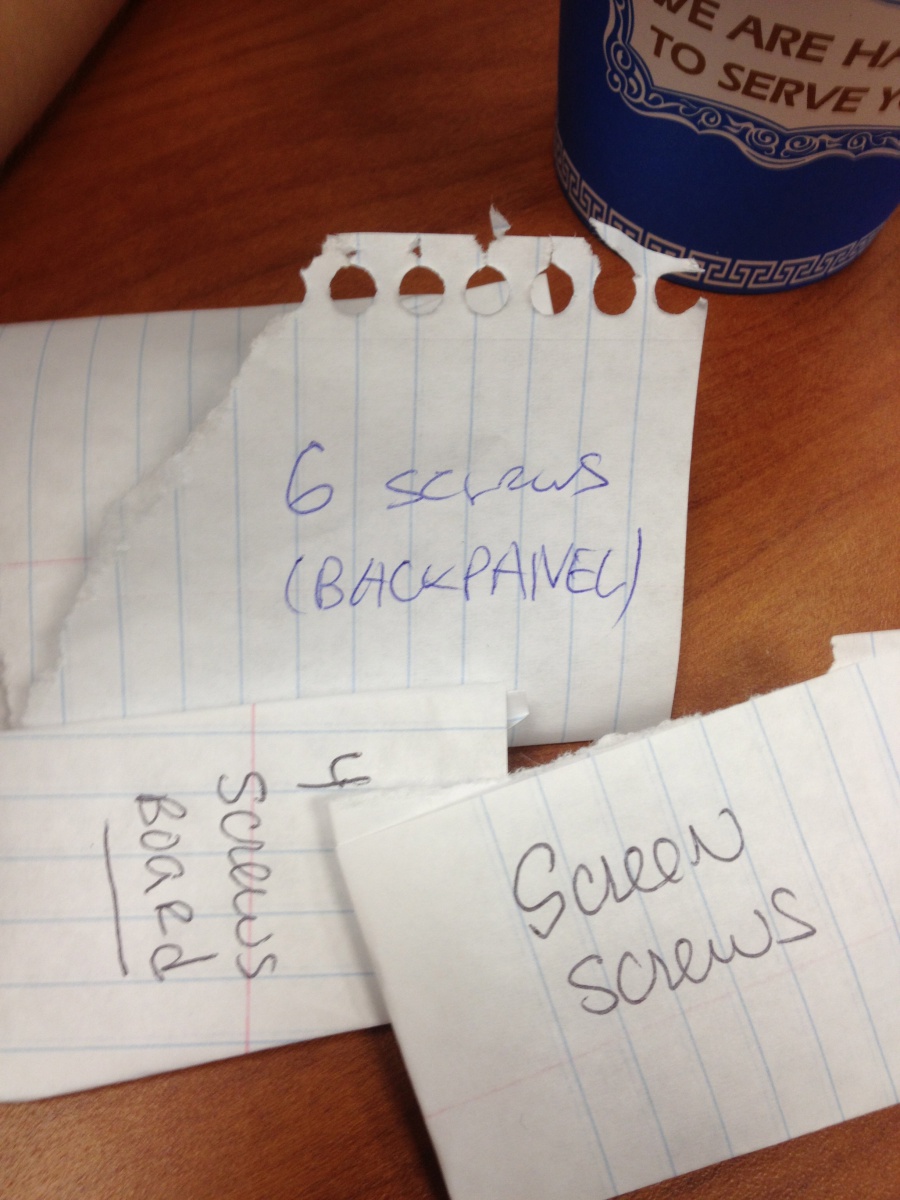
- Identify first 6 screws to be removed – so that back cover can come off (being careful not to detach speaker wires)
- Pop off speaker, which is glued on to back cover
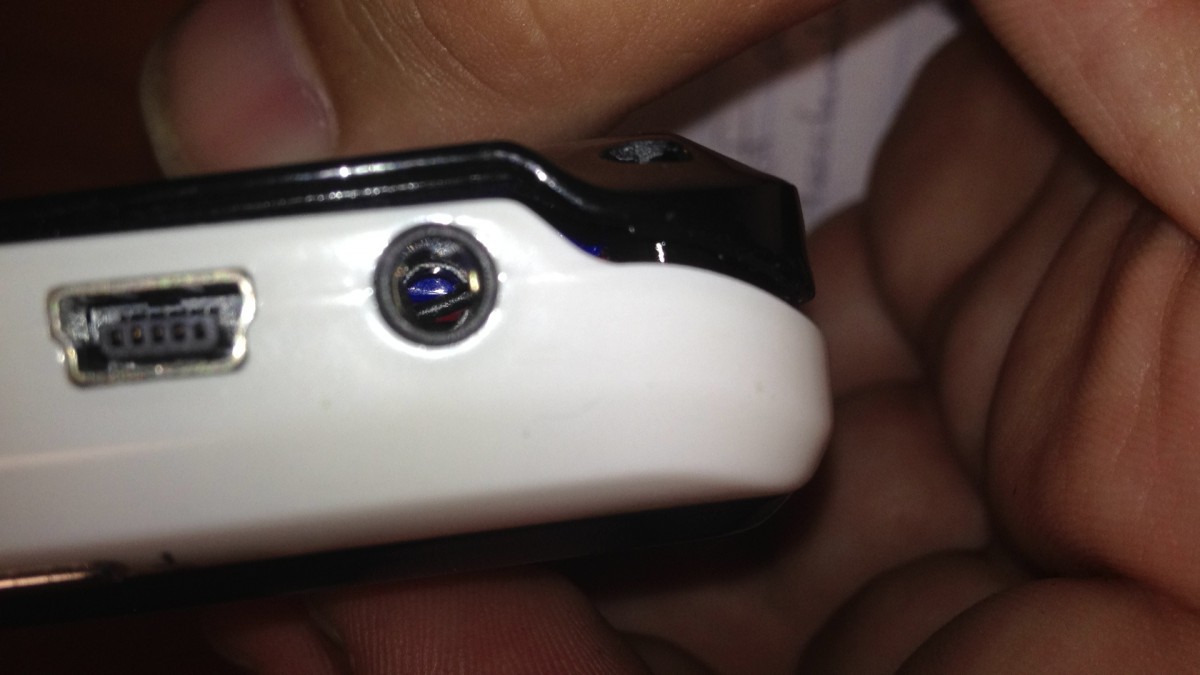
- ID following parts on board –
Speaker, Camera, Memory Card Slot, 2 Micro-controllers, Microphone, Power Connector, USB Chip, Line Level Out (see pic), Transistor Bundles, Lithium Battery 3.7V 800MAH

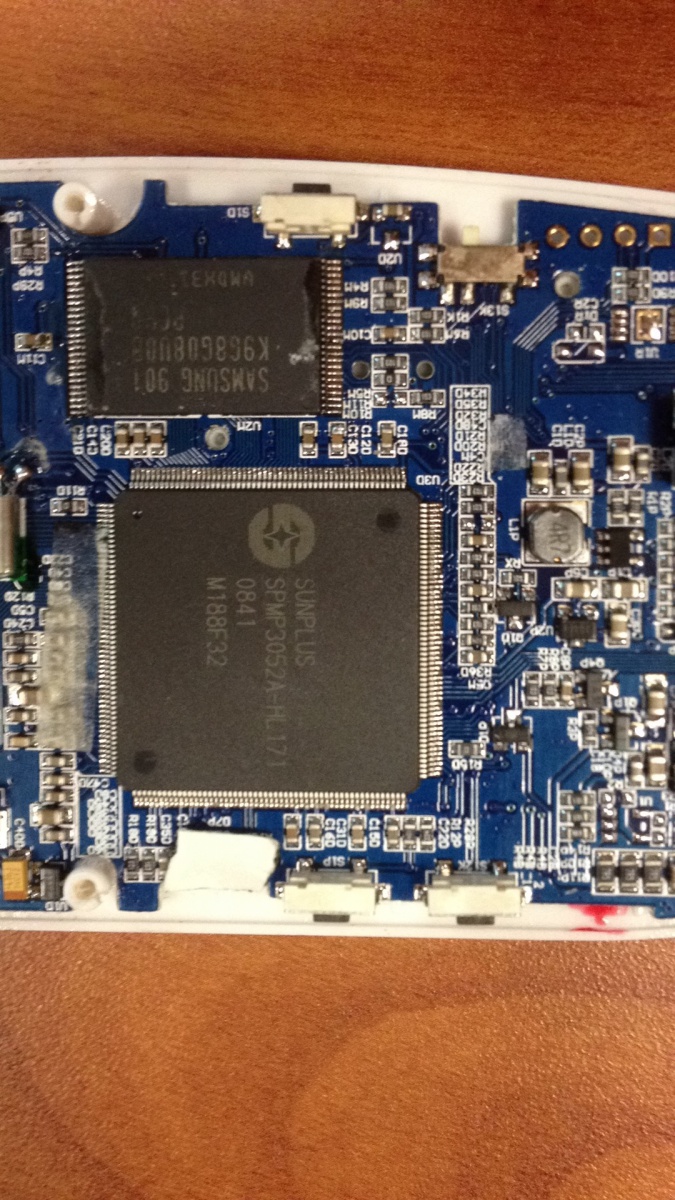
exposed board
- Remove 4 screws that hold board to cover
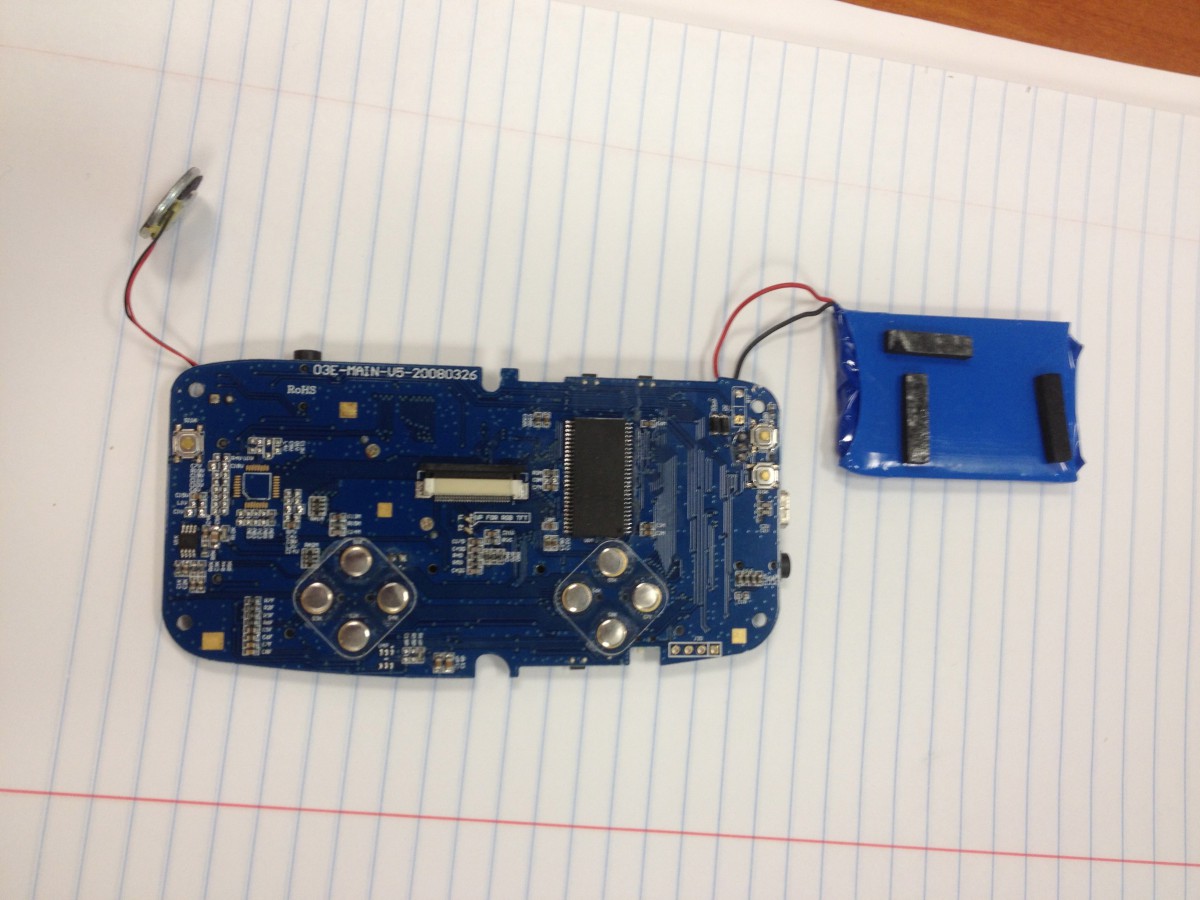
- Please note that upon removal of glued battery we discovered a third microchip – for a total of 3
-
3rd microchip
- PROBLEM – even though all screws have been removed the board is still attached too cover; upon examination we discover a ribbon cable.
-
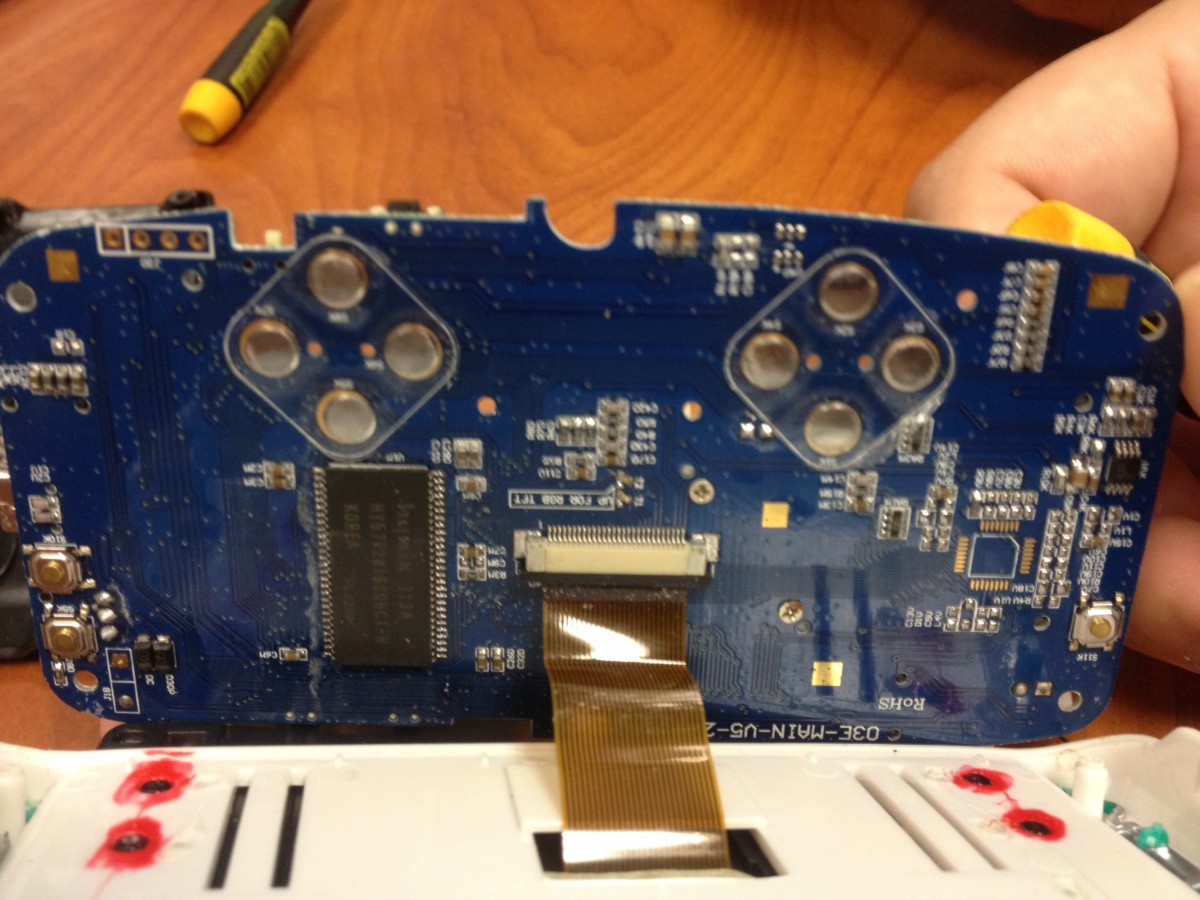
ribbon cable
- SUCCESSFULLY Resolved – Ribbon cable removed
- Board now detached from back case, front cover
- Removed LCD screen from case
-
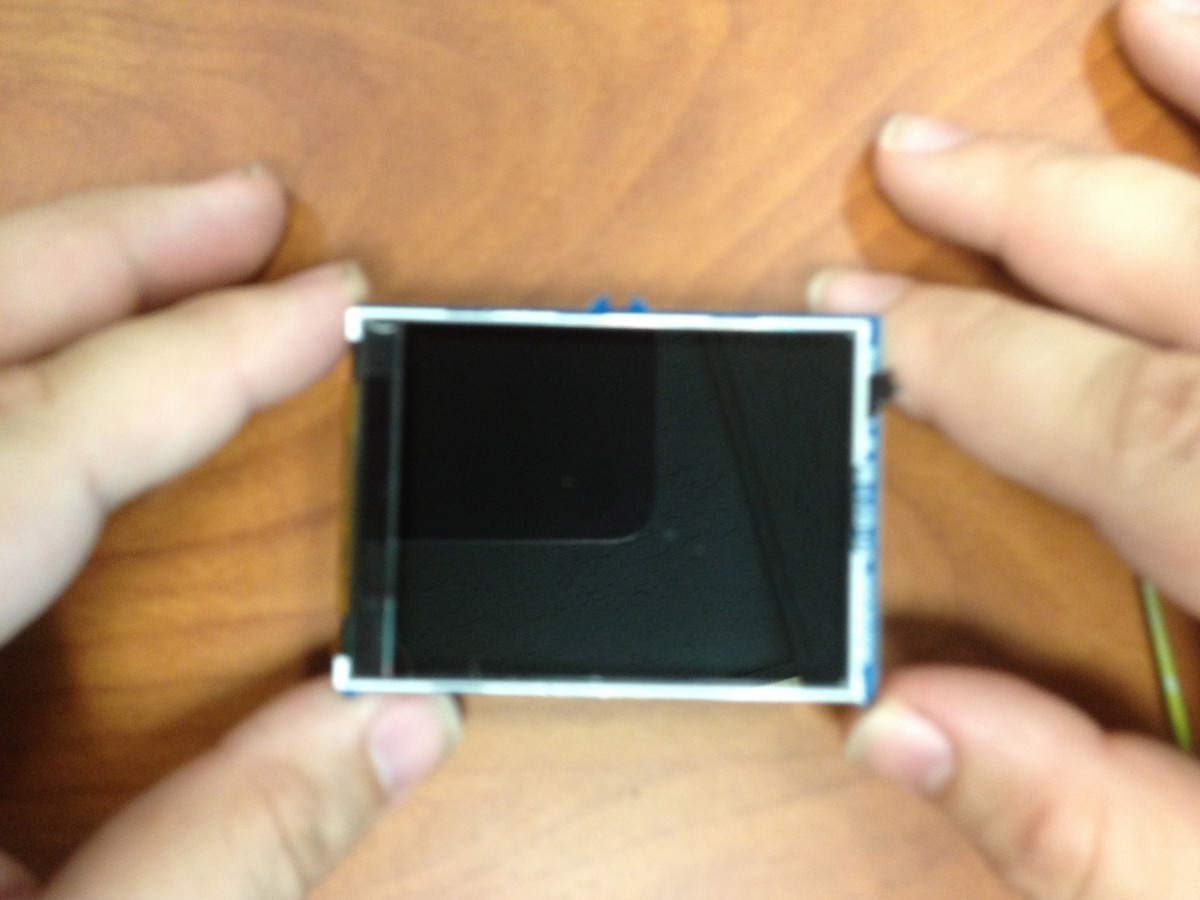
LCD Screen
REASSEMBLED game center components to test functionality
RESULT – TEST WAS SUCCESSFUL REASSEBLED GAME WORKS AS WELL AS IT DID WHEN WE STARTED
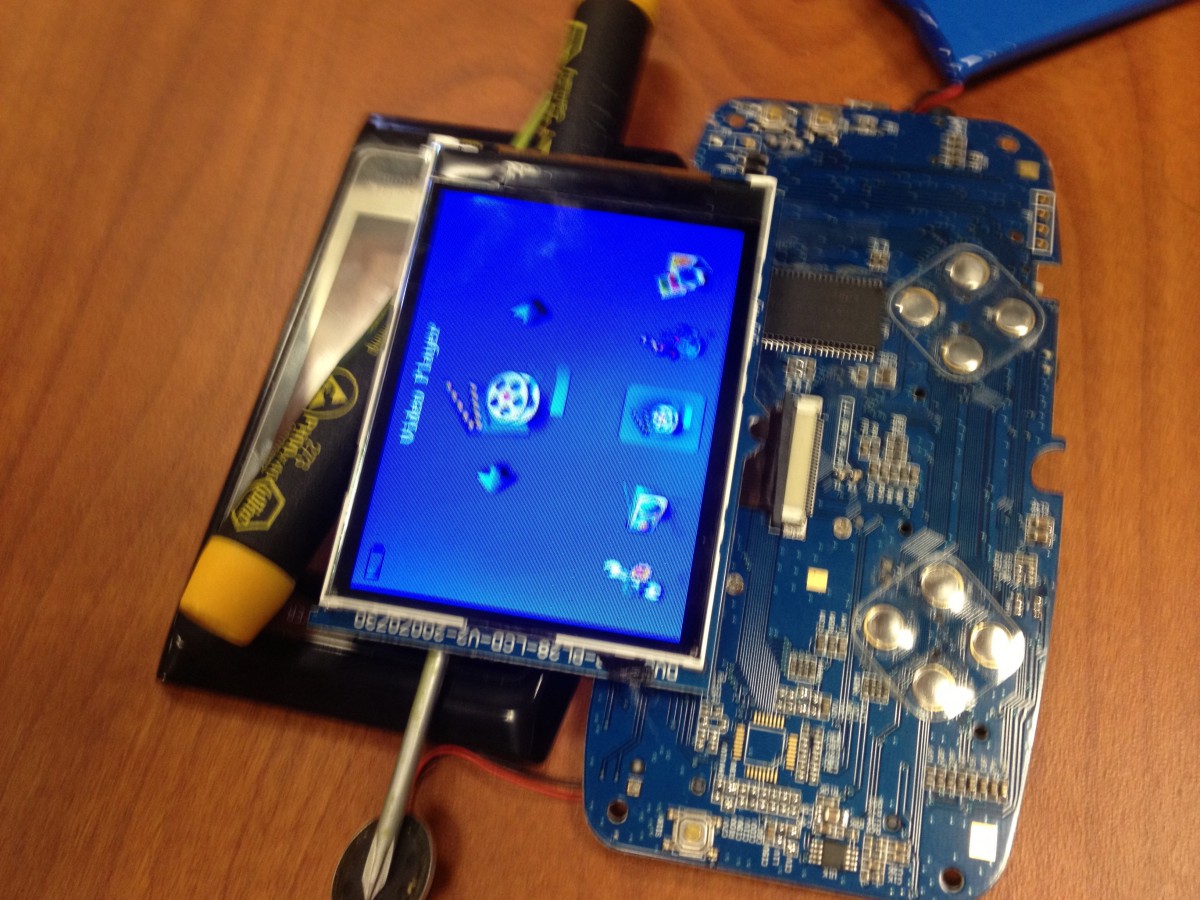
Functionality Test
Case then reassembled as well – using our well organized screws!
File System

