
Objective: take the player apart, document what is inside, then put the device back together, trying to vivisect it.
Materials: MP3 MP4 Game Portable Multimedia Player, Precision screwdrivers, camera, flashlight, magnifying glass;
Procedure:
1. Examine the device:
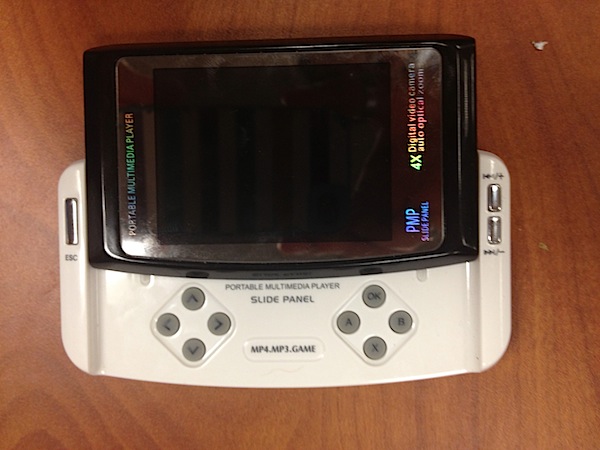
It has a sliding panel with pushbuttons, an LCD screen, a small camera on the back and a couple of inputs/outputs on the sides (headphones, power etc). The device is in working condition (LCD screen turns on).
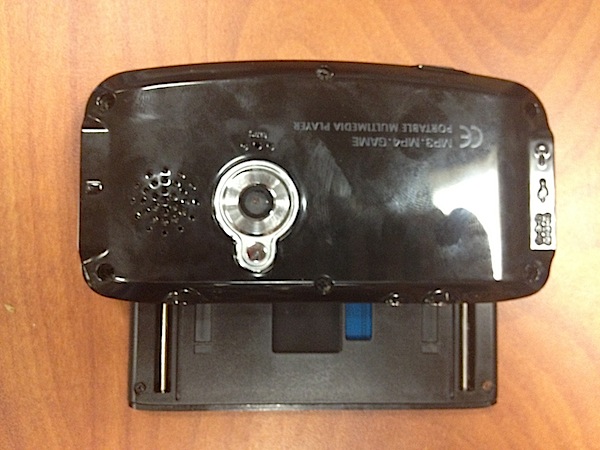
2. Carefully remove 6 screws from the back panel of the device, then remove the plastic cover.
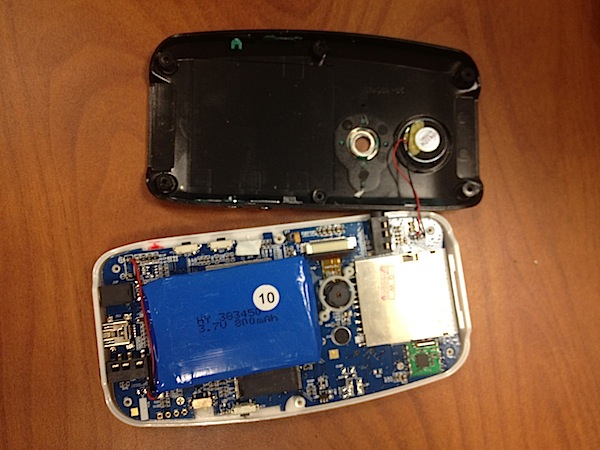
After the cover was removed, we were able to see the PCB and identify some components, such as: Lithium battery (3.7V 800 MAC), memory card slot, mic, one blue LED, multiple transistors, camera, speaker (which was glued to the back panel), USB connector, headphone jack, and two microcontrollers. The PCB itself was made using surface mount technology, and had a lot of really tiny components. The battery was glued to the three small foam pads that were attached to the PCB.
3. Remove the battery:
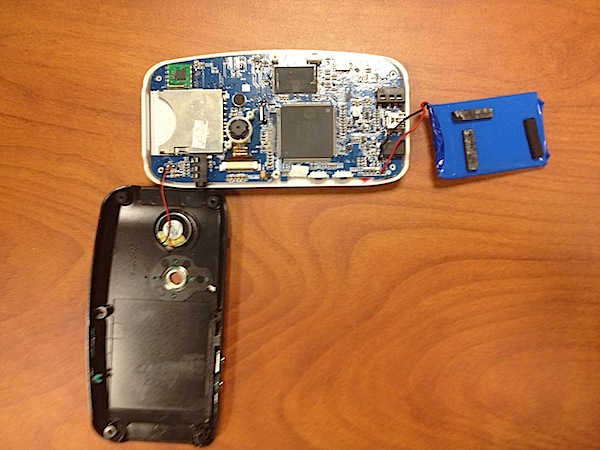
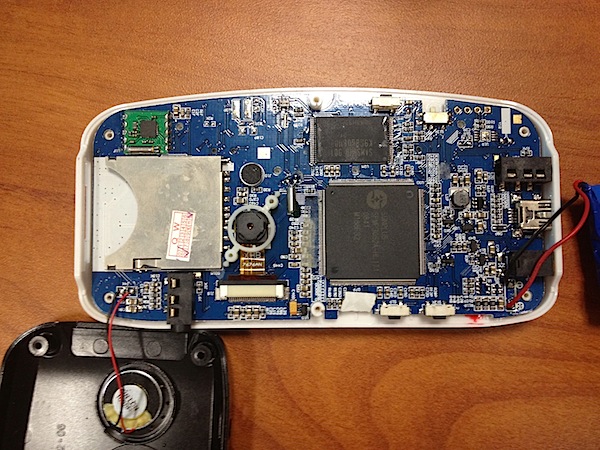
After removing the battery, we discovered one large microcontroller underneath. The PCB was still attached to the plastic case.
4. Remove 4 tiny screws that are holding the PCB.
After the removal of the screws, we were expecting the PCB to pop off the case, however, it didn’t happened. After the examination and with the help of a screwdriver and a flashlight, the ribbon cable attached to the LCD (on the sliding panel) was discovered.
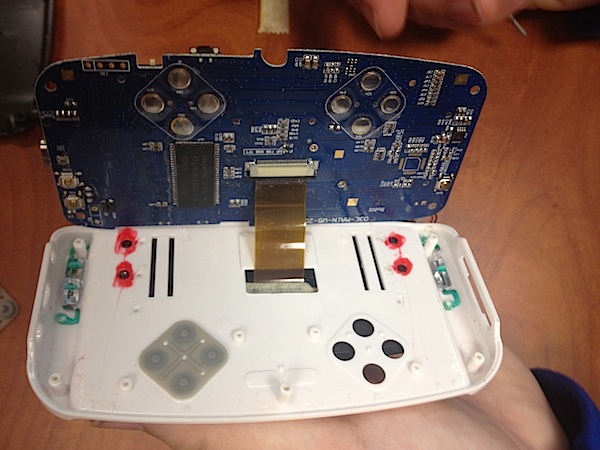
Also, there was another chip on the back of the PCB. The red marks seen on the picture above, are actually the same type of “guards” that we saw on our previous lab. They are drawn on top of the transparent glue that protects the sliding panel’s screws from the invasion of the screwdriver (if it happens, the warranty is void).
5. Remove the ribbon cable and then the sliding panel’s screws:
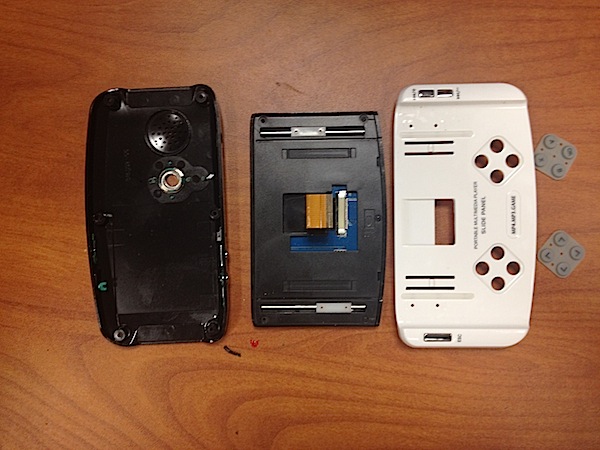
We had some difficulties in detaching the LCD panel due to the stripped screw, but the problem was finally resolved by switching to another screwdriver. Detaching the LCD screen from the panel was the last step of the player’s dissection procedure.
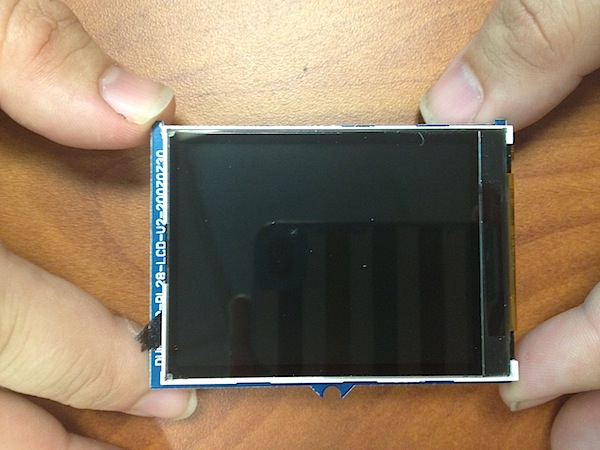
6. Test functionality by connecting the ribbon cable to the slot on the back panel of the PCB.
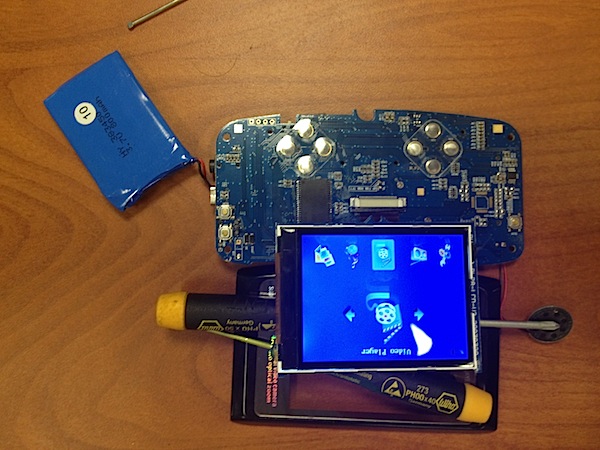
The device was working.
7. Put everything back together (assemble the panels) and test functionality again.
Results: the procedure was successful. We were able not only to dissect the player, but also to vivisect it. We had some difficulties with assembling the sliding panel and attaching ribbon cable, but all problems were quickly resolved by Michael and Peter.

