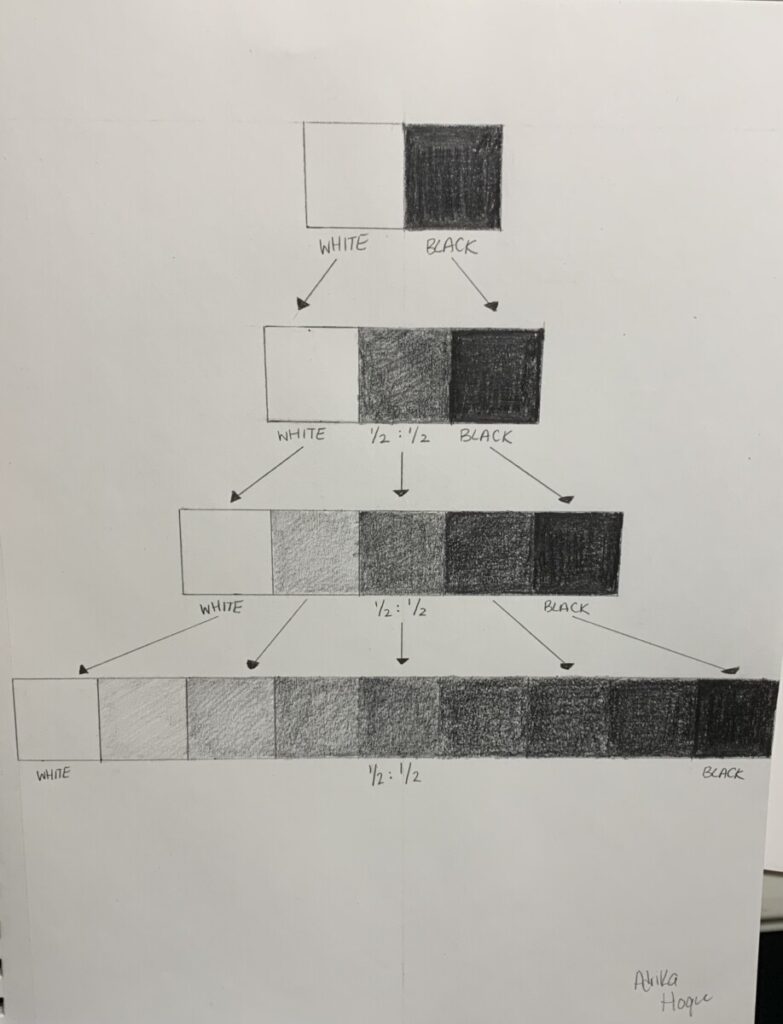
Value Scale 
Texture Pic 1 
Texture Pic 2


Texture Pic 3 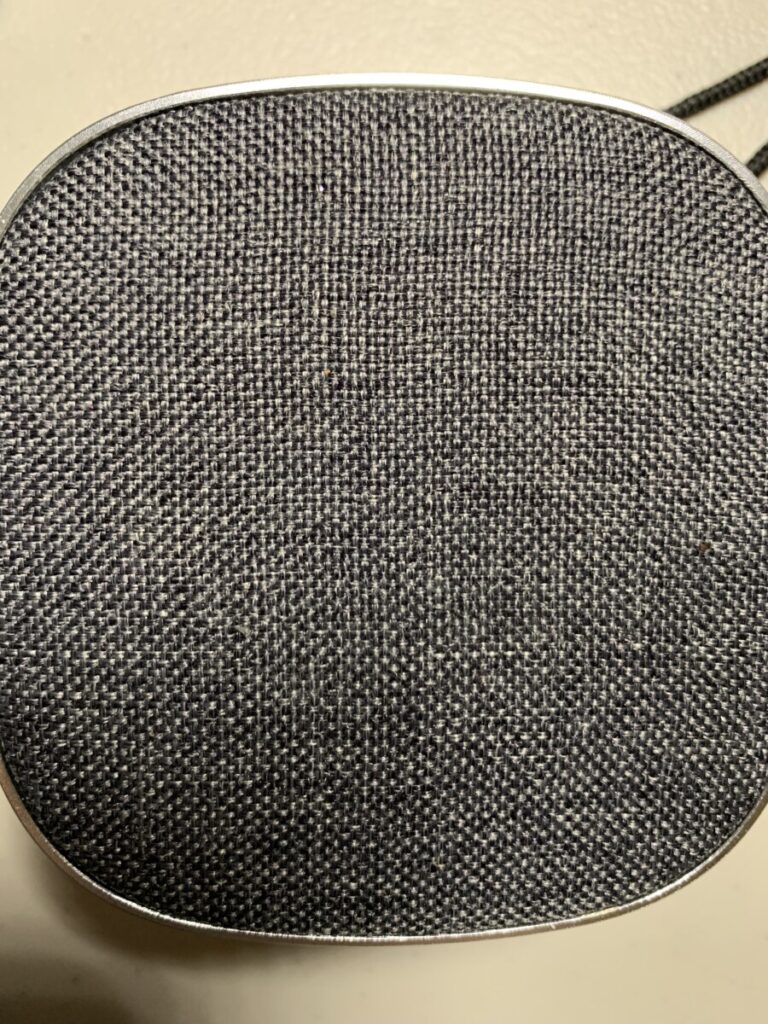
Texture Pic 4 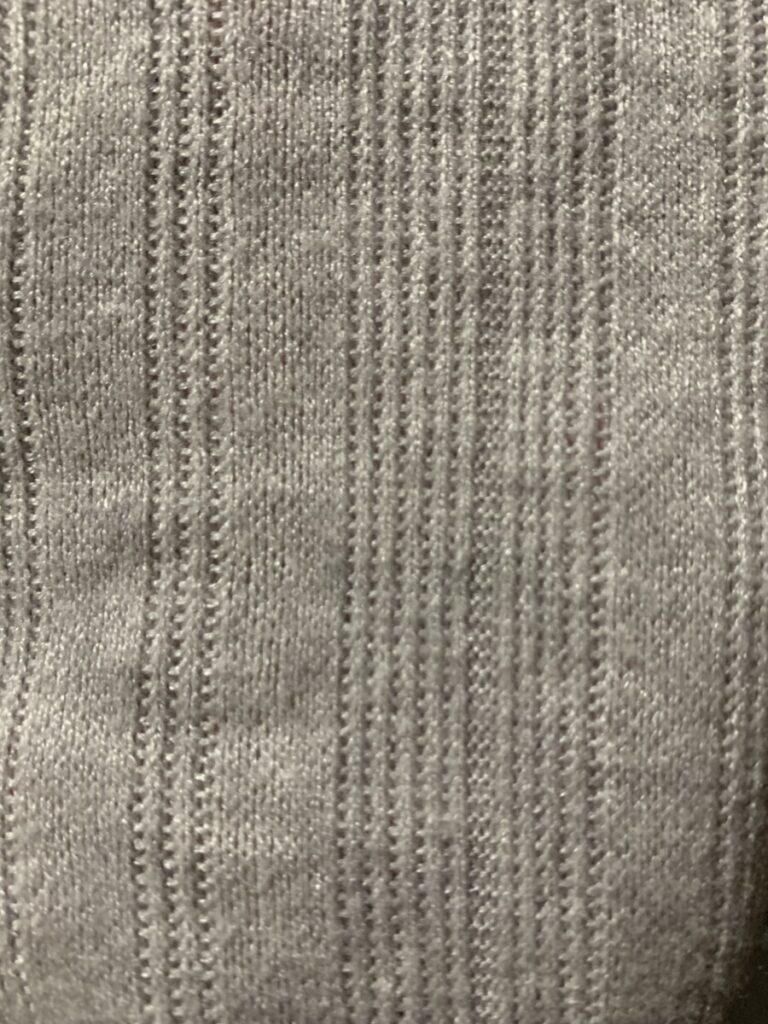
Texture Pic 5
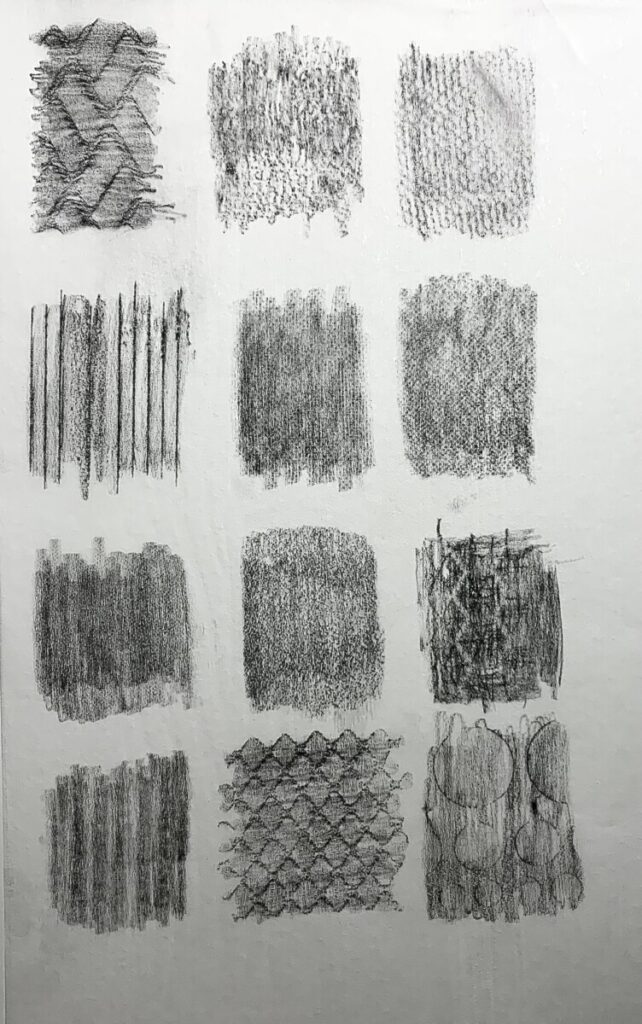
Rubbings 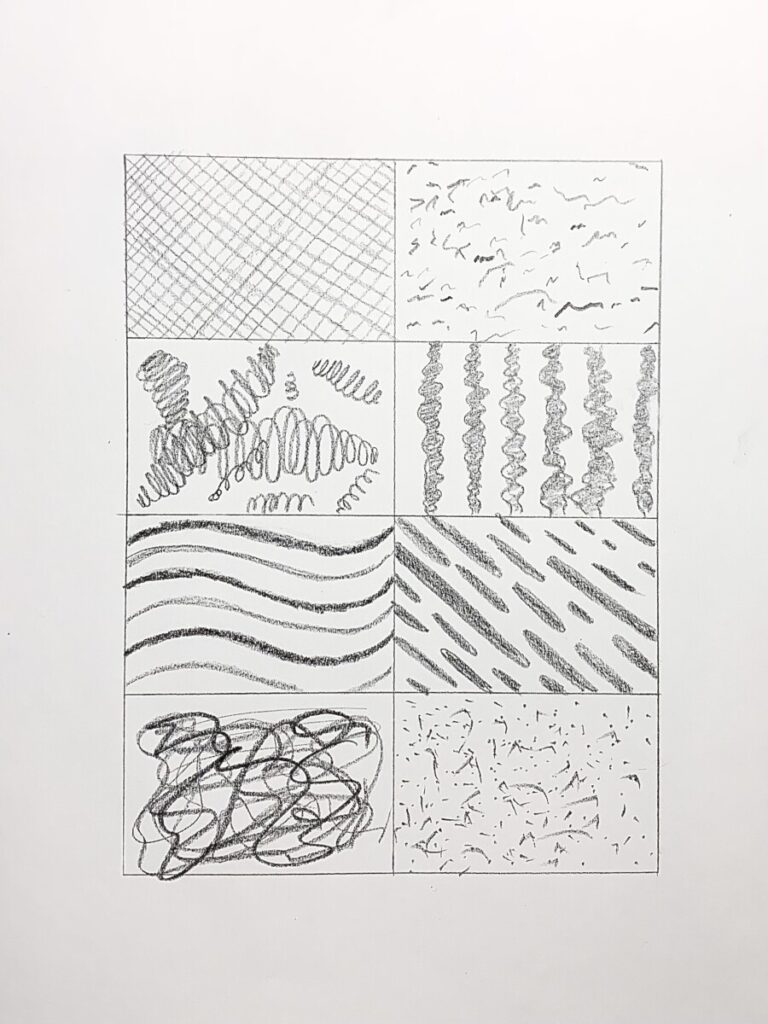
Pencil Textures 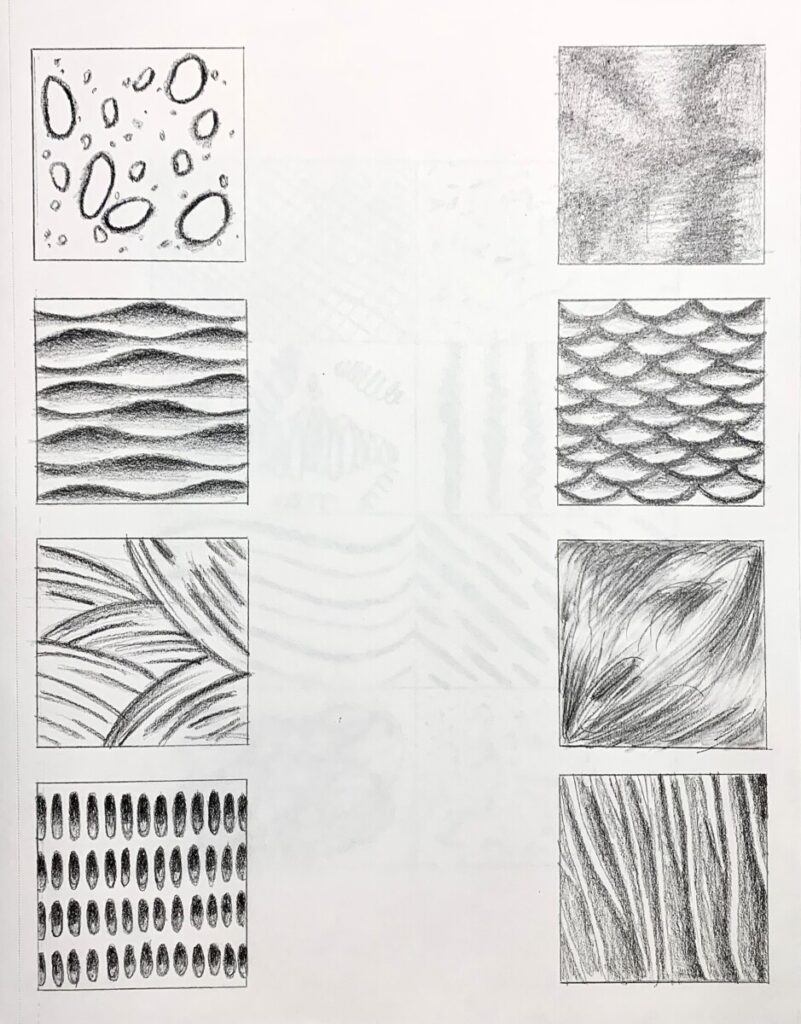
Hand Drawn Textures


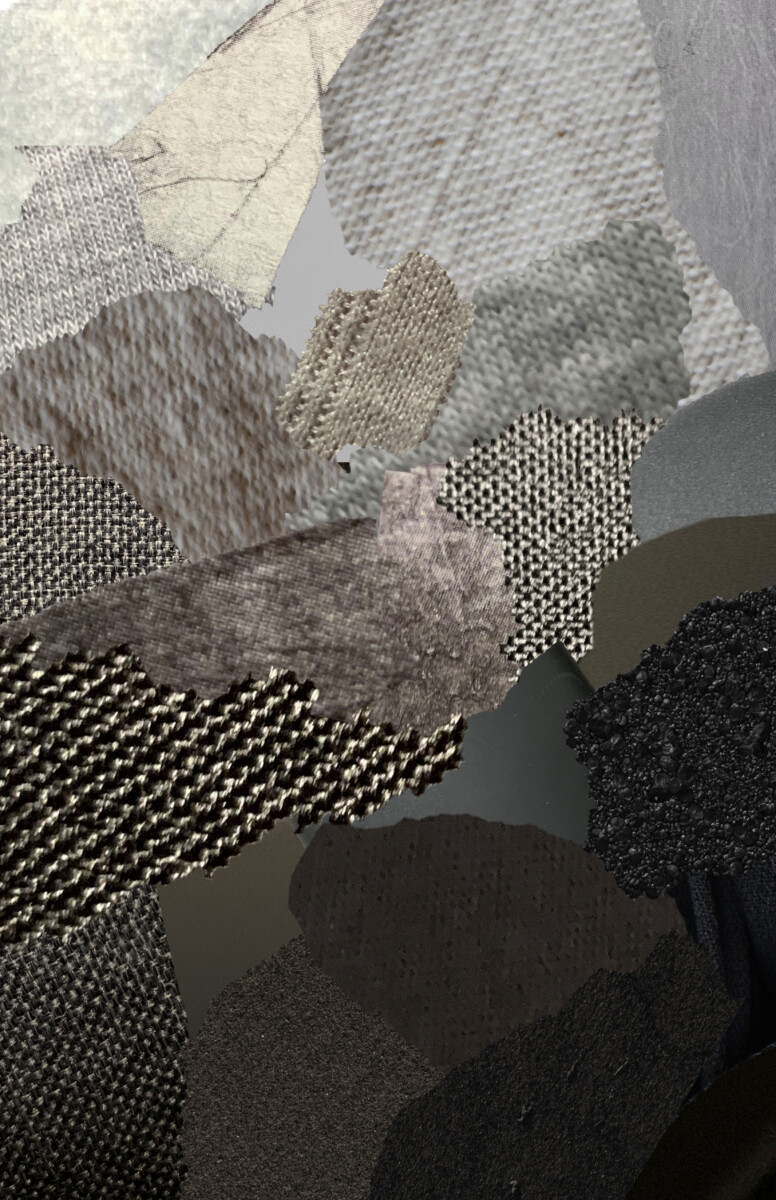
Final Piece on Photoshop
The Process
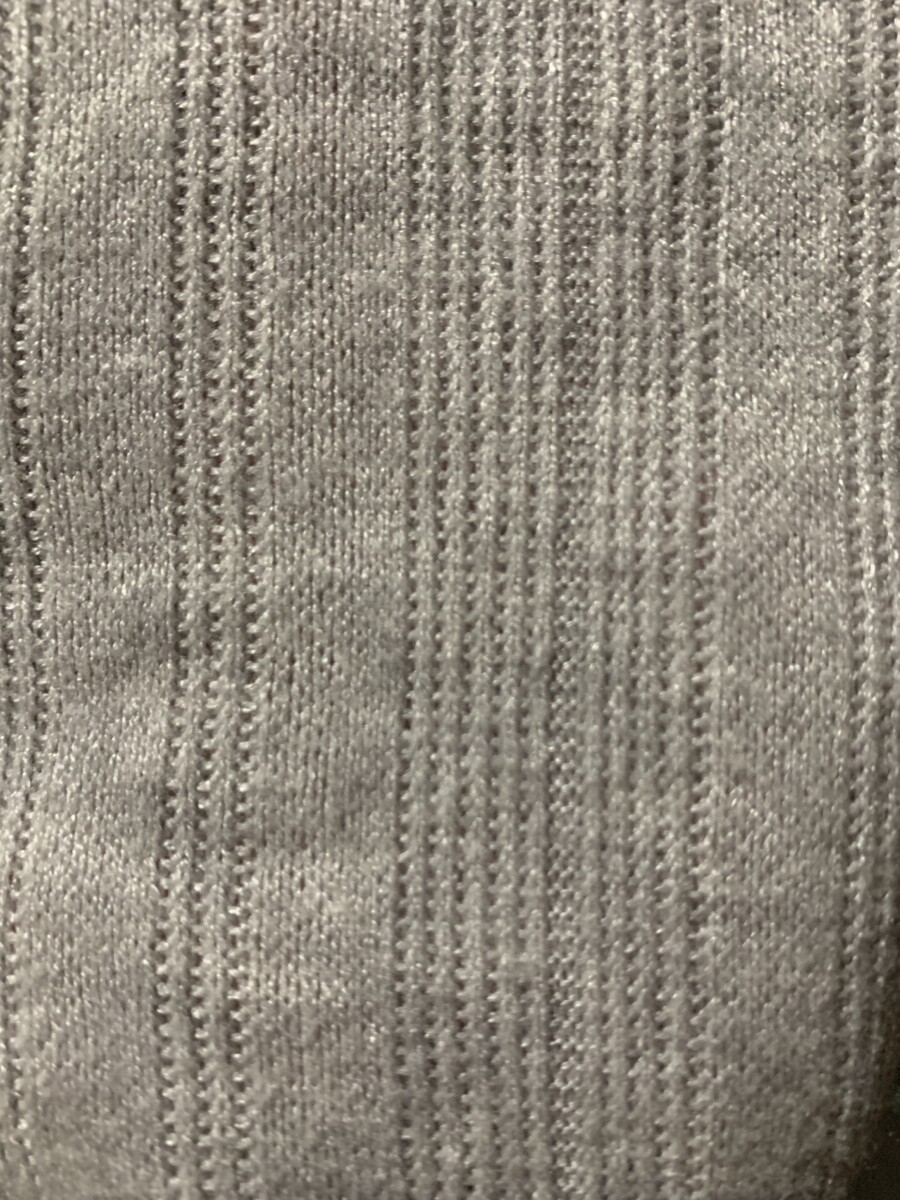
I started this project with the value scale and understanding tonality and value ranges. After reading Ellen Lupton’s chapter on texture, I was able to understand it better as a tactile sensation. I then took pictures around my house and outside of textured objects with a narrow value range to use for the collage piece. Pictured in the gallery are some of the object I photographed like a speaker, fabric, and my laptop case. Texture is all around us from smoother and finer to rough and gritty.
When I started the collage making process on Photoshop, I used mainly the quick selection tool to get jagged edges and more of an organic shape. Gradation was a key element to getting a smooth transition from the dark to lights and fitting everything together like puzzle pieces. I liked the ambiguity of the pieces once cut out of the original images and put into the collage. The textures really made pieces distinguishable even if they had the same tone.
After that, we started the rubbings and hand drawn textures. This was quite difficult for me as I found it hard to execute what I saw in my head. To show texture in a drawing, I had to use a range of tones. The depth of the textures was shown using deeper tones. I drew sand dunes, water droplets, fur and scales for my hand drawn textured drawings. For the pencil drawings, they were more freehand and organic and gives a suggestion of texture. The rubbings were also really fun to do and I had never done them before. I went around my house and took rubbings of chair backings, ladders, and even the speaker I photographed for my collage. All in all, this project was very fun and much more free than the others. I was able to play around and show more creativity with less parameters. I leave this project feeling like I have a much better sense of value and texture.


Leave a Reply