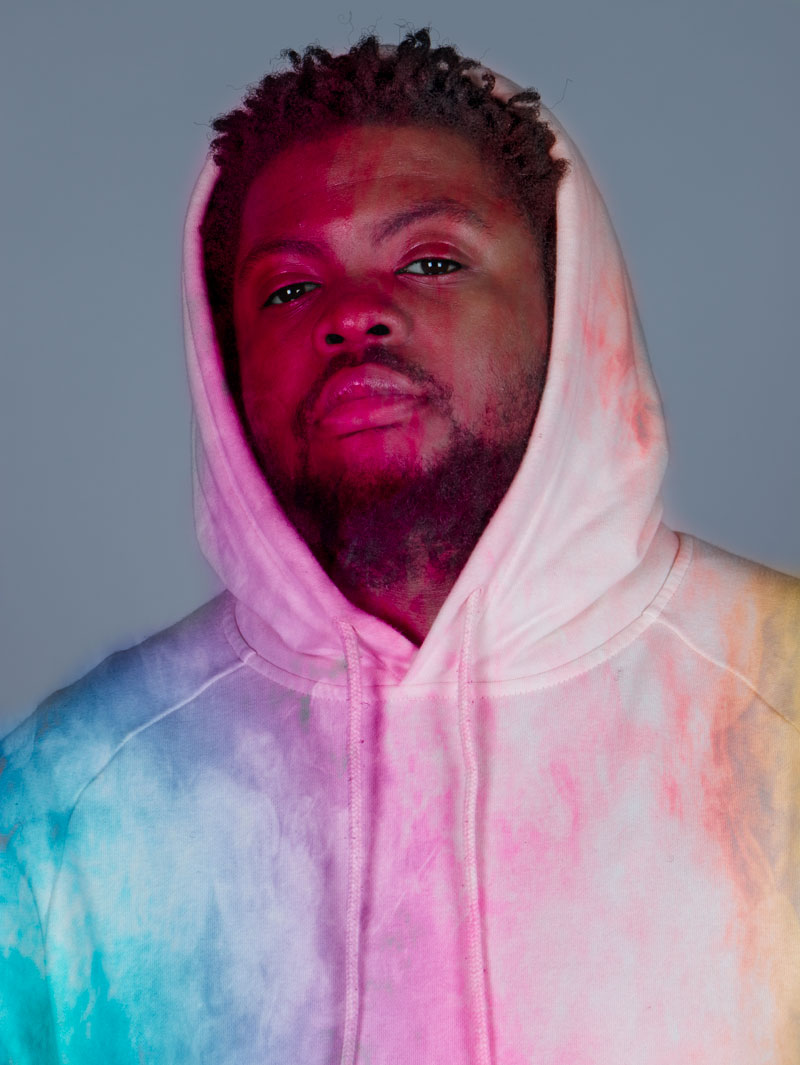
Today in class we did headshots. For this picture I had white background. The aperture was f/11, shutter speed was f/125 and the iso was 100. Then after editing in lightroom, I switched to photoshop to get this nice background that is blending in his skin. The first thing what I did was get a colorful background from google images. Then I went back to photoshop to open the file. This only consist of two layers. In order to get this background I had to overlay colorful background with original picture and then create a mask. From there I had to use the brush to get rid what i don’t want. Then I created another copy, but this time i changed the opacity to make it more realistic. I also use the brush tool on his eyes to make it pop out more.

