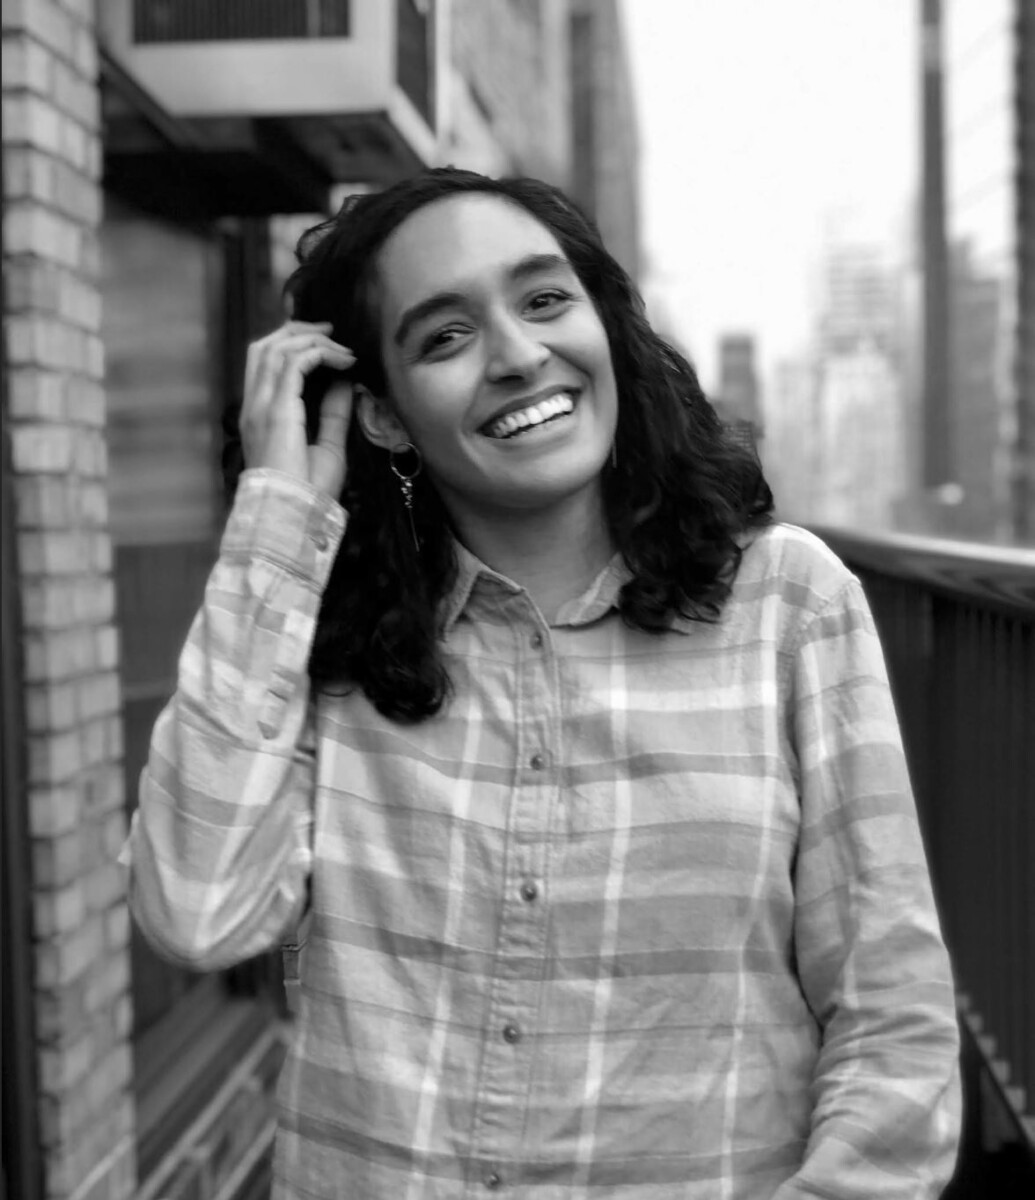
You’ll need a high-resolution image and an image editor like Adobe Photoshop.
- In Photoshop, open your file by going to File > Open. Save your photoshop file as yourname-selfportrait.jpg.
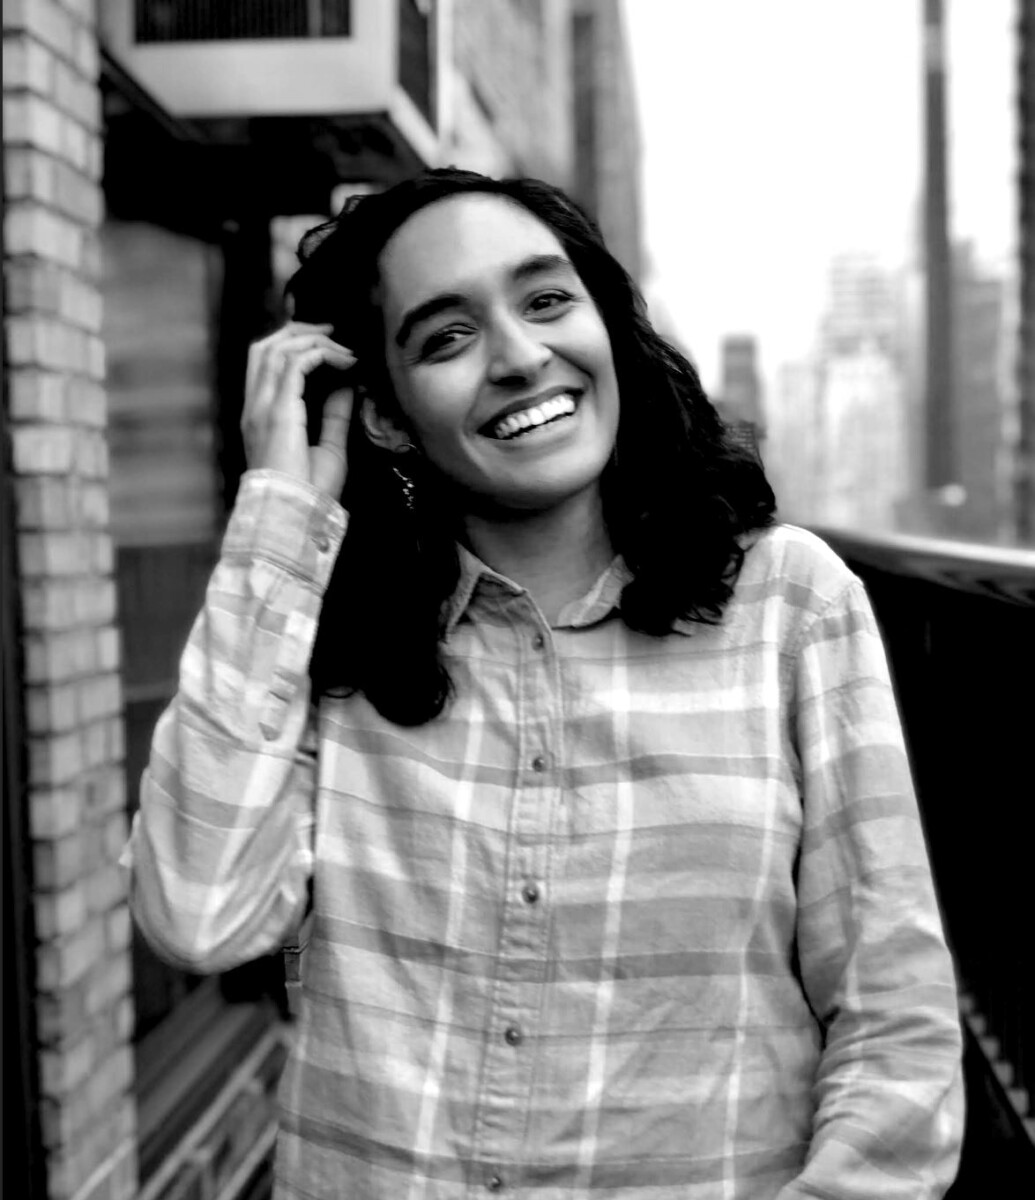
- Duplicate the Background Layer. Under Layer > New Adjustment Layer > Select Hue/Saturation. Turn the Saturation all the way to the left, to -100.

3. Selecting the original image and the Hue/Saturation layer, Command/Crtl + J to duplicate them. Then Command/Ctrl + E to merge the layers.
4. Under Layer > New Adjustment Layer > Select Levels. Yours will vary depending on the image. Move the arrows to push the contrast on your image.

Before and After adjusting the Levels.
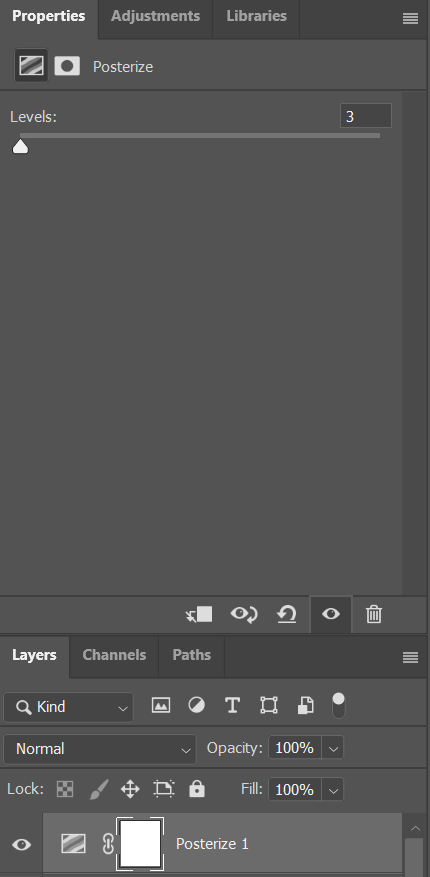
5. Under Layer > New Adjustment Layer > Select Posterize. Choose a range between 4-7 levels.
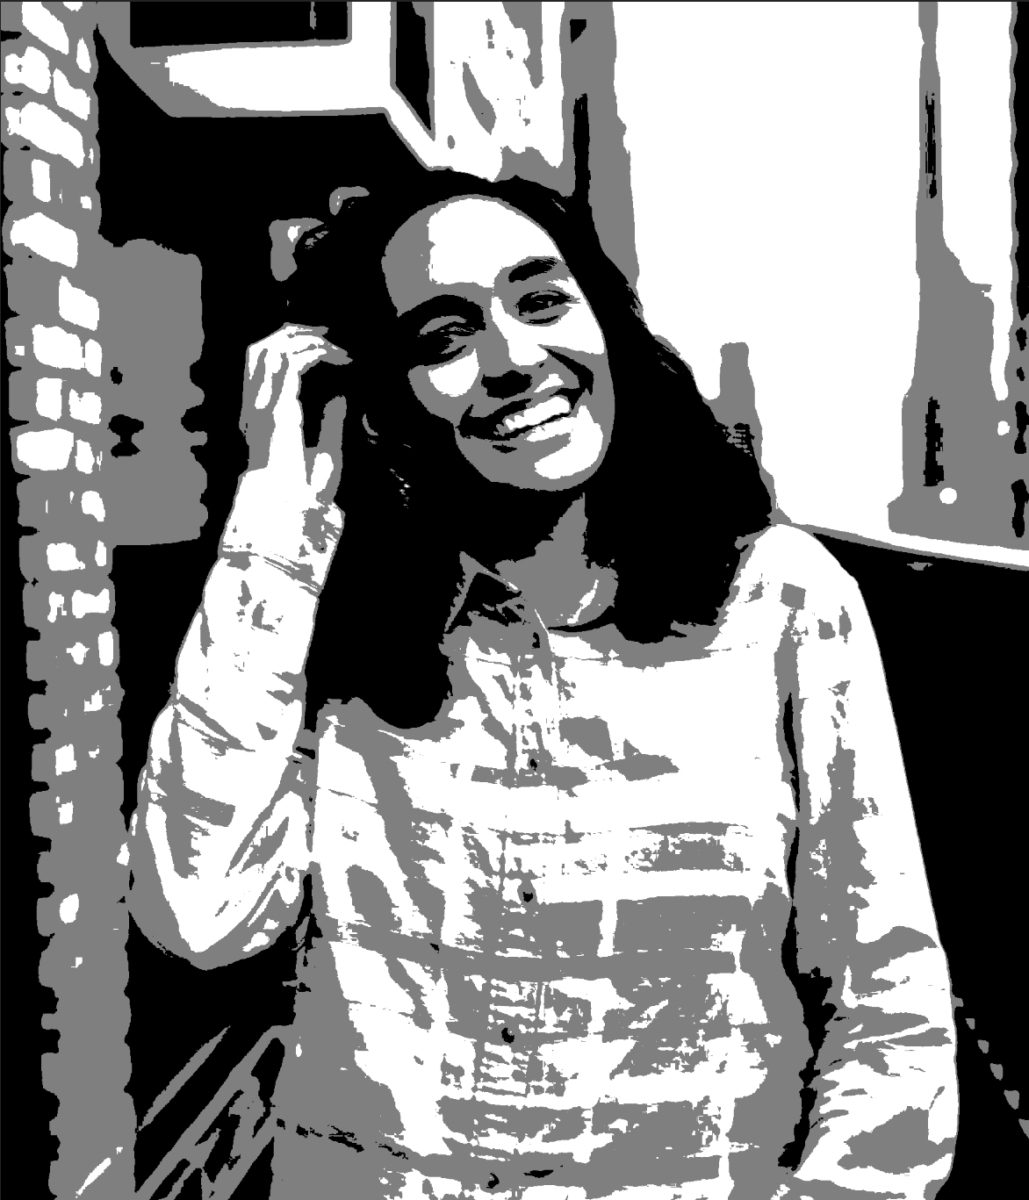
Posterized Image
6. Save your file as yourname-selfportrait-posterize.jpg. Print your portrait to tabloid paper at Staples or Kinkos/FedEx or any print shop.
7. Make sure that “Scale to Fit Media” is NOT checked when printing.