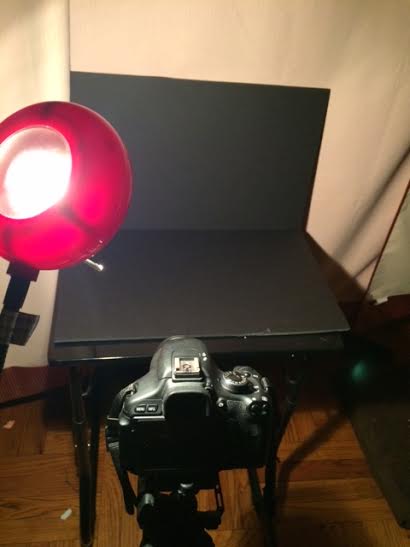
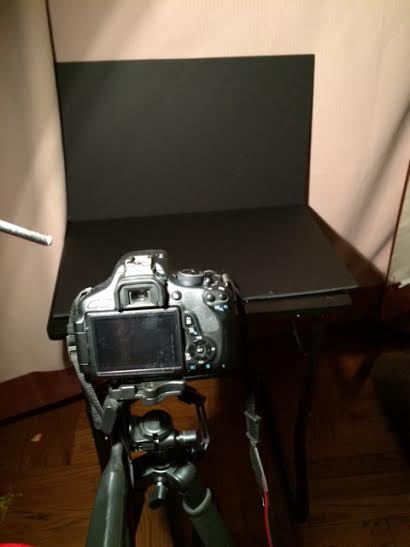
When I began to set up my at home studio, I thought it would be a breeze because I had some materials like lights that I bought a year or two ago. Unfortunately I was unable to find the lights and realized they were packed away in a storage unit far away. So I had to make due with what I had, a solid table lamp that is very flexible which allows me to change the direction of the lighting easily. For my set up I bought some black foam core board and used my laptop table. I cut the board into reasonable sizes and glued them together so that it would stand up. Next I made sure I had a solid off white curtain in the background in case I want to change backdrops for any of my upcoming projects. I then dug up my brand new Tripod I bought a few months back and set up my camera. What I found most difficult about the process was adjusting the table and making sure the board would stay up, hence the crazy glue. Also, since the location I was shooting in is relatively dark, My ISO had to be adjusted higher than I would have liked. Overall, I think I was Successful in recreating a reasonable at home studio at low cost.


If you have a tripod and can use a long exposure, you don’t really need to raise your ISO beyond 400.