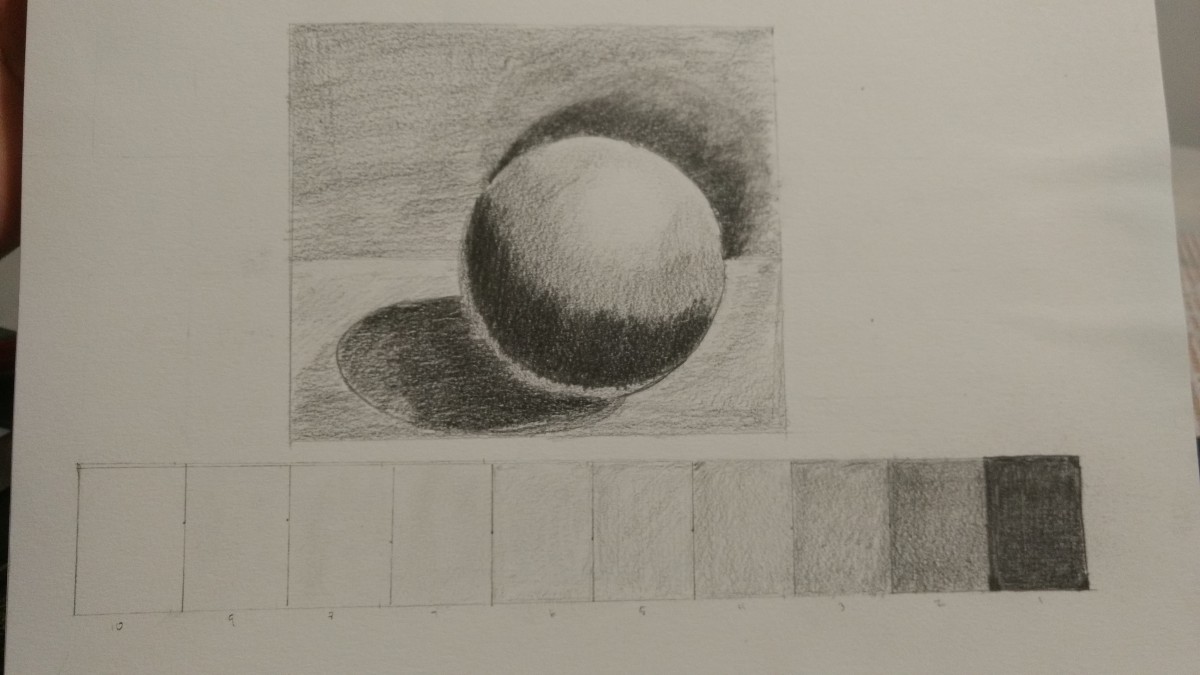
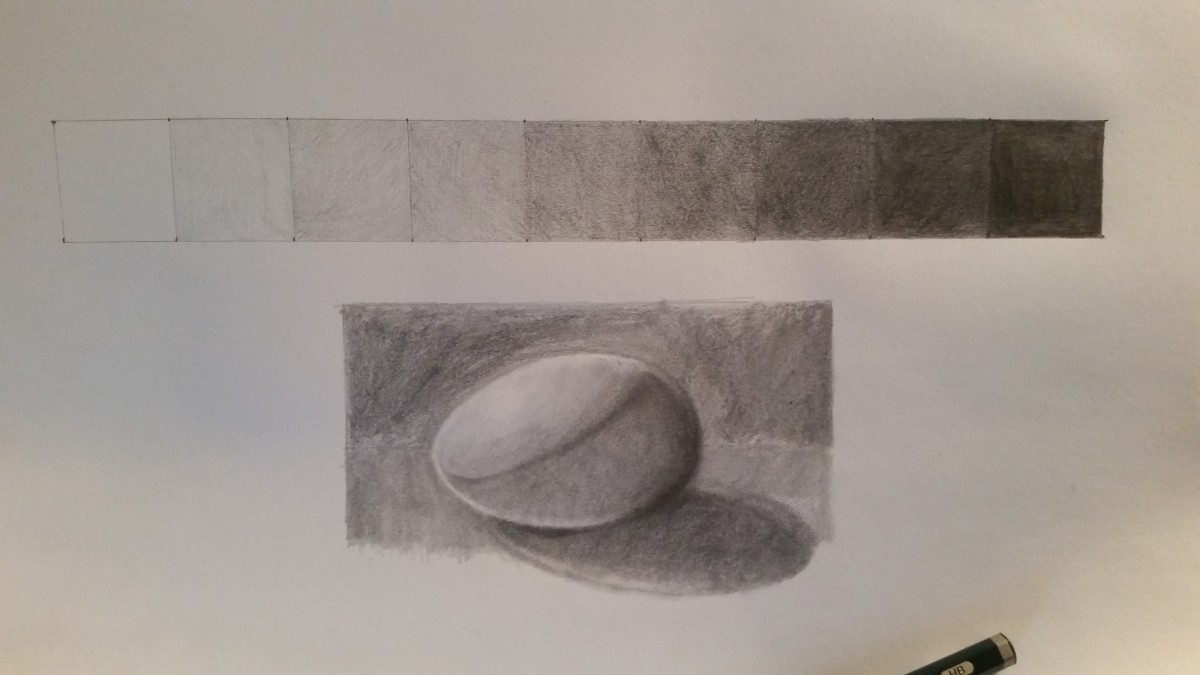
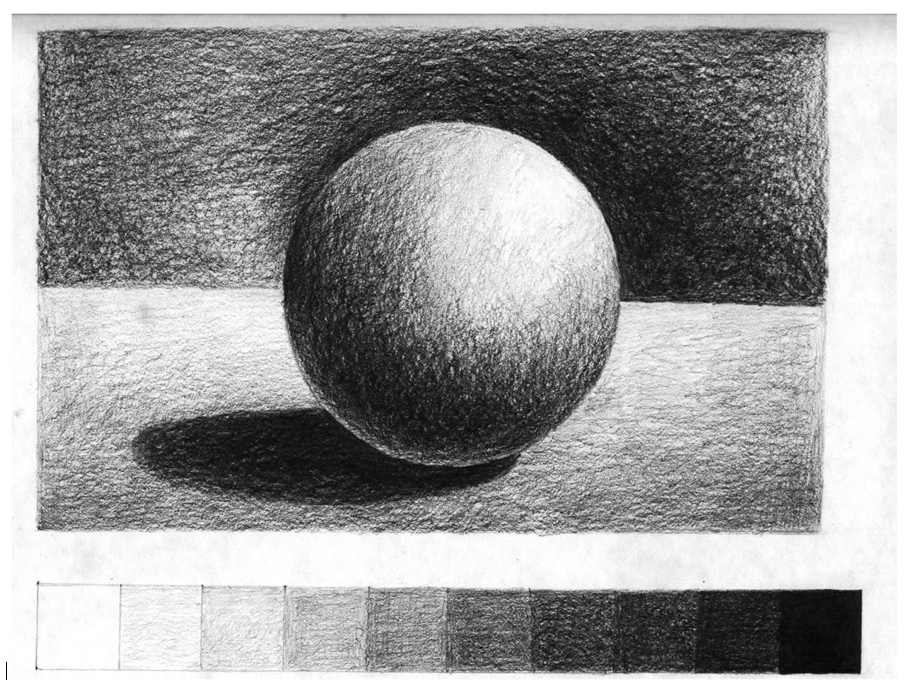
Exercise 1: value scale with ball
Reply

Still needs more shading.
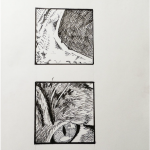
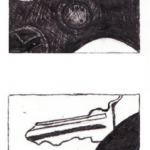
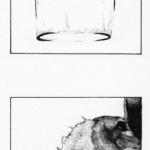
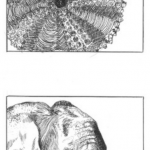
Exercise 2: Ink Objects
(Part 1 – Pencil)
(Part 2 – ink)
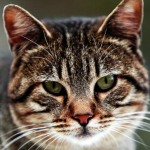
For your second exercise, you’ll have to find photo references for two objects. Choose objects that are very different from one another. They do not need to relate, thematically.
Looking at your references, ink the surfaces and details as realistically as you can with various pens. You must have a minimum of five different textures total for the two objects. Rendering different textures is a good way to explore different ways of inking and becoming familiar with your pens.
PART 1
PART 2


First: In your sketchbook do a drawing with a Value Scale of a sphere.
Create a simple value scale such as the one at the bottom of the study below. Find a cube and a sphere to light and draw. Do a value study from observation. Set up a simple form and a light source. Try to “turn the form” or create volume by using the values in the scale you created.
NEXT:
USING your Value Scale as reference. Create 3 different Value Studies of Assignment 1.
If you are UNPREPARED FOR CLASS and clan’t shade your OWN WORK… here is a value shading Exercise to get you started.
POST to OPENLAB When Complete
The OpenLab is an open-source, digital platform designed to support teaching and learning at City Tech (New York City College of Technology), and to promote student and faculty engagement in the intellectual and social life of the college community.

