Fall 2017 | COMD1100_LC08 | Prof. Spevack

Tag: Urban Artifacts (Page 1 of 4)

Midterm Post

So far this semester I’ve learned a lot and accomplished way more than I thought I would and if I’m going to be completely honestly I’m extremely proud of myself. From project #1 to project #3 I’ve had so much fun learning new things and really pushing myself to do the best I can. The strange thing is that these projects actually changed the way I view things for example I was talking with my friends one day and we were Times Square and we saw this really cool billboard and without thinking I started talking about how it was a good use of figure ground relationship and they stared at me with a blank look on they’re faces and it was so funny to me because not to long ago that would’ve been me giving the blank stare. Overall I’m extremely pleased with what we’ve been doing so far and I can’t wait to learn more.

https://openlab.citytech.cuny.edu/spevackcomd1100fa2017/2017/09/14/urban-artifacts-phase-3/

https://openlab.citytech.cuny.edu/spevackcomd1100fa2017/2017/10/18/sound-visualization-phase-3/

https://openlab.citytech.cuny.edu/spevackcomd1100fa2017/2017/11/13/value-added-portraits-phase-3-5/

Midterm Post

I have to sum up everything I learned from the three projects we’ve completed.

I’m always late, that’s what I’ve learned, but also…


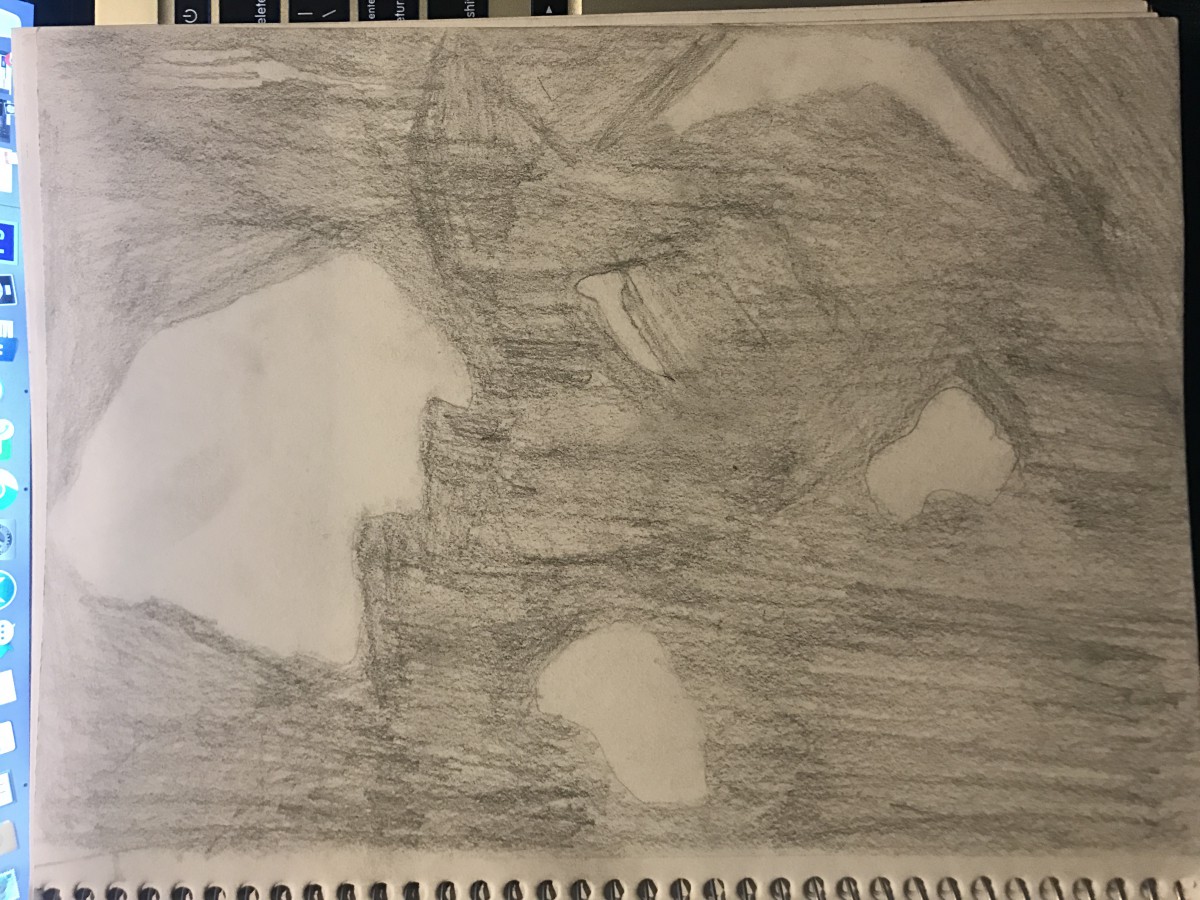
I liked Urban Artifacts

This is where we first started doing work. I had fun with this one. This is where I throw in vocab words so it looks like I’m following instructions; 4-step design process taught us how to be organized and present our work in a professional manner, figure/ground relationship is basically subject and anything supporting it, and thumbnails is just a professional way of saying doodles.


Sound Visualizations was so wavy!!!

I want to do more work like this! The Adobe suite programs honestly intimidate me, but when we started doing this project (!!!) I had so much fun; I wish I could’ve made a whole video for the Runaway song I used.

This project, if you strip the vocab terms and details, was basically listening to music, drawing shapes, and making them move. I COULD DO THAT ALL DAY!!!

More vocab. I picture Staccato and Legato as two people; staccato is short and runs as fast as they can, and legato has long legs and takes their time to take a step. Boom! Explained (drops mic)


(picks mic back up)

Grey is STILL grey in Value-Added Portraits

I really JUST explained it in the previous post. I wanted to come back as a dog in the next life. I changes my mind because of this project. Cool project IDEA, but grey is still just grey to me. It’s very neutral. Apparently, professional artists have provided even MORE vocab to explain grey.

First, I wanna call out the guy who made ‘WHITE’ the ‘KEY’ in black/grey art; is he LOWKEY racist (pun completely intended)?

I kinda like this set of vocab, it sounds artsy. Lowkey and Highkey are the differences between the amount of light in a grayscale piece. We learned spectrum and I got so excited, but then Professor Spevack showed us greyscale and I died a little inside. A broad spectrum is where everything in the whole spectrum is included, and narrow is where only a few shades are included. Monochromatic is the use of a single shade of either black, white, and/or grey, whereas chromatic is the use of multiple shades of B, W, and/or G.


I learned I’m bad at keeping a steady hand when painting.

I feel like we were working in the dark ages with all of these colourless projects! I did learn a lot from these projects; photography, drawing with microns, listening intently to music, seeing figures, doodling as homework, photoshop’s features, and grey.

I’m excited for colour.

Midterm Post

Urban Artifacts: Phase 4

Sound Visualizations: Phase 4

Value-Added Phase 4


All three projects were all very different.  I first learned about the design process and the four phases that consist of the process (discover, define, develop, and deliver). The urban artifacts project I learned the elements of figure (positive space) and ground (negative space).  practicing with thumbnails I cropped and re-positioned my compositions. Creating organic and geometric shapes of ambiguous and obvious figure/ground inked compositions. The sound visualization project we started with sounds creating lines of monotony and variety.  Learning the elements with sound and lines I was introduced to two forms of music, Legato and Staccato. With these forms of music  I created three different patterns. Then a  mashup composition of repetitive lines, framed and scaled, creating rhythm with lines. I then finished with an animated the composition, using Photoshop and two songs. Changing shape,  position, motion and opacity of each pattern. The value-added project I used a photo of myself to create four collages.  With the elements of value I created two predominately high key narrow range, and two predominately low key broad range collages. Using shadow, contrast, highlight, emphasis and a focal point I was able to form a sense of a mood with black an white at different scales. Cutting  and tapping my portrait into rectangles and squares in each collage I formed a compositional flow to the focal point. I also had to use my taped collages as a guide, to create a narrow range high key digital collage on Photoshop, and gouache paints that I had to mix to create the closest hues to make a painting of my broad range low key collage. I didn’t know what to expect as a finishing result with any of the projects. After the delivery of the first project I realized that there is design in everything around us. Whether its with a figure/ground element, sound, or value. And in some way its all related to one another, all making more sense to me as I learn. Each project is a challenge because I go in never really know what I’m doing but create design work that now I am enjoying and giving me a broader insight on how the design process works. Its okay to make mistakes or not understand. The repetitiveness of a design creates great work and a better understanding of what your doing, why your doing it and the process of doing it.

Urban Artifact: Phase 4

Our first project “Urban Artifact” consisted of many design principles. We learned to play around with space, ultimately understanding the basics of ambiguous vs obvious figures. We learned about different shapes and how organic or geometric figures can change the entire landscape and emotion of a project. Personally I thoroughly enjoyed project one because the base of it began with our own experience and connection with the initial pictures we took right outside of class.  We steadily became familiar with the ground work of graphic design and mapped out the steps to creating a cohesive project.

Phase 1

Phase 2:

Phase 3:

Urban Artifacts Phase 1


The history of each photograph is intriguing as there are limitless possibilities on how each snapshot came to be. My favorite of the bunch is the picture of the cigarettes butts with random trash around it. Its clear that the spot these cigarettes were snapped are popular among City Tech students as it was on the pavement on campus property. The image captures both organic shapes like the cigarettes and organic shapes like the crumpled paper towel.

The ambiguous photos capture a lot of the “nature” and organic ground that make up the city sidewalks. You can’t pinpoint exactly what is in the small patches of rock and dirt but there’s a ton of garbage, sticks, leaves and random organic shapes. Im particularly fond of the ambiguous style in the sense that you can manipulate the imagery with the right imagination to see something different every time. 

Phase 1, Discover. Urban Artifacts.

This flame image of a postal sticker with a design on it caught my eye not only because of it’s color but the placement. It’s bright colors stand out clearly on this black ground area producing a very stable figure and focused point of view being that the main image we see is directly towards the red flaming postal sticker. It’s smooth lines create a very organic shape. I believe the artist of this piece believed the placement to be very pleasing and clearly put their work on the spotlight, maybe they wanted everyone to see the work they produced and felt the ground for this was perfect since other colors might distract from the piece at hand and I definitely agree.

The flower image not only is natures art but has it’s own distinct lines and organic figure that has no replication. The stable image in the flower would have to be the peak of green that the eye undoubtedly is drawn to. I believe each flower has a stable figure and creates it’s own beauty in itself. Thats exactly what this little one did when it sprouted and created art. The stable green against the ground of red makes for a very intriguing color coordination especially since the green also can be made out to look like a sort of insect with the shading underneath it.

Plank of wood with a dark wooden spot, the spot being a very stable figure in a ground of lighter wood surrounding it. Other wooden brown lines connect to the darker circle, was it man made? Was it grown and cut but born with that design? Many questions come up but still that dark brown circle stands out the most while it’s textural design speaks very subtle. The balance between the two make for a very outspoken picture with many meanings and points of views to whoever can describe the work of nature. I see the lines and shapes as very organic with the dark circle almost being a geometric perfect circle! The wood was definitely man made, maybe by construction workers who are still questioning what to do with the plank. but even with the man made cut the design of the tree never leaves.

Paint splatter on wall, very organic shapes with no geometric shapes in them whatsoever. It is very ambiguous with no focal point to draw into. The ground is a mixture of dark and light shades. Very minor stable relationship in the corner of the image.This scene was possibly made with a bucket of paint being tossed on the wall and as the wall collects the different splats of paint create, it creates this design seen on this image. I believe it dried up very quickly because theres no drawn down lines of paint dripping downward making for a very interesting and unique type of splat.

The ground full of cement rocks makes for a very ambiguous image. No main focus point but a lot of sharp lines and rocky, strong kind of feel coming from the image. Sturdy, rigid, elite is what I get when I see this image. Organic shapes indeed. The ground is all rocky but probably man made street cement crushed into bits and pieces of it’s former mold. I believe that workers made a piece of sidewalk using cement then decided they would need a different variation of said sidewalk and started the recreation process by destroying to build a new. That is when all the crumbles of rocks/cement gets together to form this image.

This warning sign left alone on the sidewalk has a very ambiguous feel to it. No main focus but a lot of geometric shapes in this figure. Darker and lighter rhombuses with smaller squares embedded on the inside. I believe that in this image because of the ambiguity, the geometric shapes are more prominent and tightened to be the main view of the image. Presumably it might have gotten there because a group of kids thought it’d be fun to hold the sign and toss it around then got bored and left it there on its own. It was a singular sign not around anything that particularly needed a sign so i’m assuming it was moved from its line of work for fun then left on its own.


Hours worked: 4+

Urban Artifacts: Phase 4

From this project, I’ve refined my skill to pay attention to little details and see things in a different manner using new vocabulary. My experience working on this project has shown  me the work standard in the creative field; meeting deadlines, showing progress and the steps taken to present the progress, and patience. From the beginning process in phases 1 & 2, the idea of brainstorming and doodling/sketching is heavily enforced; one must plan a rough draft before proceeding to the next phase of the project. In the developing phase—phase 3—the work is finally created, and presented, in a clean and organized manner, which we learned how to do with every little detail of the process; I would consider the develop phase as the presentation phase, as well.

From my experience working on this project, I’ve learned the differences between ambiguous and stable figure/ground relationships in everything we see. In my project, I feel like I could’ve been more patient with the inking process and utilize a protective garment to prevent my canvas from collecting finger smudges from leaning my hand on the wet ink. Another part of the project I would’ve improved on is keeping up with deadlines.

Links: PHASE 1 – Discover, PHASE 2 – Define, PHASE 3 – Develop

Urban Artifacts: Phase 4

During this project I learned to see the world with a different  perspective and notice things I would sometimes never notice. I learned that the world is full of obvious and ambiguous figure/ ground relationships and that it is very fun to try and figure out what they are and where. Taking the project phase by phase and getting critiques through each phase as well as giving them out really helps the artist improve their work.

There where times in this project I had a difficult time and that was relating my pictures to each other. Although once I got the hang of it I was able to create my work without  worries of how they related to each other. I learned that by modifying a figure you can change the mood it gives out. For example a geometric figure would give out more of a sharp and striking feeling while an organic figure would give out a more bubbly relaxed type of feeling to its viewer even if it where the same figure.

In my next project I believe I could improve my work by broadening my imagination and not think to realistic, but see meaning in things outside my perspective by trying out many different things and using a different perspective to look at things around me.

Phase 1: Discover

Phase 2: Define

Phase 3: Develop


« Older posts