This is a great place to start once you have downloaded the Bitnami stack. With that in place, all the resources are in place to go through this tutorial.
1. Guide Assumptions: Provides some basic resources for Ruby, and what other components are required to run the Rails environment (these are all taken care of with the Bitnami RubyStack).
2. describes Rails and the Rails philosophy, defines the MVC design pattern architecture upon which the Rails philosophy is based, and lists the components of Rails.
3. Creating a New Rails Project: Installation (RubyStack has taken care of this), quick tests to make sure installation is in place. This then goes through the process of building a Blog application, which includes configuring a database.
4. Hello Rails! Starting up the Web Server and setting the application home page.
5. Scaffolding: Scaffolding allows rails to generate major pieces of an application with very few commands.
6. Creating Resource: Using the rails <generate> command to create all the MVC components required for the Post object. Migration generates the required tables in your database. Linking to a page. Investigating the files created by the generate command. Editing these files to add validation to input. Using the Console to execute Ruby commands within the application context. Listing. Customizing Layout (changing background color, but that counts!). Creating new posts. Showing a single post. Editing Posts. Destroying Posts. Note that all these actions were created with only a single generate scaffolding command in rails!
7. Adding a Second Model: This adds the Comment Class, and this time, instead of using Scaffolding, each MVC component is generated individually, and the files required also either created or edited. This requires a bit more typing and careful grammar checking, but is useful to see what is required in order to get get the different components communicating. This is where I started to get (only a bit of) a glimmer of the Rails Framework structure.
8. Refactoring: Making partials to clean up the code. Partials are code snippets that can be used again and again and are similar to PHP include structures. Partials can be used in collections, forms, and probably other stuff that this tutorial does not go into.
9. Deleting: Some cleanup and thought is always required when dealing with memory management issues. Whereas the deletion action is easily generated, the programmer needs to be aware of the dependencies and think through the implications of any deletion.
10. Security: A really simple authentication protocol that can be used to protect certain actions from being done by anyone. Looks at the syntax as well as Ruby logical operations (:only, :except)
11. Multi-Model Form: Adding Tags to the blog structure.
12. View Helpers: small snippets of reusable code for views. This creates a module within the posts_helper.rb file that allows a bunch of tags to be strung together in a comma separated string.
13. What’s Next? Moving on to guides and tutorials.
14 Configuration gotchas: Watch out for non-UTF-8 datastructures in your database and text editor.
By the end of this tutorial, I had a bare bones blog up and running with individual posts, comments for posts, tags for each post, and the ability to edit or remove Posts or parts thereof. I still have quite a ways to go in order to gain a strong understanding of how each component is actually connected, but I do have a better idea of what Rails is, how it works, and the potential that it provides. Yay!
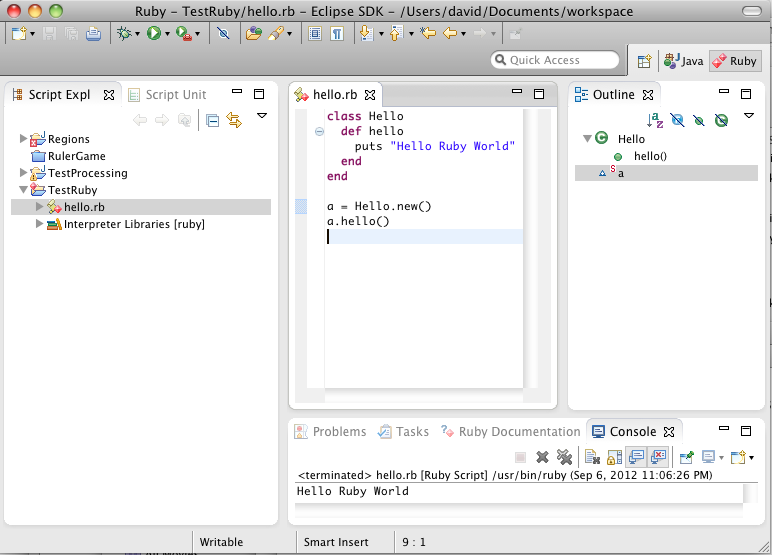
 After my less than wonderful experience with the Eclipse Ruby implementation (and don’t get me wrong, I LOVE Eclipse for Java development, and also learned a lot about how to configure it for other types of languages in this process), I did some research, and it appears that one of the most used IDE environments for RUby is TextMate. TextMate is not free, though there is a 30 day free trial period. It appears to be quite fully featured, and so I will be experimenting with it to see if it lives up to its promise.


