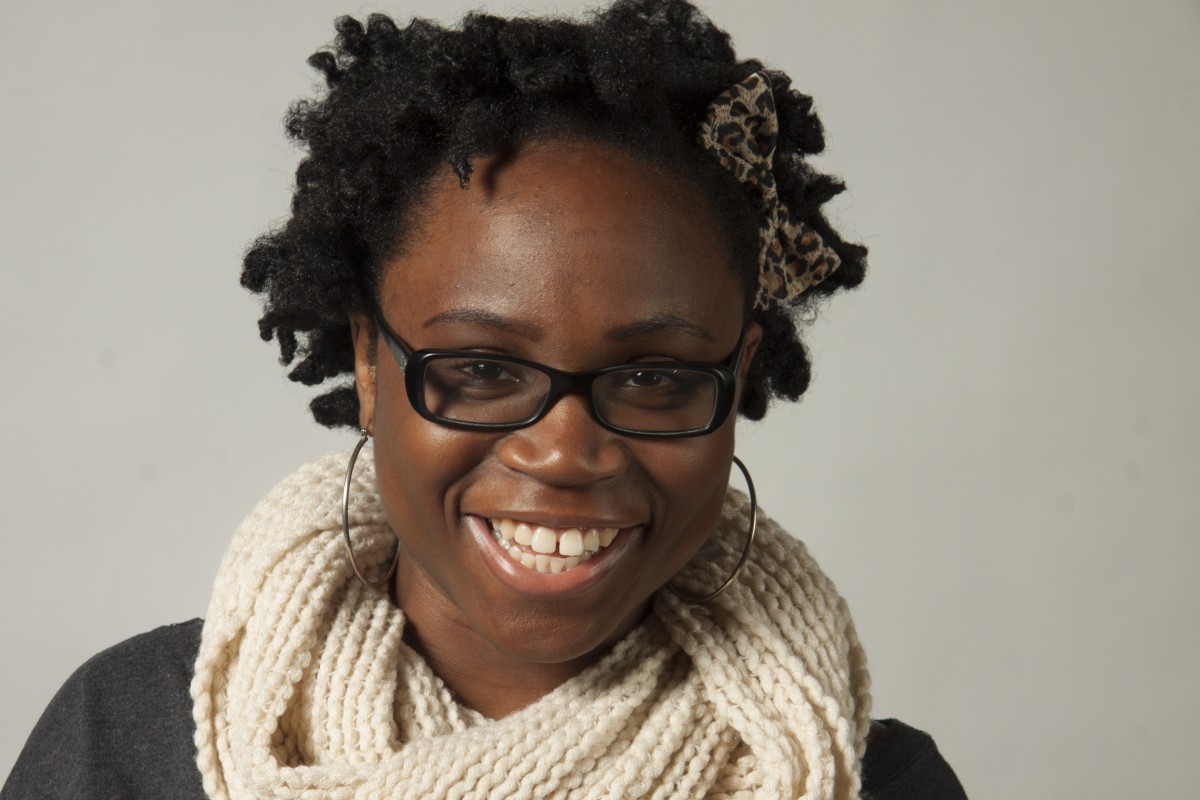

I choose these two because i feel that it captures the mood and emotion of my subject. The lighting wasn’t harsh but soft and diffused light. The expressions were wonderful and everything was in focus.
I choose these two because i feel that it captures the mood and emotion of my subject. The lighting wasn’t harsh but soft and diffused light. The expressions were wonderful and everything was in focus.
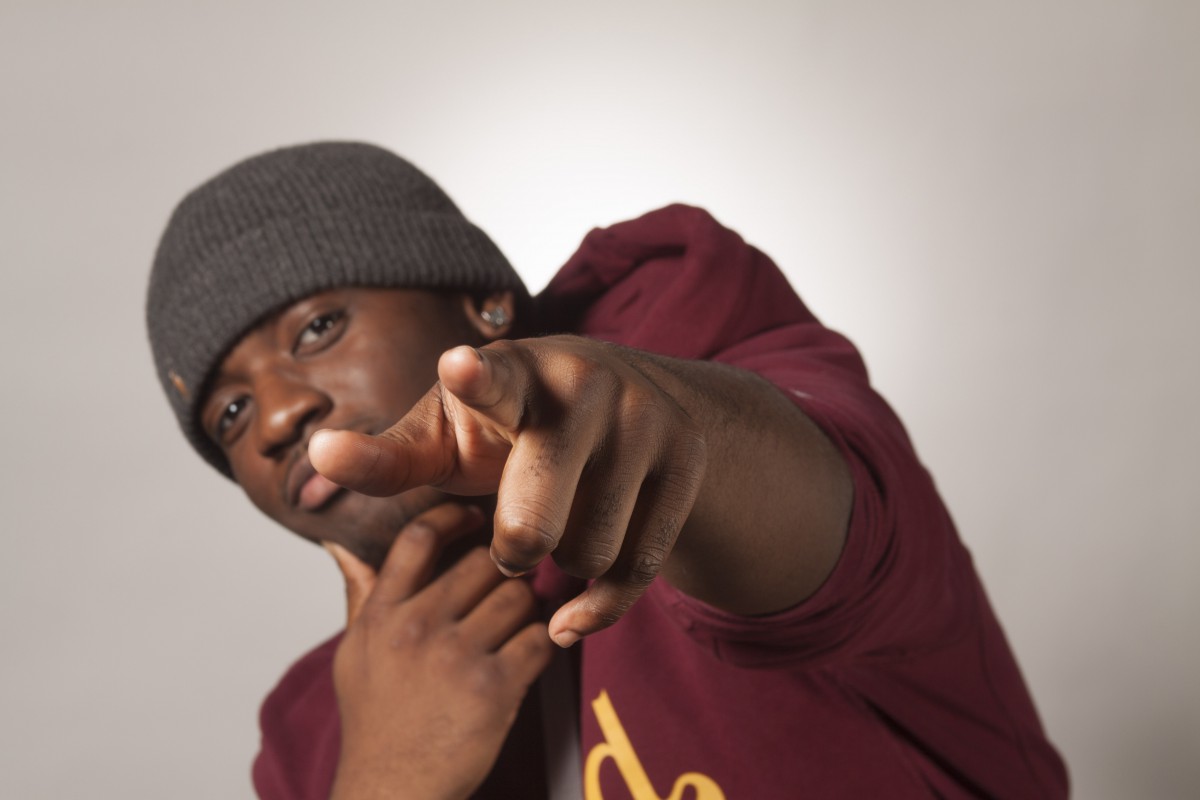
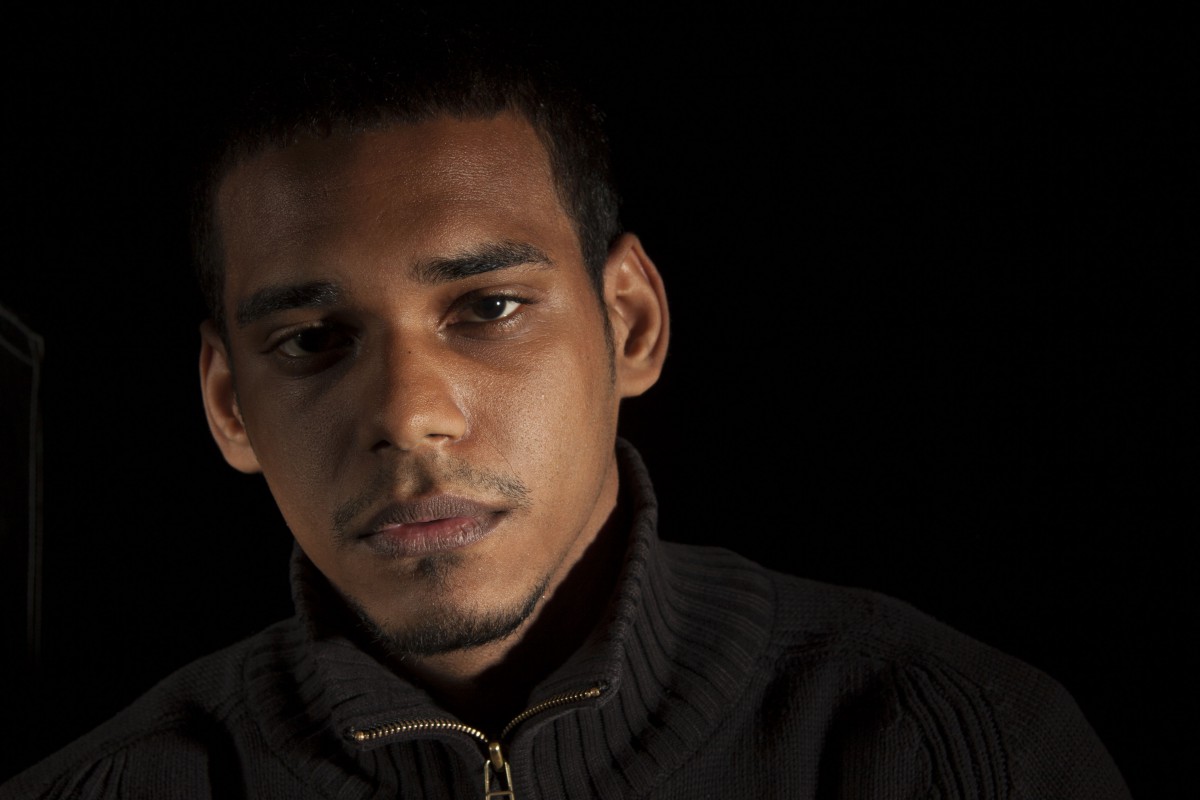
These two were my best and favorite photos I to0k in class today. The photo with black background was a success because it added to the drama and mood for that station. I Liked how one half of the face was dark while the other was in light which gave the effect that he was apart of the black background. The other photo was also my favorite simply because of the action and angle of the subject. I felt that it made the photo energetic.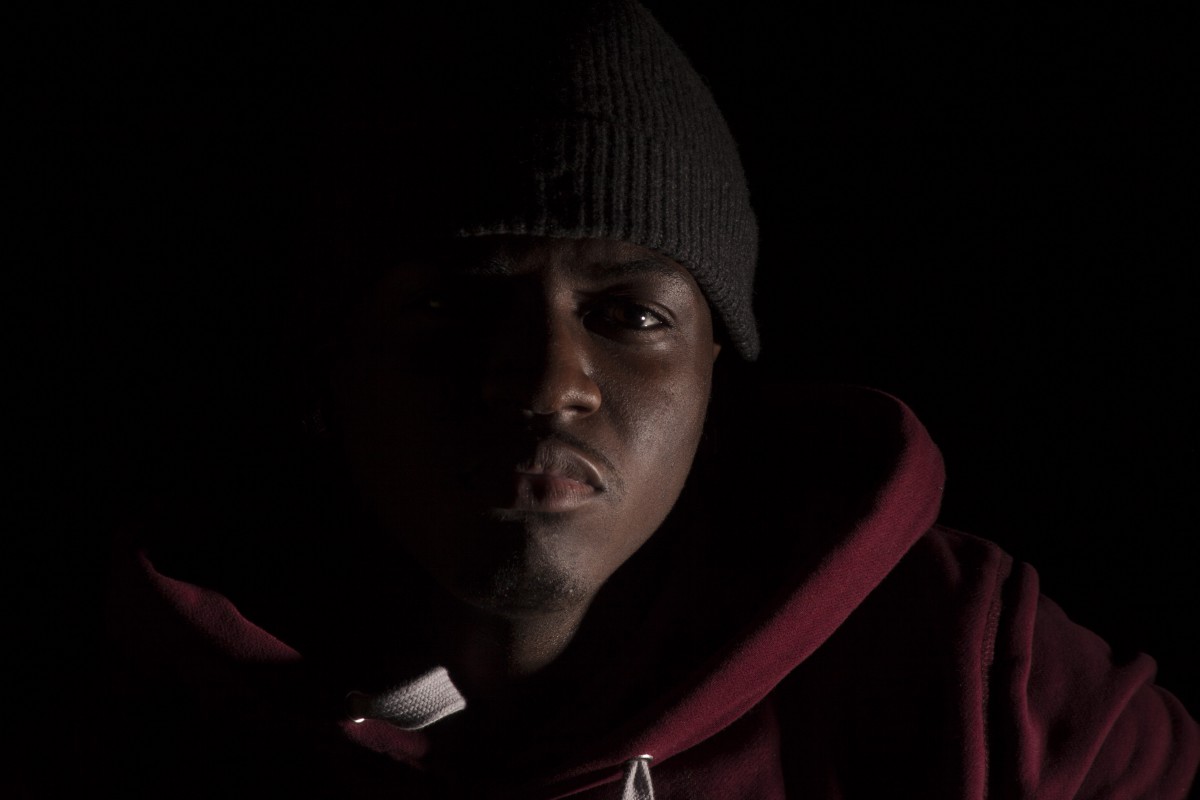

In my opinion, These were my best two pictures i took. two totally different moods by the same subject. The first picture to the left is successful because the portrait is tight, i didn’t get a lot of negative space in the photo causing you to focus on the subject. the lighting is good to and its a little backlit.He looks comfortable and happy rather than the other photo with a more dramatic mood. The photo on the right has a complete different mood more dramatic n it almost tells a story. i used a little rule of third and also its asymetrical.
During Our in-class portrait shoot we learned the different aspects of lighting. We did a fill light, broad light, and background light. With the fill light we added light to the shadow that was on side of the subjects face using a round reflector. This controlled the brightness of that shadow. The broad light was simple because we just placed a light source on side of the subjects face of a visible ear. This adds light to the subjects hair. Background light is also simple where we just added light to the background which separates the subject from the background and adds depth to the photograph.
In class we were shooting portraits using three point lighting. Three point lighting is when you use a Key light, which a light pointing on the model at a 45 degree angle, a Background light which is a light that’s behind the model facing towards the back drop, and then there is a fill light which is created using a reflector pointed towards the model which lightens shadows on the face.
Today in class we used three different types of lighting to create different effects in our photos. The first we used was a key light. This light is one cast onto an umbrella at a 45 degree angle, and the light reflects back onto the subject. It casts on one side of the models face and on the side of the nose opposite the direction of the light, it creates a triangle of light on the cheek. The next type of light used was a fill light. This is a large reflector called a fill, held up to the subject that reflects some of the key light onto the unlit side of the face/head, removing some of the cast shadows. The last effect used was a back light, which was placed behind the subject and cast onto the background. This light creates space between the model and the background by producing a halo-like effect around the edges of the model.
in todays class we used three different types of light points. one was the umbrella light, another was the back light and the fill light. The umbrella light was our main source of lighting giving us exposure to most of half the face while giving us alittle of light on the other half with a triangular shape. The back light helped to expose the background in a specific spot. The fill light helped get rid of the shadows on the face. i prefer to use the fill light just to get a more cleaner look.
Three point lighting is when there are three sources of light; main light, reflector light and background light. Main light is the main source of light on the subject while the reflector light reflects the opposite side of the main source. The background light is shine at the background.
To set up 3 point portrait lighting you need 3 lights. A main light/Key light, Background light, and fill light. The main light is in front of the subject but at an angle where u see a triangle on the oppisite side of the face, to cause shadows. The background light is directly behind the subject bouncing off the background and the fill light is on the opposite side of the main light to limit shadows.
Three point lighting is light that hits the subject from three different angles. The main light is to define the features of the subject and give high contrast. The reflector adds light to the side of the subject to “Fill” in the missing light. The background light points away from the subject towards the backdrop is used to separate the subject form the background.
The OpenLab is an open-source, digital platform designed to support teaching and learning at City Tech (New York City College of Technology), and to promote student and faculty engagement in the intellectual and social life of the college community.

