Author Archives: Natasha Khemraj

A Rose is a Rose is a Rose

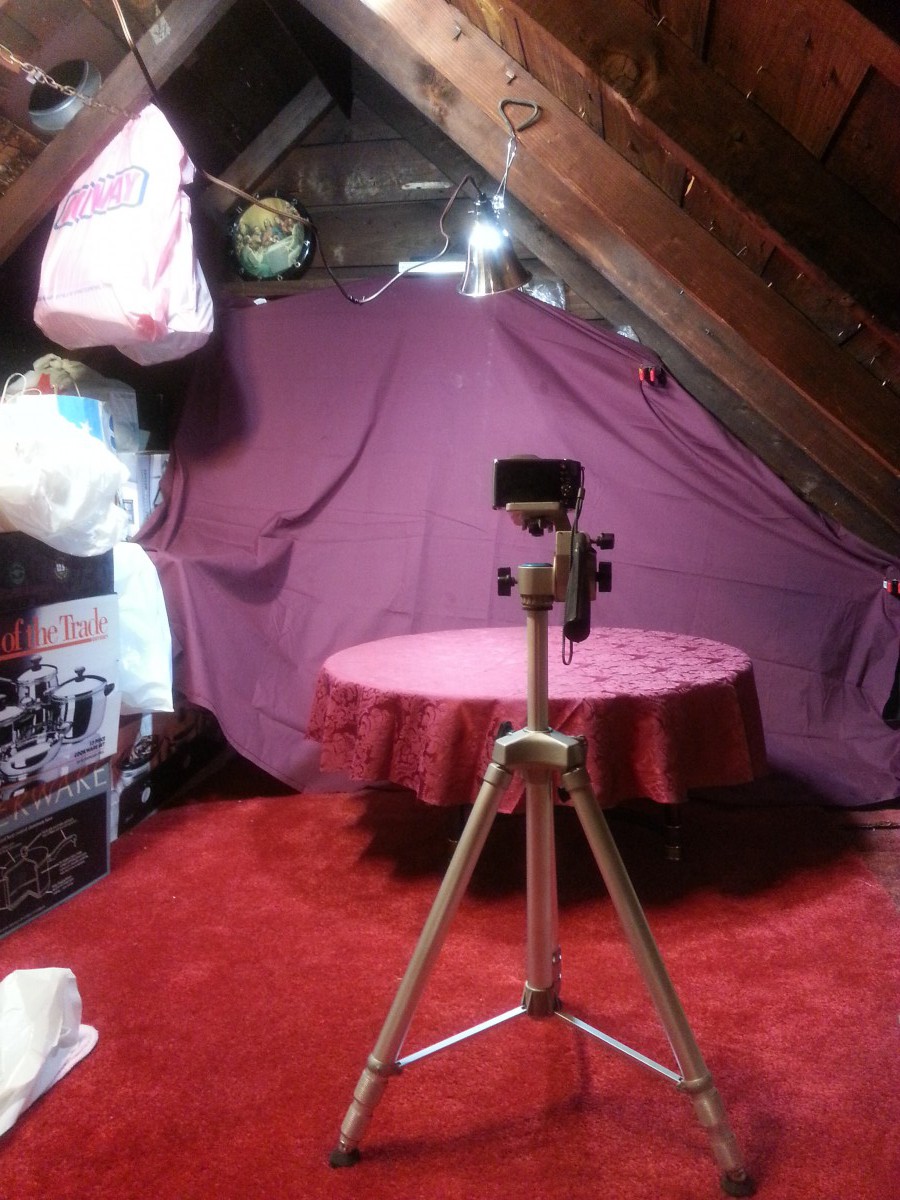
I imagined this assignment to be a lot like what we had done in class last week. for our Valentine Day Shoot. Except the big difference this time is that we had to use only a rose, and nothing else. I photographed the rose from various angles, like we had done in class. It was difficult for me to capture the rose at different moods. I wasn’t completely sure how to go about doing that other than with the lighting. I tried photographing after moving the lighting around to create dark areas on the rose. I thought this might give my pictures a more mysterious feeling. I chose to stick with my dark red pinkish background because I thought it would be most appropriate for the theme of this shoot.

A Shoe

For this assignment, I chose to photograph a new shoe that I haven’t worn yet. I chose a black leather Steve Madden boot with silver buckles. I felt as though this boot had a lot of potential. There’s a lot going on and I figured that at every angle I could manage to make my shots look very different; maybe even abstract. I moved my boot around three or four times-this way I could photograph my boot from different sides. It was a little difficult getting used to the camera but after the first few shots, my hand stopped trembling and my shots became clear and not no longer blurred. Also, some shots I took were unflattering at times; you couldn’t even tell that they were pictures of a boot. As I moved one of the clamp lights, which was directly above my subject, I noticed how much the focus of light changed on my boot. Although I moved the light just two or three times, I noticed what a difference it made on what areas were specifically lit up.

DIY Studio

20140202_182353Setting up my DIY studio was probably the most challenging homework assignment that I’ve ever had to do. I managed to get most of the items together this weekend. I’ve set up a corner on my attic. I used a round, glass table I found in the attic for placing my props on. Using the ring clamps I purchased from True Value, I hung a dark, solid sheet I’m using as the backdrop. I’ve my clamp lights (which I also purchased from True Value) hanging on the slanted wood beams of the attic top. I’ve set my camera up with a tripod I found in the attic. I think I’ll throw tracing paper over the clamp lights to use as my diffusion screen. The materials weren’t as big a challenge as arranging the space but luckily that worked out fine. I moved some boxes out of the way to move the table to the center of my DIY area. There were also a bunch of things on the table itself. I moved them all to the other side of the attic across from where I packed the boxes. After attaching my camera to the tripod, I practiced angling the tripod; this way I could get used to it for when I began shooting. I also haven’t used this camera in a while, especially since I got my new phone, which has a pretty good camera. The only other studio I’ve shot in is in school and I’m looking forward to shooting in my new DIY studio.