
I chose this location because so love sea food and and Maine is the main por of seafood supplies. Main is as beautiful as the food tastes delicious..
I chose this location because so love sea food and and Maine is the main por of seafood supplies. Main is as beautiful as the food tastes delicious..
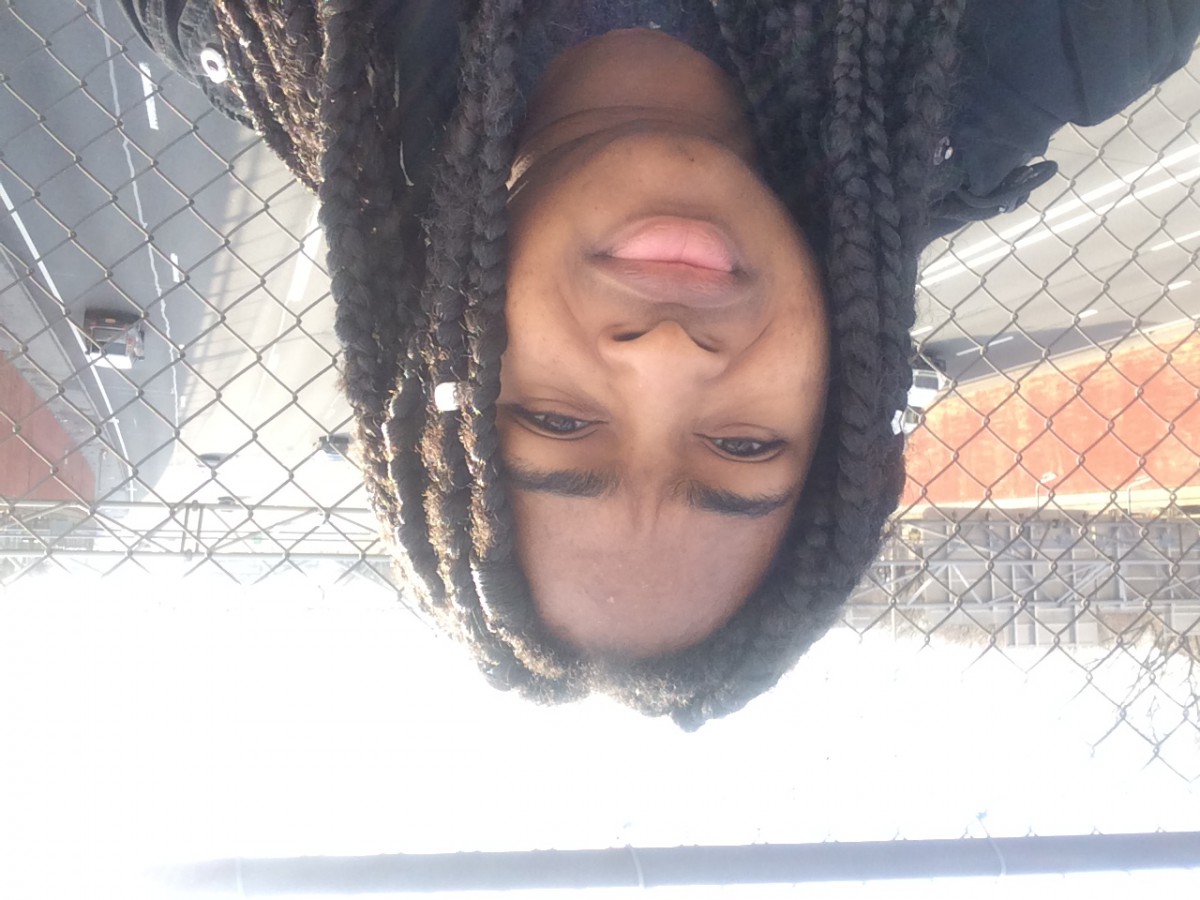 The place I choose was the bridge across a highway in the Bronx. I don’t know how to make it not upside down
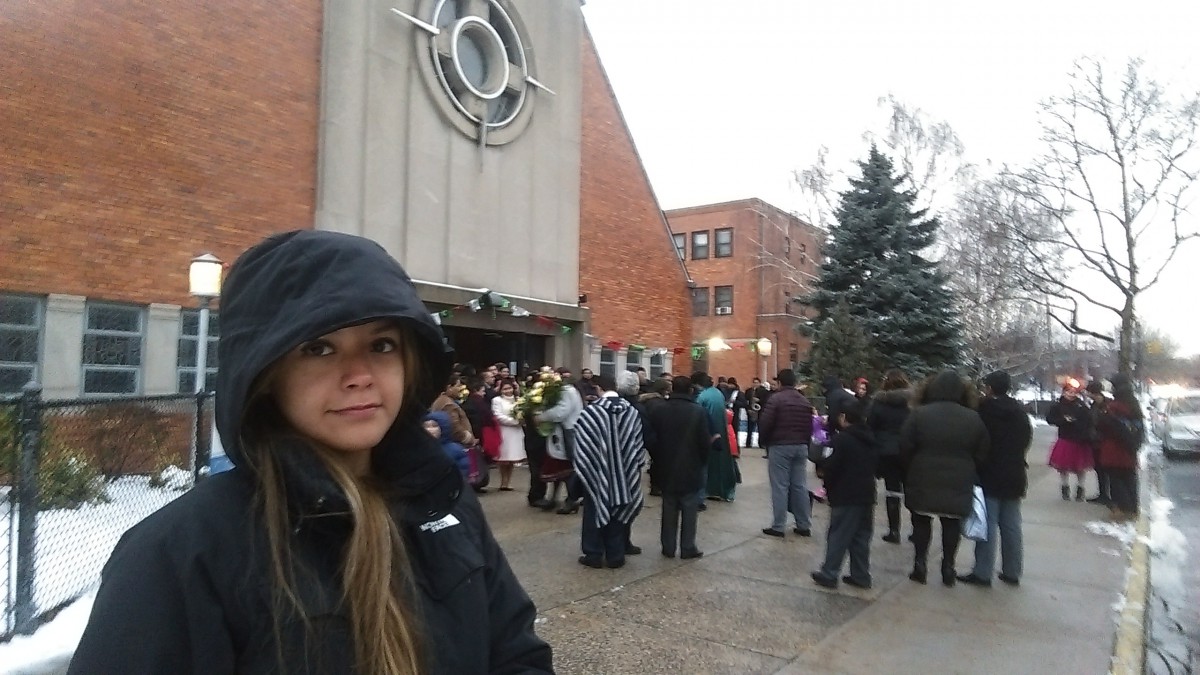
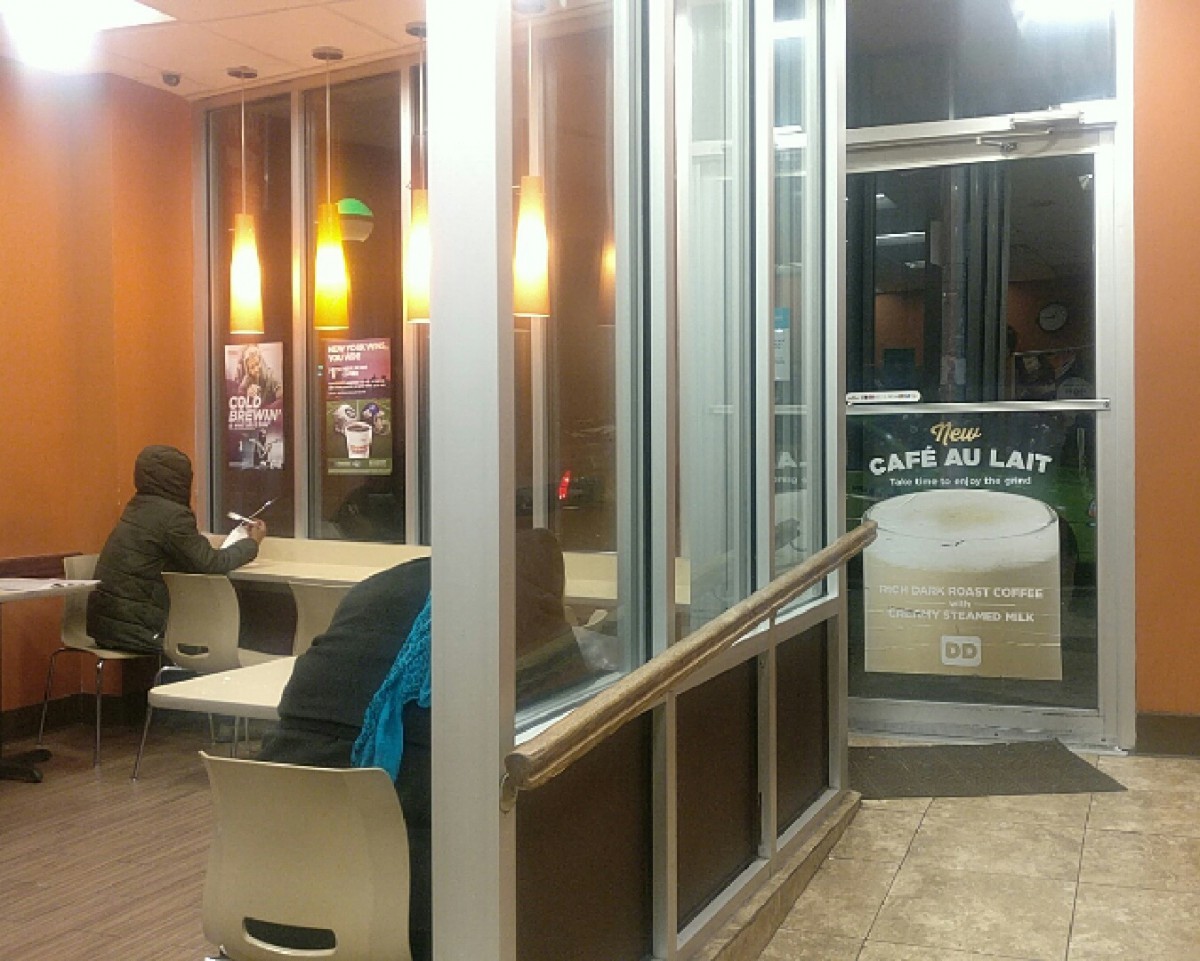
The place I decided to draw for our final take home assignment was my local church, Our Lady of Fatima in East Elmhurst. It was an ideal spot because it had a lot of interesting architectural structures. It was convenient for me also because it is a block away from my home and it was indoors, which was perfect because it was freezing cold that day. I forgot to take the picture that day so I went back on Saturday for the selfie.
Outside of the church
Interior of church (side where i based my drawing)
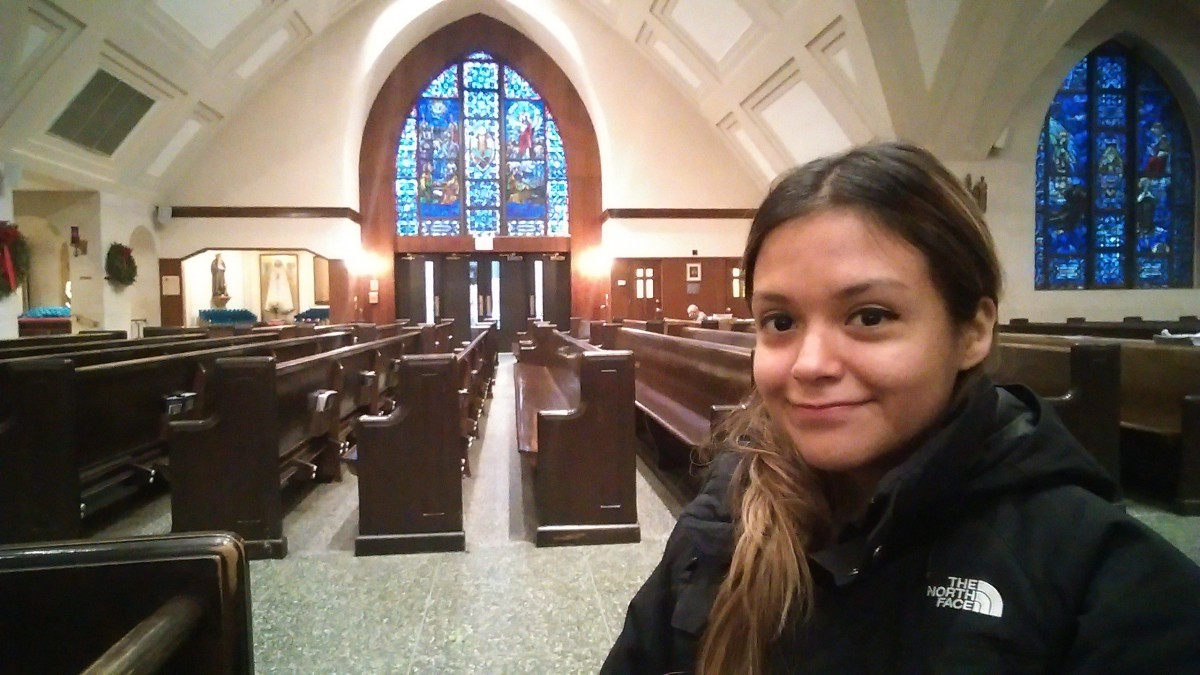
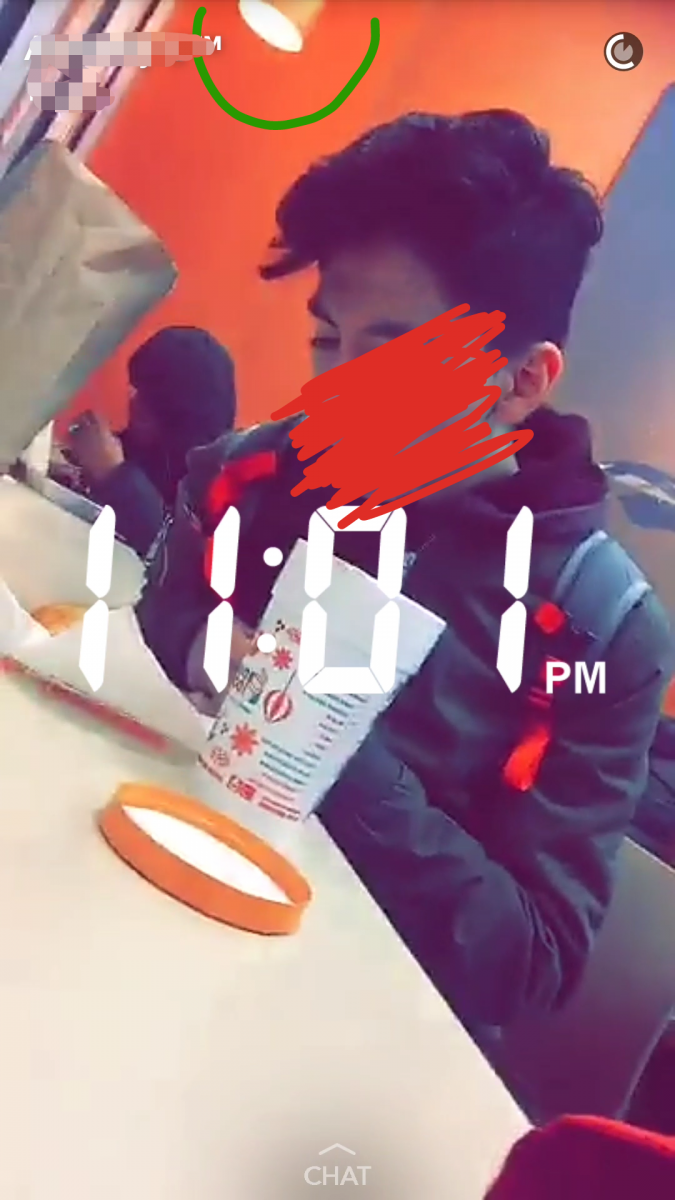
I forgot to take a picture of myself 🙁
But my friend recorded a video of me there and I attached that.
I chose this location because I wanted to challenge myself with the close glass wall, as well as challenge myself simulating glass windows in my drawing.
Below is your required reading of the week.
READ THESE 2 CHAPTERS ON VALUE BEFORE YOU DO YOUR HOME WORK!
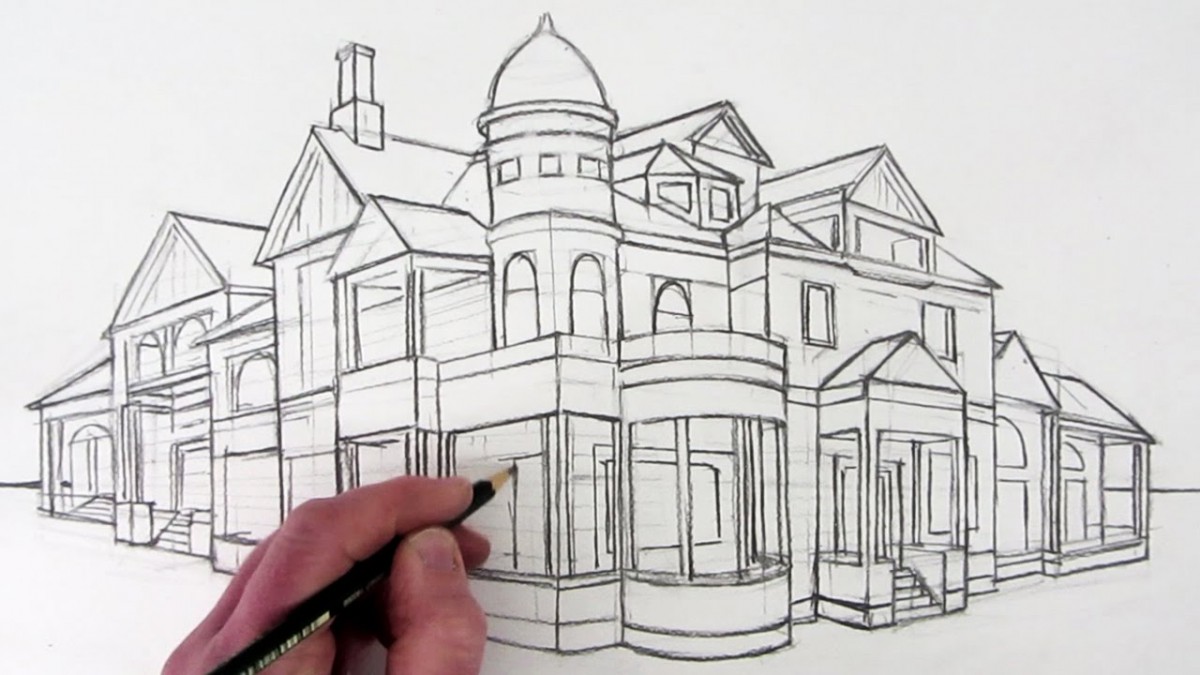
Hello Class! Welcome to the exciting world of TWO POINT PERSPECTIVE!
One Point Perspective or Parallel Perspective point perspective works well for situations like the one below, where the viewer is oriented directly in front of a set of parallel lines like railroad tracks or a long hallway.
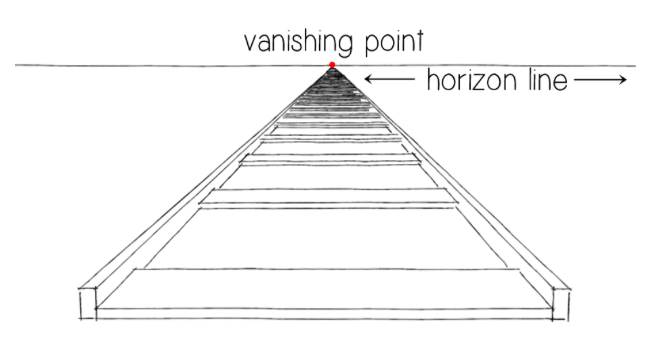
But what if you want to show the viewer something from an angle?
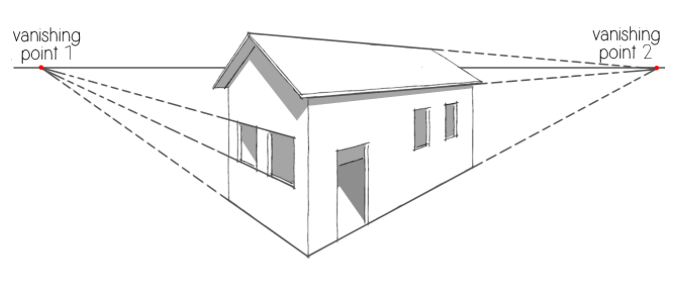
Two point perspective uses two vanishing points set well apart on the horizon line. The rule of thumbs here is sets of parallel lines must be either vertical or recede toward one of the two vanishing points.
READ CHAPTER 5 of Creative layout for Artists to learn more!
chapter-5-two-point-perspective
AND … Here are a couple of additional tutorials to get you started!
Happy Drawing!
AND a slightly more advanced one…
Hello Class! Welcome to ONE POINT PERSPECTIVE!
To create a drawing from One Point Perspective you need to know a few basic things. One Point Perspective is also called Parallel Perspective because YOU are parallel to the objects that you will be drawing. Also, vertical lines are parallel and horizontal lines are parallel and the back edges of objects that recede in the distance are parallel to the front edges of those objects.

Below is your required reading of the week.
READ THIS CHAPTER BEFORE YOU DO YOUR HOME WORK!
Ugh… the title’s not showing up… again.
Titles:
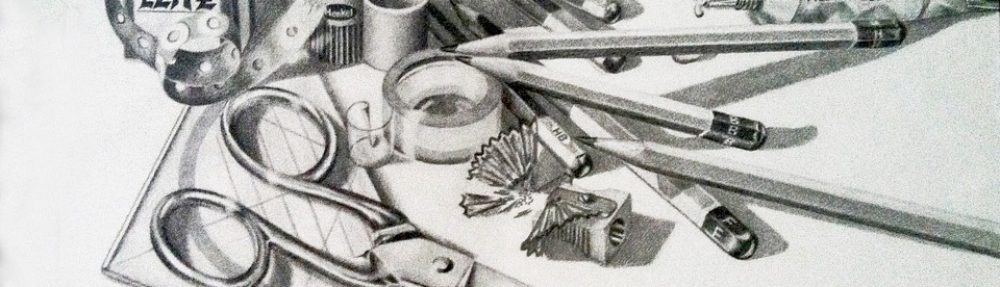
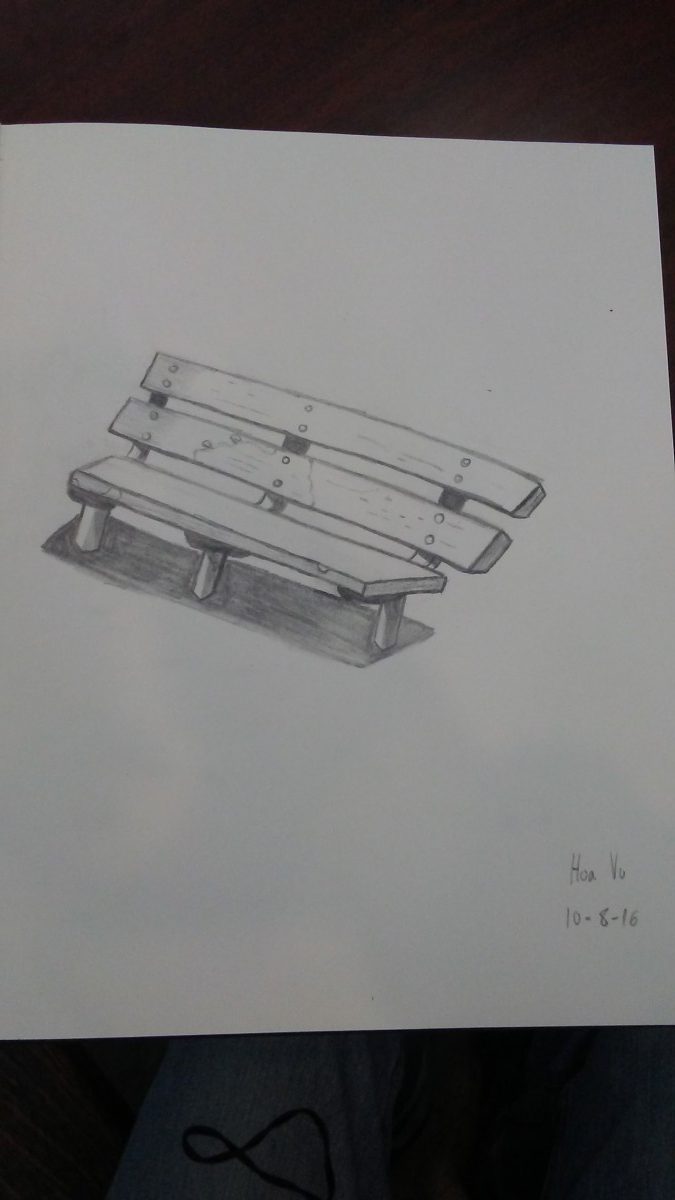
Top Left: Park Bench On a Not So Sunny Day (I thought I could catch the bench at 12:00 where the sun is practically exploding through the sky but what I didn’t realize until I was about halfway was that there was a handball court/wall blocking the sunlight)
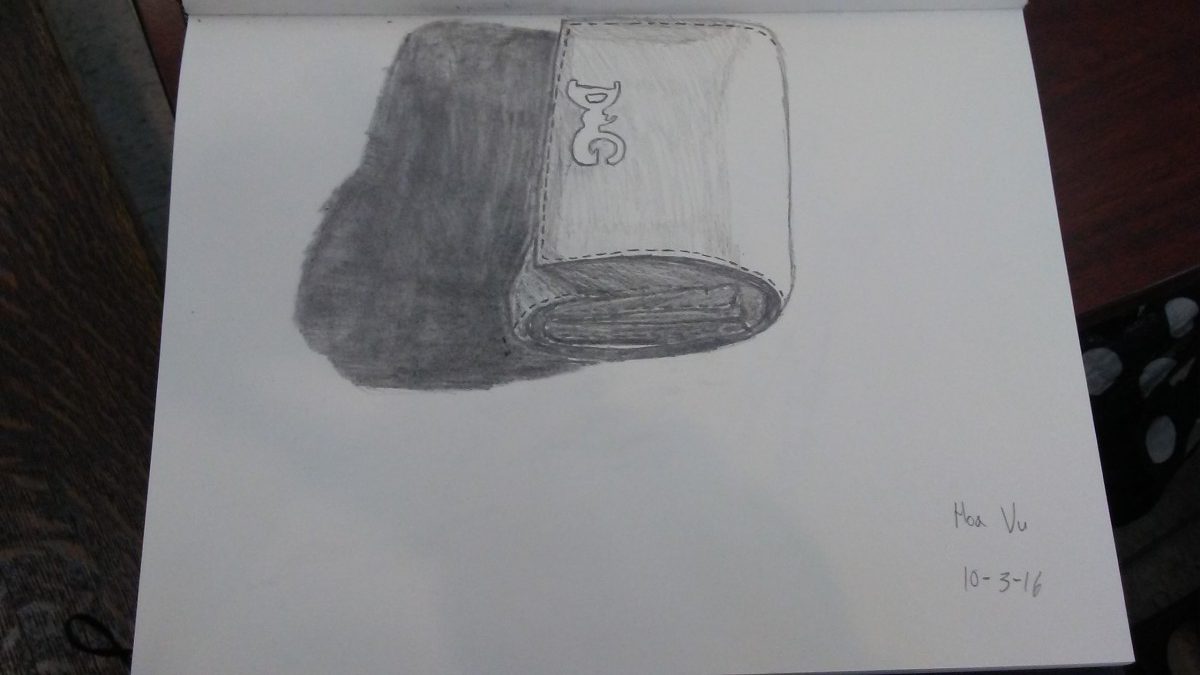
Top Right: My Bulky Wallet (Self Explanatory)
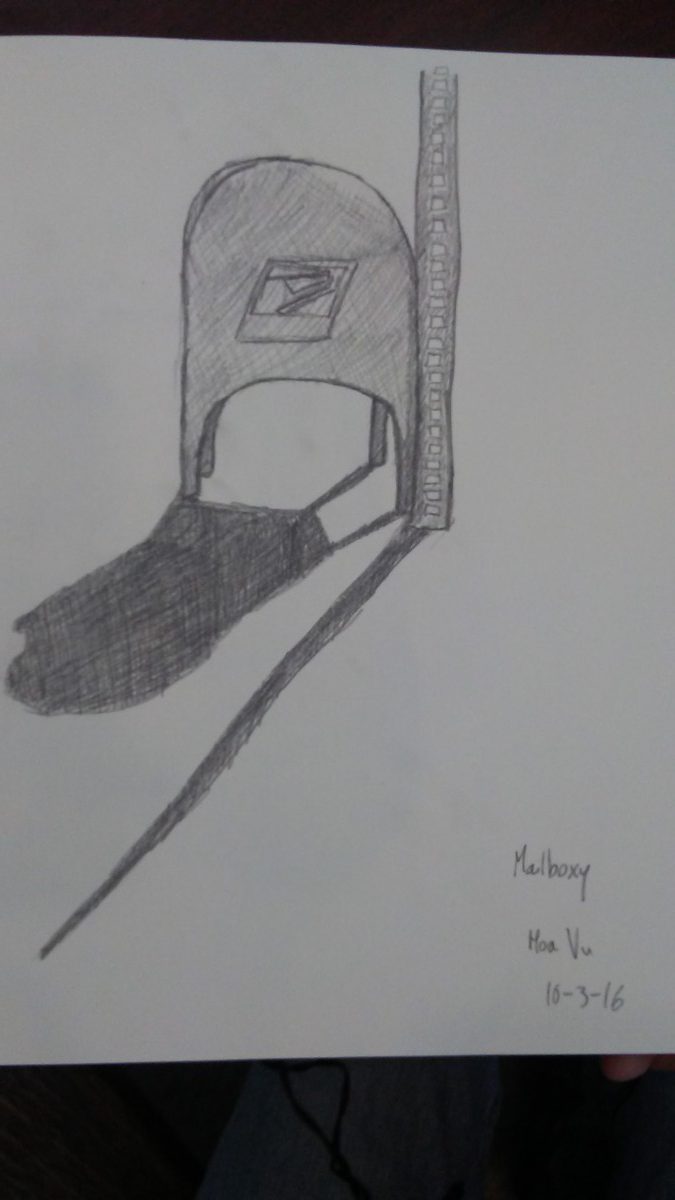
Bottom Left: Mailboxy (It looked like he had character. Dignity comes with remaining in position)
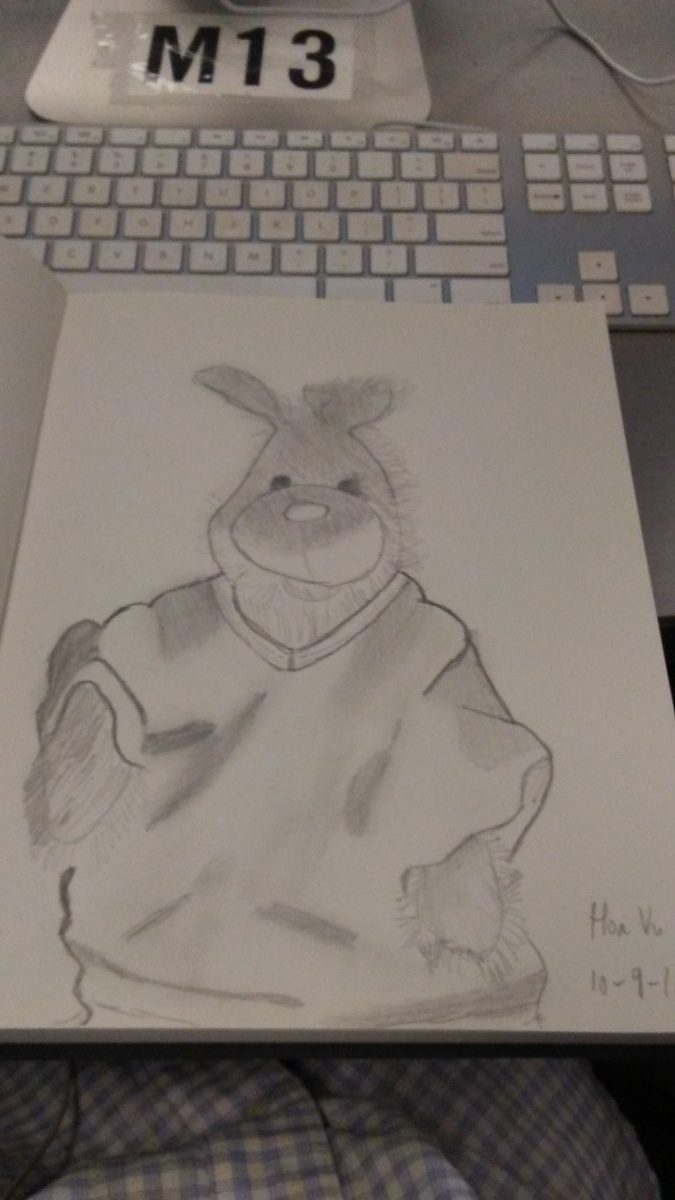
Bottom Right: The Forgotten One (Once you see what I did on the archivable paper you’ll see why he’s the forgotten one. And yes, he’s real. I know, I have a picture of him if you don’t believe me)
The aim for this assignment was so that way we could see how value affects the objects and how they can also relate to each other. And as the Professor said, shading makes anything look good.
The only thing that I really struggled with was the “shiny effect” of an object. What do I mean by that? Well, for instance Mailboxy had a little shine coming from the top, from where the sun bounced off. I didn’t know how to have that “shiny effect” so I just left that part white. Also for the My Bulky Wallet the logo that is on the wallet was also shiny so I didn’t know how to give that the “shiny effect”. Otherwise, I think I did okay. Another thing was my lines are never straight. The Professor gave me a tip and whenever I try it it just doesn’t work. Maybe it just takes practice. Lots, and lots of practice.
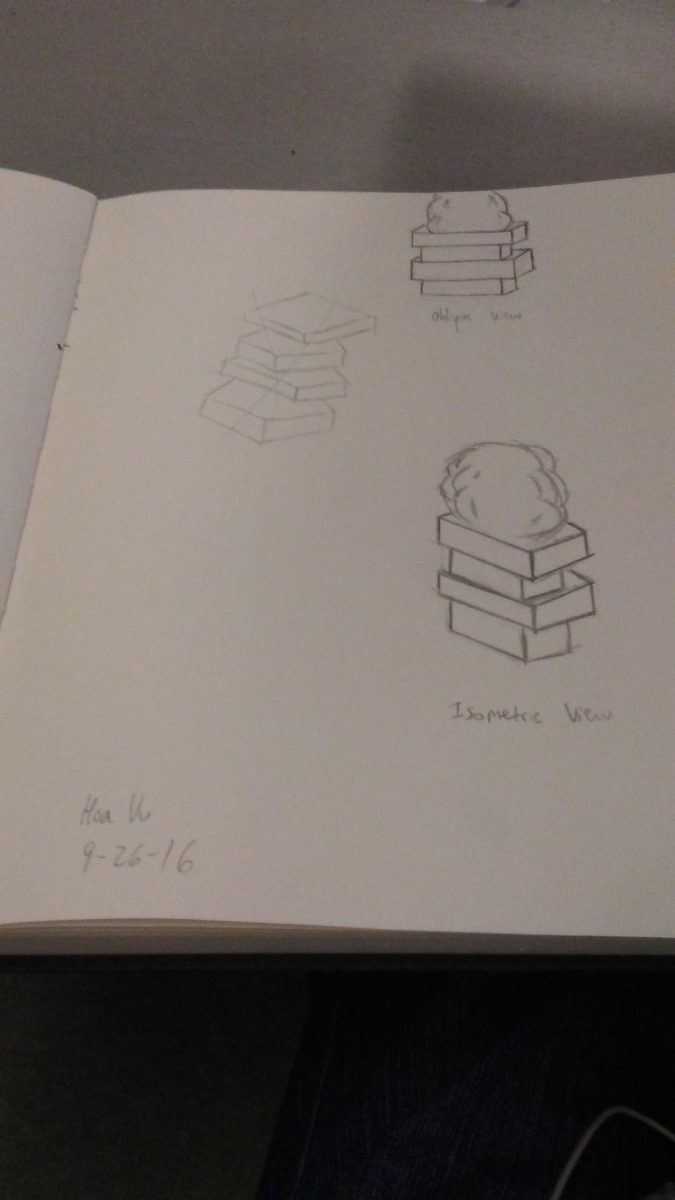

I don’t know why it isn’t showing up but I titled the drawings: Oblique and Isometric Drawing 1 and 2, respectively.
I guess the main point of doing these drawings is so that way we can figure out how to draw objects like that in that angle. I feel like often (especially in this class) we draw based on perspective so with this new skill we can probably do things like action figures or other items for the basic layout. I mean, in animation for instance, I would sometimes see for the 3D modules that they could rotate the character/object all around. I’m probably rambling now anyways but I think I explained myself to the point where your eyebrow isn’t shooting through the roof.
One thing that I struggled with was doing diagonals, like for the drawing on the right, the rabbit ears, especially in the isometric was a struggle.
I know that I posted this is kind of past its due date… but I really, really, really didn’t want to be the first person to post something here. It’s like a brand new couch. You feel iffy about sitting there because you don’t want to ruin it.
Composition : Where the subject matter sits in relation to the frame of the image or Picture Plane.
Picture Plane: The frame of the image. Everything inside the frame of the image makes up the picture plane.
Value: All of the different shades including and between white and black, which make up the image.
Contour: All of the edges which separate one part of the image from another: i.e. the outlines! ‘contour’ is French for ‘outline”.
Focal Point : A specific place of visual emphasis in a work of art or design.
Line Weight : The relative ‘weight’ – strength, heaviness, or darkness – of the contour line.
Contrast: The arrangement of opposite elements (light vs. dark, rough vs. smooth textures, large vs. small shapes, etc.) in a piece so as to create visual interest, excitement and drama.
Balance: The sense of distribution of perceived visual weights of the parts of an artwork.
Symmetry: A mirror image — identical on both sides of a central line.
Asymmetry: Not a mirror image — not identical on both sides of a central line.
Negative Spaces: The empty areas within a composition.
Positive Forms: The objects or persons within the drawing. The subject matter.
Silhouette: A silhouette is an object or scene represented as a solid shape with its edges matching the exterior contour of the subject. The interior of a silhouette is featureless, with no interior details.
Scale: Size, usually in comparison to something else. For instance, a child is a small-scale person, while a giant is large scale. Both people are being compared to the average size of an adult.
Proportion: the relative amount of something compared to something else. For instance, Johnny is twice the size of his sister, or there are twice as many apples as oranges in the bucket.
The OpenLab is an open-source, digital platform designed to support teaching and learning at City Tech (New York City College of Technology), and to promote student and faculty engagement in the intellectual and social life of the college community.

