Fall 2017 | COMD1100_LC08 | Prof. Spevack

Category: COMD1100 Project #3 (Page 2 of 4)

Value-Added Portraits: Phase 1

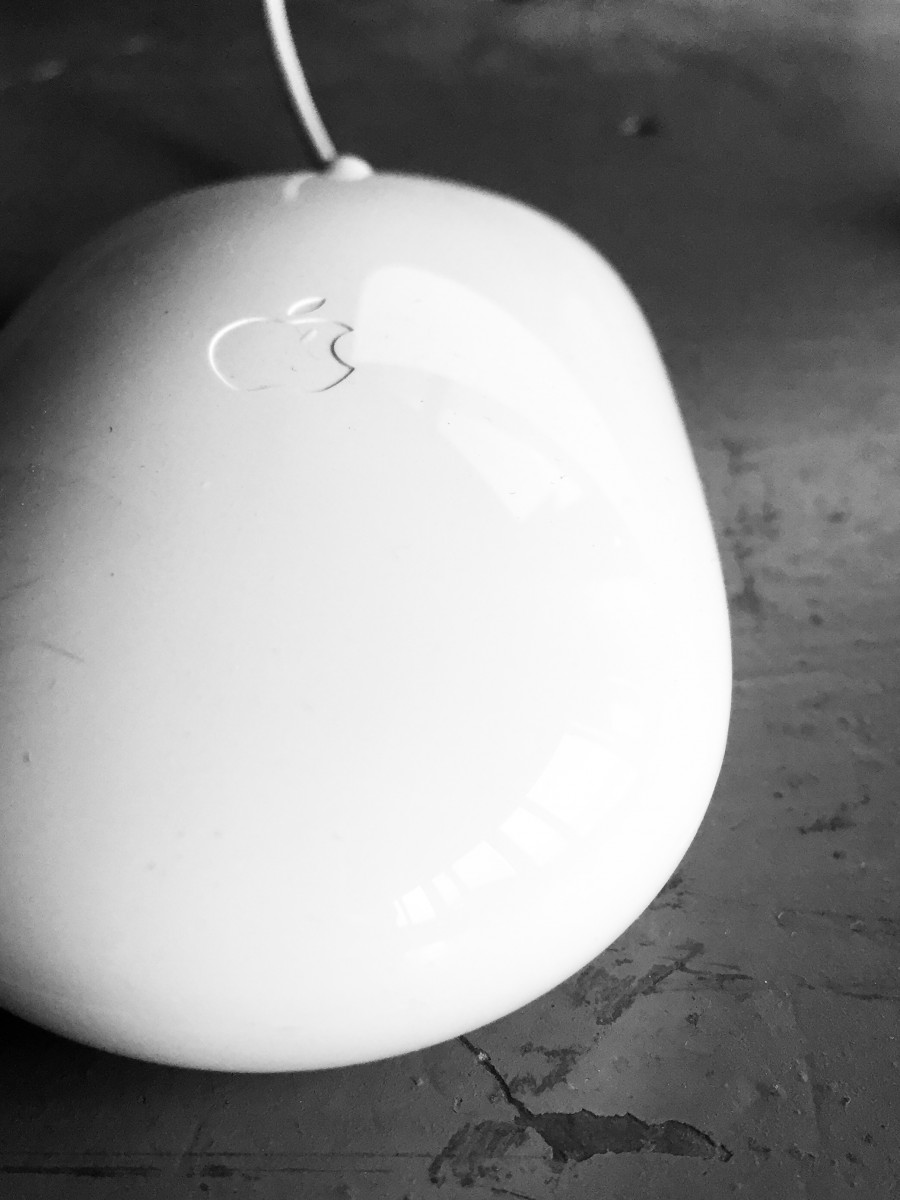
I took a picture of a Mac computer mouse with the light coming through the window. The already white and glossy surface of the mouse was made even more bright against the darker surface of the desk. The image itself is high-key with a pretty broad range. The contrast of the pure white against the darker more decorated desk (because of all of the marks and chips of the surface) creates a pretty good contrast but not one that is too intense. Part  of the mouse fades into the shadow and almost flows into the darker values of the desk, allowing a sort of flow between the contrasting values through the mid tones.  All in all, I think the lighting was able to make this a much more interesting and dynamic picture.

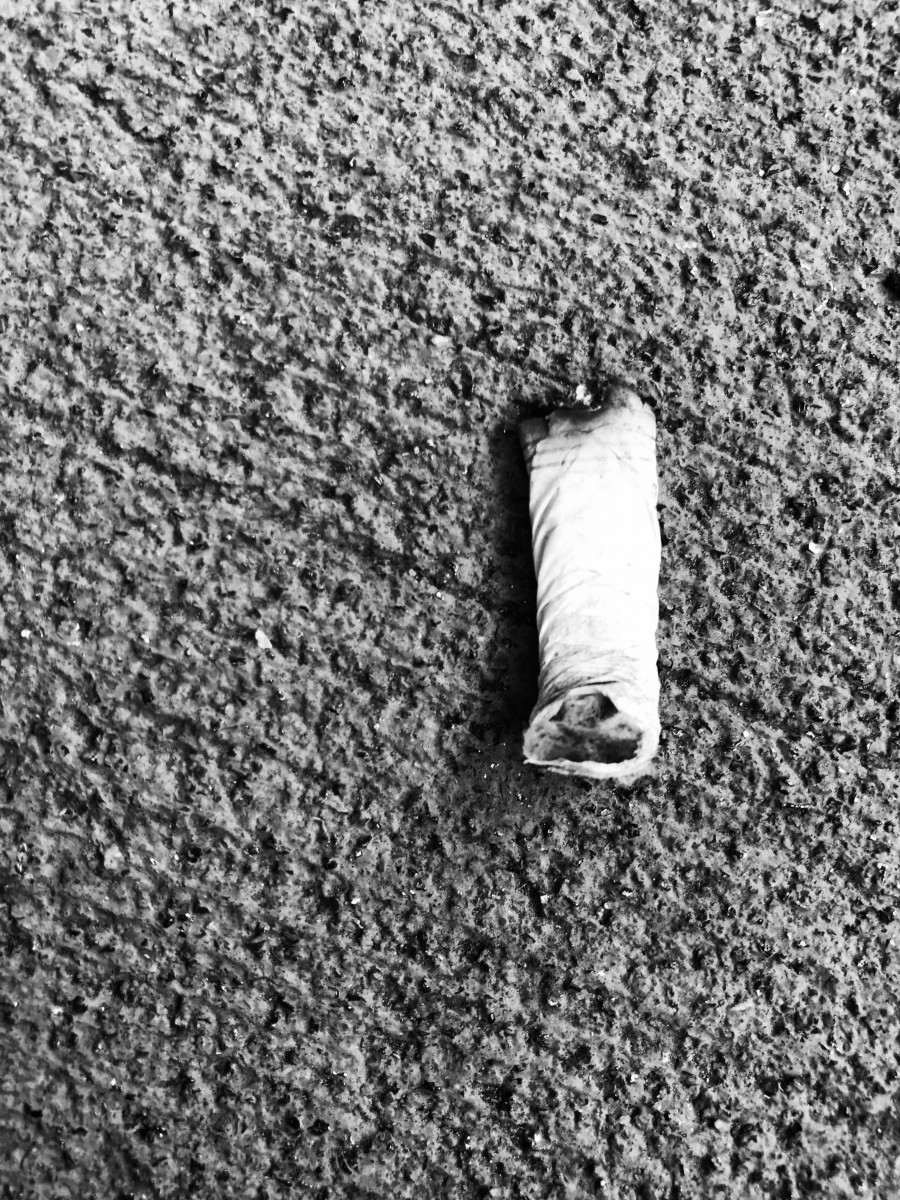
This plant was by the window of the gallery room on the 11th floor. Originally, it wasn’t that interesting of a picture because the greenness of the plant didn’t allow for such an intense contrast or really emphasize the value of the picture. However, in changing it to black and white with a filter I was able to get this really dark black as the main value of the composition. This is a low-key image with a broad range with high contrast with a not a lot of mid tones when compared to the image of the mouse above. One thing I really likes about this picture was how it captured all these little dots on the plant even in the really dark areas of the leaf in the front. It added a nice detail that I didn’t think I was going to be able to include and even though the spots aren’t big enough to create any real change to the value or composition or balance of this picture, I did like how the dots contrasted against one of the darkest areas of the image.

Time spent: 30 mins

Value-Added Portraits: Phase 4 – Deliver

In this project i’ve learned how to use gouache paints, i’ve learned new techniques for painting itself, and what it means to have value and tone, also the difference between value and tone. While working on my lowkey broad range painting, I noticed i’ve only been working with two colors but that just tells you how many different possibilities you have when experimenting with color and B/W. Using my skills in photoshop, I was able to make a better more stable version of my Broad collage.


https://openlab.citytech.cuny.edu/spevackcomd1100fa2017/2017/11/15/value-added-portraits-phase-1-9/

https://openlab.citytech.cuny.edu/spevackcomd1100fa2017/2017/11/15/value-added-portraits-phase-2-9/

https://openlab.citytech.cuny.edu/spevackcomd1100fa2017/2017/11/25/1524/

Value-Added Portraits: Phase 3

LowKey

LowKey (Painted)

For my lowkey composition I cut only pieces of my face and tried to create a distortion of my own. I set my eye in the middle as the focal point.

Broad

Broad (PSD)

For my broad composition, I cut pieces from my whole body and placed them around a smaller version of my distorted face.

Value-Added Portraits: Phase 4

In this project I learned about how to create narrow low and high key values. as well as broad value out of a black and white picture. In this project I feel that getting the values correct were the hardest part of the project but over all the project was really fun and interesting to do.


Phase 1: Discover, Phase 2: Define, Phase 3: Develop

Work time: 6hrs

Value-Added Portraits: Phase 2

Narrow Range HighKey

My collage is a distorted version of my face, being surrounded by other parts of my body. The main focal point is my nose because it’s the lightest shade on the page and the rest of my face helps the viewer to travel the page.

Broad Range LowKey

The second collage is another distortion of my face with the white image next to my eye as the focal point. I tried to approach a more abstract situation to represent the distortion of my face. Even though this is narrow range, I made all the boxes bigger because each image helps direct the viewer to the focal point.

Value-Added Portraits: Phase 1

Low Key Image

The subject of the image is a wall down an alley way that is covered in spray paint. The focal point of the image is the sign in the top right corner that says “30 cu. yd.”   The reason that this is the focal point is because it’s the only large white object of the image and the spray paint is a good display to help take your eye across the page.


High Key image

The subject is a cigarette bud that is on the floor near our school amongst many others, but this one caught my eye because it was the only one on the floor at the time and it was near a spot where I normally wouldn’t see a cigarette on the floor. This is a high hey image because the main subject is white against a light  background.

Value-Added Portraits: Phase 1

Low key

In this picture the over powering darkness is what makes this a low key. It sets a lighter mood , because of the object in the picture. Although it is dark the books bring out a studious feeling so it is not much like the horror movie going on in the picture below.


High key

This picture is high key because of its lights that light up the room. Although I would say the lighting sets up a creepy, mysterious feeling as if you where in a horror movie.

The contrast between the darker spots in this picture is what brings out its mysterious mood.

Work time : 2 hours

Midterm Post

So far this semester I’ve learned a lot and accomplished way more than I thought I would and if I’m going to be completely honestly I’m extremely proud of myself. From project #1 to project #3 I’ve had so much fun learning new things and really pushing myself to do the best I can. The strange thing is that these projects actually changed the way I view things for example I was talking with my friends one day and we were Times Square and we saw this really cool billboard and without thinking I started talking about how it was a good use of figure ground relationship and they stared at me with a blank look on they’re faces and it was so funny to me because not to long ago that would’ve been me giving the blank stare. Overall I’m extremely pleased with what we’ve been doing so far and I can’t wait to learn more.

https://openlab.citytech.cuny.edu/spevackcomd1100fa2017/2017/09/14/urban-artifacts-phase-3/

https://openlab.citytech.cuny.edu/spevackcomd1100fa2017/2017/10/18/sound-visualization-phase-3/

https://openlab.citytech.cuny.edu/spevackcomd1100fa2017/2017/11/13/value-added-portraits-phase-3-5/

« Older posts Newer posts »