Storefront Renovation of a Mini Market (Part 3 of 3)

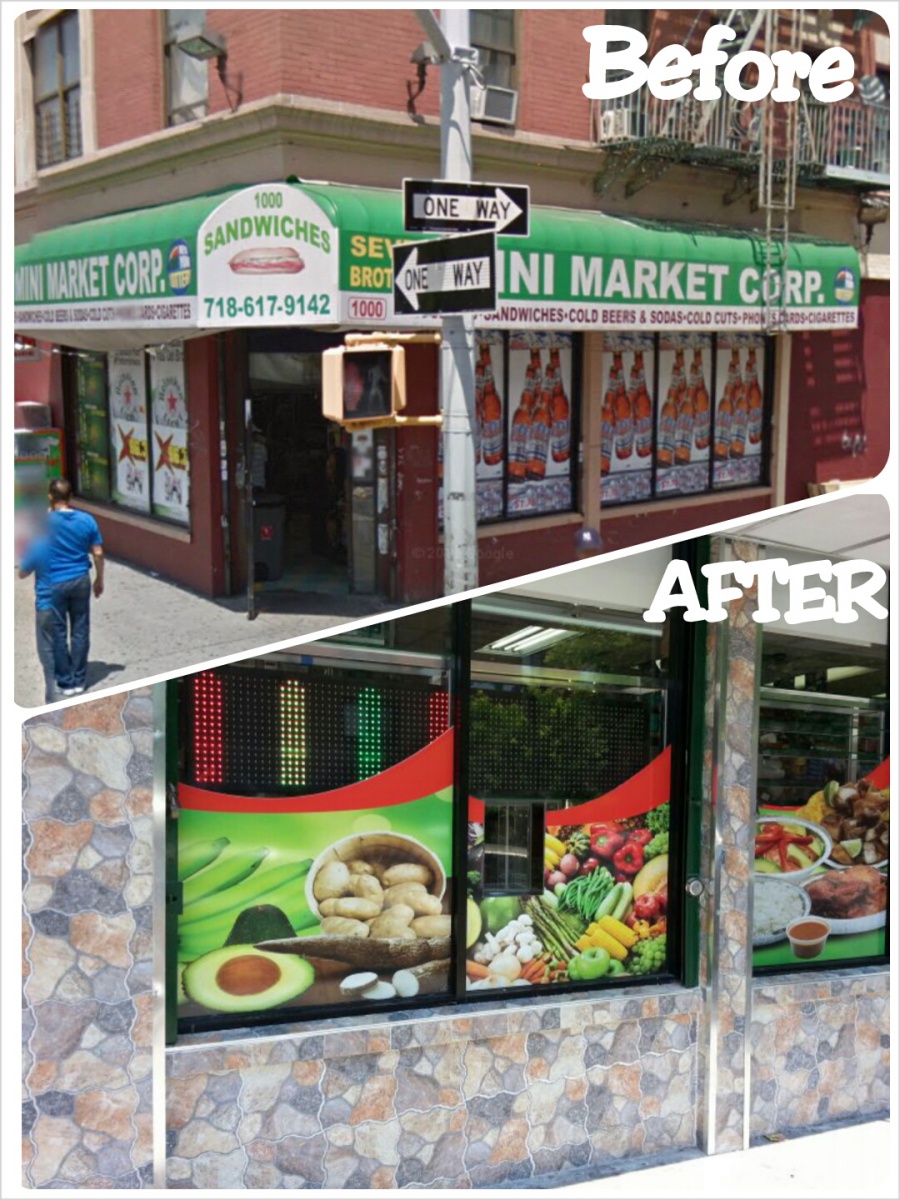
For business owners, the entrance door of their business is as important as breathing. For customers, the front door’s look is as important as the service they get. Hence, Mini Markets acknowledge such fact and for this reason, they are currently trying to renovate every aspect of their business.

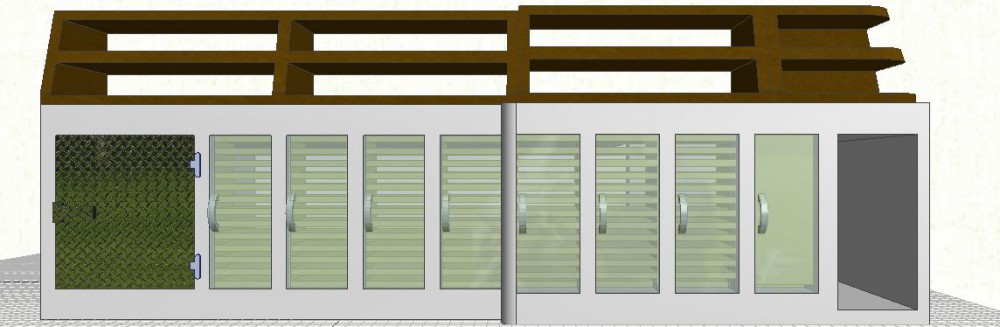
The door frame and the door itself was ordered from a local supply located in Bronx, New York. Our job was to remove the old one and install the new one. As you can see in the pictures, a noticeable change occurred after the change of doors.

ZooEffect WordPress plugin

All the credit goes to De la Cruz Construction

If you haven’t read the posts before this one, please do so – Read ‘Introduction

Storefront Renovation of a Mini Market (Part 2 of 2)

Materials used: Oil-base paint, brushes, masking paper, tape and a heavy-duty scrapper.

As you saw on Part 1, the process for a storefront renovation is very straight-forward. If you use the right equipment and materials, and maintain your eyes open to small details, it is almost a guarantee that your project will be a success. For this specific project, the team worked very hard trying to bring quality into this Mini Market. Below you can find ‘before and after‘ pictures.

ZooEffect WordPress plugin

All the credit goes to De la Cruz Construction

Would you like to continue reading? Read Part 3

Storefront Renovation of a Mini Market (Part 1 of 1)

Materials used: 12″ x 12″ ceramic, powder plaster mix, 5/8″ plexiglass panels, polished aluminum L-Shapes, oil-based paint (gray and green), white colored grout, 1/2″ rubber window frame and 1/2″ x 8′ wood board.

Step 1: Attach wood boards to the existing wall along the desired area with a 0 degree angle. This will allow the ceramic to rest and avoid any vertical movement.

Step 2: Using a grinder and a concrete disc mounted to it, create lines all around the space where the ceramic will be applied. This will allow the plaster to penetrate through the concrete wall and as a result, the ceramics will be held in a stronger manner.

Step 3: Mix the powder plaster with water and start applying it to the wall. Then, pass the spatula through the plaster leaving an uniform thickness of material.

Step 4: Mount one ceramic after the other.

Step 5: With an sponge, apply the white colored grout. Then, wait 30 minutes so that you can proceed to remove the grout with the application of water

Step 6: Put aluminum L-shapes in every corner. This will cover the intersections between two ends of the ceramic.

ZooEffect WordPress plugin

All the credit goes to De la Cruz Construction

Would you like to continue reading? Read Part 2

Storefront Renovation of a Mini Market (Introduction)

To invest in renovating your business can be one of the most intelligent decision an owner could ever make. By doing so, they will be improving the pedestrian environment and attract more customers. Therefore, it is almost a guarantee that it will benefit the owner economically by bringing them a noticeable return in their investment.

With the intention to help and inspire you, I decided to create a series of posts that will contain pictures of a project done by a company called “De la Cruz Construction“. The completion of this project was a success and I am personally going to talk about the different processes and materials that were used. Below is a ‘before and after’ picture:

Before and After (Delacruz Contruction)

Would you like to continue reading? Read Part 1

If at any point you have questions, comments or suggestions, please send me an Email to Joseldelacruz@hotmail.com

Stay tuned!