DUE 9/26 FINAL Pencil Drawing
SUBMISSION REQUIREMENTS:
All Final Drawings must be UPLOADED to OPENLAB for GRADING in the following manner:
Write a new post and use the following naming protocol:
-
Firstname Lastname, Assignment One
-
Tag it in the Category ASSIGNMENT ONE.
-
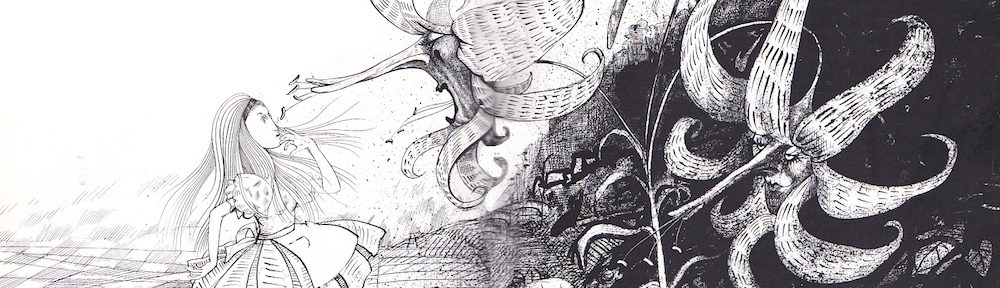
In the body of the post tell us the name of the illustration, for example:
-
Illustration for Celestial Seasoning Tea, Mint Magic.
-
UPLOAD a HIGH QUALITY (White Balanced and Cropped) SCAN of the image at 150 DPI.
-
Finally, Bring your DRAWING into class along with 3 photocopies at 50% size for WORK IN CLASS next week.
MORE DETAILED INSTRUCTIONS & Helpful Hints:
Preparing your Chosen Concept Sketch:
- SCAN your concept sketch.
- If you are making any edits to this sketch, draw your edits and scan those.
- USING Adobe PS cut and paste together the final mock up.
- PRINT your concept sketch. IT MUST BE PRINTED TO THE SIZE OF THE FINAL ART. THIS MEANS LARGER THAN IT WILL APPEAR ON THE PRODUCT.
- A good rule of thumb is to draw your illustration 50% larger than it will appear in print.
- You may need to print the image out in sections and tape it together!
TRANSFER your concept sketch carefully onto the FINAL WORKING SURFACE using the SARAL Transfer Paper.
- Be sure to do this neatly! Use masking tape and blank paper to prevent unwanted marks on the border of your illustration.
- Be sure to tape the illustration down carefully so that it doesn’t creep causing the image to warp.
- Don’t press TOO hard…you should still be able to erase your marks.
FINALIZE your concept sketch onto the FINAL WORKING SURFACE.
- Don’t press TOO hard…you should still be able to erase your marks.
- Don’t shade. You’ll fill in areas of value later in the process.
- Don’t INK. Your Art Director may still request changes.
- This drawing should be done at your highest level of skill.
- Be sure you are carefully considering your focal points and image hierarchy. (This may be achieved with value but should be planned as you draw.)
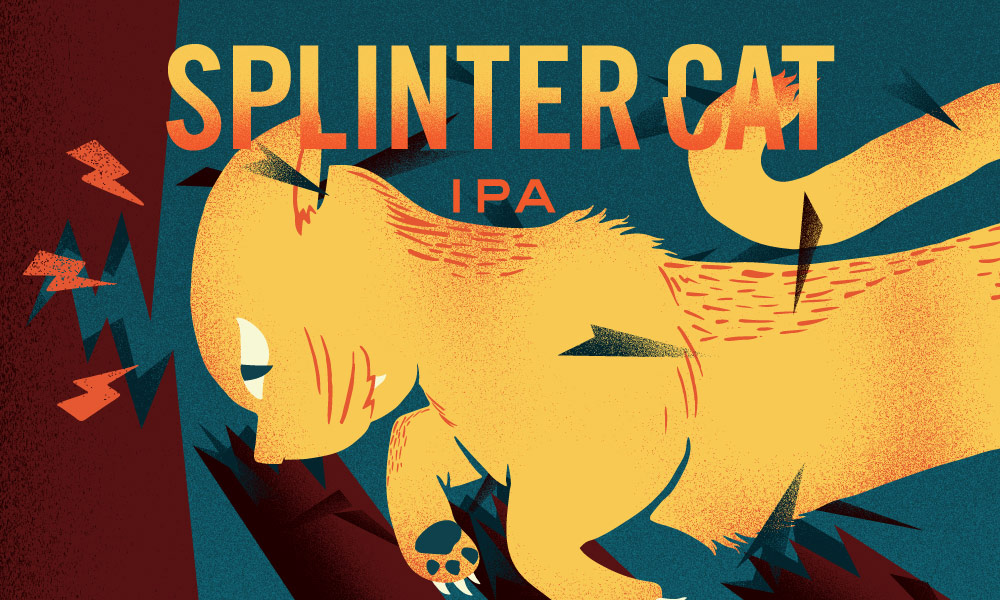
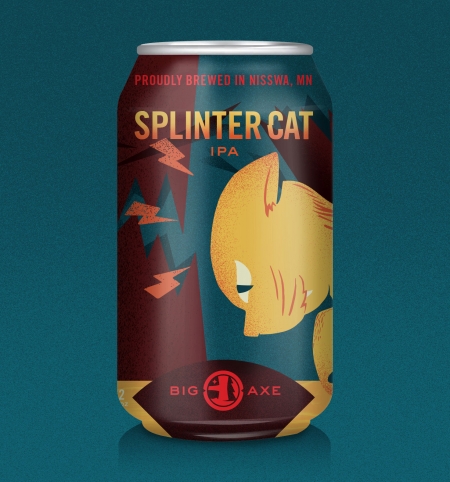
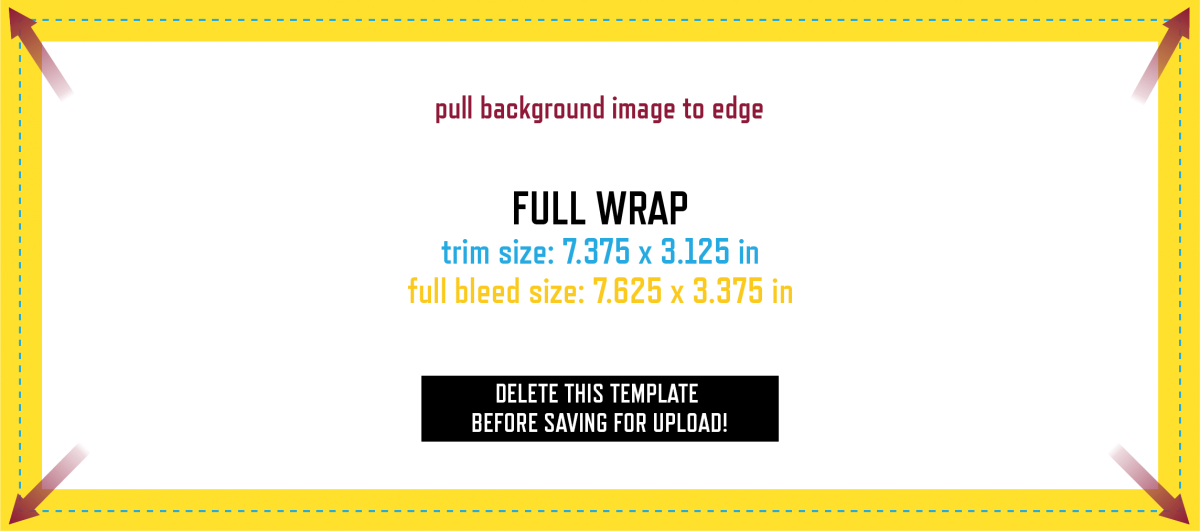
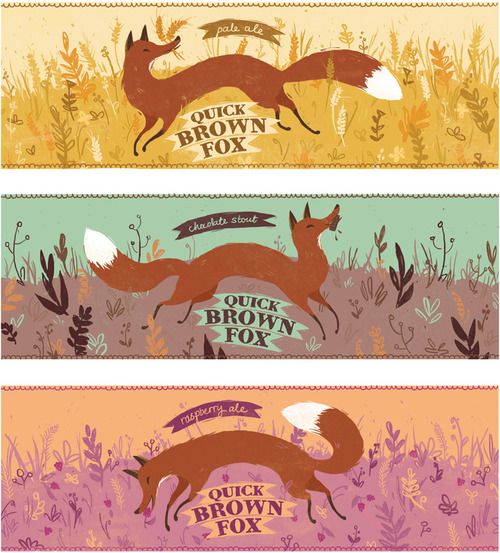
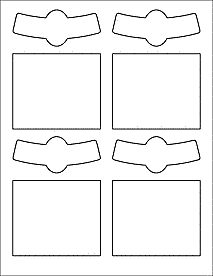
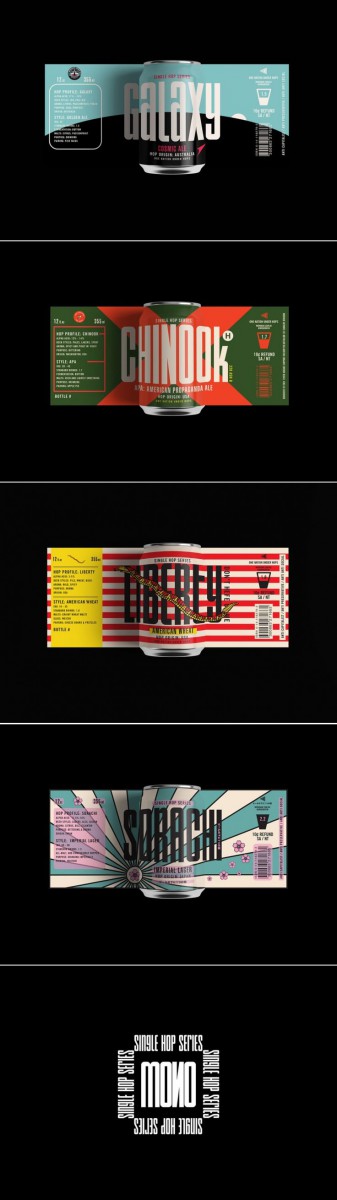
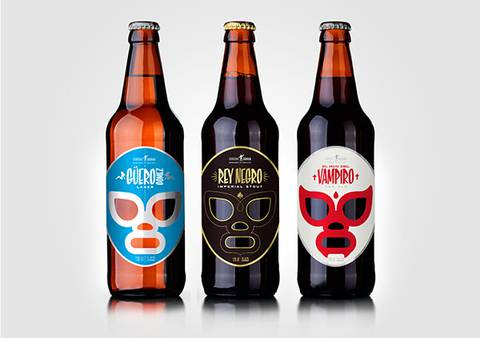
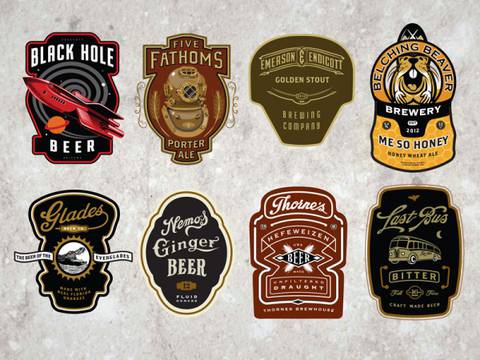 I’m including below some TYPICAL label templates as a helpful tool. They are meant to print on 8.5 x 11 paper. You don’t HAVE to use them. Look at creative illustrated packaging for inspiration. And really as long as it could actually work, the sky is the limit!
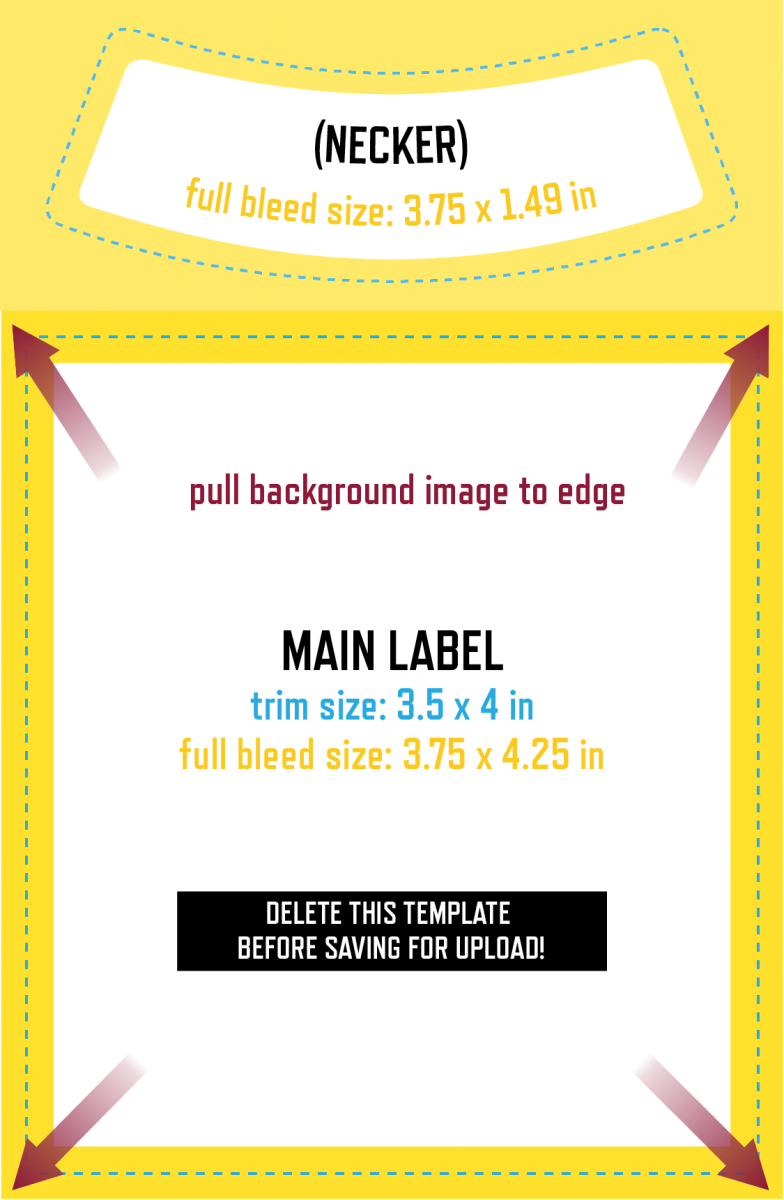


