TD Problem 4 – Moving Platform

Description

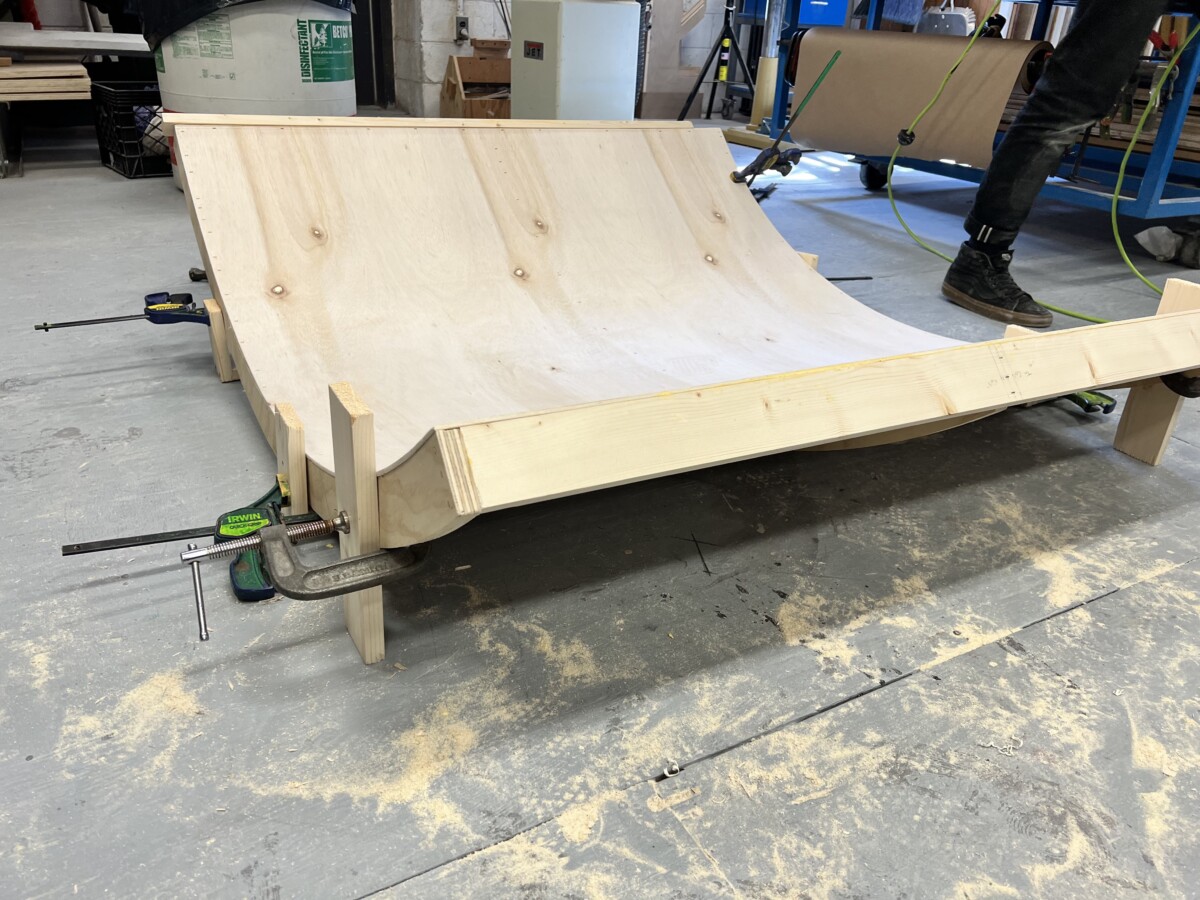
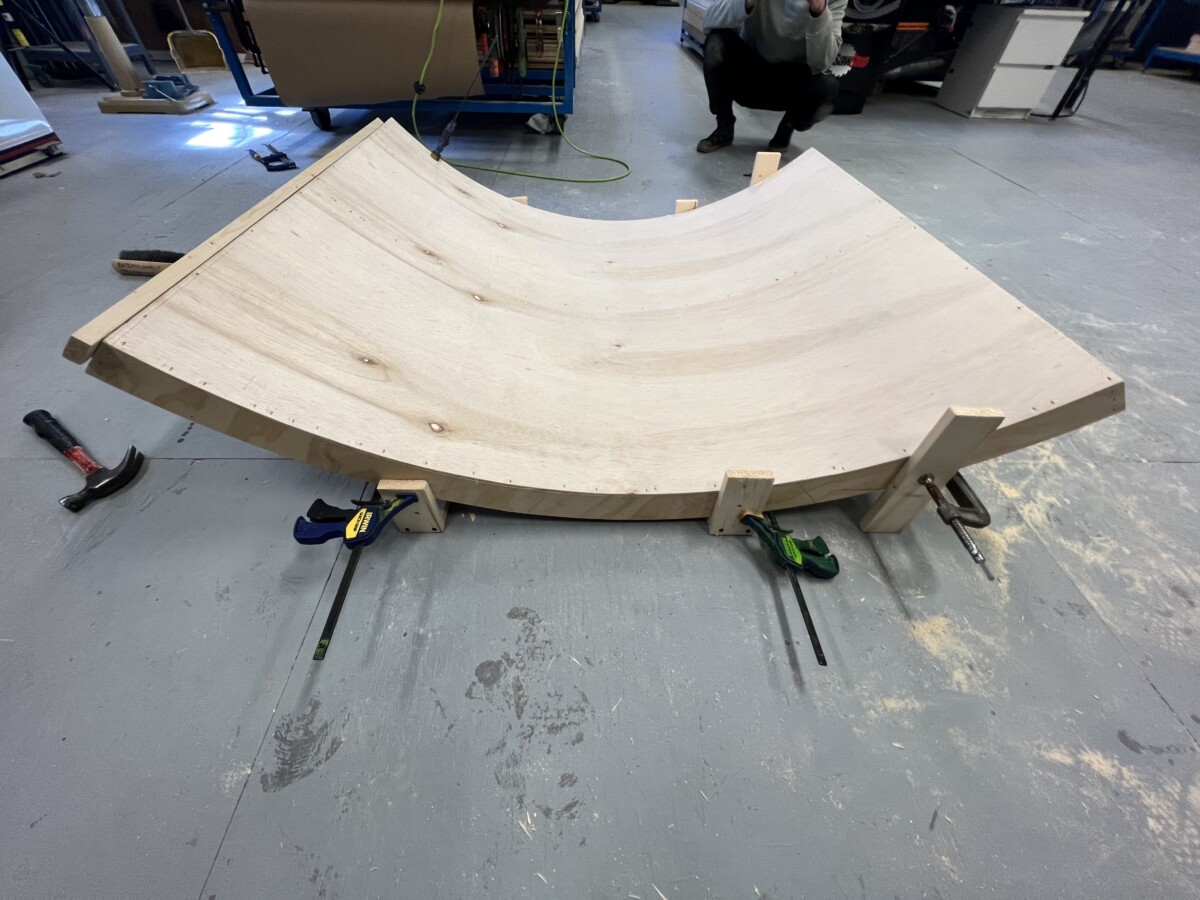
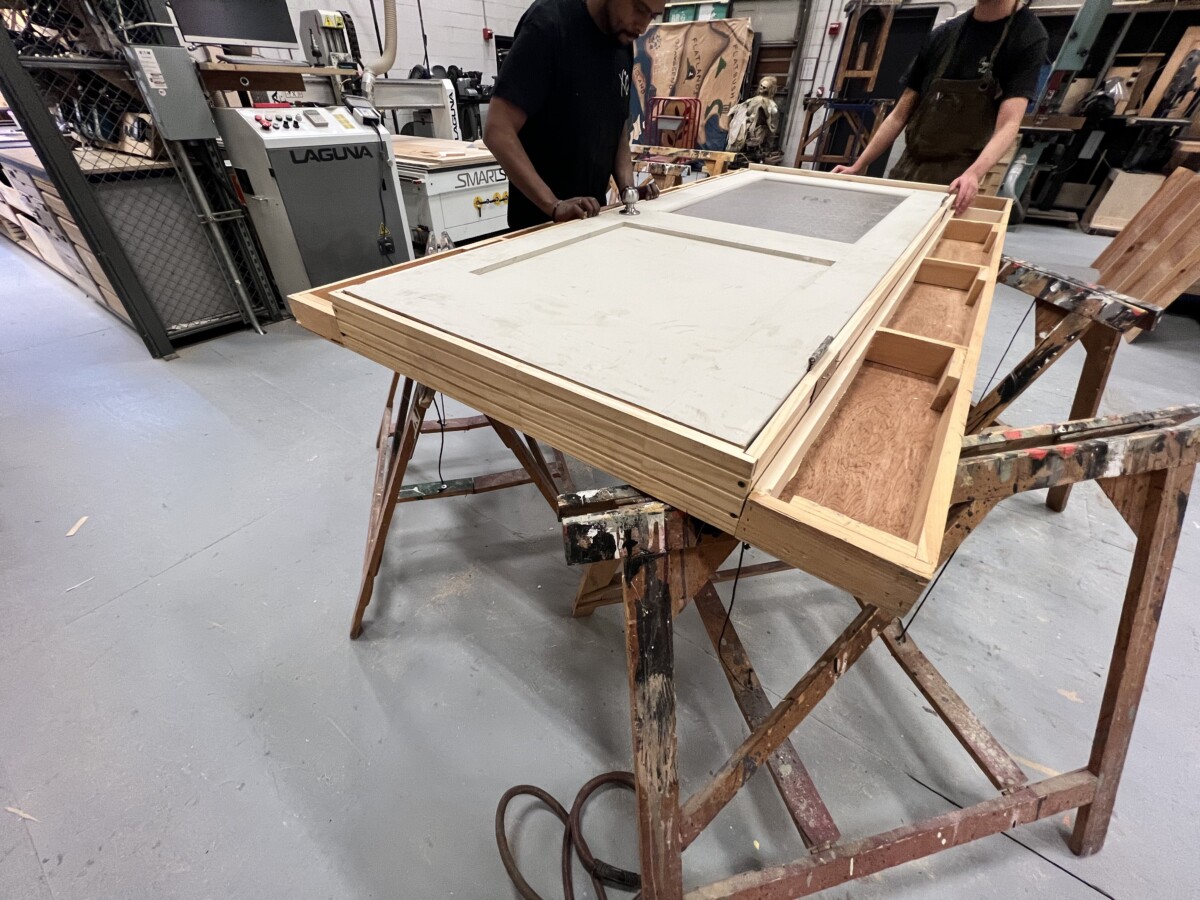
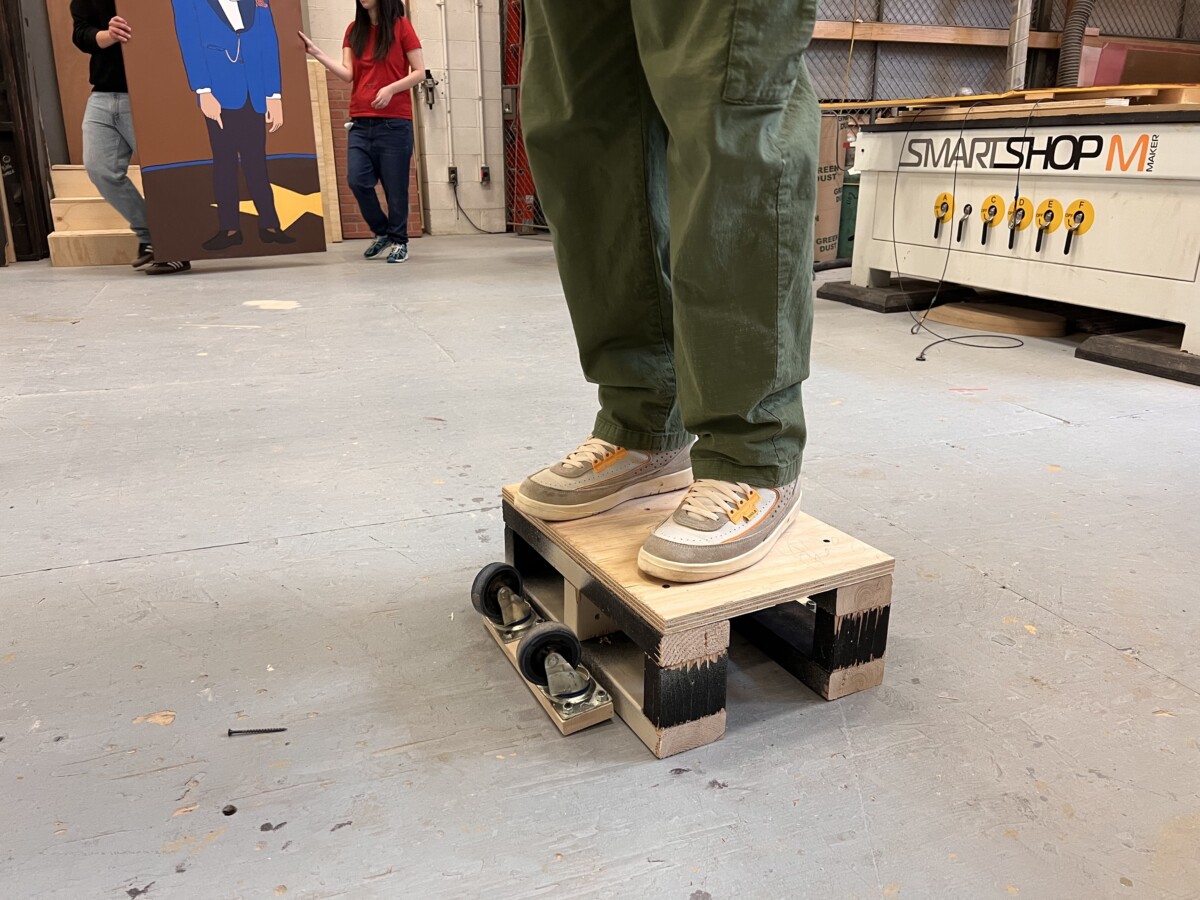
I was tasked with designing a solution to a list of factors for a show called “The INN” at the Arbors Theatre. The platform needed to move from its storage located off-stage. It had to be moved by 2 stagehands during the show run and needed to lock in place. There will be 15 actors jumping and dancing around on the platform.

Additional tasks included Creating a budget and production calendar for the scenic carpenters.

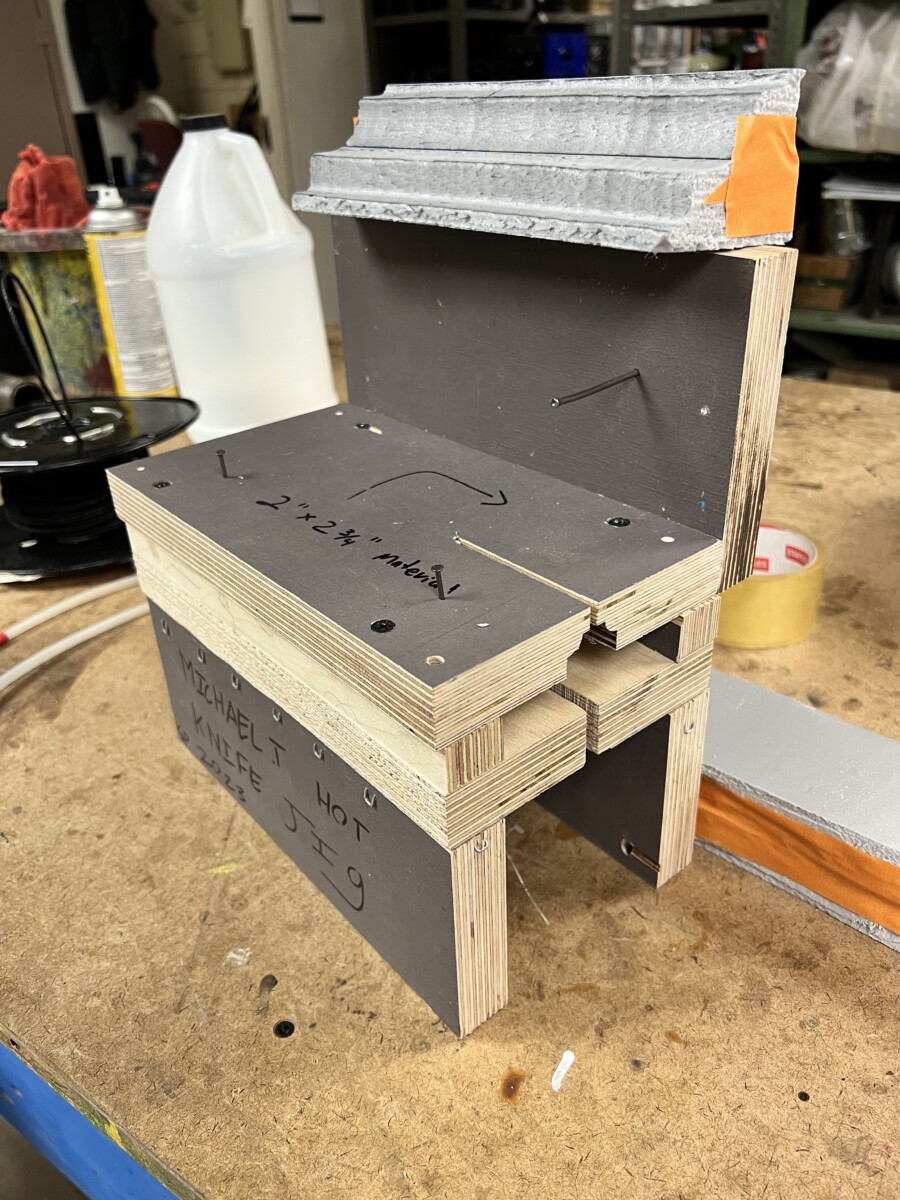
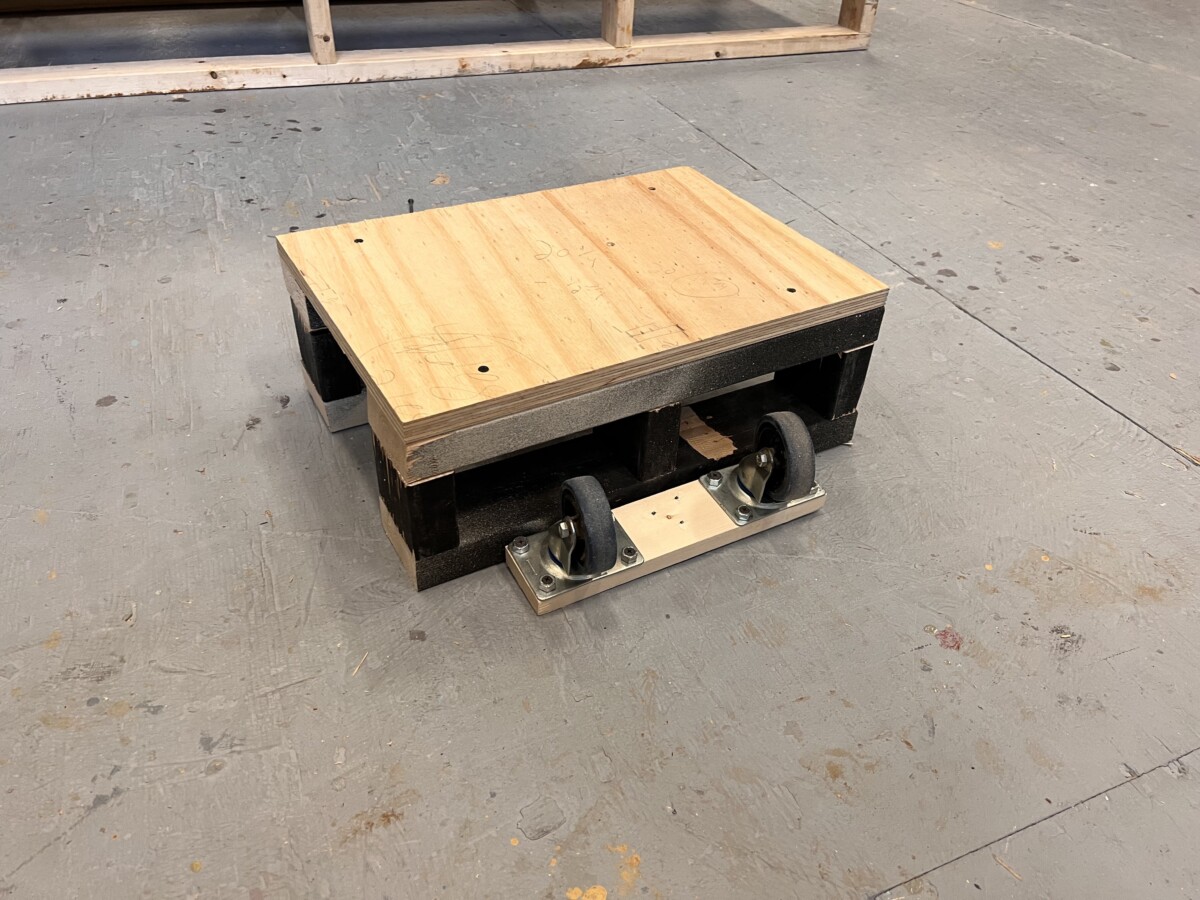
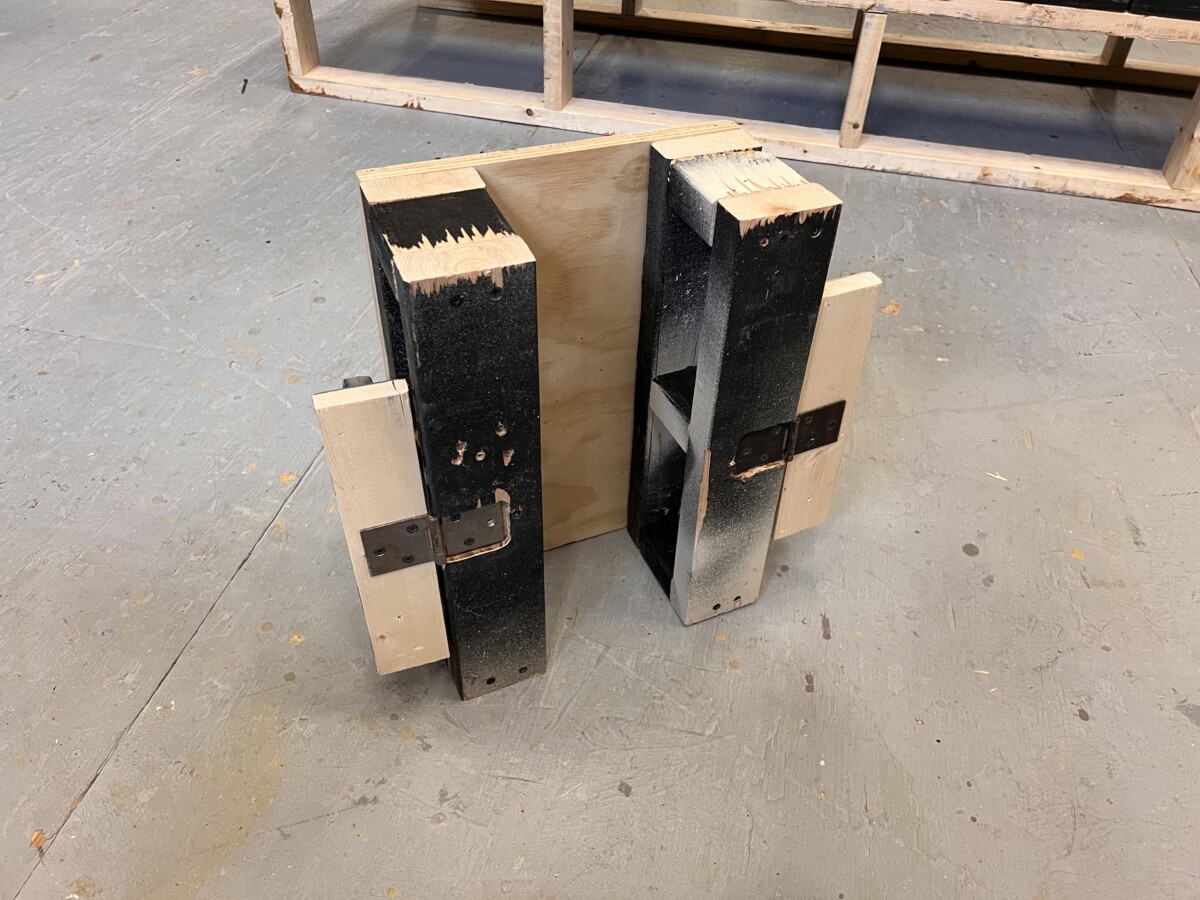
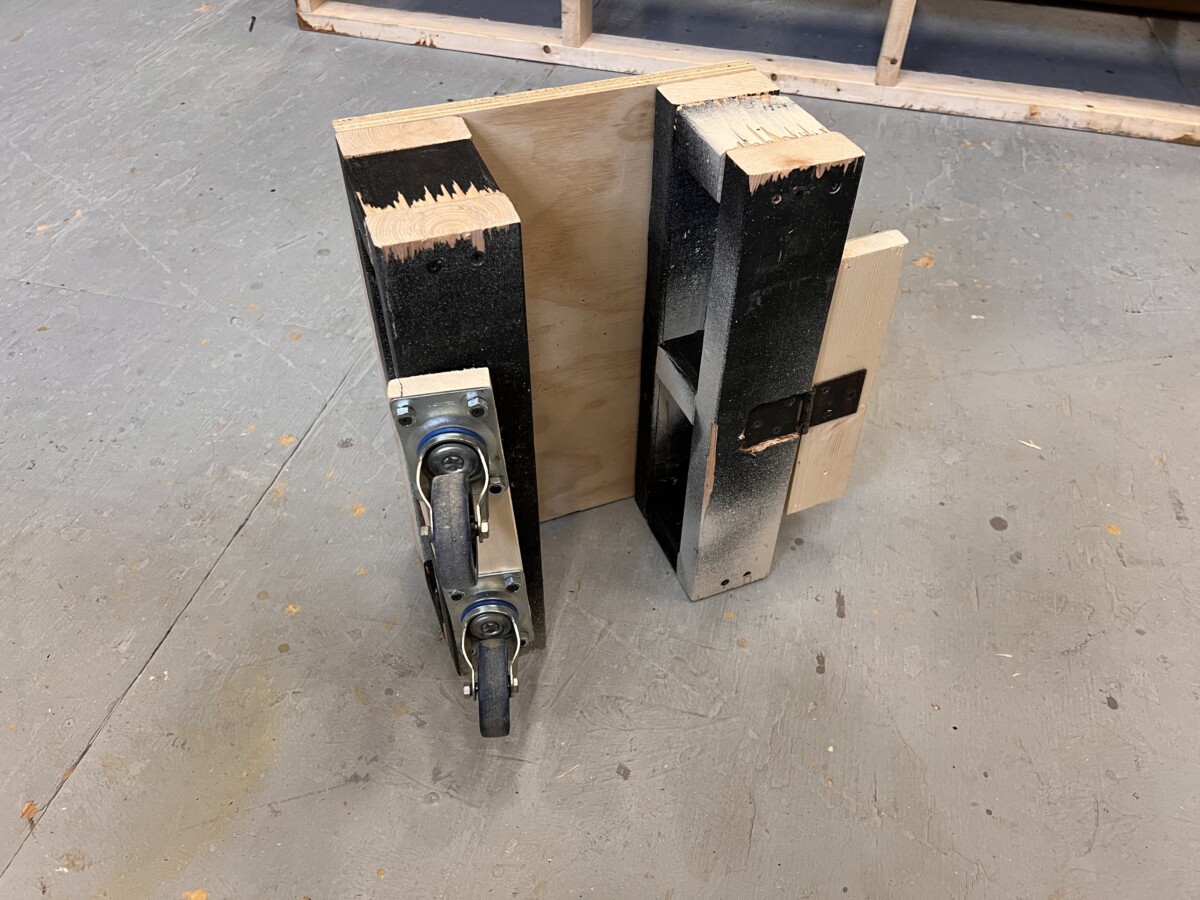
To decide how I wanted the platform I did some researching retractable casters and landed on a design with the idea that if you lift the platform a bit the casters will swing out allowing the platform to sit on its risers. My test was to make a mini platform to find out how attaching hinges will work. The outcome was as desired the platform moved and a simple lift removed the casters from the bottom of the platform.

Analysis

What I learned from this test was I needed to change the orientation of the hinges so there are less likely to roll out from under that platform while its in use. This was added to my construction drawings.

In my drawing I made all construction to be simple to follow as well as aligned with standard construction techniques. After examining the prototype I decided to change the orientation of the hinges to work more effectively and the proper orientation of the casters is illustrated in the final plated drawing.

In the production calendar, I tried to keep in mind lighting and audio focus so I had the platform delivered and assembled earlier in the week so all focusing can be done before the first dress rehearsal. Lastly, I made sure to find quality materials as well as organize all the relevant information into an easy-to-read list to be reviewed and have an order placed.

Application

This project gave me a great understanding of triscuit platform construction as well as gave me more experience with using AutoCAD drafting software. Having to navigate and use different tools and layers made it easier to draft the ideas drawn in my notebook. McMasters-Carr website was also really convenient as will be a resource I use in the future when ordering hardware and using the downloadable dwg files to better illustrate my construction drawing to greater clarity and accuracy.

TD Problem 3 – Curved Flat and Molding

Description

As a group, we were staked with 3 problems. First, we needed to construct a curved flat that met the designer’s specifications. The second was an actor was going to slam a door shut and we needed to make sure that the wall would not shack when they did. Lastly, We needed to create custom crown molding based on the designer’s design. That will also be able to attach to the curved flat as well.

One of my group members drafted a construction drawing for the curved flat and I assisted in its construction. The curve made it challenging to attach the toggles and styles, but even more challenging was attaching the lid. Clamping some scrap material to the base gave us solid points to screw into the floor of the shop so it wouldn’t rock back and forth.

A stopping block was used to keep the sheet of luan plywood from shifting as I pushed it down from the opposite side as my partner glued and stapled it in place.

we had some decent ideas for the slamming door. Using a scenic wall that hides backstage from the audience we used some 2×4 to reinforce the wall as well as attaching steel jacks to add rigidity. To test this idea we modified a 4×8 flat to hold a prehung door that we assembled separately.

We then installed the set as close to the show as we could with available flats and started slamming the door over and over making sure it didn’t move. THe door was slammed with significantly more force than the actor would need to perform.

We were satisfied with the results of this test.

Lastly the molding, I designed a jig that would hold a hot knife with the profile of the molding bent into it. I decided on making the molding ut if foam because the actual size of the molding would be heavy if made out of wood. Adding weight to the top of the walls was also a concern as we felt like it might encourage movement when the door is slammed. The foam would be able to fit the curved flat with some simple cuts made along the spine of the molding to fit the curve properly.

(Design drawing of the jig)

Feeding the foam into the jig produces positive results with an accurate contour of the molding.

Analysis

As a group, we really got to think outside of the box with your methods of extinction. In addition, I learned about the different materials that existed when deciding what to make the holding out. Im definitely going to move forward with the foam jig in mind. It was a really cool tool to make and I was really excited to see the results. I look forward to using this method on projects work on in the future.

TD Problem 2 – Deck Turnover

Description

I was the technical director in charge of the scenery crew at City Tech. We had a concert take place on Friday night and a talent show took place the day after. The band wants its logo painted on the floor. While the talent show wants the floor painted full black with a glossy finish.

For the band’s logo, I decided to get it printed on a large vinyl banner about 19′ by 17′-6″ that we would stretch and staple to the deck. This turnover will take a fraction of the time provided. The deck was then painted fully black rather than painting the deck after the band’s performance. The vinyl was stretched and stapled over it, this also protected the painted surface so after the concert all that needed to be done was remove the vinyl.

Below is an example of how the deck will have the vinyl stretched over it, while also being painted.

A simple jig was used to counter sink all holes screws would be mounted through.

Analysis

The vinyl was convenient rather than painting the very detailed logo, having a jpeg sent out and printed by another company for us saved a lot of time and resources when it came to installing the deck.

Application

Outsourcing some tasks can help you if your project is time sensitive. Multiple hours were available during the turnover but the transition would only take an hour or even less. Shortening our turnaround time helps give other departments plenty of time to do their own set up like lighting focusing their lights or audio performing sound checks.

TD Problem 1 – PB&J Sandwich

Description

My first project in Technical Direction was to give detailed instructions for assembling a PB&J sandwich that will be eaten by a performer. The instructions needed to be clear and concise. Since we will not be able to relay verbal instructions to the stagehand that would be responsible for assembly.

Along with a detailed list of instructions, above is an auto Cad illustration of how the sandwich should look after assembly as described in the client’s request. Additionally, I filmed a short video demonstrating proper assembly that could be accessed via QR code which was printed and handed in with all additional paperwork to the stagehand.

Analysis

The video was a good idea but was overlooked by the stagehand in the PB&J assembly process. When the stagehand started they only used the written instructions and briefly analyzed the drawing.

Application

In the future, if I have important information that I need a stagehand to use. I’ll make it more clear in the written instructions to reference any videos or detailed documents to aid in the production.