All posts by Koichi Yoshino

The Culmination Project Overview

Introduction

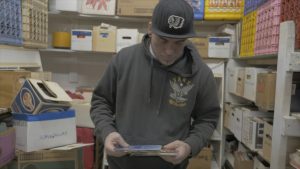
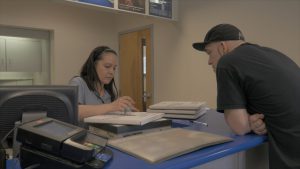
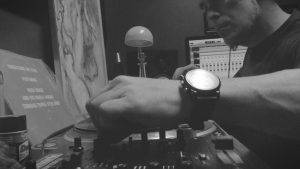
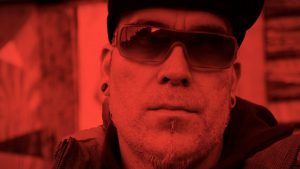
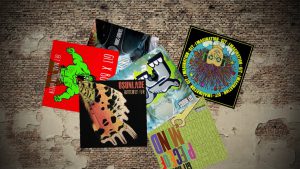
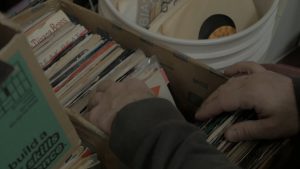
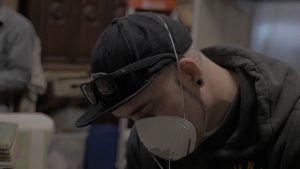
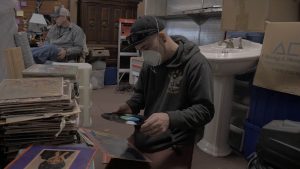
In my college years at City-Tech, I have studied various aspects of video production processes in the classes. For the culmination project, I created a short documentary film, called “The Process”. The 9 minutes long film mainly focuses on rare vinyl record collections, sampling based music production, and underground music scenes. It features a matured music producer/record dealer, Gregg Lorenzo, and consisting of his interviews as well as music production performances. The film conveys his passion for music, inspirations, methods of music production, and information about the vinyl record business.

Link to the film: https://vimeo.com/218444226

Location/Storyboard

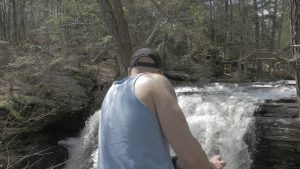
The majority of the clips were shot in various places in Poconos, Pennsylvania such as thrift shops, record stores, waterfall, forests, music production studio, record storages, and so on. Additionally, some of the clips of the nightclubs, record stores, and restaurants from New York City are included in the film.

Methods

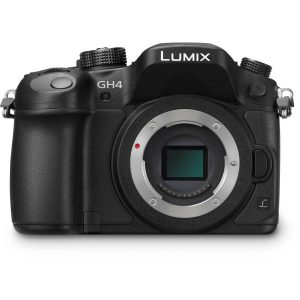
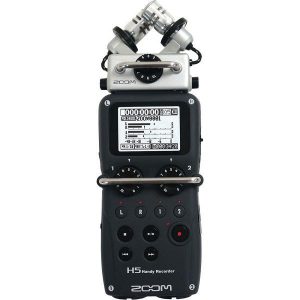
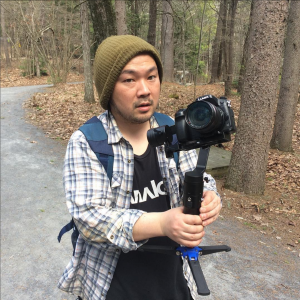
All the still/video footages were captured on Panasonic GH-4 mirror-less camera and Nokia Lumia 1020 camera phone. Additionally, I operated a camera track slider for some of the camera work such as introduction/b-roll and Ikan EC-1 Gimbal Stabilizer for the tracking shots. For the audio recording of the interviews, I used a Sony ECM 44-B lavalier microphone and zoom H-5 Field Sound Recorder. They were mixed in Avid Media Composer by using fx such as Compressor and Equalizer. The tasks of video editing, color corrections, and time-remapping, were also processed in Avid Media Composer. In addition to the basic video editing, I incorporated, parallax movement, ken burns effects, Text animations, and photo Montages by using Adobe Creative Clouds.

Production Review Note

Due to the small sensor size, Panasonic GH-4 creates great DOF, therefore, it was very effective for the run and gun style situations to maintain the focus of the subject. However, it suffered in low light situations. Also, using Ikan EC-1 was a great way to capture steady footages in the tight spaces, however, it was difficult to maintain horizon levels. I realized that we need to be careful when we use a lavalier mic for the interviews; it catches the noises of the body contact.

Poster Link

process_poster

Schedule

As the shooting sessions had been canceled by the talent many times, I started the project by creating motion graphics and text animation. On week six, I finally accrued a chance to meet with him and shot B-Rolls in many different locations in Poconos, Pennsylvania. The next shooting sessions were held in week nine, I have captured the footages of his interviews and additional B-Rolls as well as night scenes in New York City. After the completion of the production works, I moved on to the video editing processes.

documentary_Calendar_2

Badget

Planned Budget

Avid Media Composer $30 ($10 monthly subscription)

Adobe Creative Cloud $60 ($20 monthly subscription)

China Balls Lighting Kits $20

Total Amount: $110

Actual Budget

Avid Media Composer $30 ($10 monthly subscription)

Adobe Creative Cloud $60 ($20 monthly subscription)

Glyph Technology Blackbox Hard Drive – 119.95

Zoom H5 Field Recorder – $269.99

Sony ECM44-B Lavalier – $156.16

Transportation – Approx. $200.00

Food – Approx. $100

Total Amount: $936.10

Bibliographies

Mary Plummer. (February 10, 2012). Media Composer 6: part 1 – Editing Essentials. Cengage Learning PTR

Sheila Curran Bernard. (2016). Documentary Storytelling: Creative Notification on Screen. Focal Press

Trish Meyer. (February 19, 2016). After Effects Apprentice. Focal Press

Conclusion

Because of the first experience for me to create a documentary style film, I have encountered many different challenging situations. Throughout the project, I have learned many aspects of the film production procedures such as content creation, shooting techniques, post-production works from the advisements and own studies. Also, I have realized the importance of directing and communication with the talents. I believe that it was the great opportunities for me to gain technical knowledge and expand understanding of the film production procedures. I would like to make a great use of this study for the future projects.
square_picture_collage_creation

square_picture_collage_steps

Link: https://vimeo.com/218457272

step1. resize all pictures to 375×375 in Photoshop

step2. make new solid layers 1920×6 @3 & 1080×6 @3

step3. Making grids by positioning the solid layers

step4. Place pictures in grids

step5. Create new camera

step6. Create new null object & parent camera to the null object

step7. Adding Saddle Dolly Movement by Animating z-axis of the Null Object

photo_montage_creation

photo_montage_steps

Link: https://vimeo.com/218457272

step 1. Create new shape layer. Create square shape by add rectangle and fill in the content of the layer. (size = 350×350)

step 2. import photo and make a layer under the shape layer. Then, set the layer to alpha matte.

step 3. Make the layer to 3D layer. Then, turn on the cast shadow on in a materIal option.

step4. Pre-compose and rename the layers to photo 1.

step 5. Make a solid layer of 1920×1080 and place it under the pre-composed layer. (snapshot)

step 6. create a camera layer. set f-stop to 1.4, and blur level to 200%.

step 7. reposition the light to where the camera is located.

step 8. move back the solid layer slightly.

Step 9. Animate z-position of the layer from front to the back. Then, adjust the first keyframe in the graph editor.

step 10. create an adjustment layer and apply a slider control from the effect.

step 11. Assign z-rotation of the pre-coposed layer to the slider by writing a expression following:
seedRandom(thisComp.layer(“Adjustment Layer 1”).effect(“Slider Control”)(“Slider”)*index,true);

random(-45,45)*10;

step 12. In order to create a wiggling effect, write a expression on the x-position following:seedRandom(thisComp.layer(“Adjustment Layer 1”).effect(“Slider Control”)(“Slider”)*index,true);
wiggle(0,thisComp.width*.5)
also, write a expression on the Y-position following:
seedRandom(thisComp.layer(“Adjustment Layer 1”).effect(“Slider Control”)(“Slider”)*index
,true);
wiggle(0,thisComp.height*.5)

step 13. Write an expression on the Z-position following:
value-index

step 14. Duplicate the pre-composed layer

step 15. trim all the layer to 30 frames long. Then, make a sequence by using Animation>keyframe assistant>sequence layer

step 16. Extend the layers to the length of the composition

step 17. Adjust the value of the slider and position of the camera in order to arrange the layout of the composition

step 18. The final step is swapping photos to favorite ones

lower_thirds_creation

Lower Third steps:

Link: https://vimeo.com/218457083

step1. create a line (3px) by pen tool

step2. add trim path on the layer and create one and half minutes animation by changing an end parameter to 100%

step 3.change beginning of the start and end keyframe to 50%

step4. adjust keyframes (slow start/slow end) in the graph editor

step5.crate a text layer for the name (aprox. 65px)

step6. duplicate the layer and change to job title (40px)

step7. create a shape where you want to reveal the texts and apply alpha matte to the text layers

step8. move the beginning of the keyframe of the text layer (name) to be able to match up the timing with the job title

step9. create another shape by pen tool (for the option, use a ruler to arrange the shape

step10. duplicate the layer and extend the path to make the area which the shape to be revealed

step 11. then apply alpha matte to the shape layer

step12. animate the path of the shape to be disappeared at the end

step 13. adjust timing in the graph editor

step 14.select all layers and pre-compose the layers

step 15.duplicate the layer and apply time-reverse to the layer

step 16. make both layers in an order

step 17. apply time-remapping to the layer to adjust the speed of the animation

Refelence Tutorial

Budget/Gear List

Budget:
● Avid Media Composer $30 ($10 monthly subscription)
● Adobe Creative Cloud $60 ($20 monthly subscription)
● China Balls Lighting Kits $20

Total Amount: $110

Gear Lists:
● Panasonic GH4
● Benro Travel Agent Tripod
● Benro MAD38A Monopod
● Rode Lav Mic
● Glide Gear DEV-1000 Camera Slider
● Ikan EC-1 3-axis Gimbal Stabilizer
● F&V R-300 LED Ring Light
● AKG-C414 Condenser Microphone

Welcome!

This is the first post on your Learning Blog. Edit or delete it, then start blogging!

The ePortfolio is both a Learning Blog and an Academic Career Portfolio. Use the Learning Blog to document your learning experiences and class assignments each semester. As time goes by, add content to the Academics and Career sections to show your department, graduate institutions, or future employers how well prepared you are for your chosen career.

NOTE: Remember to add appropriate Categories and Tags to your posts. This will help your professors and other visitors find the content they are looking for. The Categories “Coursework” and “Field Trips” and the Tags “OpenLab” and “City Tech” have already been applied to this post. Feel free to make changes!