In this project I made 3 images. The first image is focused on scale, the second image is on time travel, and the third is on hyper realism. I have to utilize Photoshop’s selective tool, light/levels tool, contrast tool to make edits of each 3 images. Also while looking for the images I have to keep in mind with the perspective of the images I’m choosing, so they will match each other when I embed them in photoshop.
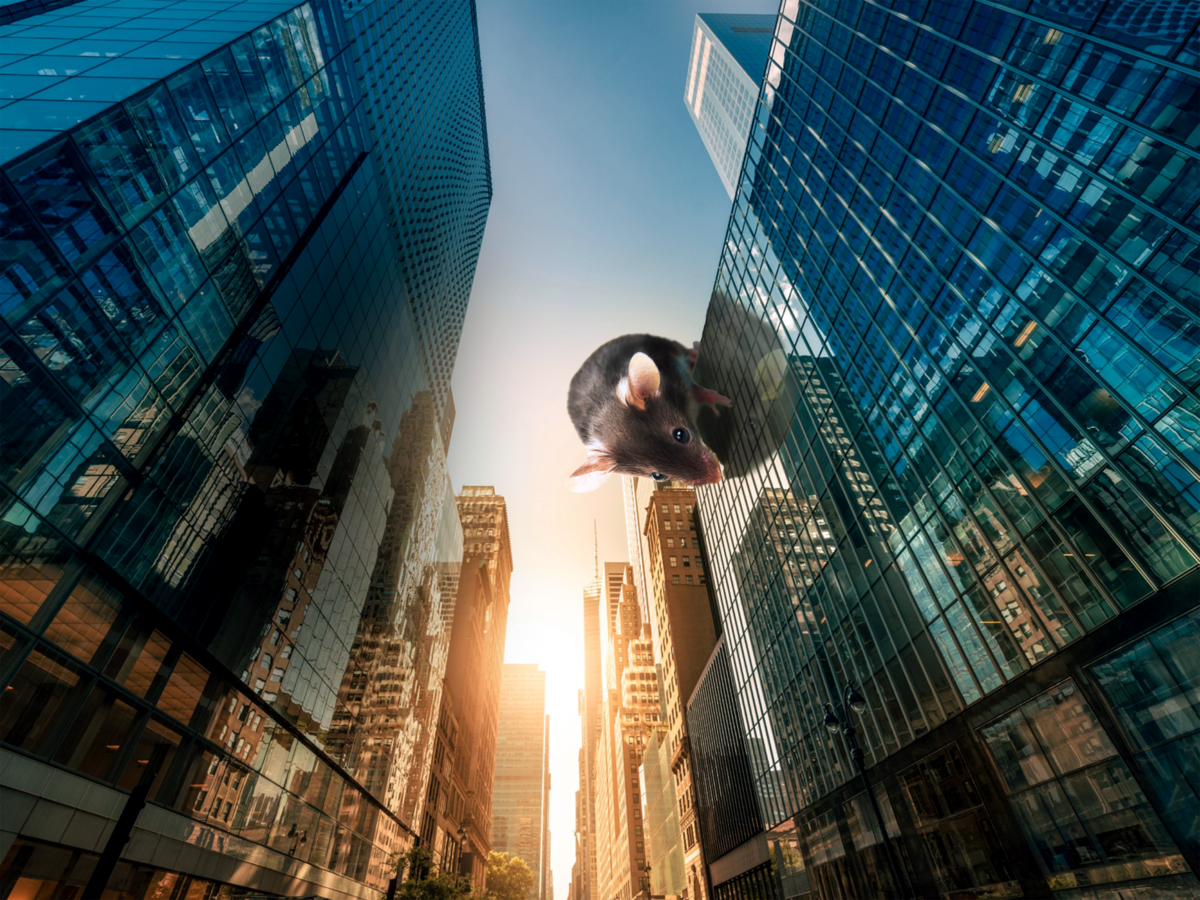
For the scale image I choose a small mouse to put on a building. I had to make edits to the color of the mouse so it can blend in well to the building’s colors as well as the sky. I also had to add in a shadow or a reflection since the glass on the building is reflective.
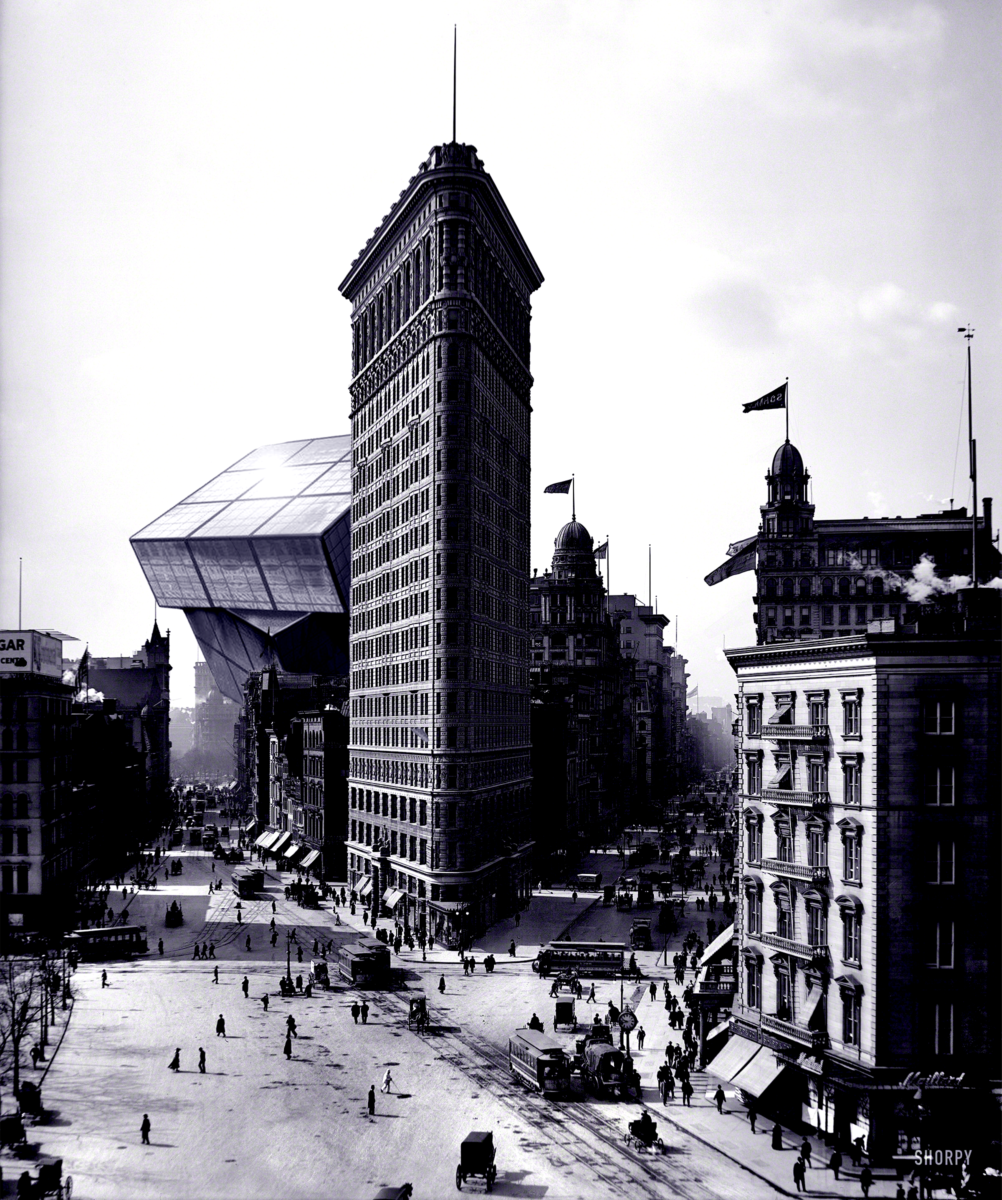
For the time travel image I took from the google a black and white building then I took a complex building structure to put into the black and white image. For this image I focused more on the levels and shading of the picture. I also had to keep in mind with the depth of the image so I can place the complex structure at the right depth level to make it look real.
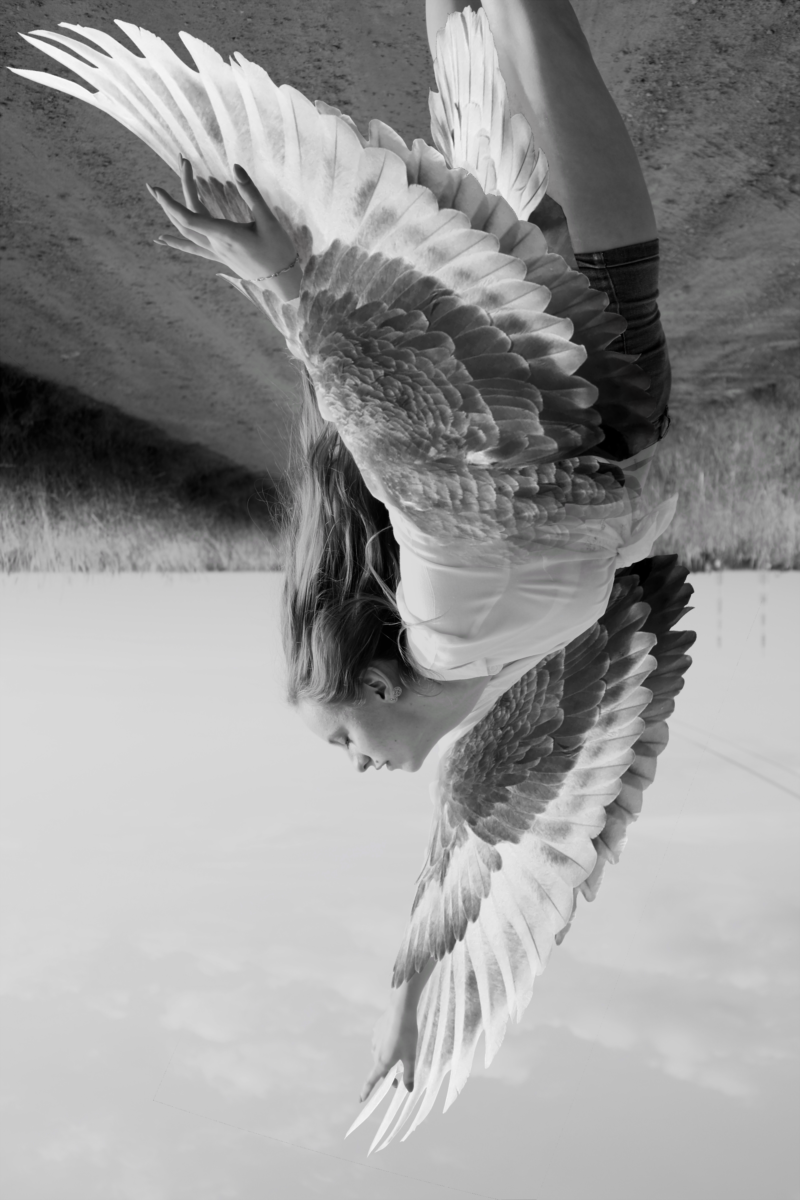
In the hyper realism I wanted to do a girl falling with wings. I only took 2 images the girl and the bird so both of the wings can match each other. To attach the wings to the arms I have to keep in mind of the layers. I made 2 layers of wings. One for the back and another for the front, so I can wrap the arm in feathers. Also where the wing does not cover I added in another wing layer but this time a bit transparent to blend it in. After that I did a bit of darkening and lighting to the image.