Portrait Retouching in Photoshop will teach students how to edit portraits using the retouching tools (the spot healing brush tool, healing brush tool, patch tool, red eye tool, clone stamp tool, pattern clone stamp tool, dodge tool, burn tool, sponge tool and content-awareness) in cs6. In this book I will provide the definition of each tool, explain what they are used for, and a step-by-step tutorial on how to use the tools in an image. I choose this topic because I wanted to teach others what the retouching tools are and how to properly use them in Photoshop. In today’s world many people are taking multiple #SELFIE (A selfie is a self portrait photograph taken with a digital camera or cell phone), waiting for the perfect picture to post on social media, but why take so many pictures when you can take one, bring it over to Photoshop, and make it perfect in just a few seconds.
- Below I have included examples of some before and after images that have been retouched and enhanced using the Retouching tools in Photoshop.
1. Before retouching this image you can see a lot of imperfections on her skin. After retouching the image you’ll see her skin looks flawless also contrast has been added to her eyes and lips.

Gretadesign.net,. (2014). Retrieved 14 November 2014, from http://gretadesign.net/wp-content/uploads/2012/03/megan-fox-before-after.jpg
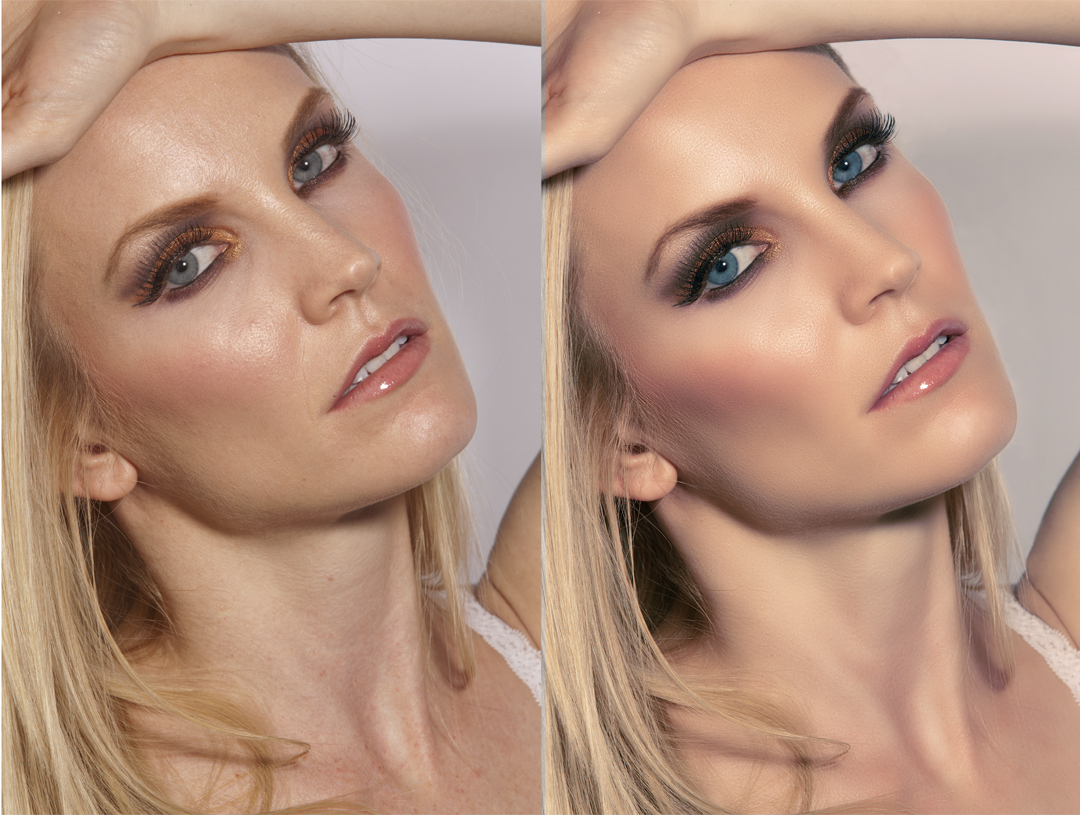
2. Before retouching this image you can see that her skin looks dull and greasy. After retouching it looks as if she has perfect porcelain skin also a little contrast has been added to her eyes so that they stand out.
Before After
 Img202.imageshack.us,. (2014). ImageShack Image Hosting Service. Retrieved 14 November 2014, from http://img202.imageshack.us/img202/1041/retouch6.jpg

