Homework: design your own room for VRChat.
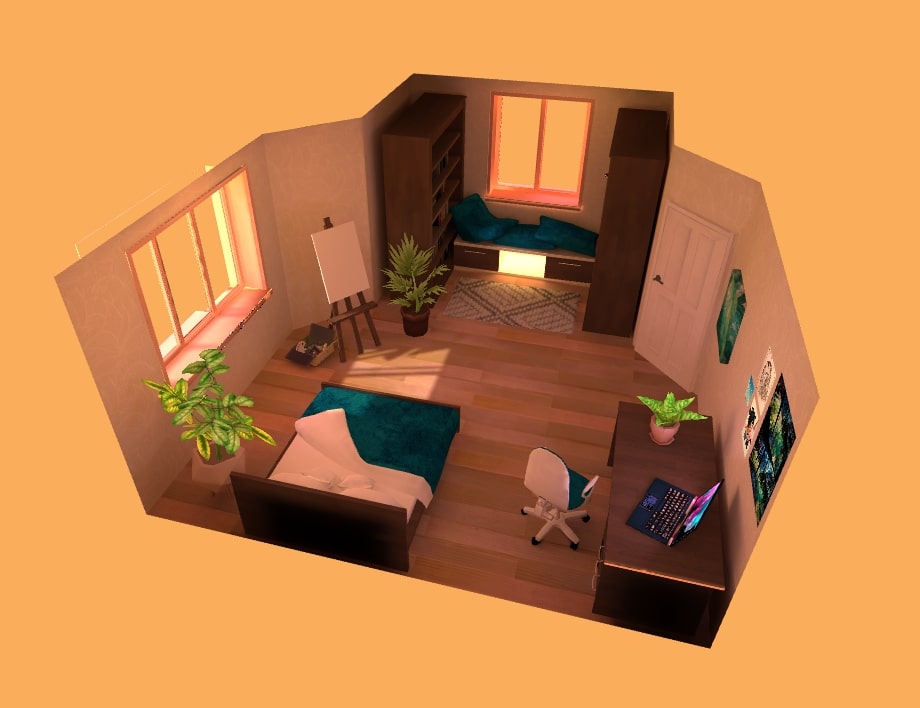
I reimagined my bedroom with more space/color and added the reading nook I’ve always wanted. In total, it took me around ~17 hours and I finally nailed rendering in Unity :)
To start off, I made a new 3D project in Unity (2017.4.28f1). I’m using ProBuilder and ProGrids — 1st time! — for quick prototyping and the “snap-to-grid” feature.
First, I threw down some furniture for scale and came up with a floor plan:
I couldn’t find a lot of nice low-poly potted plants for free, so I combined two asset packs to get the look I wanted.
(bookcases)
Halfway through placing walls one by one, I figured there had to be a better way – so I went through all the ProBuilder buttons and found the Create Poly Shape tool. I ended up tracing over my floor plane, pulling it up to make a box, then flipping the normals so that the textures would be inside out.
(I also swapped out the bed model after I found a better one! You might see other models suddenly disappear as I change my mind.)

Please don’t manually create the walls one by one like I did. 
Use the “Create Poly Shape” tool to make the whole room at once… 
…then invert the normals so we can see them from inside.
Next step was to add some windows. I needed to cut a hole that matched my window model exactly, so I used this tutorial to subtract the shape of my window from the wall.

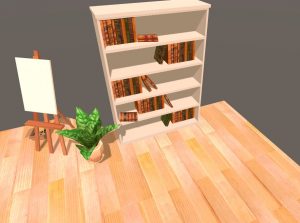
And since I got the bookcase and book assets separately, I had to place everything on the shelves myself:
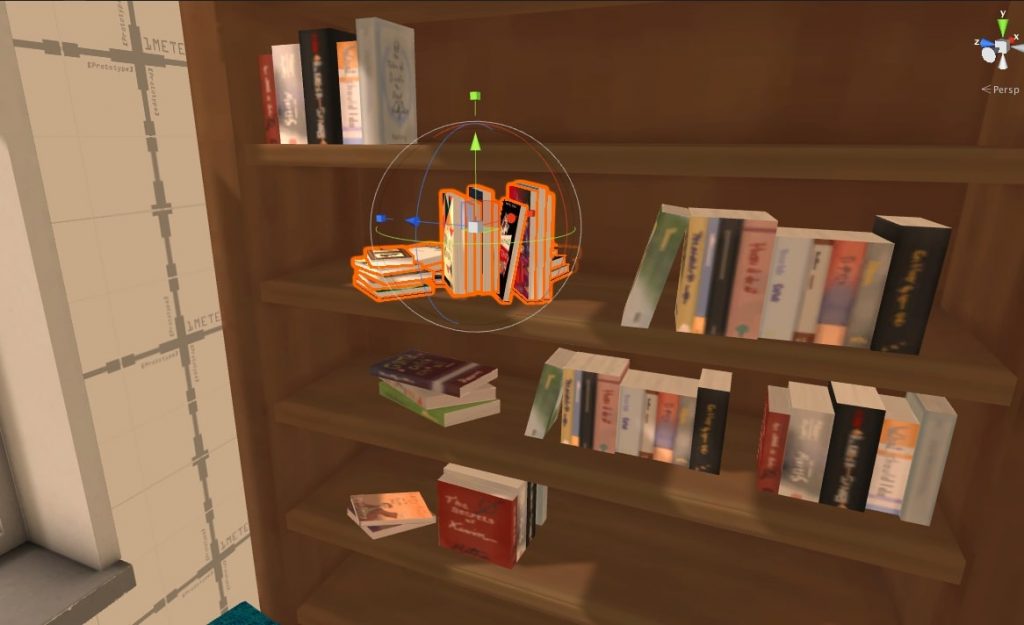
Things are looking good! Most of the furnishing is done, but I’m so sick of this default gray & blue skybox. I swapped it out, and…
Woooo!
One thing I’m proud of here is how much better I’ve gotten with materials in Unity :) I assigned the same dark wood texture to the bed frame, desk, bookcases, and easel. [and this plush teal texture on bedsheets pillows and chair]
I also switched everything over to mobile shaders for better performance: Bumped Diffuse for anything with a normal map (extra detail), Vertex Lit for very simple (almost flat) lighting, and Diffuse for everything in between. This should reduce the load on my Quest when I launch this scene on it later.
<<<insert screenshots of shaders/materials>>>
time to add a second window – this wall is much bigger than the 1st one, so i “probuilderized” the window in order to manipulate its shape and extend(ed?) it to 3 panes]


(repeated the subtraction process)
(added a neutral wallpaper i found on __! so this is what my room looks like right now: )
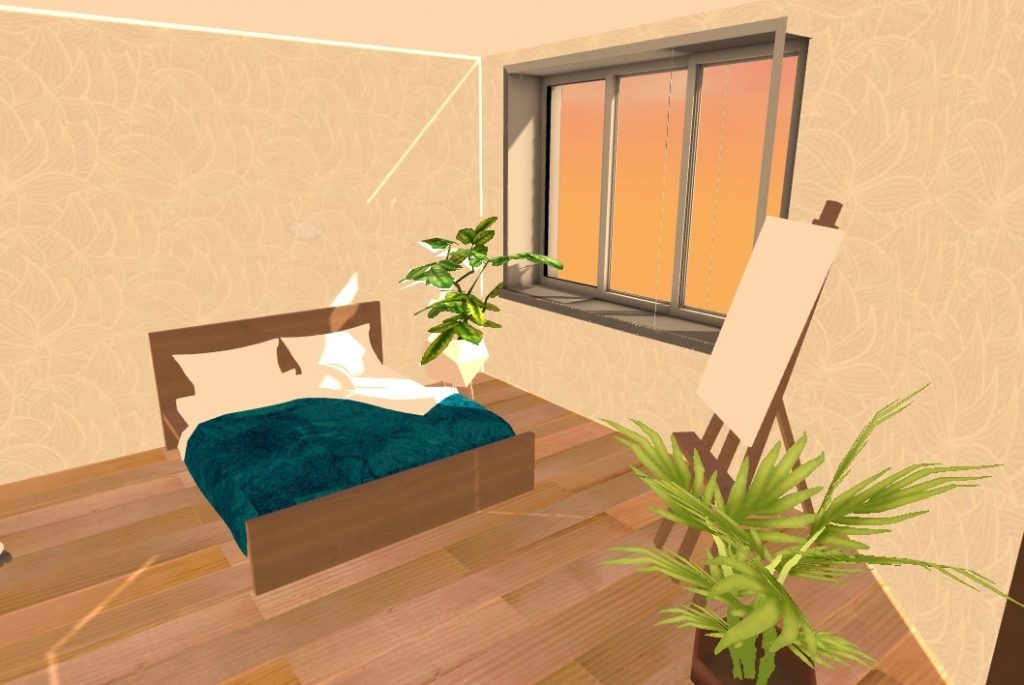
(cute, but kind of flat. started playing with settings in the lighting tab, decided to switch the environment lights from my custom off-white color to the skybox:)
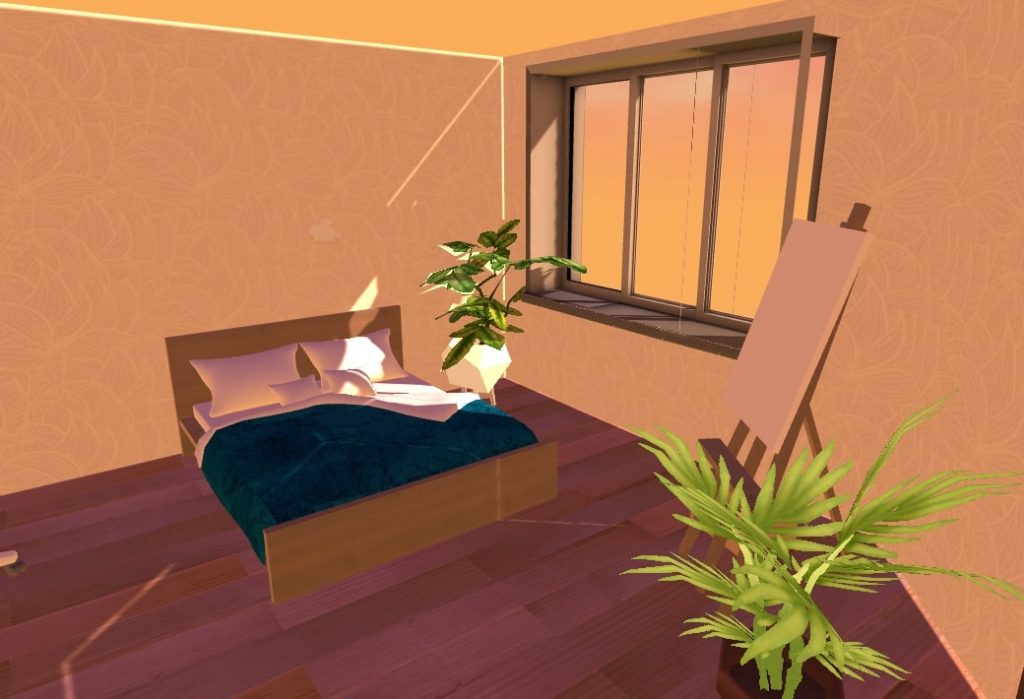
(so much warmer!! still has some flaws: light is leaking through the seams, weird effects on the leaves, only direct shadows. only one fix: bake lightmaps. turned off realtime global illumination, ___, and hit Generate.)

(my first bake! super happy – but i have more changes.
- we lost a lot of the pink lighting :(
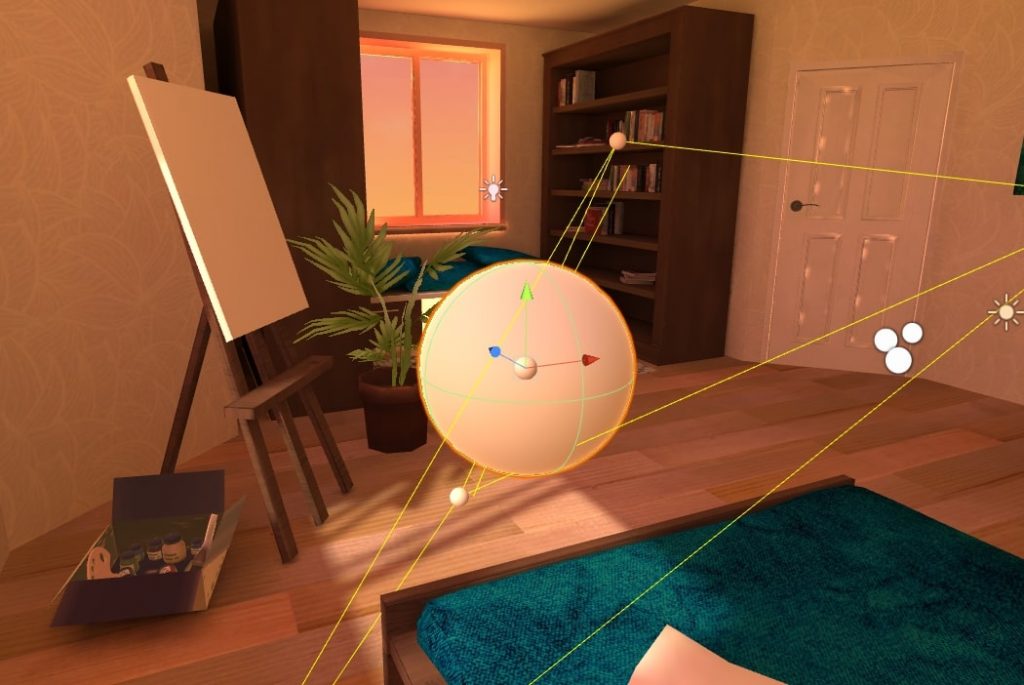
- i feel like the scene would come together if the light shining thru the window fell on the floor (towards the center of the room)
- i forgot to push the window further back into the wall (oops.) also the metallic gray is messing up the aesthetic
made some tweaks: bumping up the environment lighting, lowering the sun’s indirect lighting (to avoid overexposing / washing out the scene), rotating the sun, swapping materials…
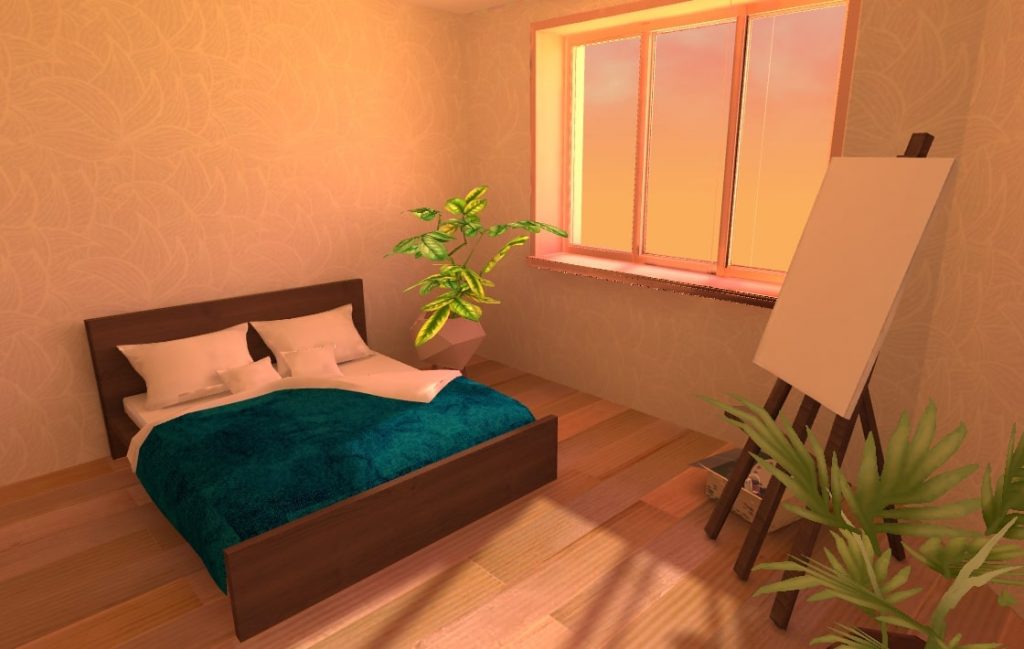
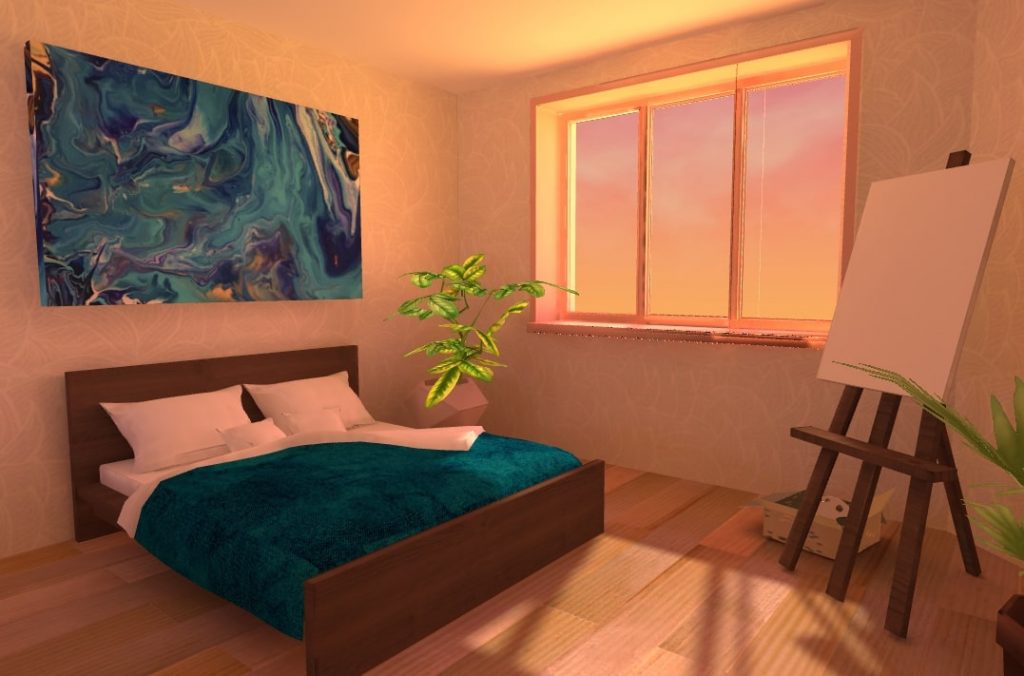
(…and it’s perfect! :)
made the room feel more personal by scanning in a painting of mine: )

(reading corner was looking empty so i tossed in a rug.)

How it first looked when I placed it 
After baking it into the scene
(the “lightbox” effect going on inside the seat was actually a mistake! the bottom of the model clipped through the floor, flooding it with skybox light. but i ended up liking the look, so i left it as is)
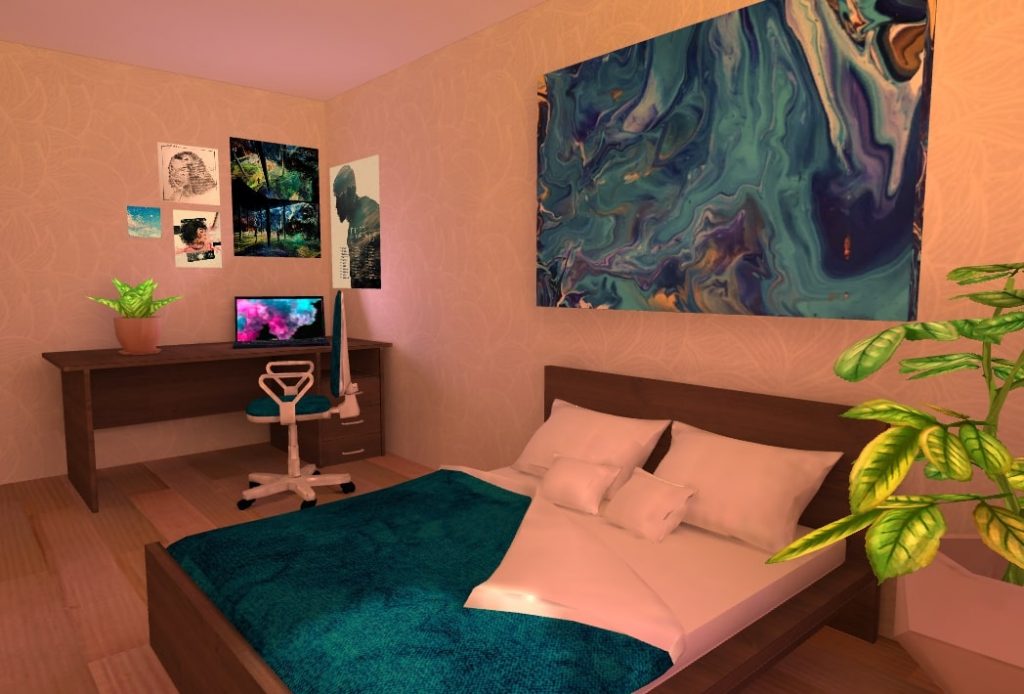
(customized my desk! tour poster from my fave singer/songwriter, one of NYC’s immersive art destinations, more drawings of mine)

Lastly, I followed this tutorial to try something new: light probes! Since all of the lighting in my scene is pre-rendered, dynamic game objects like VRChat avatars won’t be affected by it unless I set up “samples” of the lighting like so:
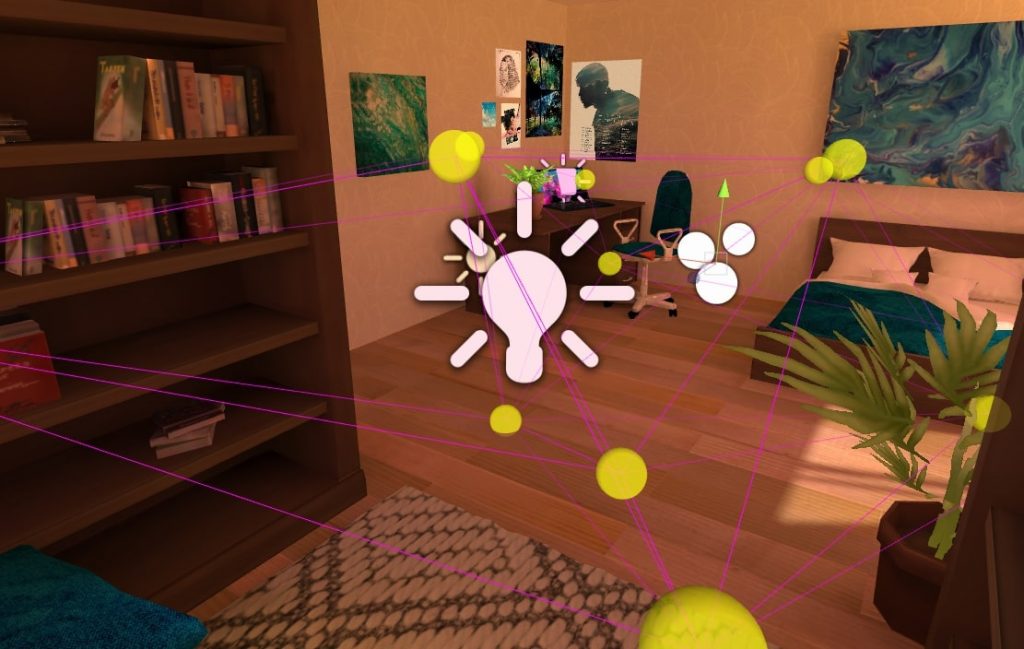
Just one thing: I haven’t been able to get rid of the artifacts on this door, no matter how many times I move it, change its settings, or re-bake it. So… I took the easy way out and made it vertex-lit.
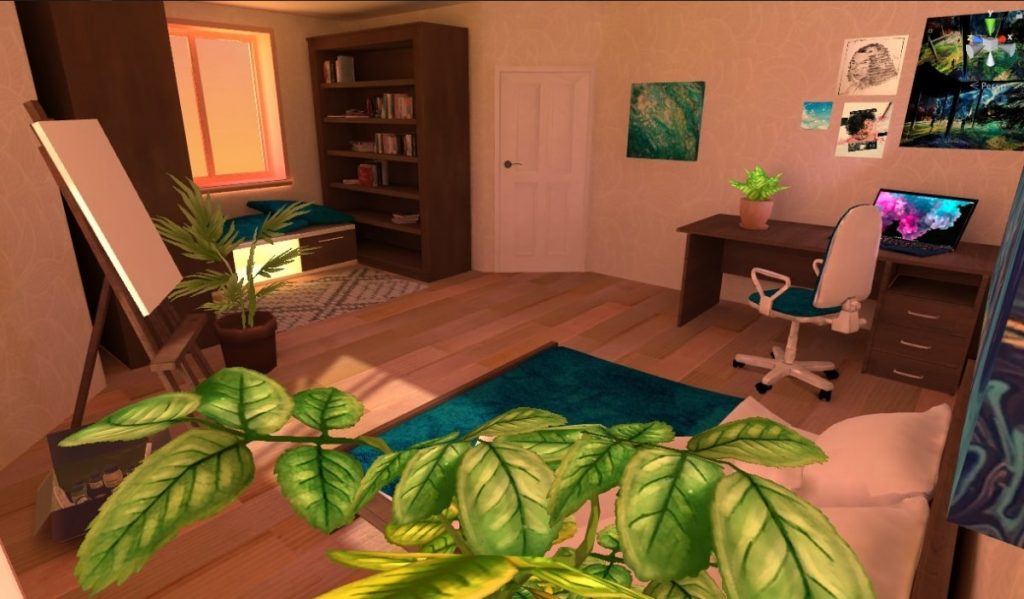
And 17 hours later… we’re done!
Assets I used:
- 15 Original Wood Texture by NevLext
- Asus Zenbook by djangospel
- Big Furniture Pack by Vertex Studio
- Books by Tomations
- Books Collection by charles.cla
- Carpet by Théo Richard
- ColorSkies by Pulsar Bytes
- Door2 by hoschu
- Easel by Olivercharlton11
- Stylized Pots and Flowers by RRFreelance / PiXelBurner
- Stylized vegetation pack for mobile by Poly Ninja
- Toon Furniture by Elcanetay
- Window – Props for Room by Mixaill








Leave a Reply