Video for the gearbox that we designed for our Machine Design class was uploaded. Click here to view our video presentation. Thanks to everyone including the CLT Ali for helping us finish the project.
Elizabeth, Roy, and Golan from Machine Design class.
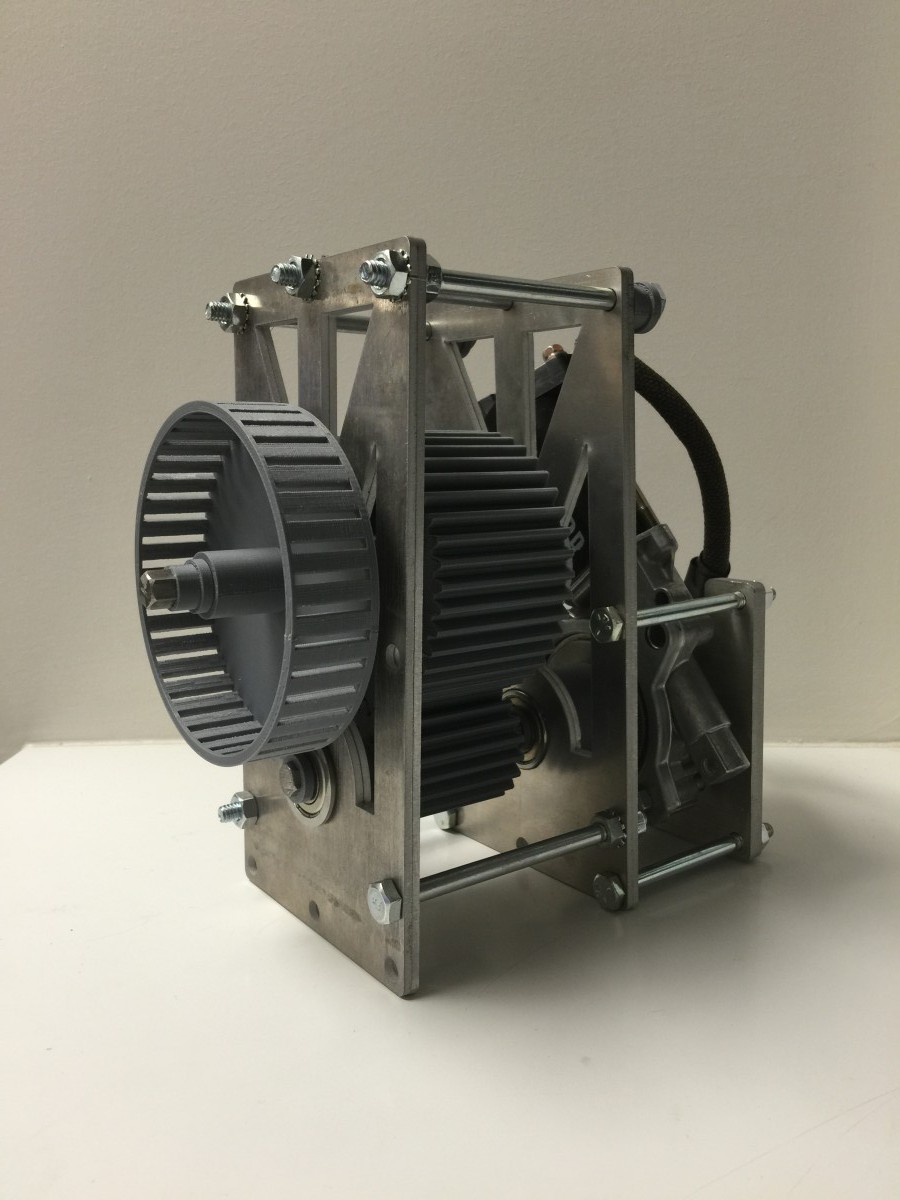
For Our Machine Design class we designed a gear box with a 2:1 ratio; speed reducer. We then attached a small fan on the output shaft. More pictures are in the Miscellaneous page.
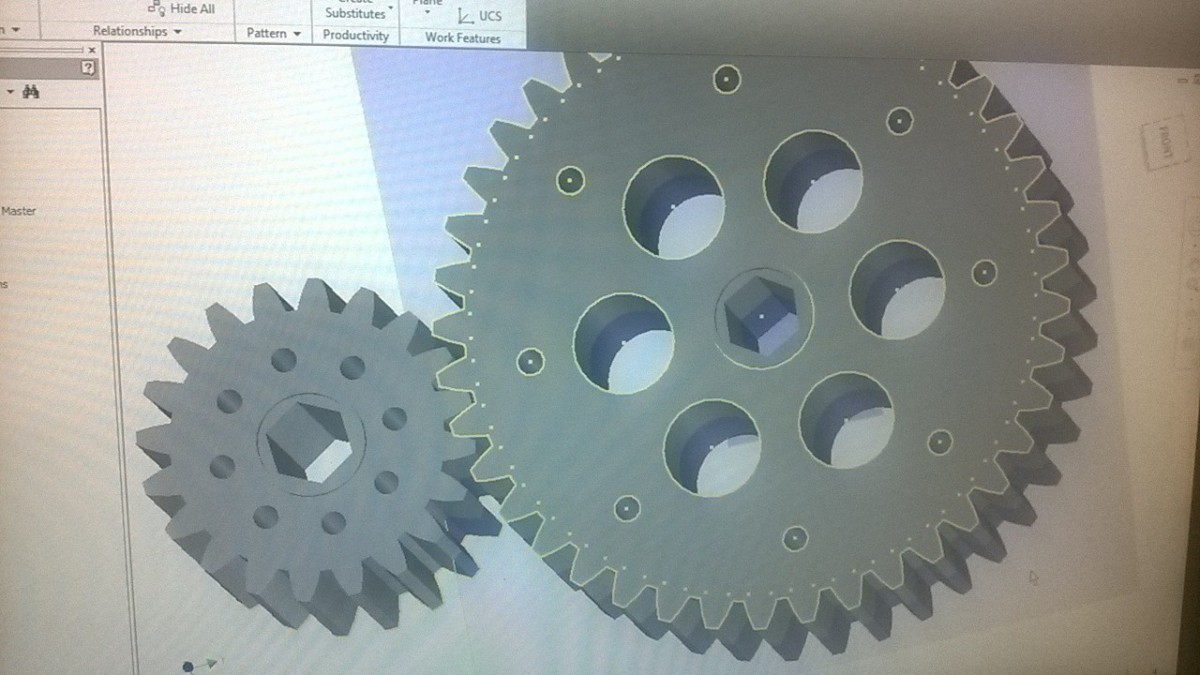
Above were pinion and driven gears designed on Autodesk’s Inventor software. They were finally printed over the weekend using the Mech. Eng. Technology Dept.’s 3-D printer. Unfortunately I don’t remember the name of the printer off the top of my head but I will list it in the future. Pictures of the actual printed parts are displayed in the 3-D prints page.
In addition, the combustion chamber project of Professor Nakamura will involve the use of heat tracers which will assist in observing thermal diffusion in the MSW combustion chamber. Pictures and 3-D prints of the tracers will be created in the near future.
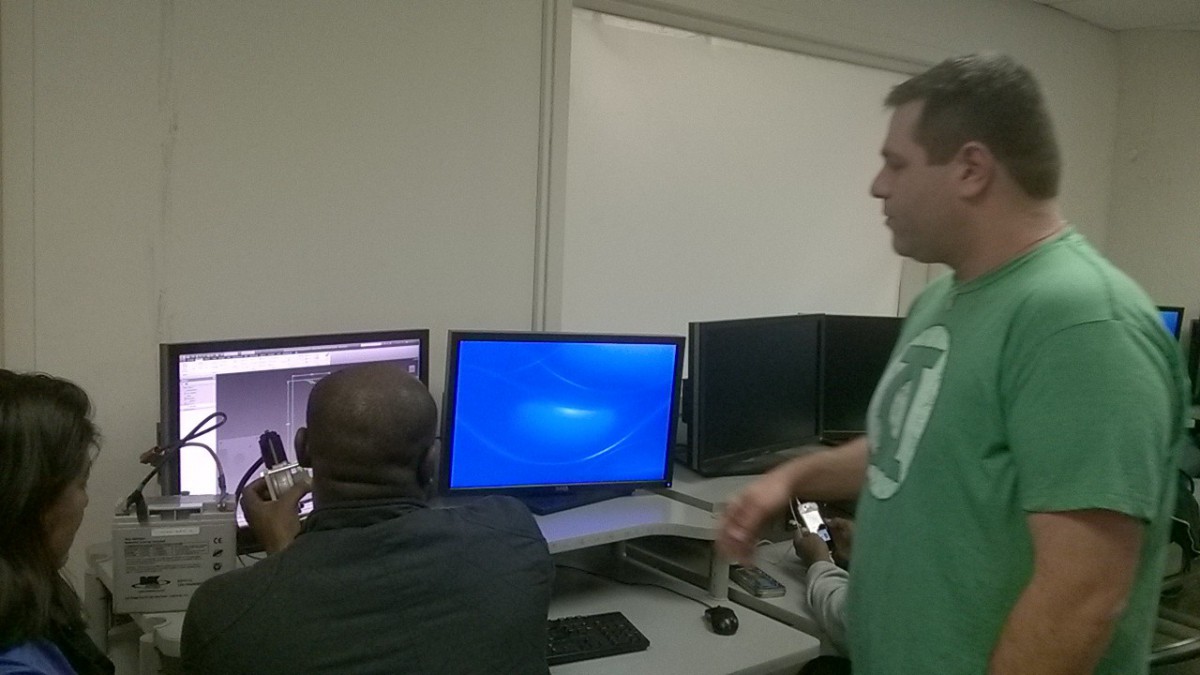
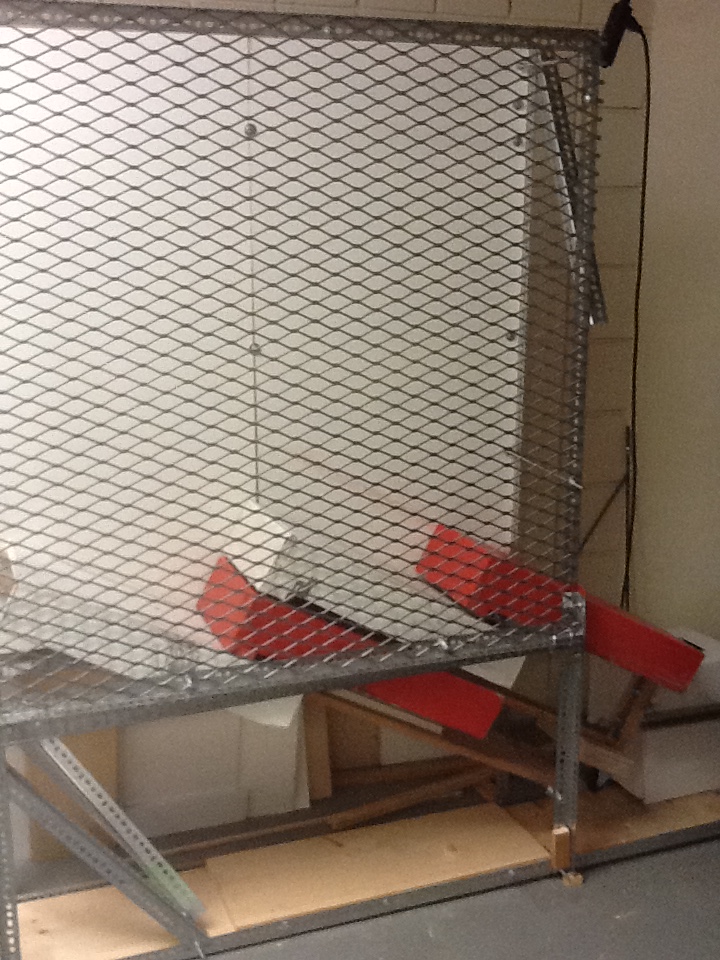
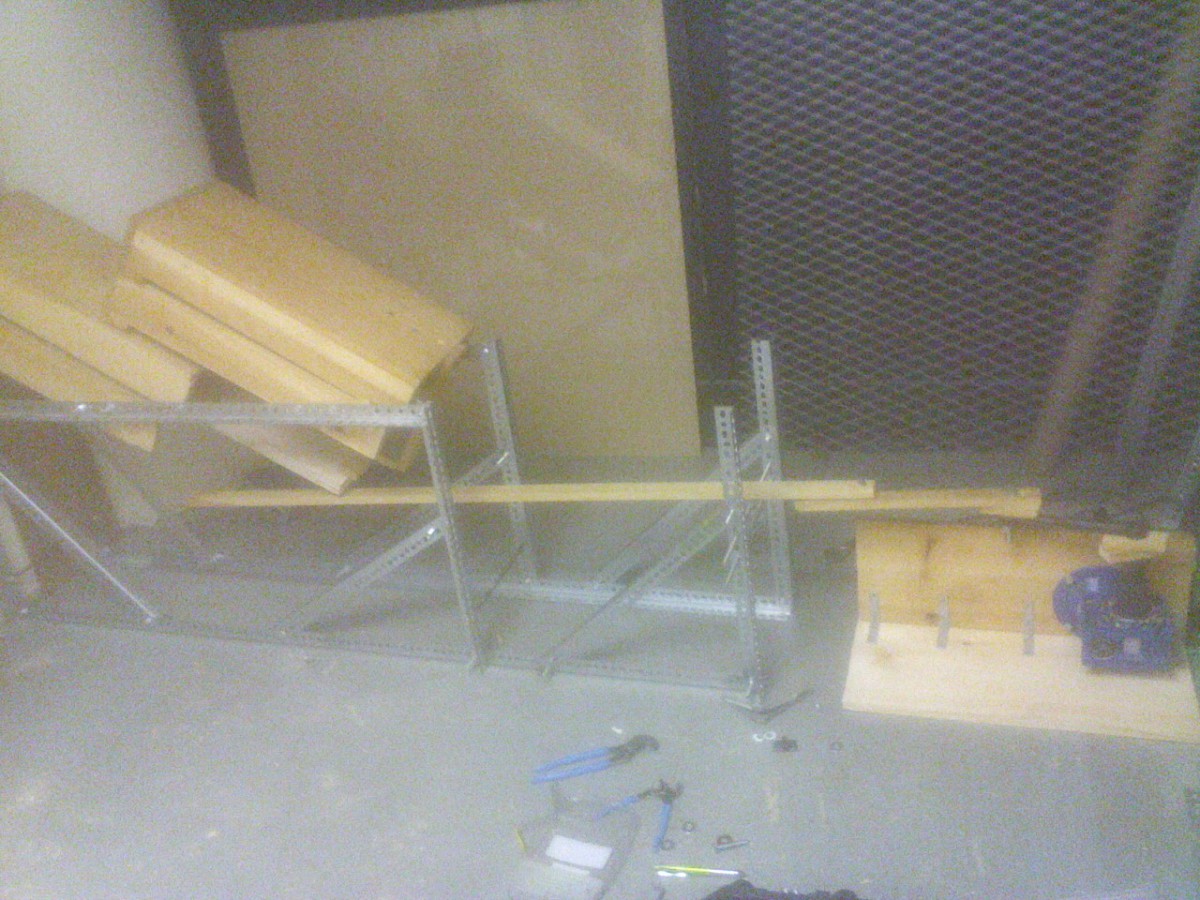
Since the Summer of this year as part of the Energy and Environmental Simulation Laboratory group at Citytech I have been working with Professor Nakamura in constructing a sectional view of a Waste to Energy combustion chamber focusing on the reverse-acting grates which sorts solid waste when it’s being heated. It’s been a long process but I would say it’s 85-90% complete. Thanks to Lynne and Luca for their contribution in improving the design. It still is not finished as the photos and video shown is not the latest version. It moves a lot more smoother now thanks to Luca’s addition of drawer rollers and a new moving arm to drive the grates. A vast improvement compared to what we started off with.
To follow further updates on the combustion chamber and the EESL in general:
For Dark Mountain, I will remove the error from the original, use a higher resolution scan for better overall quality, and use better adhesives to attach the metal to the wood. I may even use small bolts to screw along the corners for aesthetic purposes.
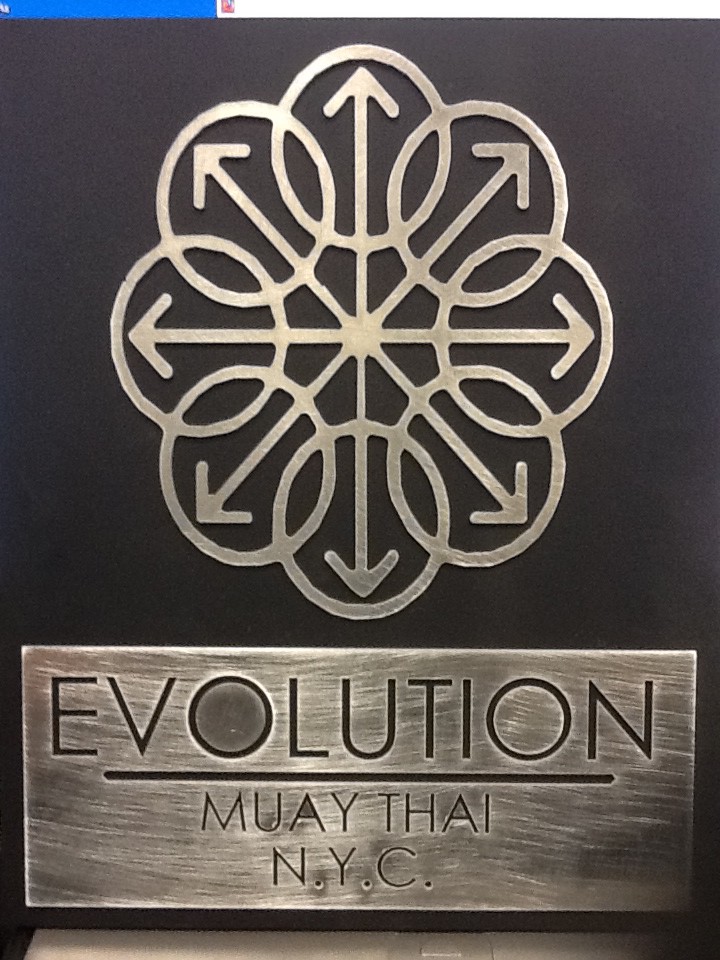
With Evolution, I’m starting to talk to them about possibly removing the banner from their front desk and create a larger version of what I did. Before the letters were cut out of the aluminum piece as negatives. This time around I would cut out each letter along with the middle logo as positives. I believe this would contrast nicely with their desk if I can talk them into painting the front of the front desk black.
Hopefully I will be able to start on this after midterms finish this week.
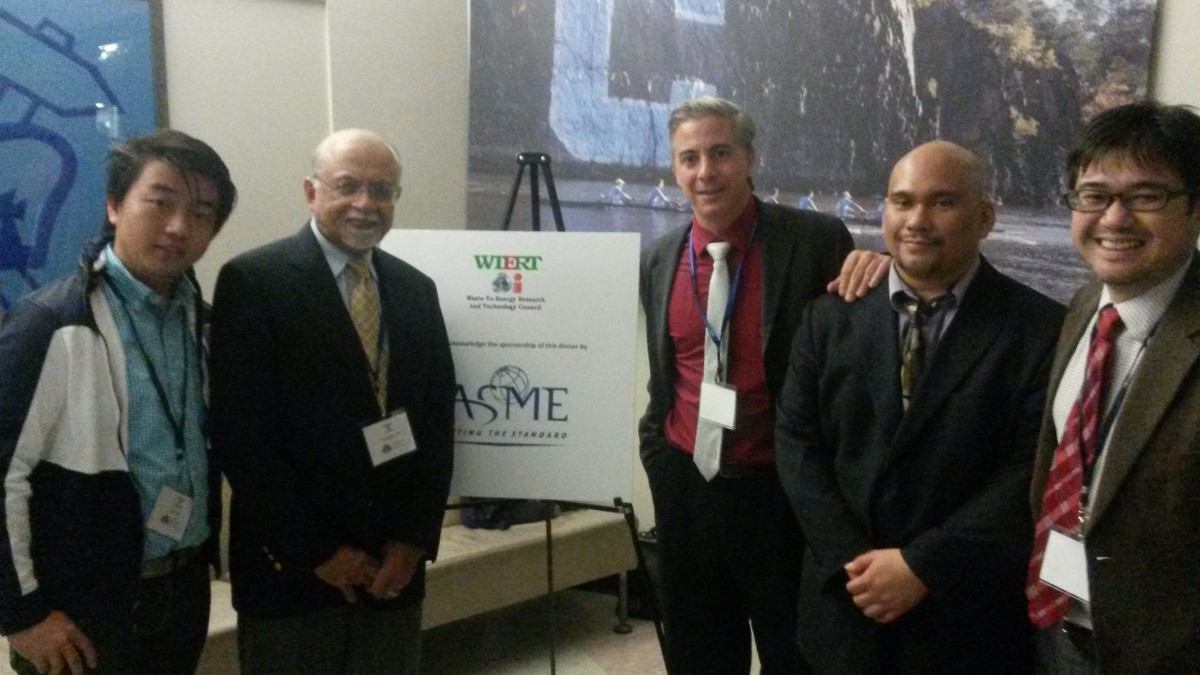
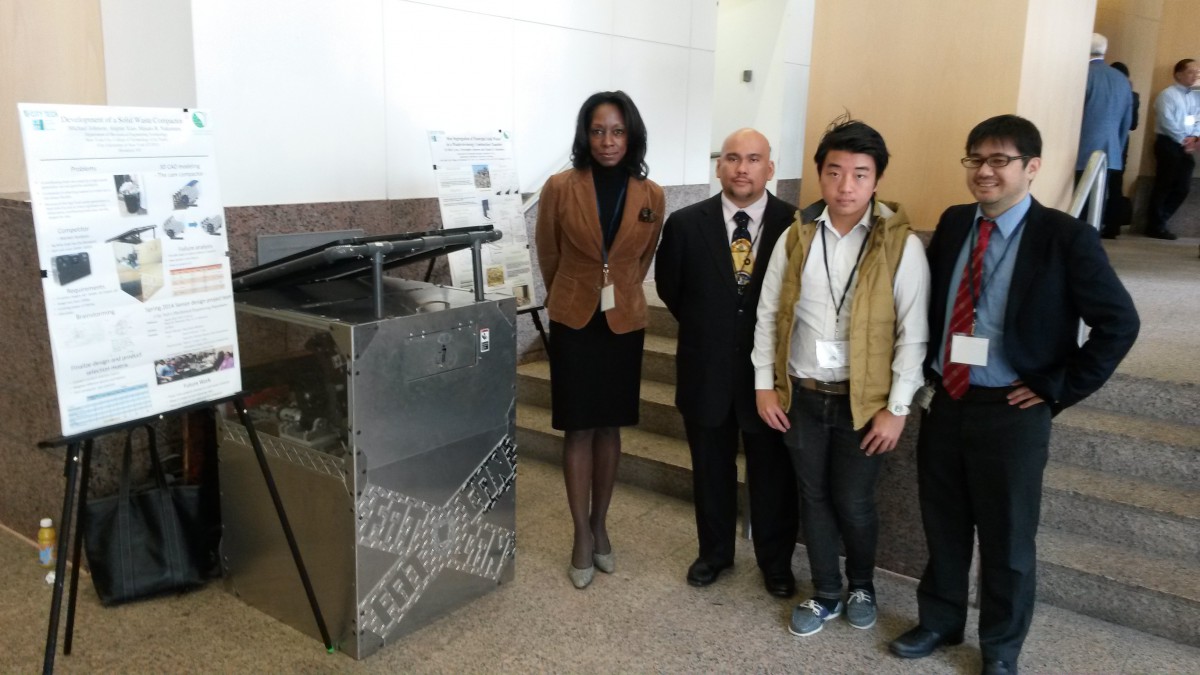
Professor Nakamura, Lynne and myself attended the WTERT Conference in Columbia Last Thursday and Friday. A lot of interesting speakers and topics. We submitted a poster presentation and the class of ’14 had their senior project presented as well. Our names were announced as the recipients for the ASME Material and Energy Recovery scholarship for this year.
Recently I was one of many students recently awarded The Materials and Energy Renewal Division Scholarship from the American Society of Mechanical Engineers (ASME). The scholarship is given to students focusing on solid waste management related fields. I personally would like to thank Professor Masato Nakamura for all of his help as well as all of the Professors and CLT’s from the Mechanical Engineering Technology department at Citytech.
In regards to 3D printing I do recommend the Printrbot Simple kit to other Mechanical Engineering students. If you’re not getting hands-on experience with your classes this kit is perfect for working with controllers, motors, bearings, etc. if you have no previous experience working with such things. You get a better understanding of how everything works especially when you’re making mistakes and troubleshooting problems with the machine. Granted the print quality and the build volume is not as good as what you can get from Makerbot but the whole point of it in regards to Mechanical Engineering is to learn from it as opposed to making trinkets that you can easily buy at a 99 cent store.
Finished the piece for my friends at Dark Mountain Printing ; I’m very satisfied with the results and hopefully they are as well. It’s got a nice “rustic” element to it I believe. Granted, there is a big flaw that I only noticed afterwards it still does the job. It is displayed on the company logos page.
My 3-D printer from Printrbot is fully functioning for the most part; there are a few issues I have to troubleshoot from time to time. The weight of the extruder motor tends to off-balance the weight of the y-axis movement causing the prints to not be level. The bed is even after using a level. The bearings holding the rods for the y-axis movement are are tight as can be but there is still a minutiae of the piece being “uneven.” As you might have guessed I had to purchase some extra parts from Printrbot’s web store from extra extruder tips and extra nuts and bolts. The upkeep is a lot of investment. Some of the pieces I don’t necessarily need but in the long run they’ll probably come in handy.
There’s not much help as far as referring to instructions. The company has a forum where you can find people with similar problems but you have to play around with it as you keep printing how hot you want the extruder temperature to be, how many mm of filament you want extruded per minute and the length of extrusion. All of that has to be kept in mind while printing as to not melt more material than you can handle. All in all it is a labour of love and hopefully down the line I can invest in an upgrade in this specific model or buy a better printer altogether.
Got my 3-D printer finally assembled. It was purchased from Printrbot and I made some test prints. The bed is not leveled properly so I got a level from the hardware store and will correct the bed. The quality is what you might expect for paying $350 for an unassembled printer but the point of it was less about quality but to become familiarized with the hardware and deal with the common problems now as opposed to later on. The build volume is limited (4x4x4) so I was playing it safe with the scale. Now the pieces I’m making are too small than need be. I will try to post images/video as soon as I can.