This is a discussion area for students in the building technology sequence having technical questions. The focus will be software (Revit and AutoCAD) questions but all questions are welcome.
discussion board posting exercise
This is a discussion area for students in the building technology sequence having technical questions. The focus will be software (Revit and AutoCAD) questions but all questions are welcome.
discussion board posting exercise
You must be logged in to post a comment.
The OpenLab is an open-source, digital platform designed to support teaching and learning at City Tech (New York City College of Technology), and to promote student and faculty engagement in the intellectual and social life of the college community.


Hello Prof. Aptekar,
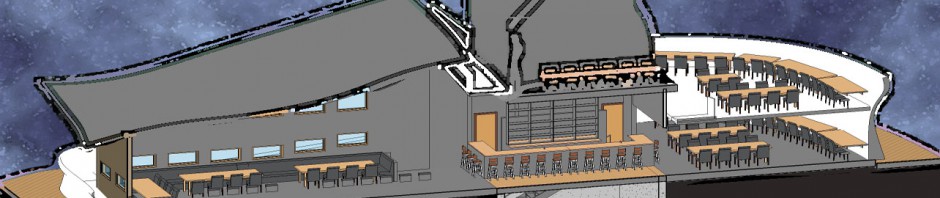
Can you tell me please how to cut the 3d view (after the right click on the cube)?
Thank You Very Much,
Here are the steps to make 3-D cut detail.
Create a new 3-D view and rename it with your detail name.
Create a new callout or section in the area you want to show.
Right hip the review queue and go to “orient view to” select the view you want to look at
Now your new 3-D view should be examining the part the model you made a detail of
You’ll see boundary boxes that control the clipping so you can adjust them to show exactly what you want in the view
Hello Prof. Aptekar,
I have one more question, it doesnt say on the cheklist that the walls have to be hatched with fire rating, is it okay only to have created wall types will colors and dont hatch the walls or we have to hatch the walls for the uploading revit file?
If this is an illustrative view just to include what will enhance your illustration, if it’s a technical drawing you probably wanted black and white, so the answer really depends on which submission you are talking about.
Dear professors
I was wondering under which assignment I should upload my Revit model. the last assignment link on black board is CMCE
If you’re referring to the first submission set you’ll need to actually post it in the content area, is not in the subfolder assignments
Does anyone know how to change the width of the stairs in revit?
Hallow professors
how do I get my 3D view to have colors and realistic texture on Revit?
thank you!
Is there a website where we can find standard sizes for materials to help us put the right sizes in our Revit project?
How to lock 3D orientation to put material tag ?
Hello.
I am using a hollow core system for my walls but, I can’t make hole on it. I need to put my shaft but the shaft option is not working.
Hello.
Some of my columns are not visible in my ground level but they are there because I can see them in 3d view. How can make them visible in my plan view?
In a plan view
1. click on the stair you would like to edit
2. in the modify stairs tab click edit sketch
3. The green lines in the sketch mode represent the edges of the stair. Click on one of the edges to adjust it.
4. Once your stair sketch is complete, in the Modify Stairs Edit Sketch Tab click the green check mark to apply the changes
Trouble Shooting –
The green lines represent only the SIDES of your stair, DO NOT draw a green line for the top and bottom of your stair.
First make sure that you are in the 3D View
In the toolbar at the bottom , just above the status bar,
Click the second icon from the left (it looks like a cube)
select “Realistic” the last option on the list. This will display the materials.
There could be several issues,
1. Check that the columns visibility settings match –
To try a match properties fix, click on the visible column, in the modify tab click Match Type Properties (small paintbrush to the lower right of paste button)
2. Insure that your floor plan cut plane is intersecting the columns-
Open the plan view, click properties, under extents, next to view range, click the edit button
3. Insure that the element has not been hidden in the view-
In the PLAN view, at the bottom toolbar above the status bar, click the the small gray light-bulb (to the left of the sunglasses). This will show in red any elements that have been hidden in the view. Click on the column you would like to make visible, then in the modify tab, click unhide element, when fished unhiding click Toggle Reveal Hidden Elements Mode (gray box with black X to the right) or click the same small lightbulb in the bottom toolbar.
http://wikihelp.autodesk.com/Revit/enu/2012/Help/Revit_User's_Guide/1394-Document1394/1660-Annotati1660/1765-Tags1765/1776-Adding_T1776
Because I am not clear on your exact problem I’d like to offer a work around to including an opening in a wall –
In an elevation view, click on the wall that you would like to include an opening in, in the modify tab click edit profile, sketch a closed rectangle to the size and location of the opening, click the green check mark to complete the sketch.
First make sure that your columns top constraint to the height you desire. You can do this by selecting a column and editing it in properties where you would click top constraint and click the highest level you have saved. Once that is done click the sunglasses at the bottom toolbar to make sure all elements are not hidden.
I am using the schedule sheets for the doors in my project and i was curious to know if there are different ways in organizing and grouping different characteristics of each door?