Gravity Forms to collect work
Gravity Forms is a very robust plugin that can do many different things, from polling users, collecting contact information, to organizing reservations for events, and more. In addition, it can be a great way for site members to submit work–either students in a course, or members of a project or club. If used right, this can limit the need for email (which can scatter submissions throughout your inbox).
The help below shows you how to set up an upload file form, which will add files to the media library of your site. We also have help for a Gravity Forms Dropbox Add-on, which allows you to set up your form to send files uploaded directly to a folder in your Dropbox account. This could be helpful in keeping files for a particular class or assignment together in one place, and also won’t use up media library space.
To use Gravity Forms to have people submit work through to media library, first activate the plug-in, and then follow the steps below:
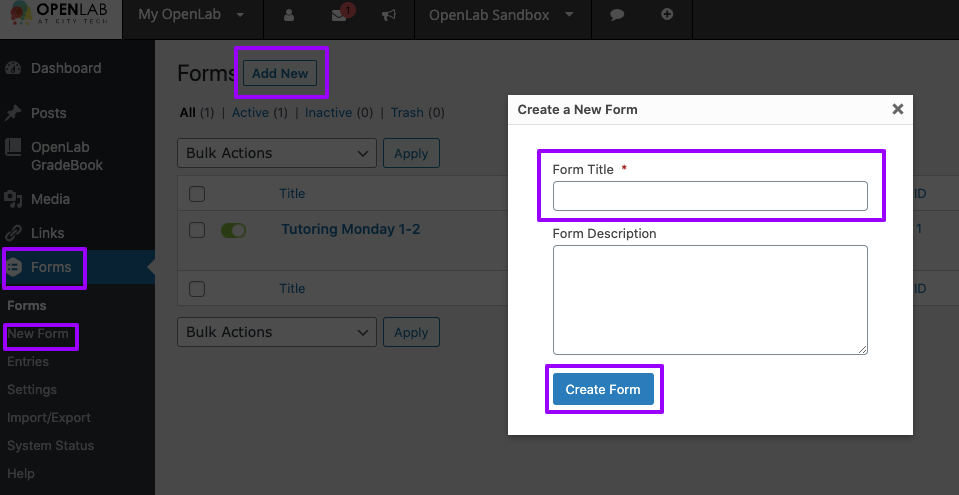
1. Once activated, you’ll see Forms appear in the left-hand menu. Click Forms and then New Form. Add a title, and click Create Form.
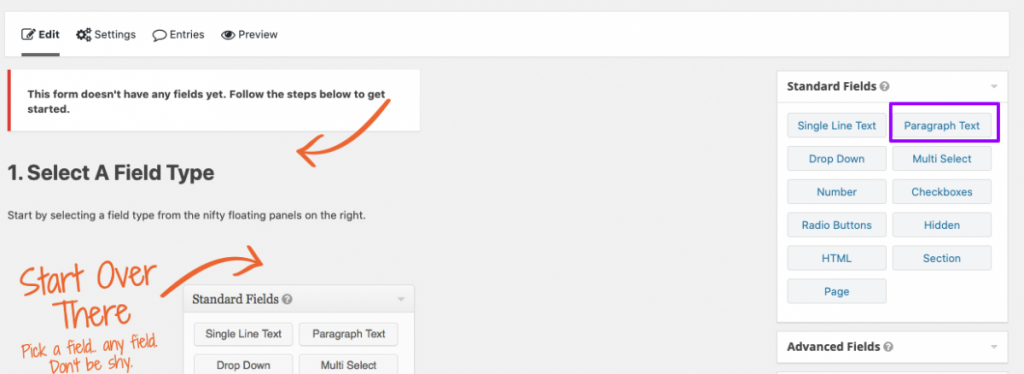
2. When you do that, you’ll see that there are a few areas to help you build your form. Standard Fields and Advanced Fields are the important ones. You can choose whatever you like here–clicking on any of these options will make that appear in the main left hand area. In this case, we clicked Paragraph Text under Standard Fields and then File Upload in the Advanced Fields.
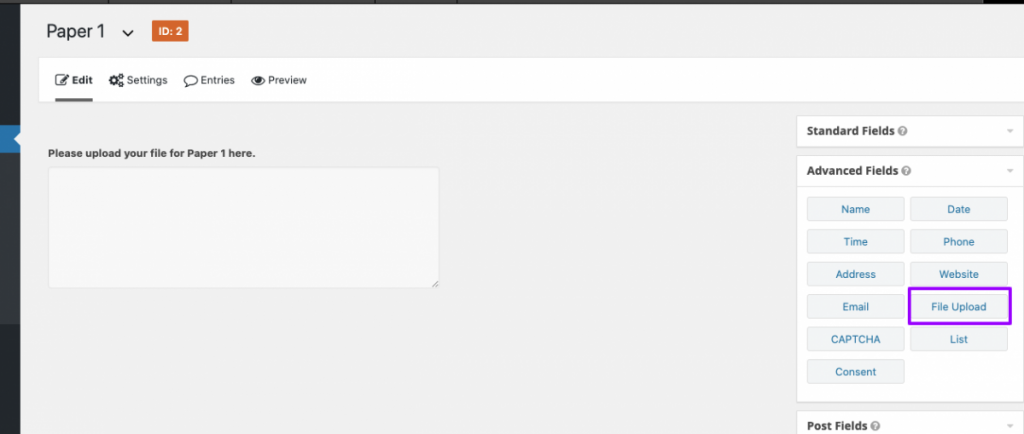
3. You can edit the language as you like in the Paragraph Text and any other field. And you can also edit the confirmation message that will appear once your user has submitted the work. Once you’ve got things the way you’d like, click Update Form.
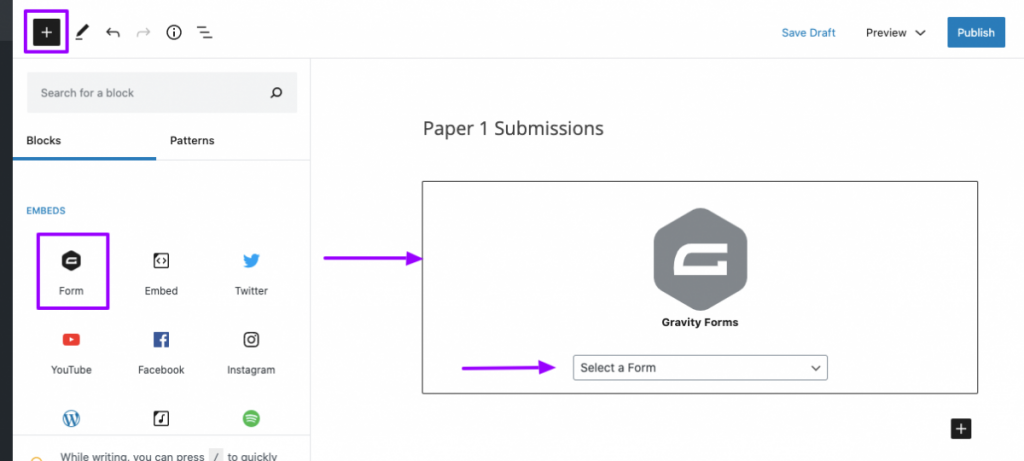
4. Now create or edit the post or a page where your new form will appear. Add a Form block by adding a new block and choosing Form as the type. In the dropdown that appears, select the form you want to add in the dropdown, and you will see it appear in the block.
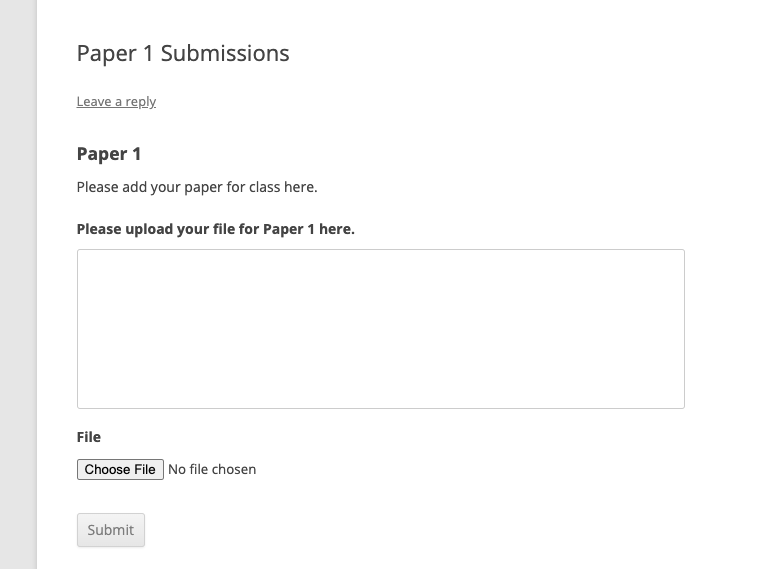
5. Click Publish, and your form should appear. Here’s what a user will see:
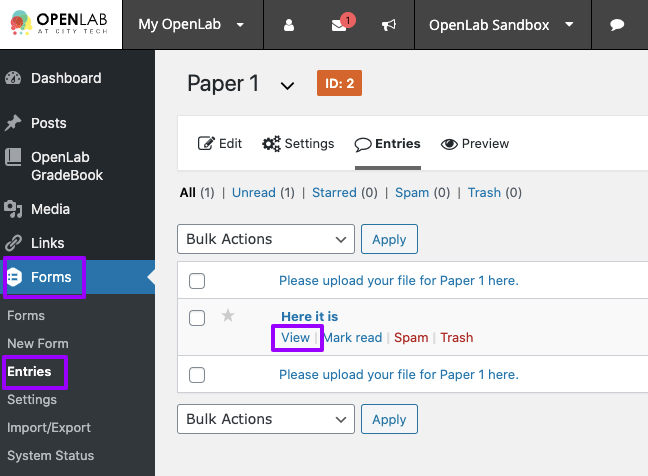
6. When you’re ready to collect the submitted documents, go to your Dashboard, and in the left-hand menu under Forms, click Entries. All the submissions will appear there, where you can download them to your computer.
Looking for Classic Editor help? You can find it here: Gravity Forms to collect work (Classic)


