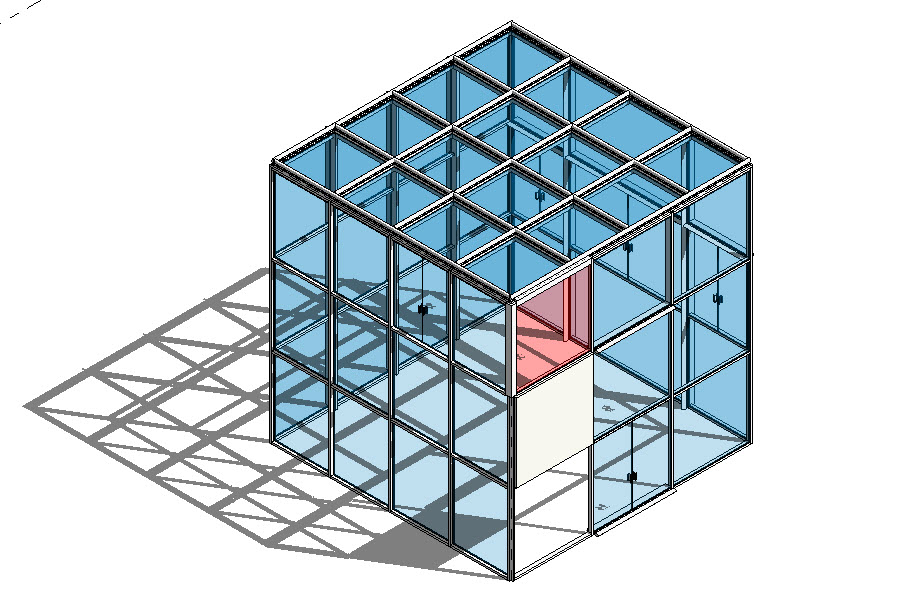
 After demonstration of the in-class assignment (27′ glass curtain wall cube), the class will divide up into 5 break out rooms of 4 students each. Complete the following in class exercise as a means to mastering Revit’s curtain wall commands while your professor visits each group. Steps below…
-
- New Project > Architectural Template
- Set Level 2 elevation at 27 feet
- Level 1 Plan View > Draw (Curtain Wall 1 type) – 27′ x 27′
- Divide up the facade into panels by defining grid- design is flexible
- single grid line, grid line segment, all grid lines
- Load all panel types (Insert > Family > Curtain Wall Panels)
- Use both Glazed Panel, Empty Panel, Solid Panel
- Copy Glazed Panel Type > Duplicate > Set it to red
- Edit Materials > Glass > Duplicated Color > Set it to Red
- Load door tops and replace panel with door
- Add Mullions –
- Select mullion types as you please
- Create Custom Mullion – from new profile
- Family > Profile-Mullion
- Basic Mullion Rectangle
- Create custom fancy Mullion – ie. Sunscreen Device
- Family > Profile-Mullion
- Glass Roof –
- Control Slope- create flat roof – use Curtain Wall 1 type
- New Project > Architectural Template


