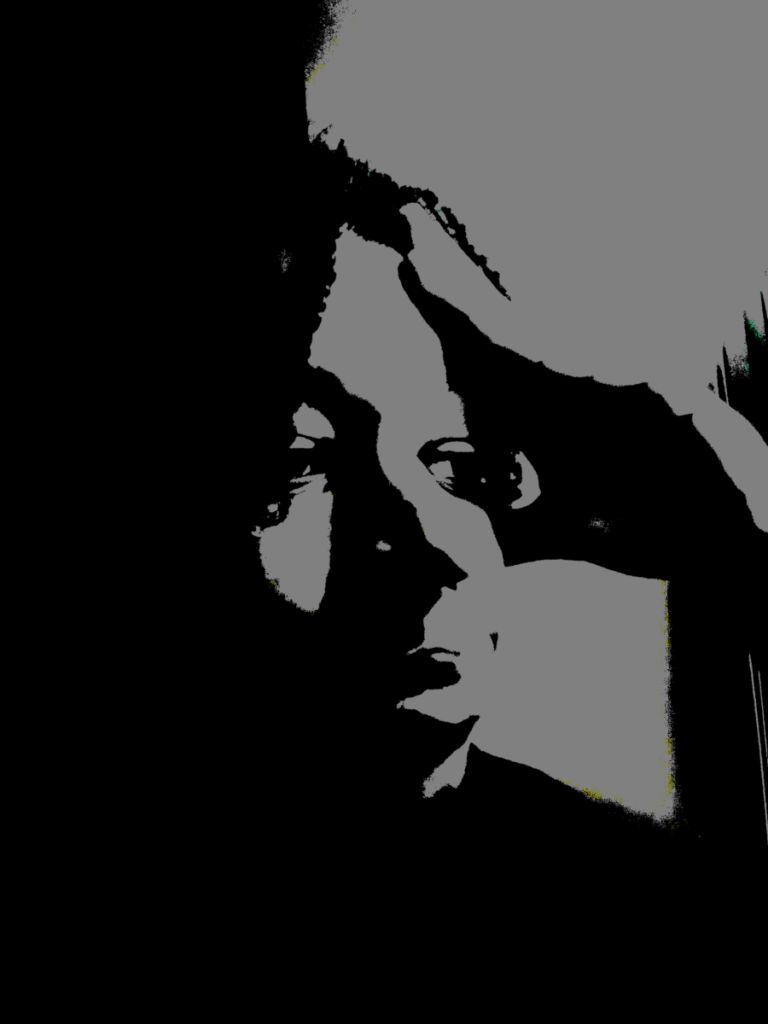
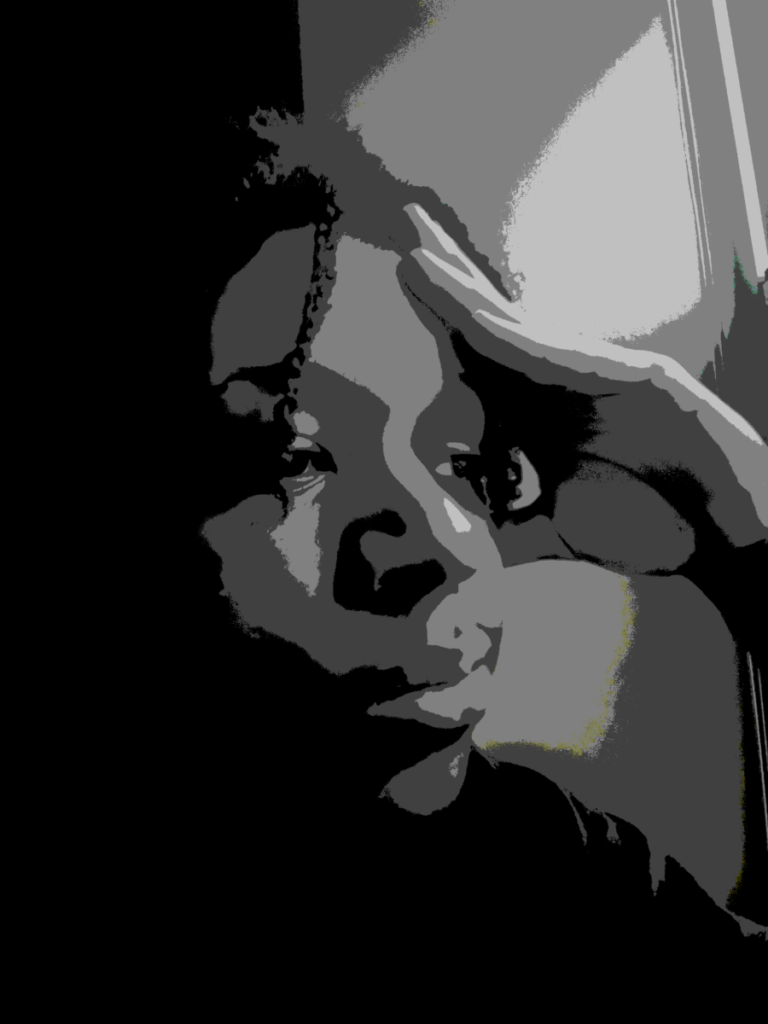

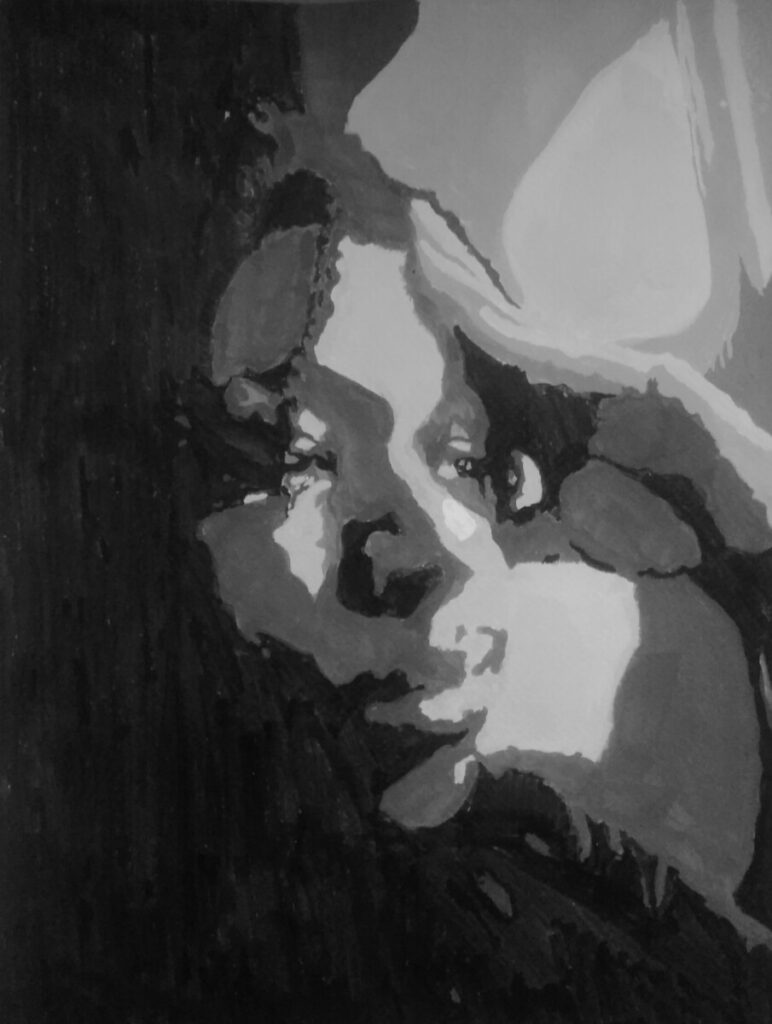
Reflection: The process to completing this project is one that I know will help me become a overall better designer and artist. The first assignment was to create a portrait of my hand with just the use of lighting. This is where I started to explore the use of highlights and shadows to create appropriate contrast. After completing my hand portraits, the next assignment was to take self portraits and convert them into posterized black and white images. This assignment was fairly similar to the hand portraits, however when I begun taking photos the difference in value-scale was clear. My self portraits had high contrast, which I think helped me make my grayscale in my palette. Making my final portrait was stressful because I didn’t really have a method I could follow. Only after a certain amount of time I had consistency and a proper grayscale. I used the rule of thirds on the top right section of my self portrait where my left hand lies. This definitely gave the viewer a focus point that will attract them. I’m happy with my final product, and even if I wasn’t, this project gave me a lot to think about the next time I’m doing something like just taking a photograph to creating my own piece of art.
(IF YOUR HAVING A HARD TIME READING THE PICTURE)
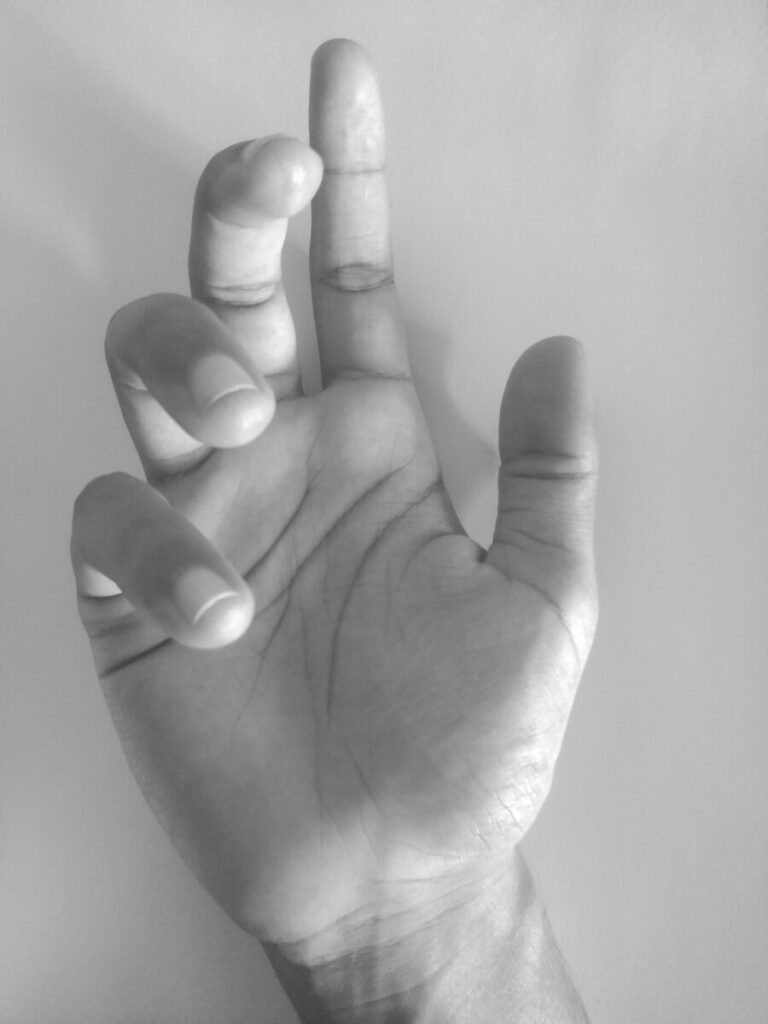
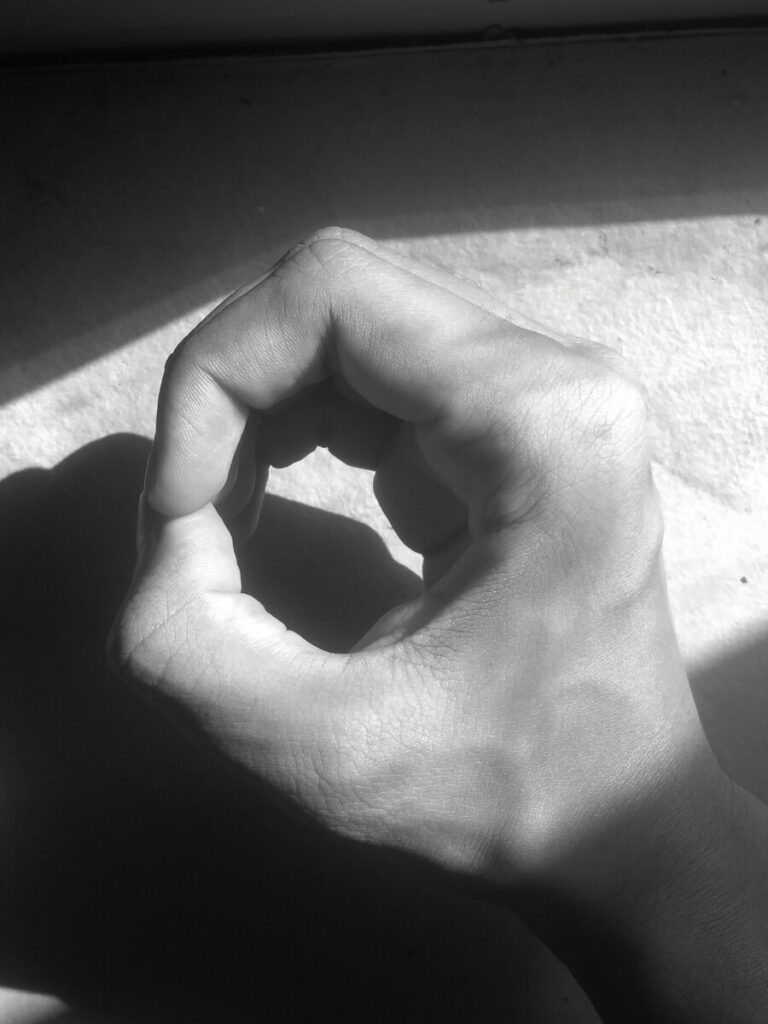
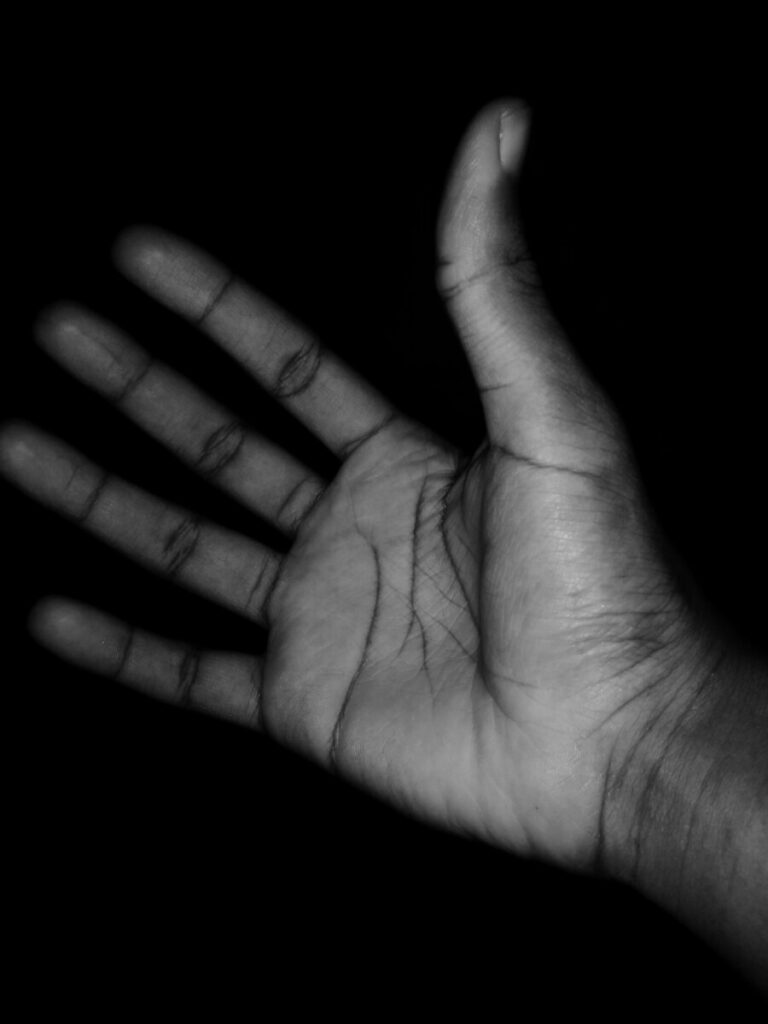
Value Range Research: While taking the portraits of my hand, I wanted to have consistent detail and varied lighting at the same time. I begun with taking multiple pictures of different form and source of lighting. Taking pictures of the way I held my hand helped me learn what were the best ways to bring the most detail, out of my portraits. When I changed the source of lighting, I realized how drastic lighting can effect my photos. Now that I look at my pictures, I can see the calmness and warmth from my narrow value light to the intensity and isolation that my narrow value portrait brings.

