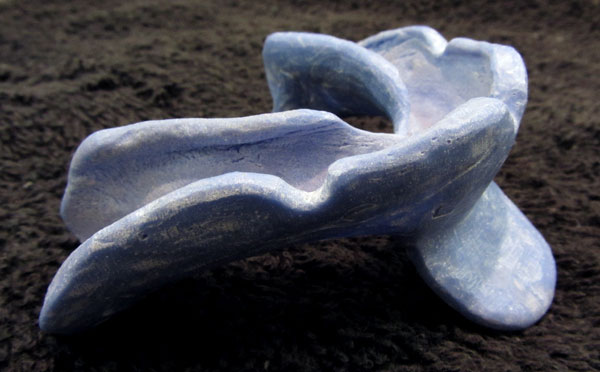
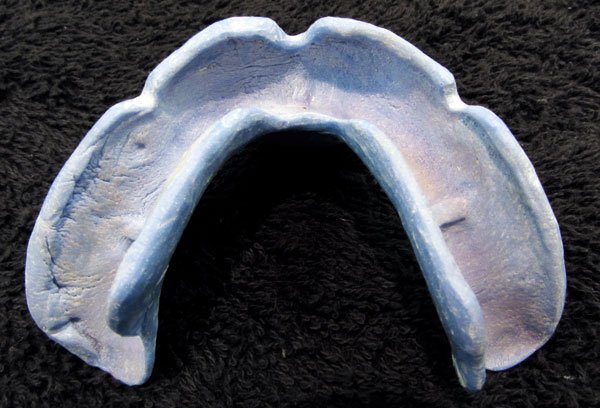
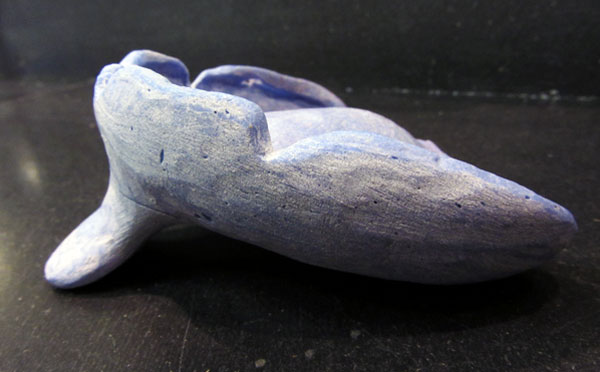
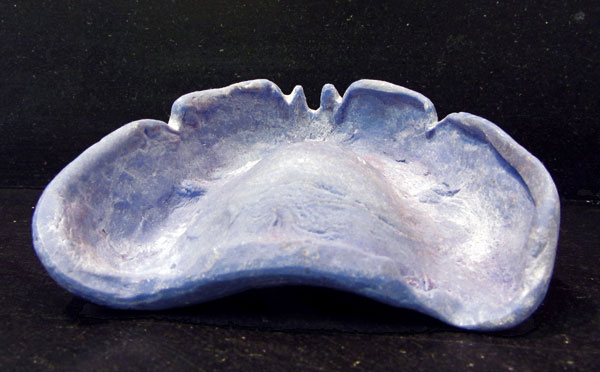
Custom trays are tailor-made to fit the mouth of the individual patient, ensuring a complete and accurate final impression. Dentists request custom trays primarily for fitting full dentures, as precision and fit determine the functionality and comfort of the apparatus. With only tissue to anchor the denture to in the patient’s mouth, a detailed impression is crucial. For a maxillary denture, the patient’s palate must be accurately replicated by the denture in order to facilitate speech as well as eating.
The dentist uses a prefabricated tray to take a preliminary impression of the patient’s mouth, usually in alginate, and sends it to the lab. The technician uses this preliminary impression to make a diagnostic cast of the patient’s mouth, from which s/he constructs the custom tray. Finally, the tray is sent back to the dentist and the patient’s mouth, where it will be used to obtain the best final impression possible.
• • •
To make our custom trays, we started with a diagnostic cast from the preliminary impression. The tray to be molded from this cast must accommodate material for taking the final impression, so we built up all the anatomy required of the final impression with an even layer of wax (~3/32″, or ~2-3 mm, deep) on the cast. We then cut 4 tissue stops in the wax, to ensure space for the impression material when the tray is inserted in the patient’s mouth.
In Professor Cottone’s lab we made our custom trays of self-curing acrylic resin (methyl/methacrylate). Acrylic resin has an extremely short cure-time, so each of us mixed only enough material for one tray at a time. We had to work fast as soon as the material was mixed, so it was crucial to prepare everything needed for the process in advance.
First we coated the waxed diagnostic cast with vaseline; this acts as a separator, allowing the tray to be removed from the cast after the acrylic has set. A bowl of cold water must be on hand immediately when the acrylic is mixed, so each of us had to be sure to have one ready before preparing the material.
We mixed each batch of acrylic in a small (~2.5″ diameter) silicone bowl. As soon as the powder is added to the liquid and mixed with a spatula it begins to heat up; once mixed to consistency, we used the spatula to drop the loose paste into the bowl of cold water. Keeping it submerged in the cold water, we kneaded the paste until it reached the firmness of chewing gum or silly putty.
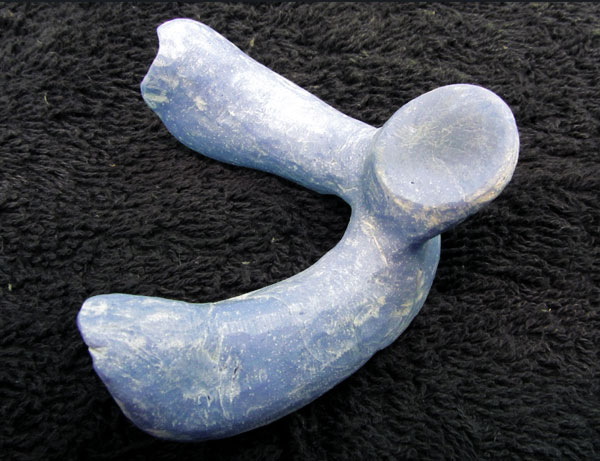
With wet hands we molded ~3/4 of the material onto the waxed diagnostic cast, covering all the anatomy up to the land area (for the maxillary tray, this includes the palate) as evenly as possible. We then used the remainder of the material to form the tray’s handle. Acrylic resin cures in under 5 minutes, generating a lot of heat in the process; we had to work fast and keep our hands wet with cold water.
Molding our first custom trays of such a fast-curing material led to a whole lot of trimming with the bench motor for most of us. We started with an arbor band to remove the bulk of the excess material, followed by a cutting wheel to release the frenums, and finally an assortment of burs to smooth, shape, and finish our trays.
• • •

