The Second Time Around…

After all is said and done (and all is a lot), I feel 100% better going into Complete Dentures II with my second try-in denture. Starting over from scratch and redoing an entire semester of labwork independently in two weeks proved to be a major undertaking, and I encountered a few roadblocks along the way. It took me four complete set-ups, a considerable amount of guidance from David, and two helpful evaluations from Professor Sena to get my teeth in order.

(A few nights at the kitchen table in front of my butane Bunson burner until dawn didn’t hurt, either.)

The results are far from perfect, but I am pleased. My goal was to complete everything from start to finish in time to enter my second semester with a significantly improved, festooned try-in denture… I accomplished all but the festooning. I will no doubt have some occlusal tweeking to do, but I’m sure everyone in my class will find themselves in that position.

What matters: I have gained a higher level of competence and comfort with the process of constructing a try-in denture from the experience. I can confidently say that I am in far better shape starting Complete Dentures II with my present try-in denture – unfestooned and all – than I would have been with what I had at the close of Complete Dentures I.

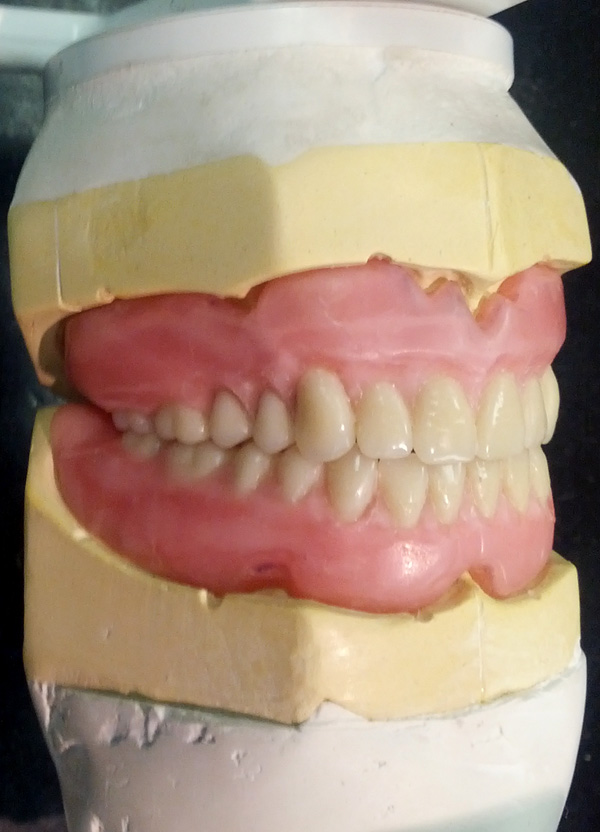
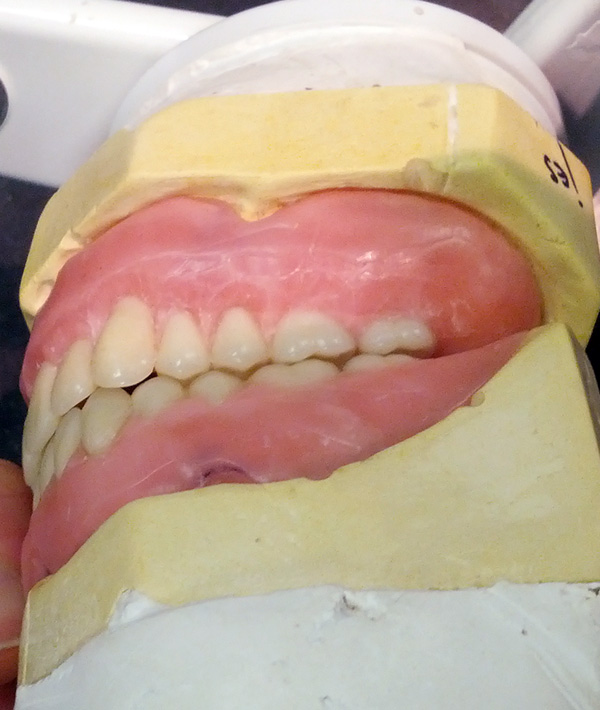
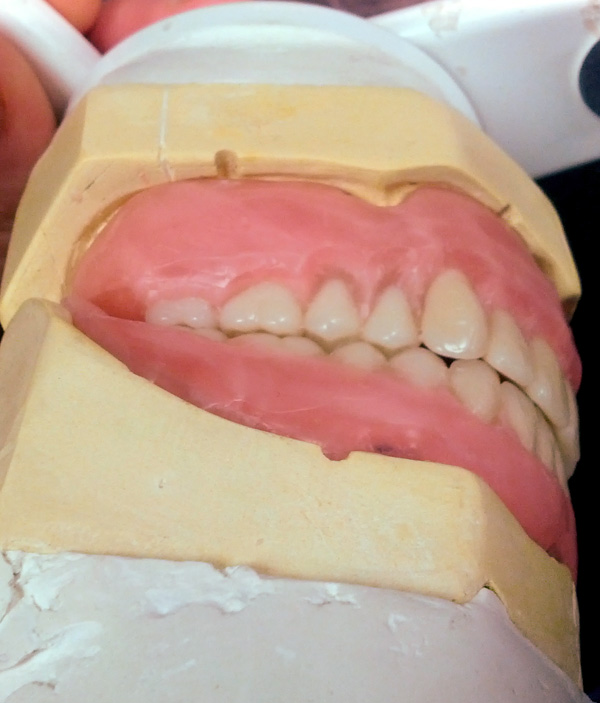
Try-in denture (bulk wax only) – anterior view.

Try-in denture (bulk wax only) – left-buccal view.

Try-in denture (bulk wax only) – right-buccal view.

Try-in denture (bulk wax only) – centric occlusion, left side.

Try-in denture (bulk wax only) – centric occlusion, right side.

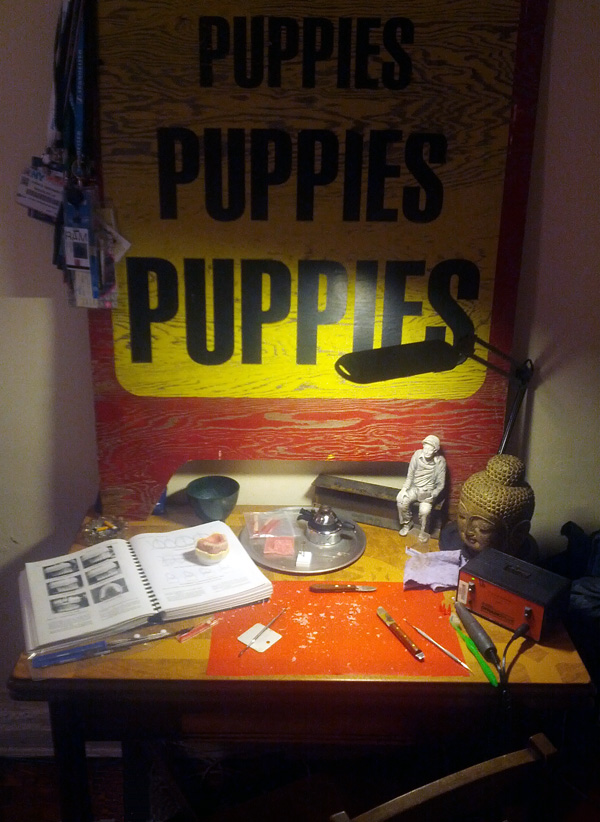
Kitchen table – 2:28 am, 22 January 2013.

Thank you David and Professor Sena, for your help, your time, and your support.

Occlusal Rims

Today I finished my occlusal rims, mounted / articulated my casts, and nearly finished setting my maxillary anterior teeth. More photos will follow as I proceed with the set-up.

Maxillary occlusal rim.

Mandibular occlusal rim.

Occlusal rims, luted together and ready to mount.

Everything is coming together more smoothly the second time around, as I hoped it would. Nothing beats practice.

Triad Record Bases

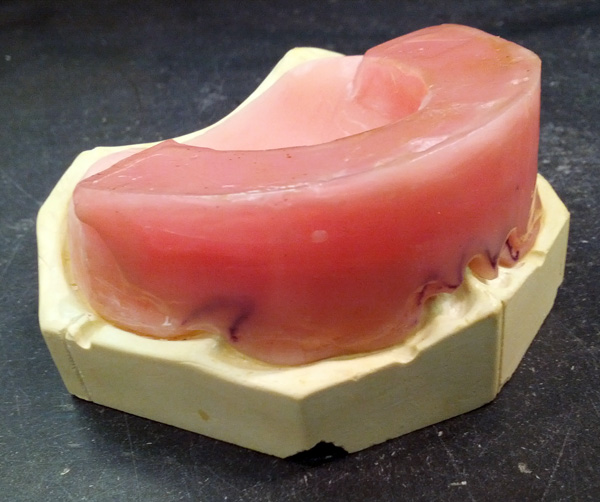
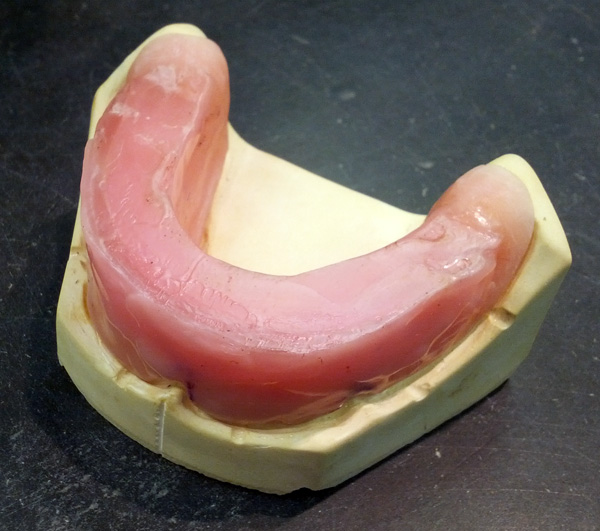
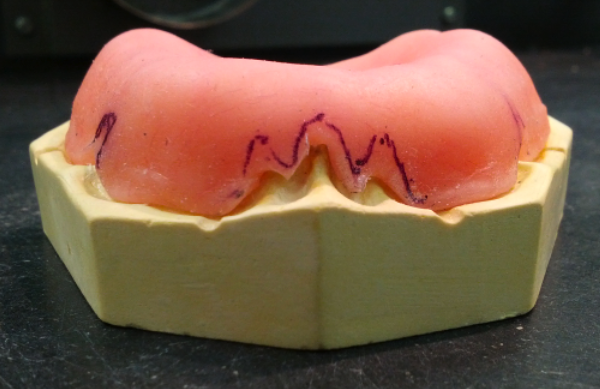
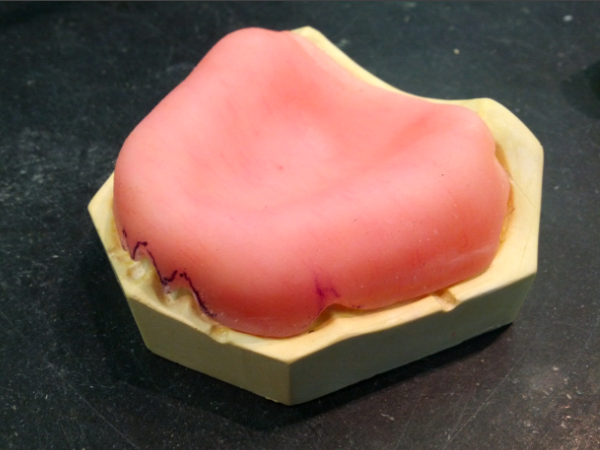
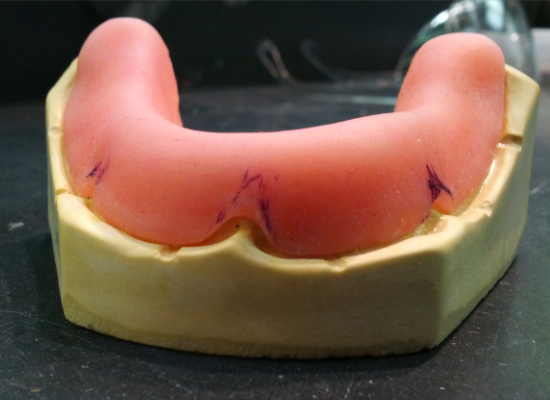
This time around I initially made both maxillary and mandibular record bases from shellac… then I broke both of them while relieving the frenums with a hot knife. In the end I made both record bases from Triad light-cure material, which was a pleasure to work with.

As pictured here, I haven’t quite finished trimming the frenums on the bench motor. Please forgive the not-quite-focused photos (I took them with my phone rather than with my camera).

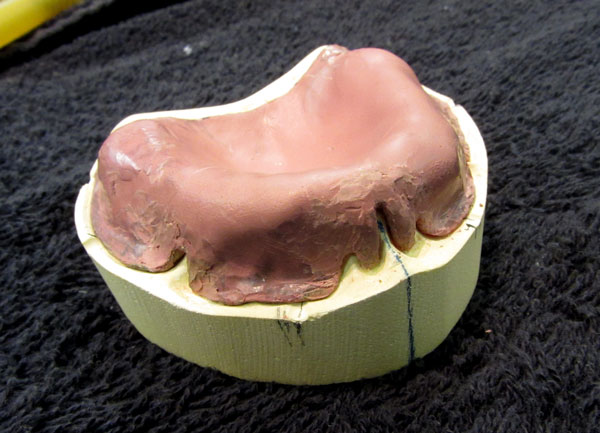
Maxillary record base – Triad light-cure material.

Maxillary record base – Triad light-cure material.

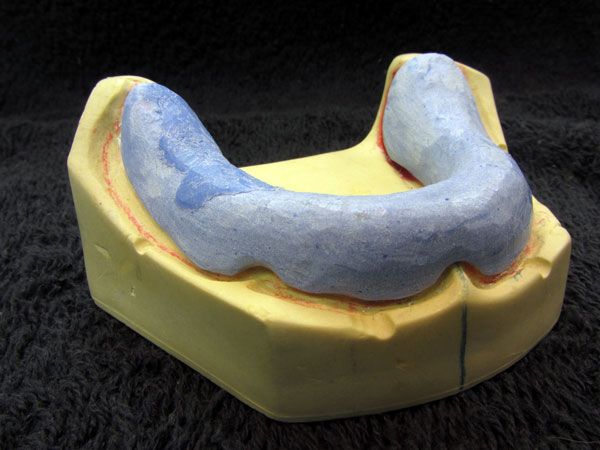
Mandibular record base – Triad light-cure material.

Mandibular record base – Triad light-cure material.

Tomorrow: on to occlusal rims and hopefully mounting / articulating my casts.

Winter Lab Project: Complete Dentures, Take 2…

I am now one full semester into the Restorative Dentistry program here at City Tech, and I feel very lucky to be where I am. Returning to school as an adult student is an endeavor I embarked on with my share of admitted trepidation…

I am happy to say that my apprehension was undue, and has been undone – by the guidance of the indispensable RESD faculty as well as the encouraging atmosphere that permeates the department. I truly feel as though I have a whole team behind me, wanting me to succeed and offering me the resources to excel. I am getting so much more than I expected or hoped for.

• • •

At the end of the semester our College Lab Tech David Barthold overheard me lamenting with friends in the hallway; we were concerned about losing ground from our new skills as a result of the upcoming month outside the lab. He generously offered that he would be in the lab all month, and we were free to be there too. Much to my surprise, I was the only taker.

David opened the door to an invaluable opportunity: an empty lab full of resources, complete with an accomplished technician willing and able to offer guidance as needed. I am deeply grateful to him for giving me this advantage.

I knew what I had to do.

Dentures, start to finish, a second time around…

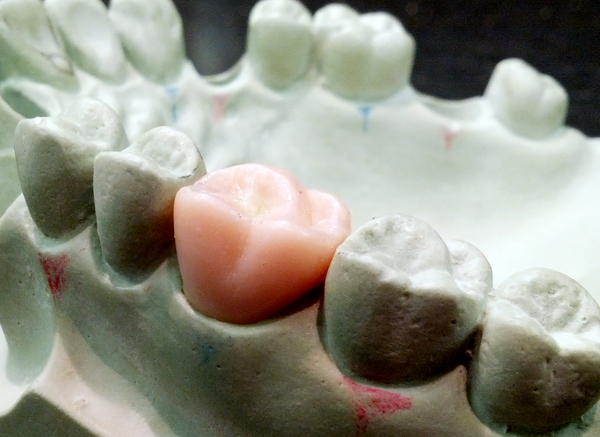
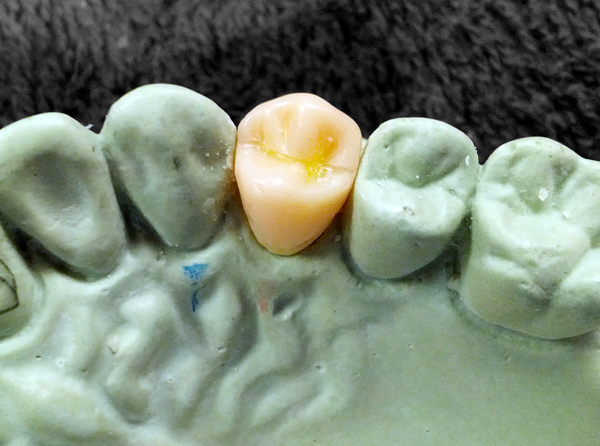
Lower Left Canine Wax-Up

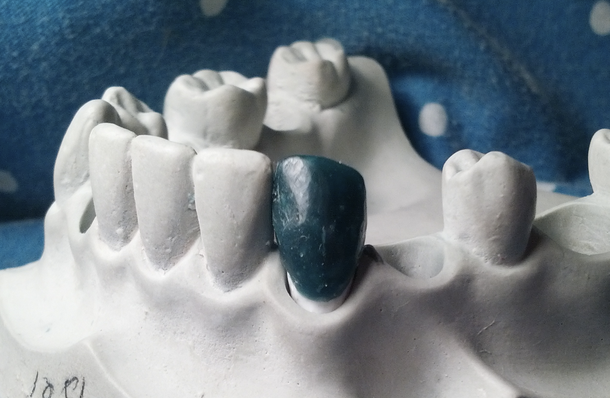
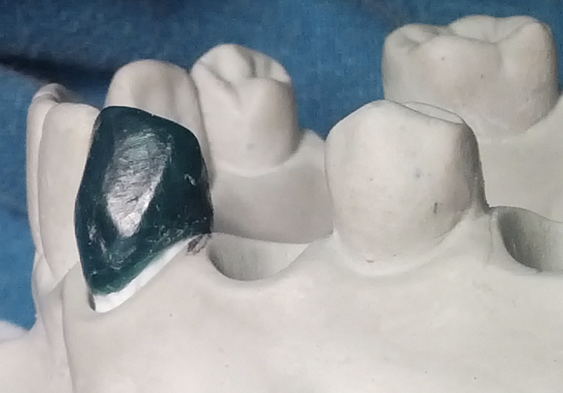
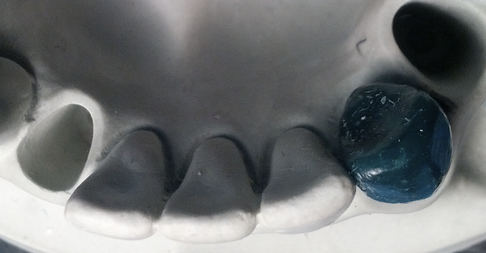
I’m pleased with this one, considering the time limitation under which it was made. Not easily photographed, though; as it was the final exam, we were given dark green wax to work with.

Please note that the root portion of the die (pre-fab) is long, raising the margin of the preparation a few millimeters above the gingival line and thus interfering with the visibility of the emergence profile of my wax-up.

We were permitted to choose any anterior tooth…

An anterior view of my final exam – I chose the mandibular left canine.

Mandibular left canine wax-up – labial/buccal view.

Mandibular left canine wax-up – incisal view.


Articulation

When the occlusal rims return from the dentist, they provide the technician with a recording of the patient’s bite. The next step is to replicate the patient’s maxillomandibular relationship in the lab using the information recorded on the occlusal rims. This is achieved with the use of an articulator, which is adjusted to approximate both of the patient’s temperomandibular joints and the position of the jaw in centric relation.

In order to simulate the dentist’s recording of the patient’s jaw relationship (and thus give us centric), Professor Cottone placed our occlusal rims on an identical  set of casts which were mounted on a designated, pre-adjusted articulator – the “patient”. He trimmed our maxillary and mandibular occlusal rims as necessary to achieve centric occlusion and sealed them together in a closed position – centric.

Each of us ground two perpendicular notches (an “X”) across the bottom of our maxillary and mandibular casts in order to provide purchase for plaster, as well as registration and stability within our articulators. We then applied separator to the bottom of each cast.

Once our occlusal rims were sealed in centric, we returned them to our own casts and mounted them in our semi-adjustable articulators. To replicate the patient’s vertical dimension, each of us adjusted our anterior guide pin to the red mark and made sure it was contacting the anterior guide table. We aligned the incisal midline of our occlusal rims to touch the incisal guide pin of the articulator and used a rubber band as a reference point to center our models laterally and level them. We built up a plaster of paris base to affix the mandibular cast to its respective plate in stages, careful to keep the model level and raise it high enough. We then repeated the procedure on top, affixing our maxillary casts in the same way. Finally, we dampened and sanded the plaster of paris to tidy everything up.

With our models articulated, we were free to separate our maxillary and mandibular occlusal rims once again and begin arranging our teeth.

Occlusal Rims

When the final impressions (taken using custom trays) have been received and used to make the final casts, it’s time to make the occlusal rims. In order for the dentist to take the bite (maxillomandibular relationship record) of an edentulous patient, occlusal rims are constructed of baseplate wax to simulate the occlusal surfaces of teeth.

The process of making occlusal rims starts with the fabrication of record bases. Aptly named, the record bases are the foundation on which the occlusal rims are built. The procedure is similar to that of making custom trays; since the occlusal rims will go into the patient’s mouth, all edges must be smoothed and rounded and all frenums relieved.

•  •  •

In Professor Cottone’s lab, we made our maxillary record bases of shellac and our mandibular bases of acrylic (methyl/methacrylate).

The shellac we used for our maxillary record bases is brittle and can only be manipulated when hot. It starts out as a small sheet that must be softened over a bunsen burner until it can be molded onto the cast without cracking. To trim the edges, an alcohol torch is used to selectively soften the excess shellac so it can be cut with a knife.

My maxillary record base (shellac).

We essentially followed the same procedure used for making our acrylic custom trays to make our mandibular record bases. The only difference was that the record bases required more finishing on the bench motor, as they must to be thin and needn’t be as durable as the trays. I may have gotten a little carried away with this step… I made mine so thin that it cracked when I started molding baseplate wax onto it! No big deal; it was easily mended with an extra dab of acrylic.

My mandibular record base, complete with repair patch (acrylic).

•  •  •

To make our occlusal rims we formed thick horseshoes of baseplate wax and sealed them onto our record bases, careful to center each over the residual ridge. Using a hot knife, we trimmed the wax U’s to the appropriate dimensions. Maxillary occlusal rims must be 22 mm tall at the anterior of the arch, tapering to 18 mm at the posterior; mandibular occlusal rims must me 18 mm tall all the way around. All measurements are taken from the deepest point of the labial / buccal sulcus. Finally, we smoothed our occlusal rims with a hot spatula and marked the median line on each.

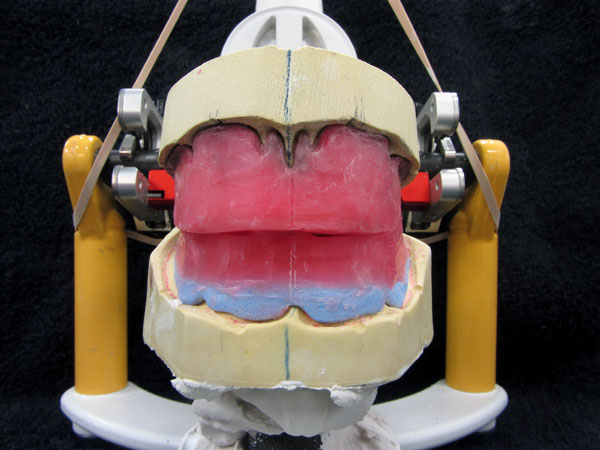
My occlusal rims, partially mounted on the articulator.