Presentation Link
https://docs.google.com/presentation/d/1ikgMYUtb9v2wDEUuo5F5oOIWwJgzy8ut039OBoZ1Lb4/edit?usp=sharing
Week 14 – Last week
Weeks Work.
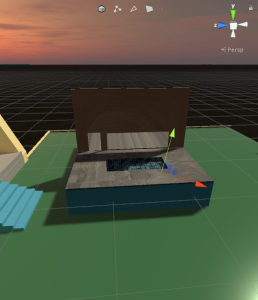
This week i decided focusing on how we can move the 3d models we worked on to various other platforms. This is very important as you will have to transfer these pieces of work other places like sketchfab, Unity, etc. This is process that can be messed up pretty easily if you don’t pay attention. I will explain the process of doing this on unity. When you finish a textured object in unity you will want to make a specific folder for everything this object will have. So the images you used as the texture will be placed into the unity folder. Then you are going to go to blenders file section and hover over export. choose fbx as this works with unity. Then select the folder you created with all the material images and export it. When it appears on the unity project it will have all the textures on it.
Finals Update:
I have decided for my final presentation I will make a 10-15 minute video on how to add texture to an object in unity and exporting it to other platforms. It will consist of unity and Sketchfab
Week 13 – Blender Final (Texture)
This week I have started learning the process of adding texture to 3d models onto my pool that i started building. There where many struggles that I faced when working with texturing the pool. One being is figuring out which tab to be on when adding texture to the object. This being the materials property tab on the right hand side. Than comes where i customized each material. I learned that You could change the based colors could be changed to images. Finally there was the issue of aligning the points to the textures. At first there was the issue of me trying to do this manually and it became such a mess that I had to reset it. but the simple way would be to select the area you want to texture and then use the U key to unravel.
Source:
Images:


