Adding an image gallery
In addition to adding individual images to a post or page, you can also add an image gallery.
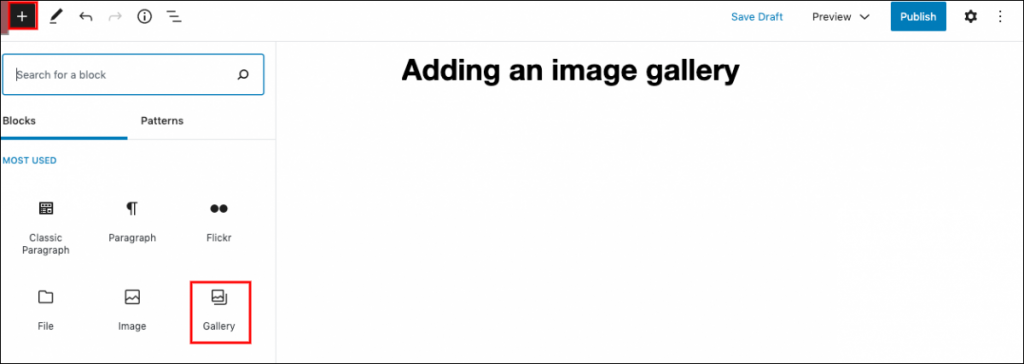
1. From the Edit Post or Page screen, click the Add block button and select Gallery.
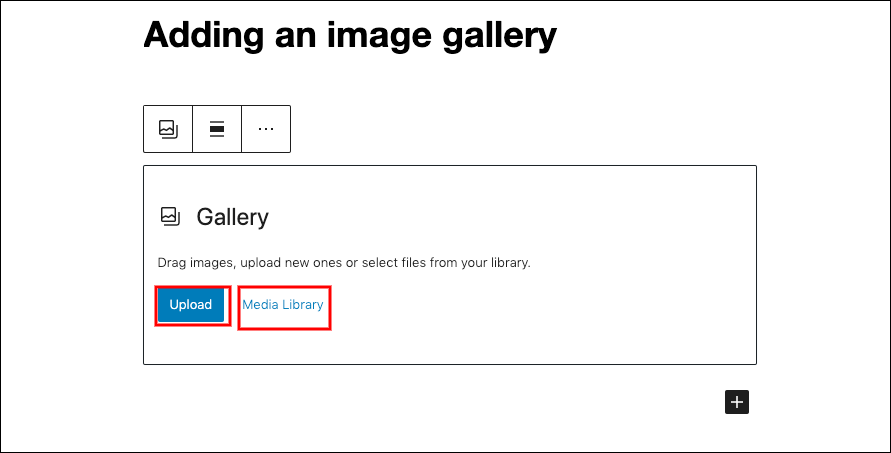
2. In the gallery block that appears below, you can either choose images that you’ve already uploaded to your Media Library, or you can upload new files. Depending on which option you want, click either the Upload Files or Media Library tab.
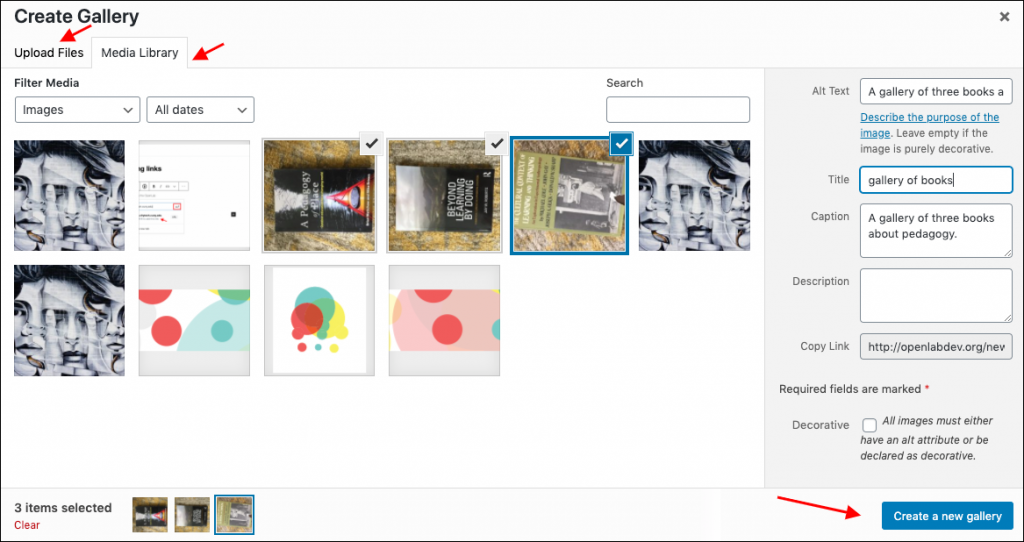
3. Choose the files you would like to add to the gallery. When you’re finished, click Create a new gallery in the bottom right-hand corner.
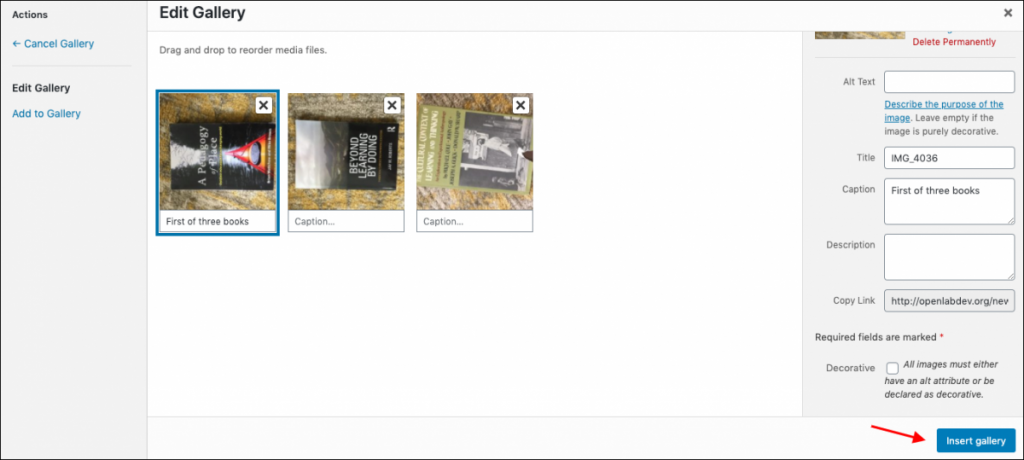
4. Next, edit the gallery. You may add captions to your images, drag and drop to change the order of the images, change the number of columns that will appear in the gallery, or add additional images to the gallery. When you’re finished, click Insert gallery in the bottom right-hand corner.
5. The image gallery will appear as a block in the post or page editor. You can remove any of the images by clicking them and then clicking X in the top right corner. You can add additional images to the gallery by clicking the Upload or Media Library tabs. If you need to edit the size of the images or the number of the columns inthe gallery, click on the more options tab in the block editor toolbar.
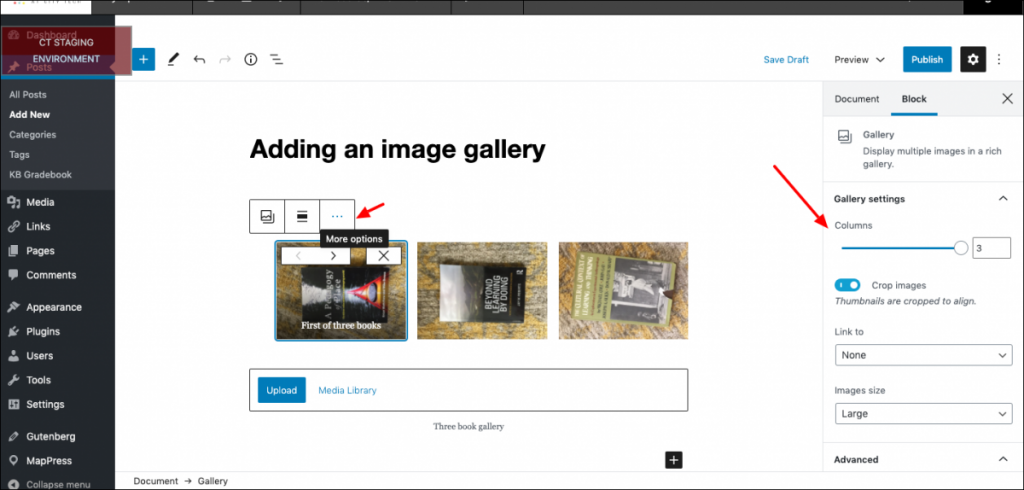
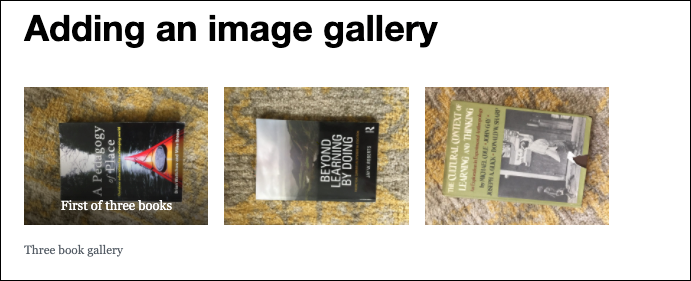
6. When you’re finished, Publish your post or page, and the image gallery will appear in your post or page similar to what is pictured below.
Looking for Classic Editor help? You can find it here: Adding an image gallery (Classic)


