Call for Entries: collectiveartsbrewing.com

Class-  Here is a chance to get some professional exposure for your work and earn some money from it!  And you thought this was JUST an assignment!


Watch this video about the competition from a previous winner.


We are looking for the best new and emerging artists around the globe to be part of our FALL 2018 CALL FOR ART.  This year marks an important milestone for Collective Arts. Our beer can be found coast-to-coast in Canada, and in the USA we are available in New York, Massachusetts, Connecticut, Maine, New Hampshire and Vermont. Collective Arts will be launching in Chicago and Nashville this fall and our beers can be found in Australia! We want to show the world YOUR work as we continue to grow. 


Project 1: Beverage Label Reboot

Overall Assignment:

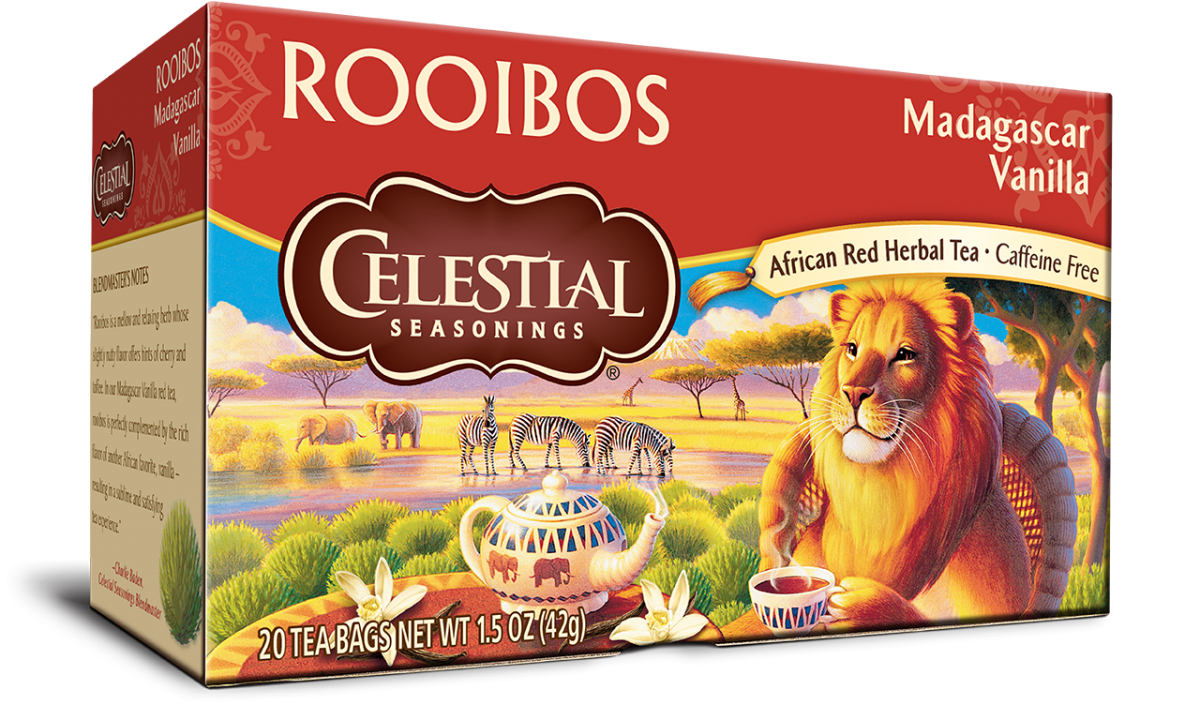
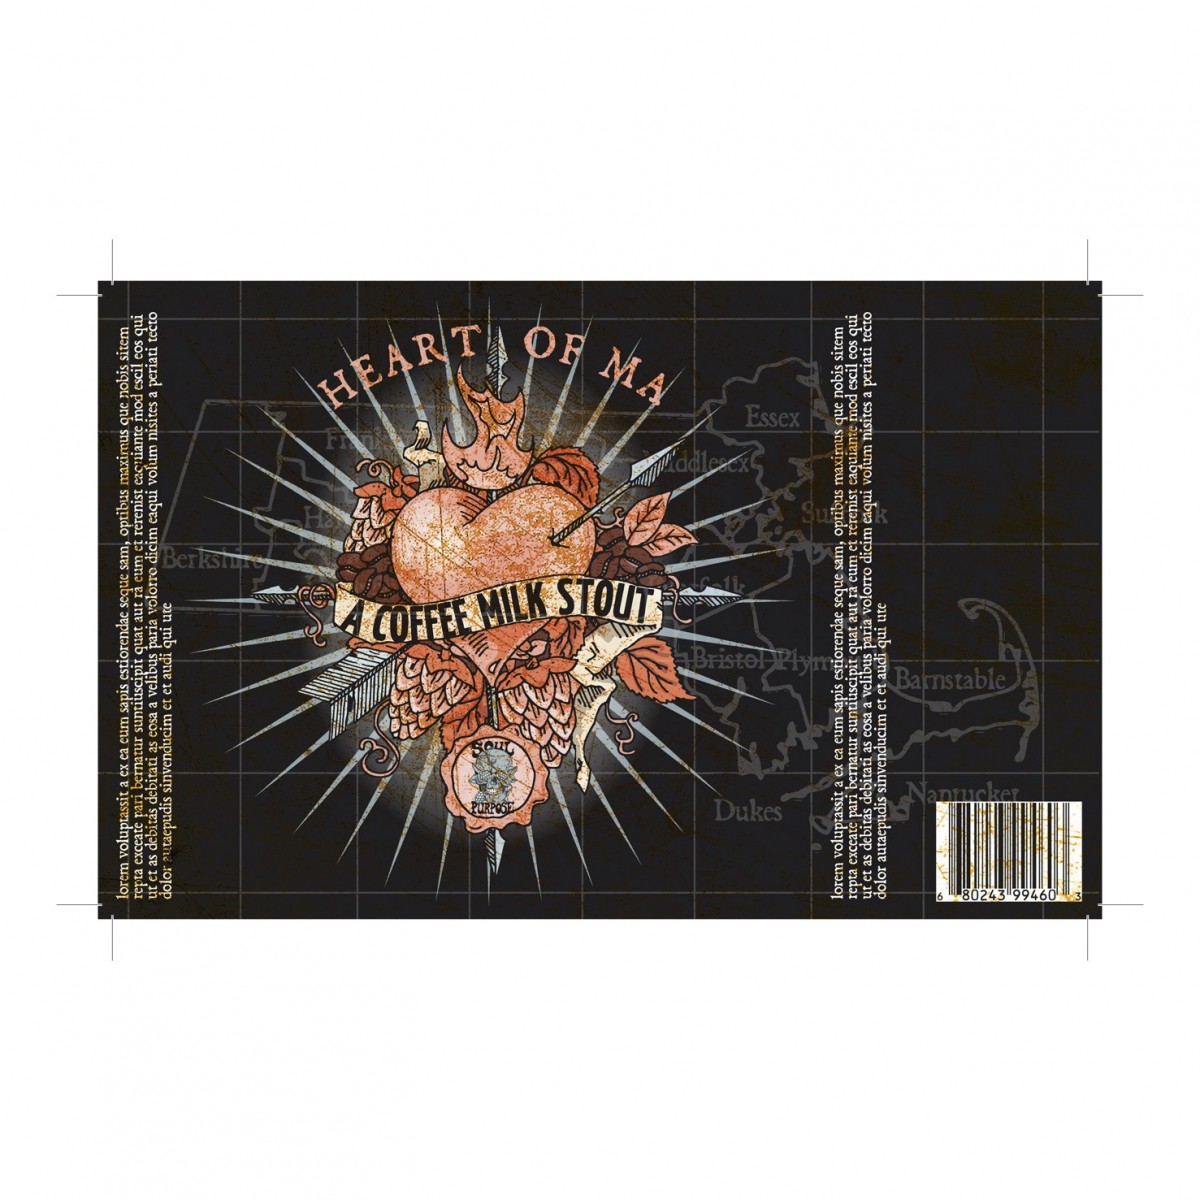
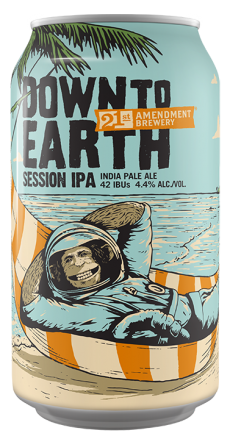
      • Choose an illustrated wrap around beer can or tea box.
      • Label will be a horizontal design:Illustration for a beverage label: You have been approached by a client to who wishes to redesign the packaging for an existing beverage label. You will identify your own client for this project.

5 inches high 6 inches wide for an aluminum can label wrap around label

4 inches high 6 inches wide for a tea box.

mint magic

  • This is a primarily Illustrated label. Though text placement should be thoughtfully considered. If it is not hand drawn text and part of the art, then it should not be included in the final art.
  • FINAL Art is required to be Black and White only.
  • Students will be required to present the illustration alone, as well as a digital mock up, indicating space for text.


DUE NEXT WEEK:


PART 1: Generate MULTIPLE visual solutions for your client.

  • Research, Brainstorm, and Generate 4 Different Illustration Concepts.
  • Draw 5 at least thumbnails per concept, for a total of 20 Thumbnails.


Begin by identifying a client who’s label you would like to redesign.  Choose based on an inspiring name, NOT based on YOUR relationship with the product. Research the client and imagery suggested by the beverage, the brand or the name. Brainstorm in your sketchbooks based on research.

From your brainstorm identify at least 4 different concept directions their final illustration could go.  The more thorough your brainstorm, the better the final art will be. Explore these 4 different concepts through sketches related to their brainstorms in your sketchbooks.

You must also begin collecting visual imagery related to your concepts as well as inspirational images and reference images – organized them in a way that works for you.  You will need to compile them into a Blog Post about your working process, when you turn in the completed assignment.

IMPORTANT :

*Be sure to use a ruler to draw the frames for your thumbnails BEFORE you begin them.

*Be sure they are in proportion to the label you are designing.


Hello & Welcome!

Welcome to Introduction to Illustration!  This course is a hands on introduction to the field of illustration. Our goal in this course will be to give you the professional tools used by illustrators working today as well as to cultivate your personal vision or voice as an illustrator.

On this site you will have access to materials presented in class, your weekly assignment pages, and additional helpful resources.  Here you will also post your images to share with your classmates.

Carefully read the directions in the UPLOADING INSTRUCTIONS POST on how to post to this site and to your ePortfolio.

— Happy Drawing!

Uploading Instructions

Upload your Projects from this semester into your ePortfolio.  

Upload your Sketchbook from this semester in the Sketchbook Category on this site.

Be sure to give the artwork a title.  On our class site, write brief descriptions of the drawings, and be sure to reference the drawings’ titles.  Your descriptions should include what you feel the aim of each drawing was, what you learned from making it, and what was challenging to do.  Of course you may write other comments as well. For instance, you may ask questions for other students to answers.

How to Post to our class: On this class site, go to Post located on the left > Give your drawing a title in the subject line like this: Assignment 1, thumbnail drawings: “Evil Urges” > Write a brief description of the drawing in the Comments space > Just above your title click on the Add Media icon (it looks like a camera on top of a music note) and browse for your file > Click Insert > Click Drawings in the list of Categories on the right > Click Publish at the top right.

Your description should include what you feel the aim of the drawing was, what you learned from making it, and what was challenging to do.  Of course you may include other thoughts as well.

How to Post to your ePortfolio:  Go to Dashboard > New Page > Pages > Add New > Locate “Parent” in the Page Attributes > choose “Academics” from the pull-down menu. In the Title area of your ePortfolio, be sure to write the name of our class (Foundation Drawing) or our course code (COMD1103).  Also be sure to Publish, and invite me to join your ePortfolio.  In settings, be sure to state either “Public” or “Private>visible to City Tech members.”  Otherwise no one will be able to see what you’ve posted.

To take the photo, find a spot with even light so that you will have no shadows or strange light gradations across the drawing.  Frame the drawing so there is a small even frame on all sides.  Optimize the file, or reduce it to 72 dpi, with a file size no more than 1MB (about 8-9 inches on one side). Rotate it if necessary to it uploads right-side-up. If you have access to any photo-correcting program, see if you can increase the contrast so that delicate drawing lines are visible.

Pen and Ink Illustration: an Introduction

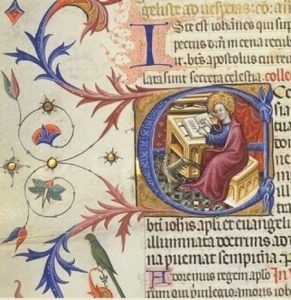
We can trace pen-and-ink illustration’s roots back to the very earliest illuminated manuscripts.

An illuminated manuscript is a manuscript in which text is supplemented by additional decoration. The earliest known examples come from the Byzantine Empire, from 400 to 600 CE.
1472596584762

Illuminated manuscript

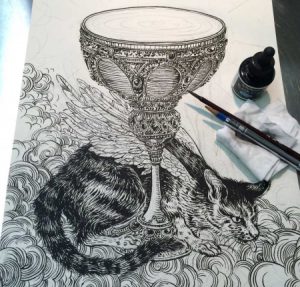
But regardless of the antiquity of the medium, pen and ink are used all the time by contemporary illustrators, with a spectrum of different results.
1472596592999

Yuko Shimizu Work Process Shot

Illustration and the Art of Printing

Illustration’s development has paralleled the art of printing and reproduction, with very specific moments in history periodically reinventing our medium. We can boil these moments down to a few landmark inventions:

  • the printing press
  • color lithography
  • photography
  • digital printing
  • digital media

Arguably, the invention of the printing press is still the most important thing that has occurred in the history of our art form.

press

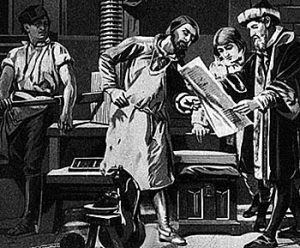
When Johannes Gutenberg invented the printing press, developing a movable type system in Europe between the years of 1440 and 1450, he completely revolutionized the world of human communication. He also initiated the marriage between illustration and publishing that still exists today.
1468354318083-1

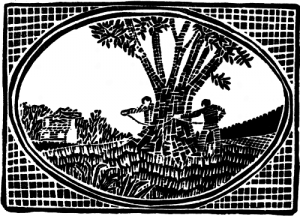
Just as type could be reproduced for print, so could images. The invention of illustrating by means of cut woodblock followed closely the invention of moveable types for printing.
1468354339982

Early Chinese woodblock print

It’s important to note that Chinese were the first by far to use woodblock printing, with the earliest known work dating back to before 220 CE. However, in Western illustration the first woodblocks date from the beginning of the 15th century and the invention of Gutenberg’s press.

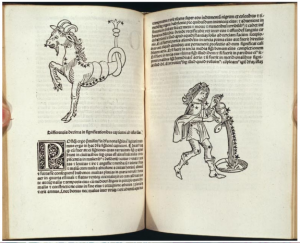
Gutenberg added illustrations—usually woodcuts—to his printed books. Very soon after that, books with woodcut illustrations became commonly available.

These illustrations were limited to black ink on white paper, forcing illustrators to render subject matter and to represent dimensionality using only lines, leading to the development of hatching in the pages shown here.
1468354365186

Illustrations by Erhard Ratdolt, 1488, in a book written by Persian astrologer Albumasar

Pen and Ink Tools – Part 2

Pen-and-ink Drawing Surfaces

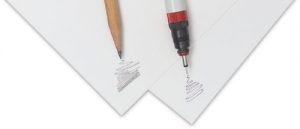
Pen-and-ink drawings are usually created on different types of paper. The tooth or grain of the paper can affect the marks made by the pen. Because of this, most illustrators prefer to work on smoother surfaces that are still absorbent to the ink, creating detailed ink drawings in this way.

You can use ink to draw on your sketchbook paper, but over time this paper will warp or fray with the wetness of the ink. The paper in this sketchbook simply isn’t heavy or absorbent enough. For final work, illustrators usually choose something with a little more heft.

Paper

Bristol Board is a smooth-surfaced paper that’s heavier than regular drawing paper. It’s a popular choice for pen-and-ink drawings.

1468363892784-1

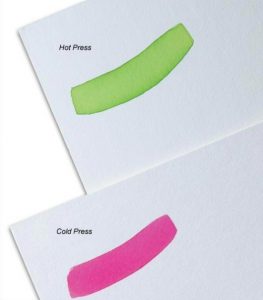
Another popular choice for ink drawings, and the paper used for this class, is hot-press watercolor paper. Hot press refers to the method used to make this special kind of paper. This paper’s surface has been ironed smooth, and is very versatile, allowing artists to make fine details in ink as well as combine other media such as watercolors or colored pencils.

 1472596797004