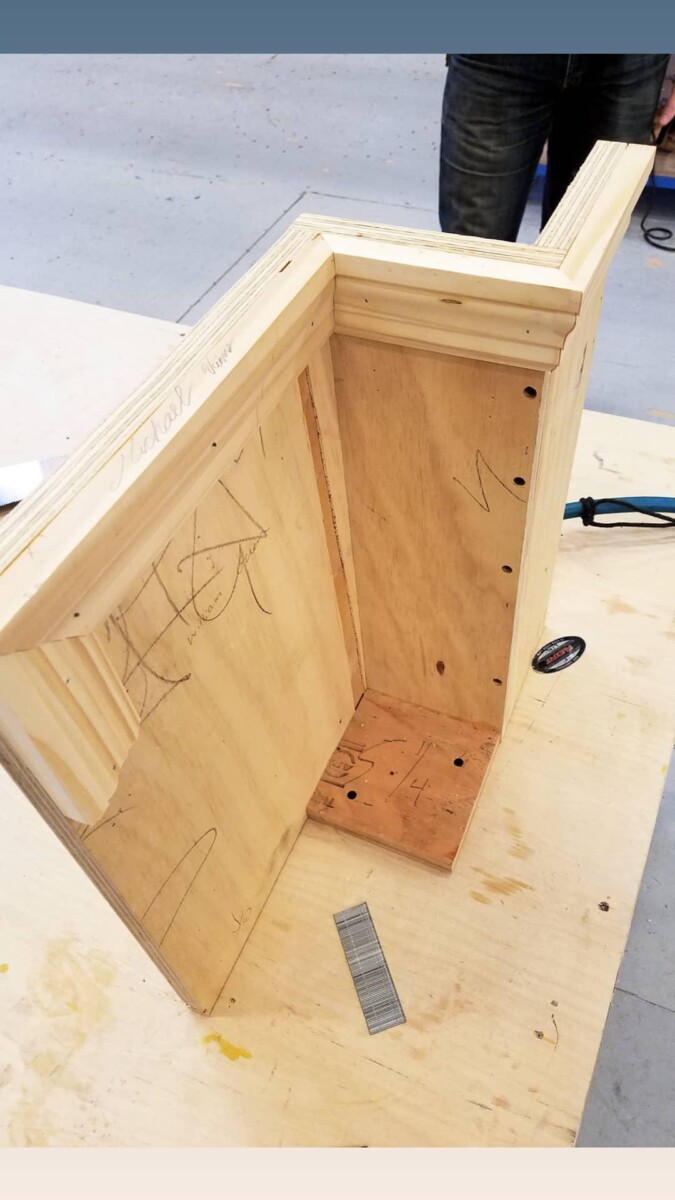
One of the labs we did in our Technical Direction class was the moulding lab. This would be our first in-person lab since the pandemic made schools switch to online learning. The wall I’m referring to was actually three boards connected via butt joints. The 90-degree corners called for us to cut the molding provided for us at a 45-degree angle. Luckily, there was a miter saw in the shop. The main issue for me was finding out how to get an angular cut on the piece of molding as it had been a long time since I physically built anything scenery related. Also, the molding was easier to hold on one side so as we flipped it upside down, rather than cutting a regular 45-degree angle, we had to cut 45 degrees obtuse. It was crucial that we cut the miter the right way otherwise we would have to start over with a new piece of molding. If, I am not mistaken I believe the supply was limited. The task and the overall lab’s process got easier as we repeated some of these same steps for different molding pieces.
In the real-world, molding along the walls in our houses are made using this same measuring and cutting process. Only, it’s to a bigger extent because unlike this lab there was more area to cover. Transporting these moldings through an already lived-in environment could be crucial too as you may be maneuvering with bigger cuts through smaller walkways. Overall this lab was a relatively easy reintroduction activity to get us used to the scene shop and the tools we used.

