
Description
As a group, we were staked with 3 problems. First, we needed to construct a curved flat that met the designer’s specifications. The second was an actor was going to slam a door shut and we needed to make sure that the wall would not shack when they did. Lastly, We needed to create custom crown molding based on the designer’s design. That will also be able to attach to the curved flat as well.
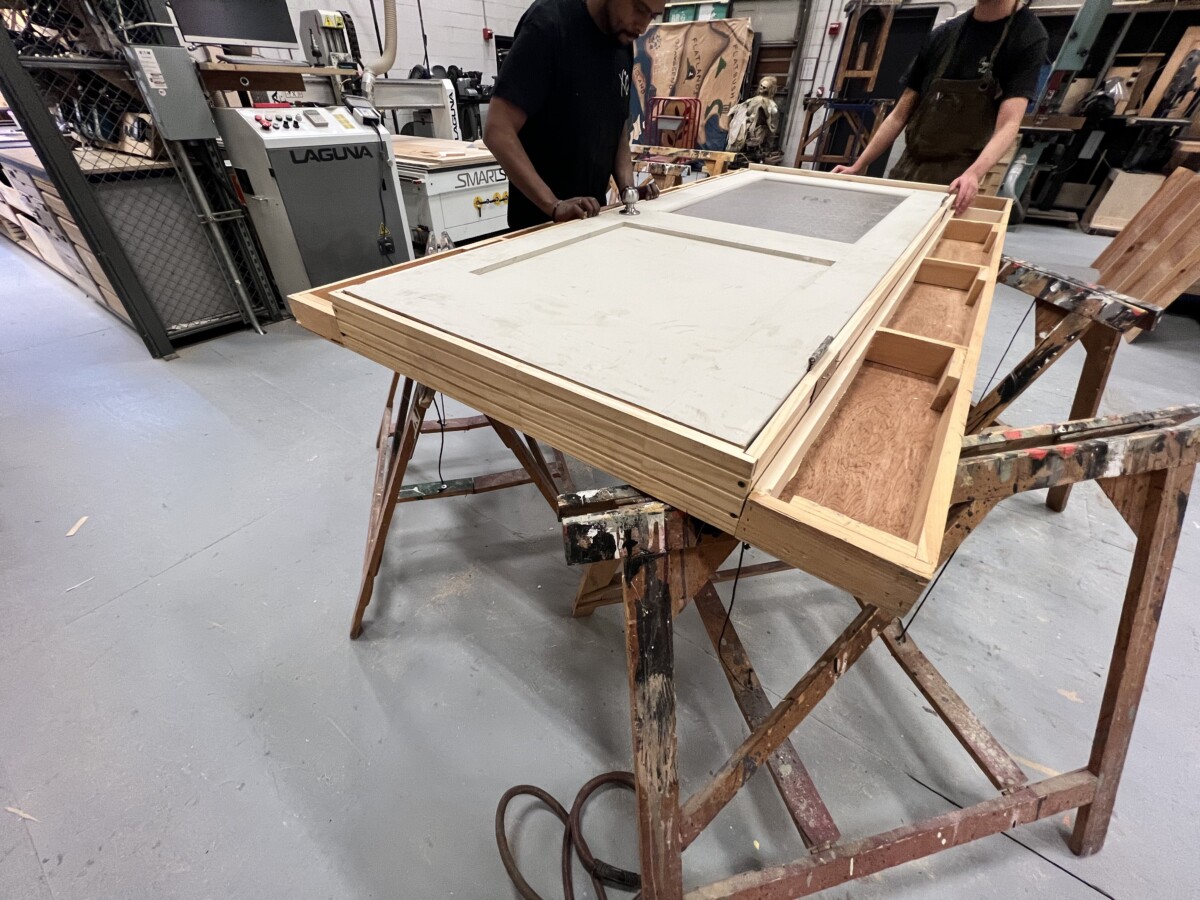
One of my group members drafted a construction drawing for the curved flat and I assisted in its construction. The curve made it challenging to attach the toggles and styles, but even more challenging was attaching the lid. Clamping some scrap material to the base gave us solid points to screw into the floor of the shop so it wouldn’t rock back and forth.
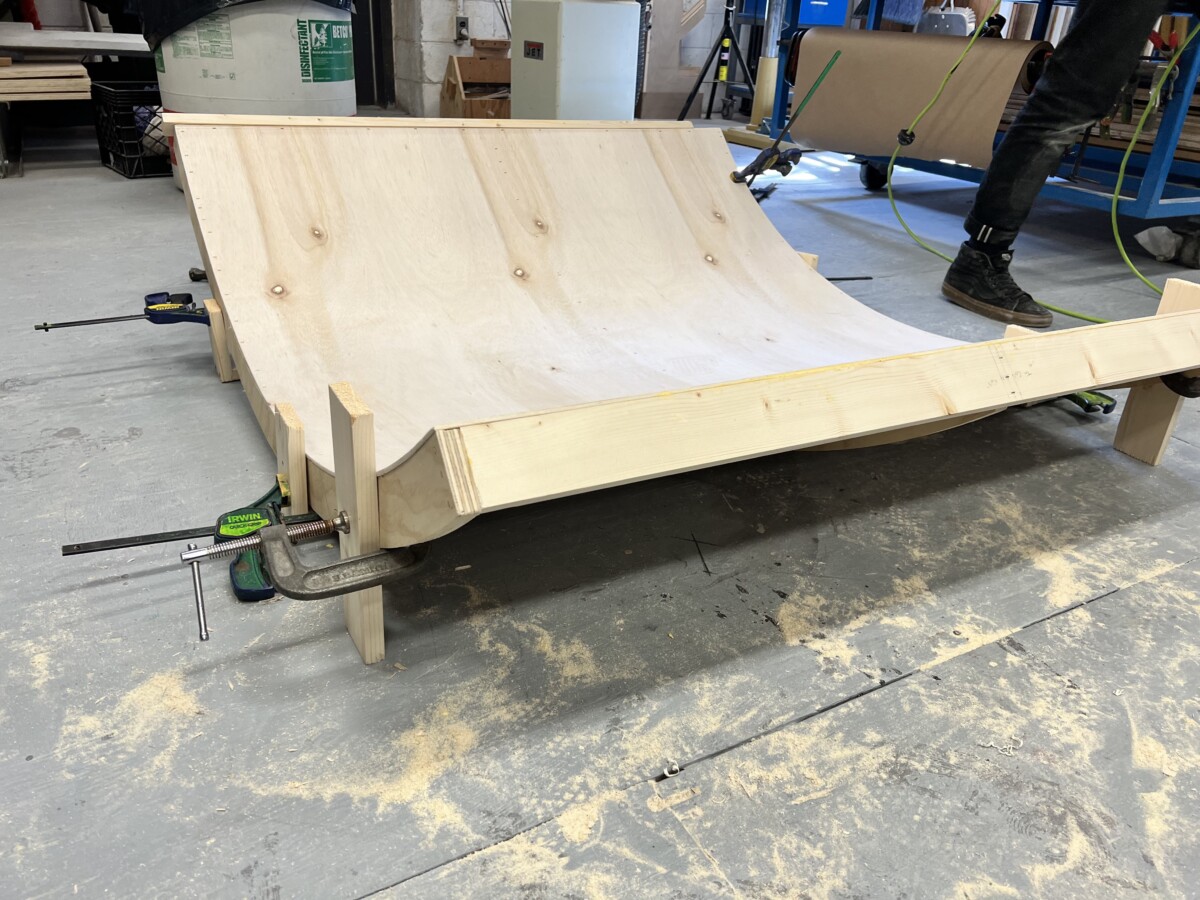
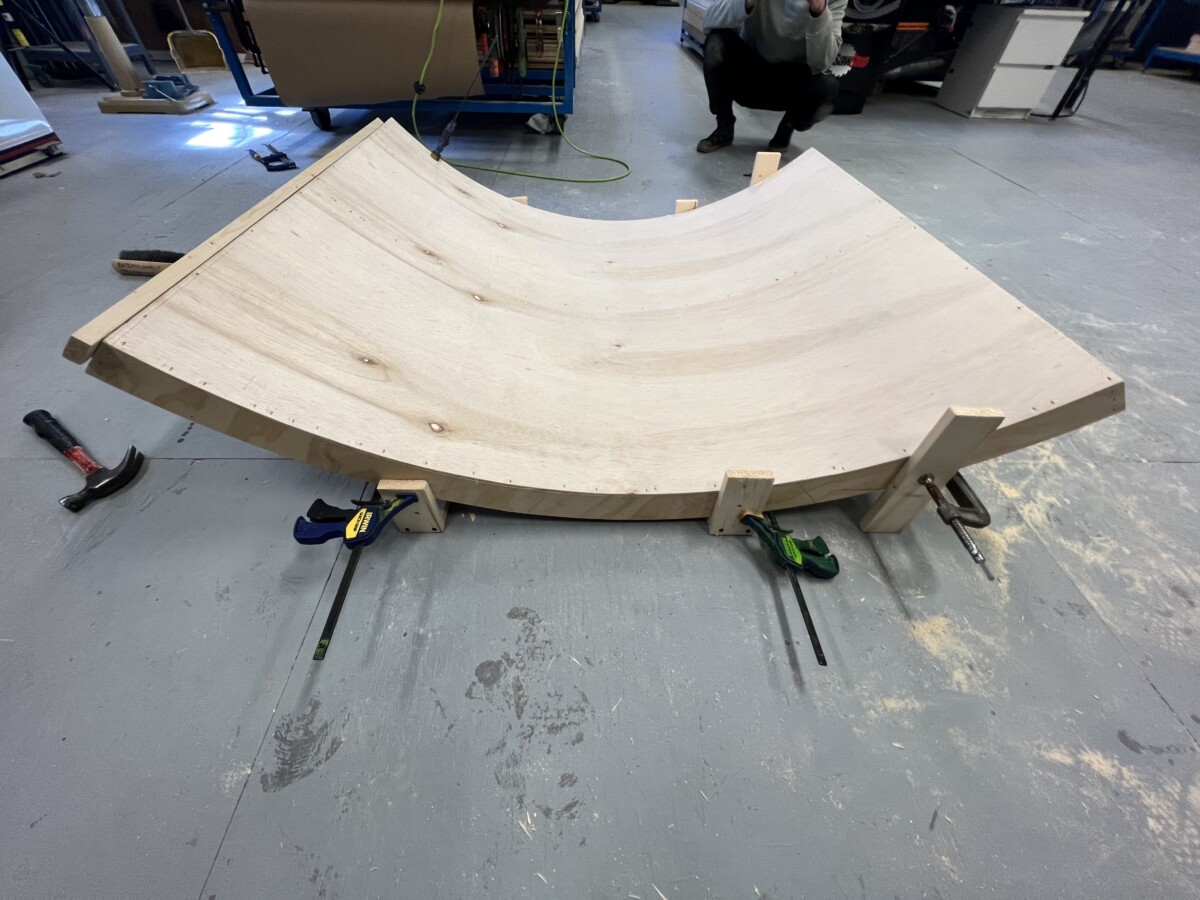
A stopping block was used to keep the sheet of luan plywood from shifting as I pushed it down from the opposite side as my partner glued and stapled it in place.
we had some decent ideas for the slamming door. Using a scenic wall that hides backstage from the audience we used some 2×4 to reinforce the wall as well as attaching steel jacks to add rigidity. To test this idea we modified a 4×8 flat to hold a prehung door that we assembled separately.
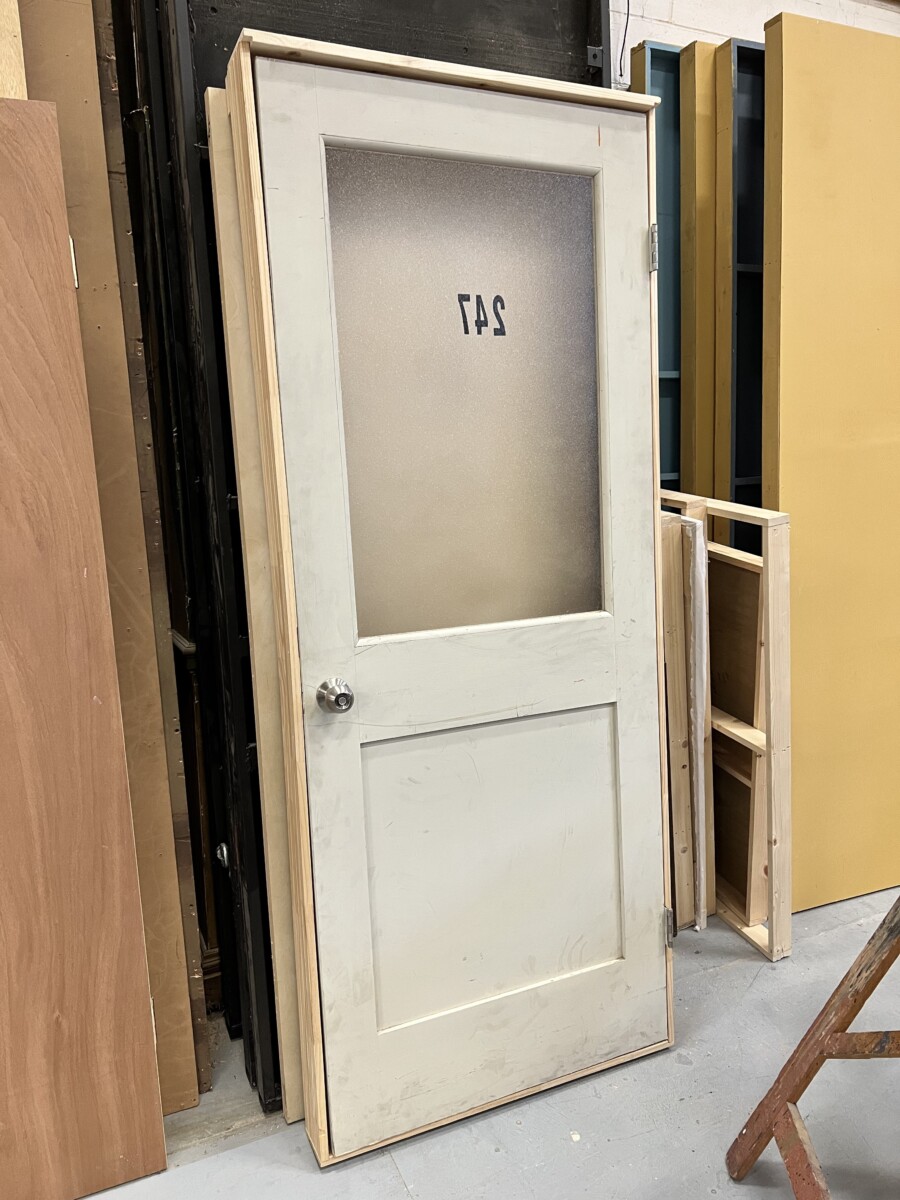
We then installed the set as close to the show as we could with available flats and started slamming the door over and over making sure it didn’t move. THe door was slammed with significantly more force than the actor would need to perform.
We were satisfied with the results of this test.
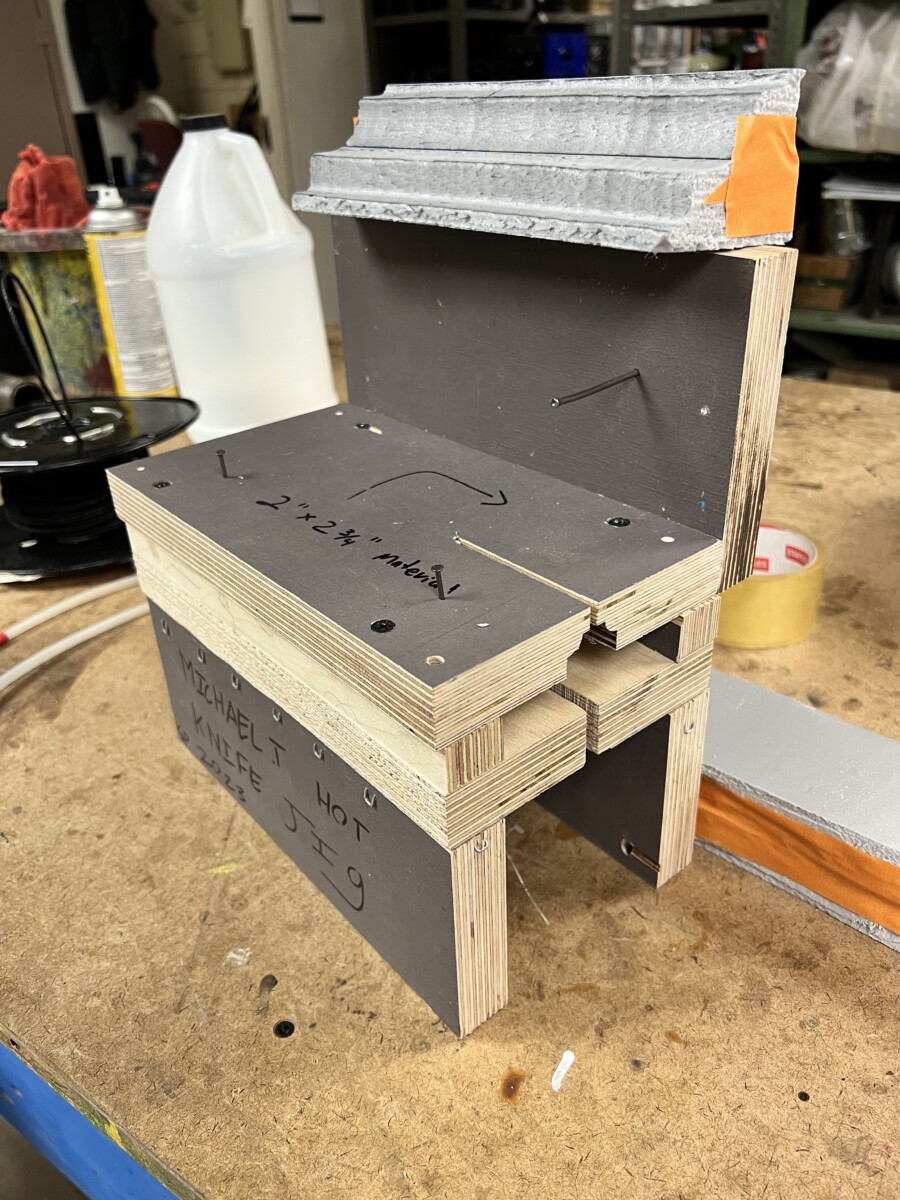
Lastly the molding, I designed a jig that would hold a hot knife with the profile of the molding bent into it. I decided on making the molding ut if foam because the actual size of the molding would be heavy if made out of wood. Adding weight to the top of the walls was also a concern as we felt like it might encourage movement when the door is slammed. The foam would be able to fit the curved flat with some simple cuts made along the spine of the molding to fit the curve properly.
(Design drawing of the jig)
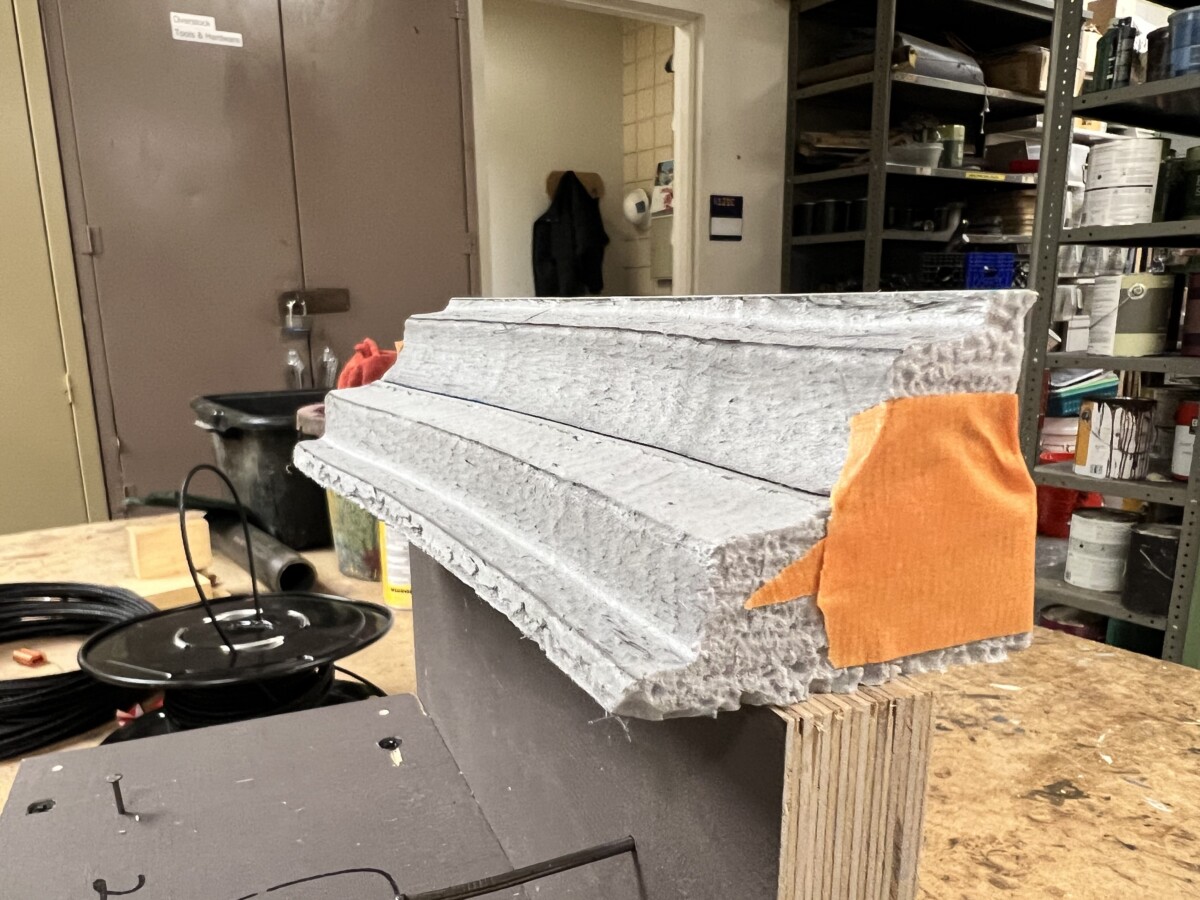
Feeding the foam into the jig produces positive results with an accurate contour of the molding.
Analysis
As a group, we really got to think outside of the box with your methods of extinction. In addition, I learned about the different materials that existed when deciding what to make the holding out. Im definitely going to move forward with the foam jig in mind. It was a really cool tool to make and I was really excited to see the results. I look forward to using this method on projects work on in the future.

