4Wall Pre-Production Prep
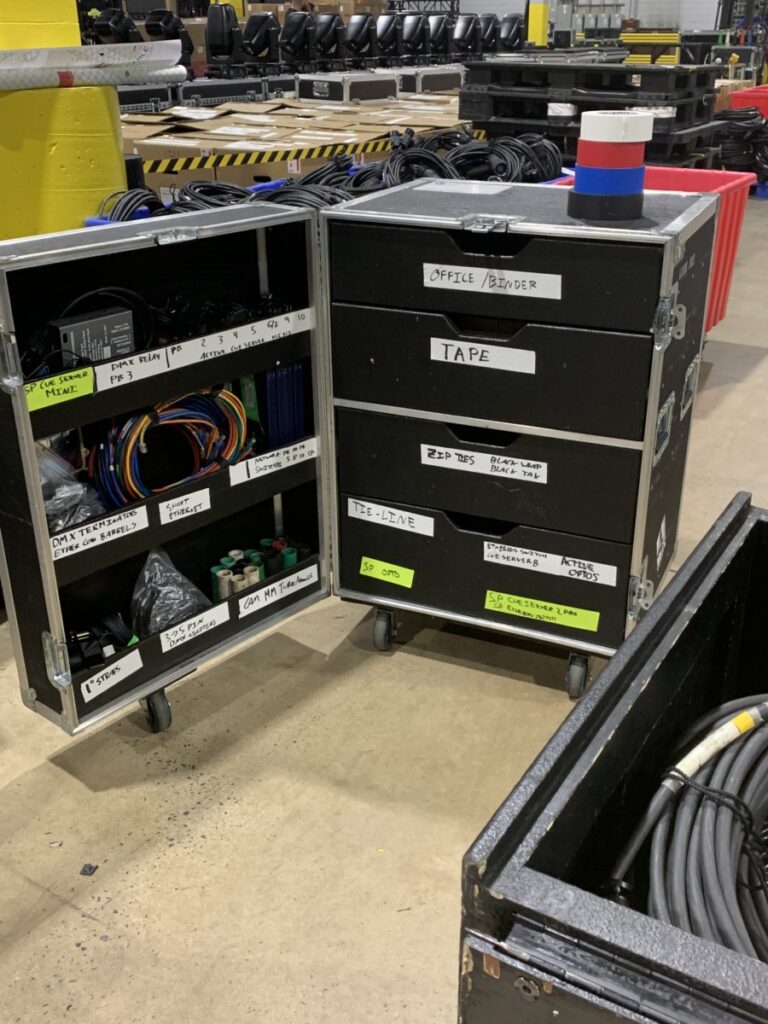
Notable Items Include:
- Work Documents
- Various Tapes
- Zip Ties
- Tie Line
- Turnarounds
- Etc.
A closeup of all the tape we used, to showcase how intricate and organized this entire process is.

Breaking down an entire 1 mile trail of lights, over a 52 acre space into individual zones.

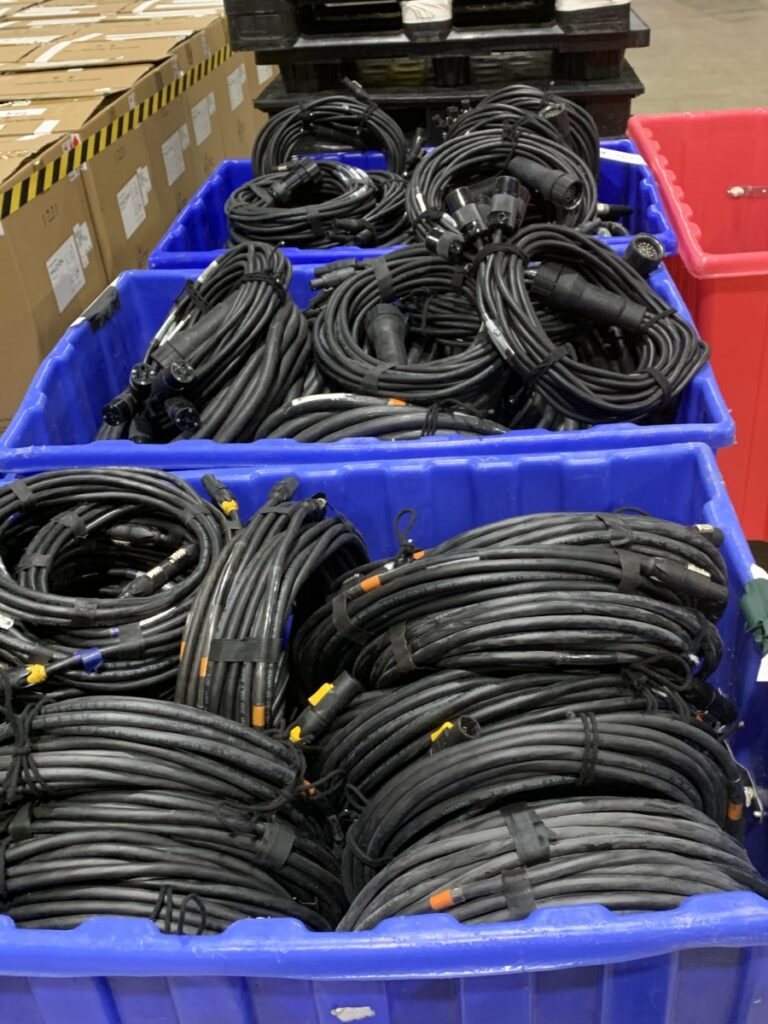
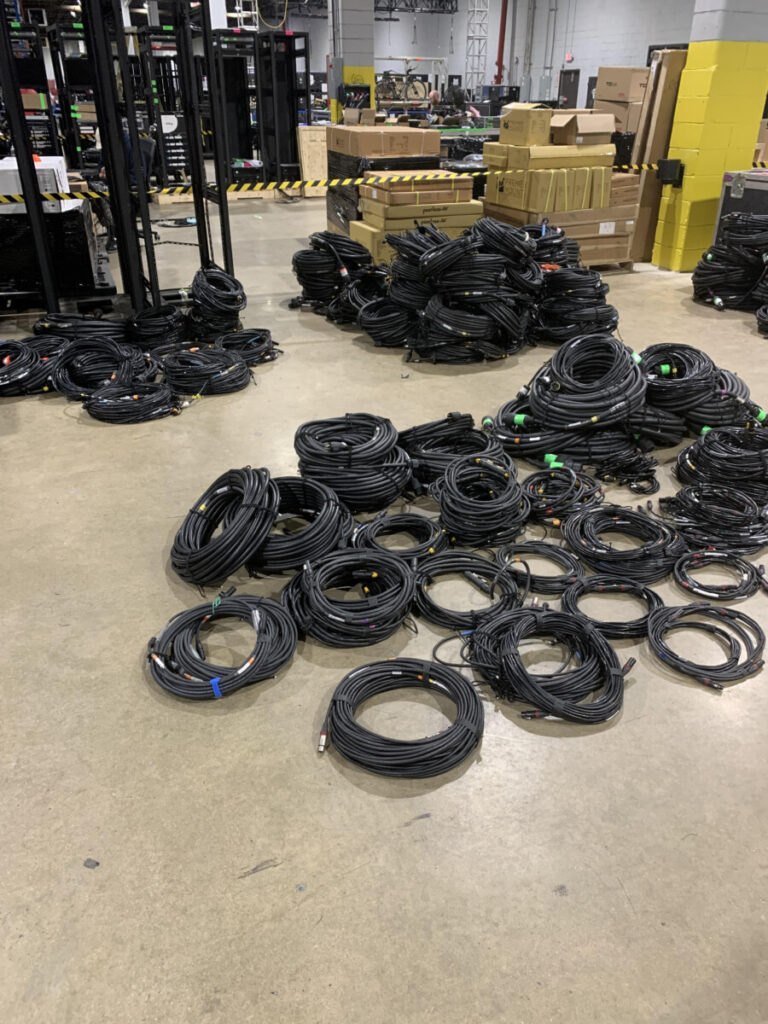
Now with all the supplies we could possibly require for this endeavor, let's get started preparing all the cable for the entire production!!!


(Wow! Look at all that cable 4Wall just brought over, and that's only a portion of what we got done on ONE of the days!)
Alright alright, I know what you're thinking...

I assure there was a method to this madness... you'll see.
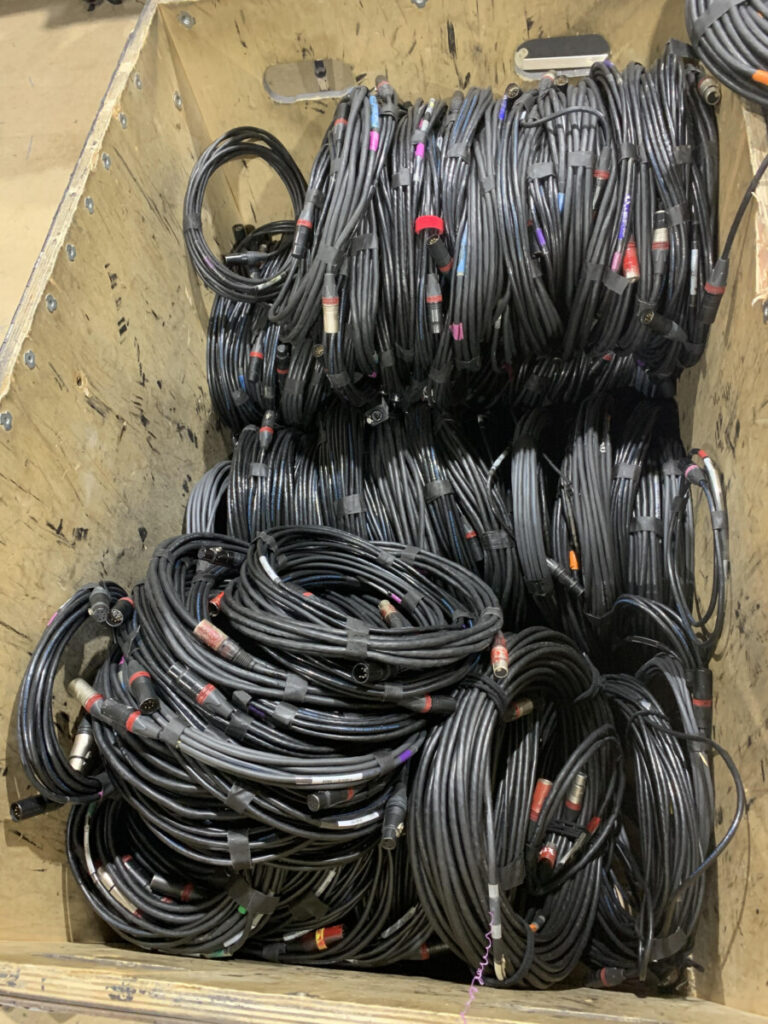
After a lot of fun was had, slowly but surely each crate was carefully sorted and packed to the brim with all the necessary cable needed for that zone.

(DMX, Breakout, True1, Ether(net/con), etc.)
Once the crates were packed to the brim, we correctly labelled each one with it's appropriate color based on its zone.

It's important to note that we labelled not only the tops of the crates, but also each corner so that we could identify it from afar.

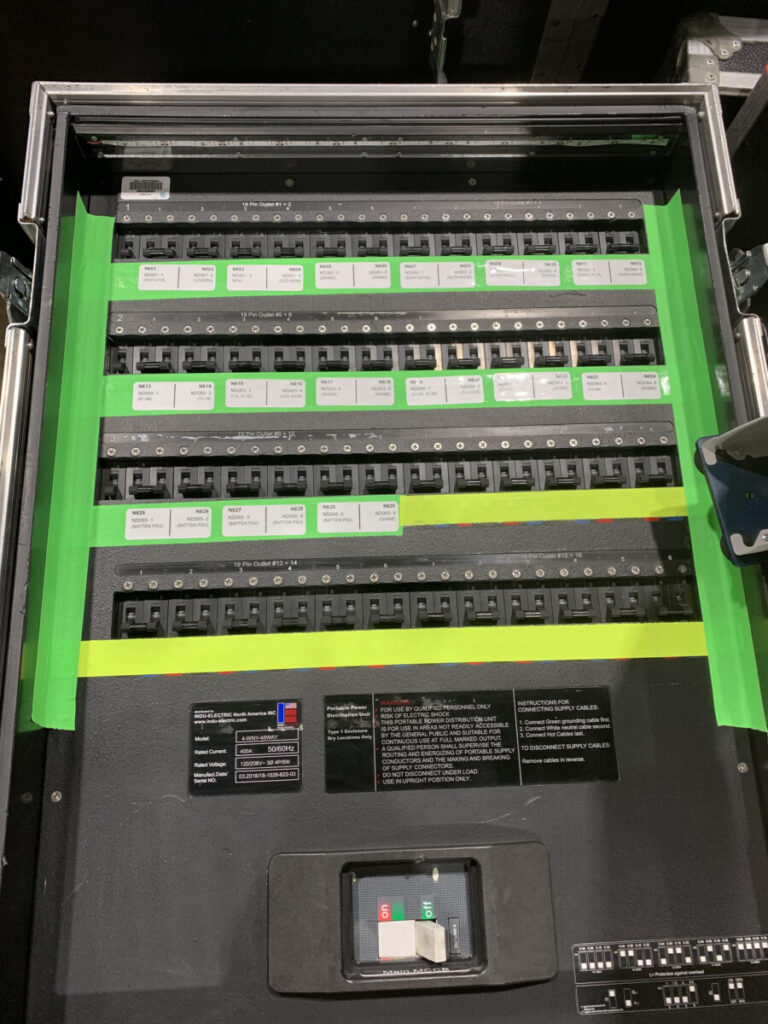
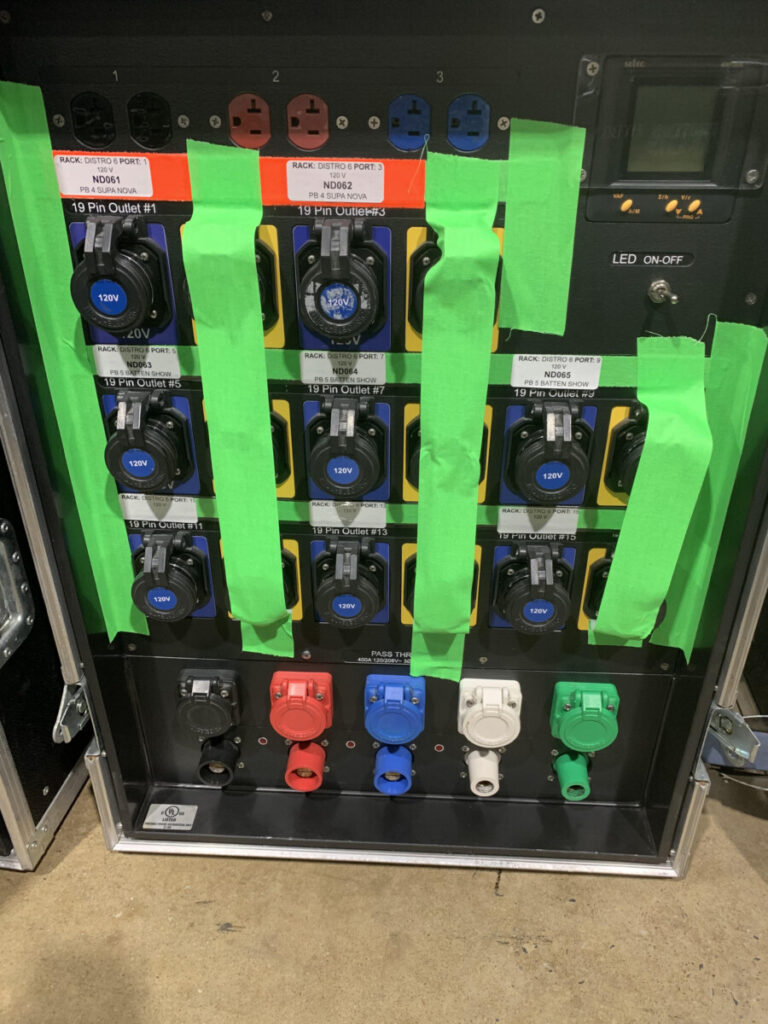
After all the cable was organized, packed, and labelled correctly. Our team then proceeded to tape and label the Power Distributors (PD's), with the correct label per breaker switch, as well as the appropriate color for the coded zone it is being sent to.
Our last step of our preparation process was to quite literally flip each PD over, and provide the same treatment to the backs of the racks.

One thing to notice is that the tape must be behind each label, to indicate which mult will connect to it, as well as the zone it is in.

Also, there is tape over each yellow output, to indicate that it is a spare and to avoid any potential outside factors from opening the covers and seeping into the device.