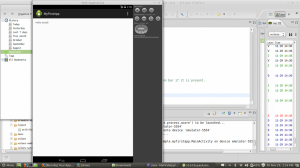
Description:
First we download and install the Android SDK and learning how to create a project in Eclipse. First open the Android folder, select Android Application Project, and click Next. You will see the following
- Application Name
- Project Name
- Package Name
- Minimum Required SDK is the lowest version of Android that your app supports,
- Target SDK indicates the highest version of Android (also using the API level) with which you have tested with your application.
- Compile With is the platform version against which you will compile your app.
- Theme specifies the Android UI style to apply for your app.
Then you create an emulator to run your app to do so you do the following
- Launch the Android Virtual Device Manager:In the Android Virtual Device Manager panel, click New.
- In Eclipse, click Android Virtual Device Manager
.
- In Eclipse, click Android Virtual Device Manager
- Fill in the details for the AVD. Give it a name, a platform target, an SD card size.
- Click Create AVD.
- Select the new AVD from the Android Virtual Device Manager and click Start.
- After the emulator boots up, unlock the emulator screen.
To run the app from Eclipse:
- Open one of your project’s files and click Run
- In the Run as window that appears, select Android Application and click OK.


