Adding a table
The table block adds a simple table to your post or page. For additional formatting options, you can activate the PublishPress Blocks plugin and try the Table Block. For advanced options, importing existing tables to your page and adding interactive options for the viewer like sorting and filtering, you can use the TablePress plugin.
Adding the Table
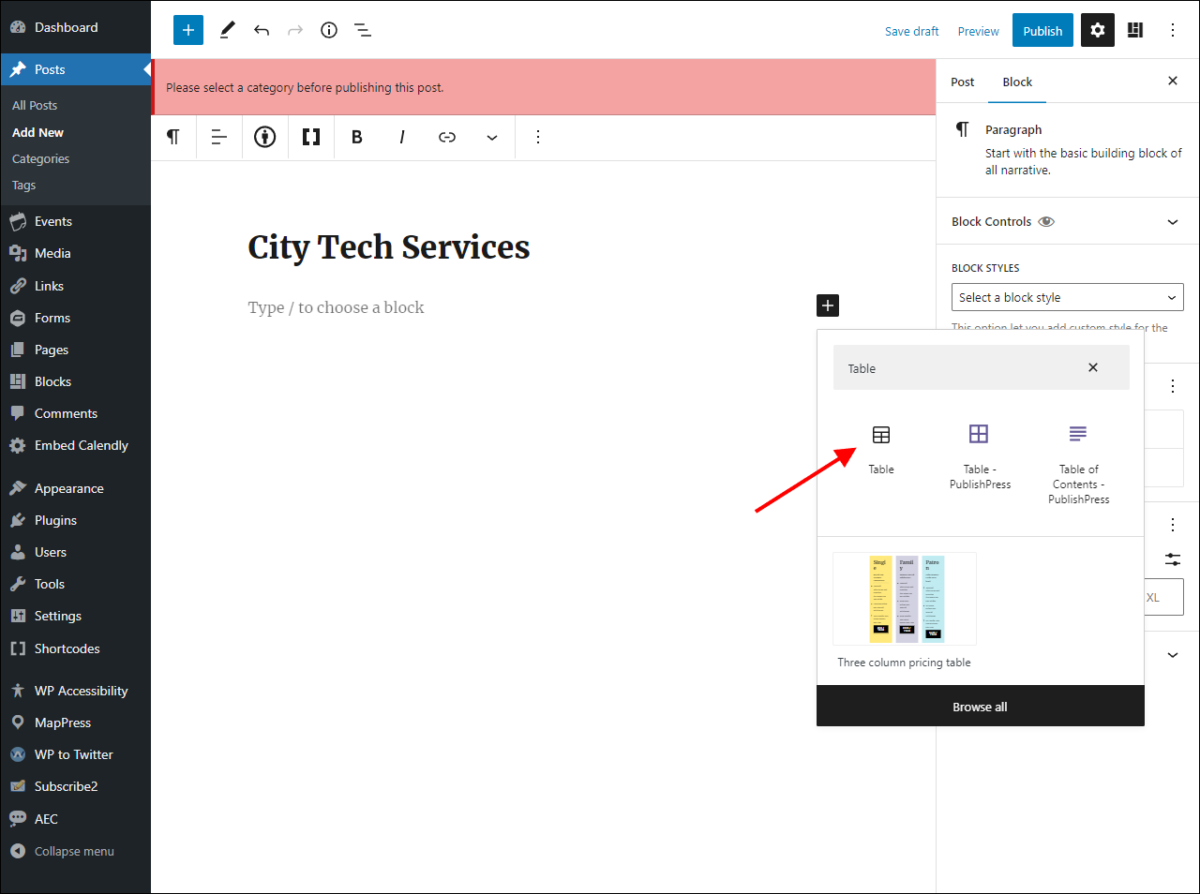
1. In your post or page editor, add a new block and type “Table” in the search bar. Choose the Table option once it appears.
2. Select the desired number of rows and columns, and click Create Table. Don’t worry too much about these numbers; you will be able to insert/delete rows and columns later.
3. Click in the cell you want to edit, and type its content.
Basic Editing
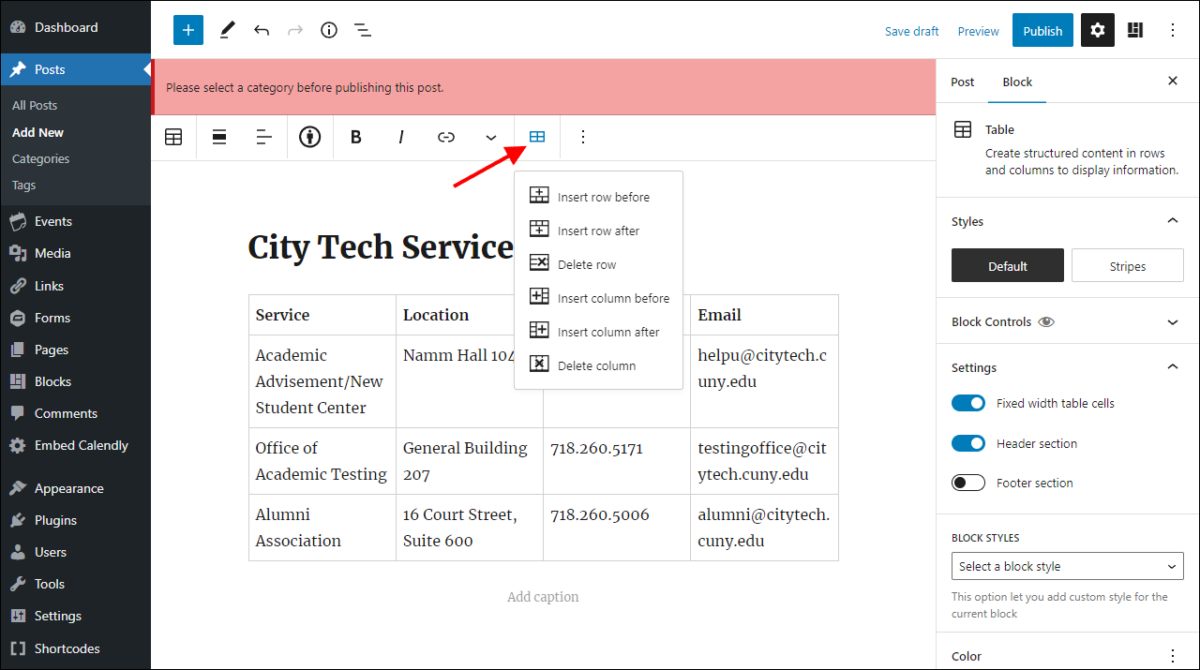
1. There are options to insert or delete rows and columns. To access them, first click in one cell from the table.
2. After that, click the Edit Table button to show the insert/delete options. Notice that they will all be in reference to the cell you selected in the previous instruction.
3. In case you deleted rows or columns by mistake, don’t worry. You can undo it by clicking the Undo button or pressing Ctrl-Z (Command + Z for Mac users). The deleted row/column will return, with its contents.
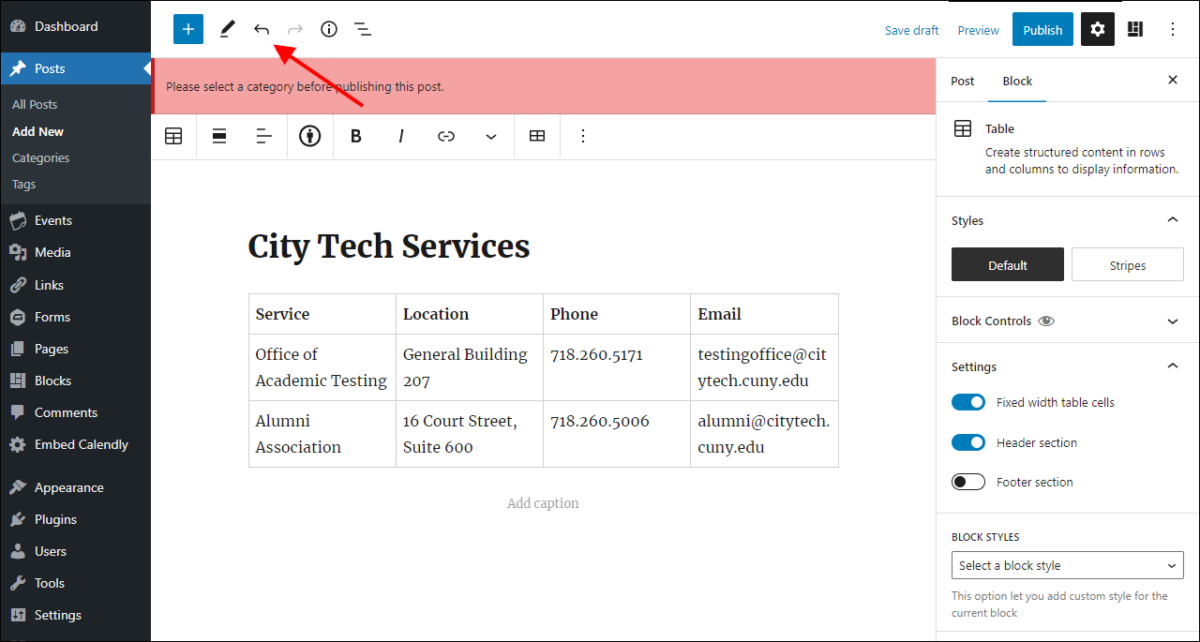
Table Settings
1. There are a few options available in the table block settings. To get there, (1) Click the Settings Button; (2) Click Block.
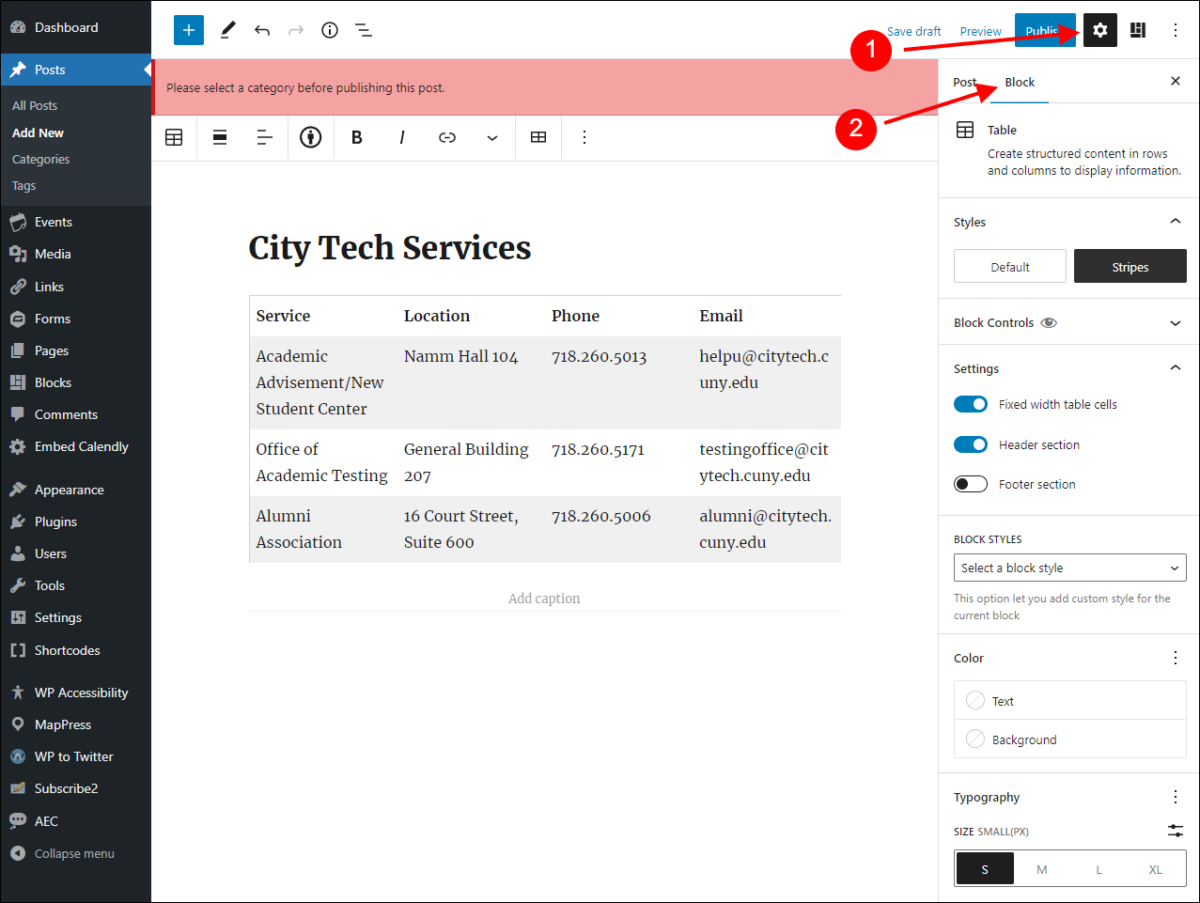
2. In Styles, you can choose Stripes to add a subtle background color to every other row, which can help with visibility. The Default option uses an internal line grid instead.
3. If your table has a header row, click Header section under Settings. This will add a header row on the top of your table, which will look differently from the other rows.
4. Depending on the size of the text of some cells, your table might look better with the option, Fixed width table cells turned on. It is also under Settings.
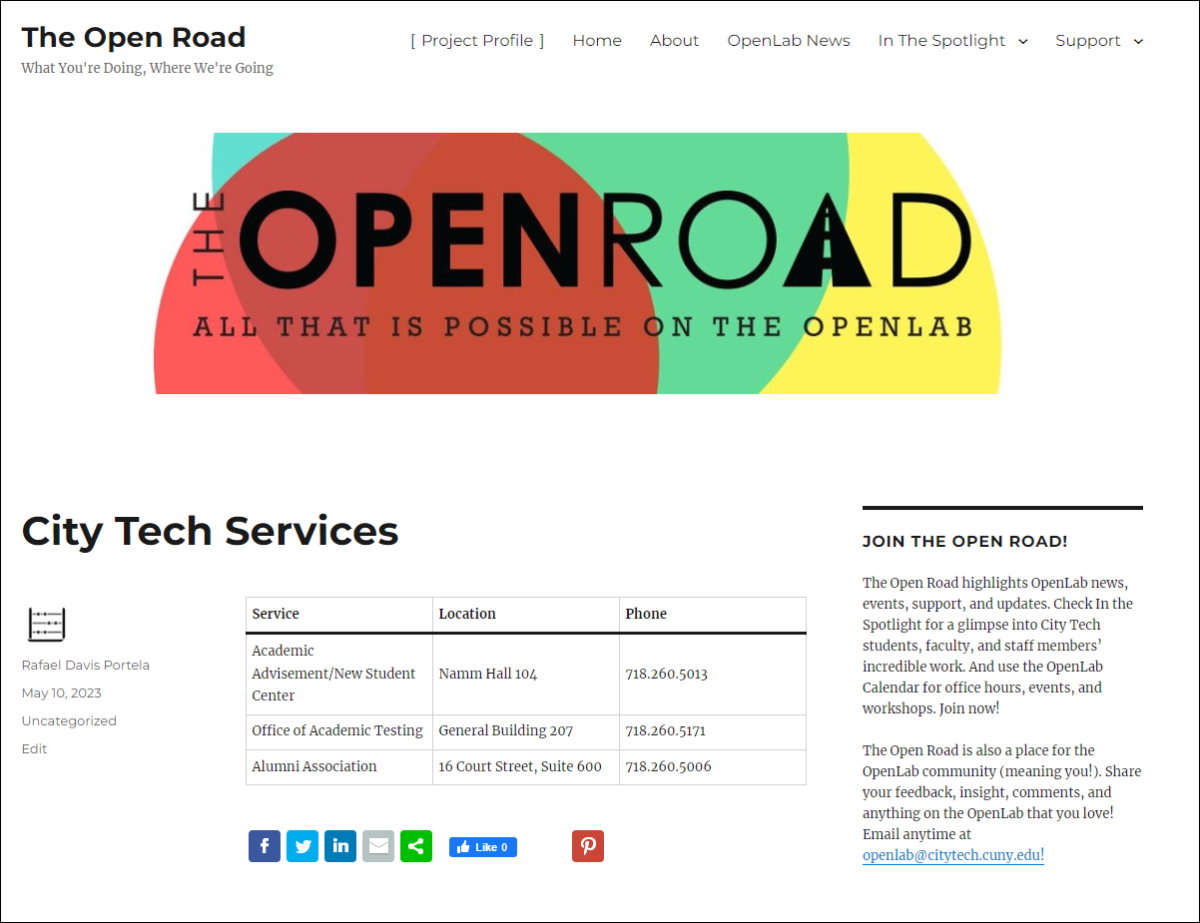
5. When you are done, you can preview your table and see if it is ready to post.