- Make certain your drawing set is posted today at the latest – (Nov 24)
- The videos from today’s class are posted
- For next Tuesdays class you have a lot of work to complete. You need to push yourself now!!!
- WE ONLY HAVE 4 MORE CLASS MEETINGS BEFORE FINAL PINUP!!!!
- Your selections for opaque system & glass curtain wall must be approved (see the Miro Board)
- BEGIN CREATING YOUR FINAL SLIDESHOW (these are the first slides)
- [this will likely take more than a single slide to complete] – I suggest you create these slides in PowerPoint and then export them to MIRO. This will make it easier to create the final presentation. Eventually you will add slides to this presentation from your Revit model demonstrating the process of assembly. These are your research slides – this is where you will gather the information you need to create your families.
- For each of your chosen systems create high quality first board that would be used for the first screen of the final PowerPoint/PDF presentation.
- Include on this board – the name of the system/manufacturer. Include a link to the system information on the product website.
- Include sample details for this system from the manufacturers website.
- Identify a building case study that makes use of the system. Include photos of this project.
- A part of this process is to research enough to begin to understand how the system is assembled. As you conduct this research identify components you will need to build as 3d Revit families.
- Locate YouTube videos that show the installation process of your system. You will need to post these into your MIRO work spaces.
- THE REVIT TEMPLATE FILE & PRESENTATION
- Your final presentation will include a minimum of 4 plotted sheets. You will need two (2) sheets for opaque and two (2) sheets for the glass curtain wall. You can select either a vertical or horizontal layout but all 4 sheets must have the same orientation.
- Update the title block to include your name & photograph, the semester, professor, etc. Create all 4 sheets- name and number them properly.
- Review the model to become familiar with it. Begin to build your 3D model for both systems simultaneously. Remember our basic rules of creating groups of 4 coordinated views (plan/section/elev/isometric)
- The first sheet for each study must include a plan/section/elevation & isometric at the scales shown in the sample file. As you create additional groups of views remember to work in groups of 4.
- The final sheets will require annotations/notes/leaders and dimensions. The sooner you add them to the drawing the better – we have very little time remaining for this semester.
- Create as many 3d Revit families as you can identify for each system – place this in the correct location for your model. As you work and create small assemblies – quickly place them on the sheets
- MIRO PINUP FOR NEXT CLASS
- All of the slides for your slideshow listed above
- All of the videos showing installation you can locate
- Plot and post all 4 sheets from your Revit file showing your progress on the facade system assembly.
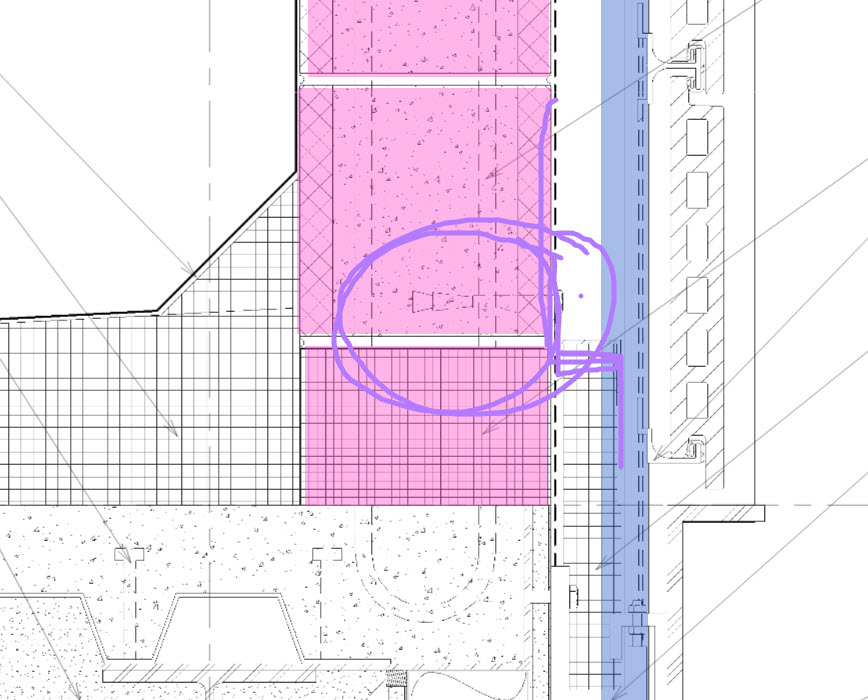
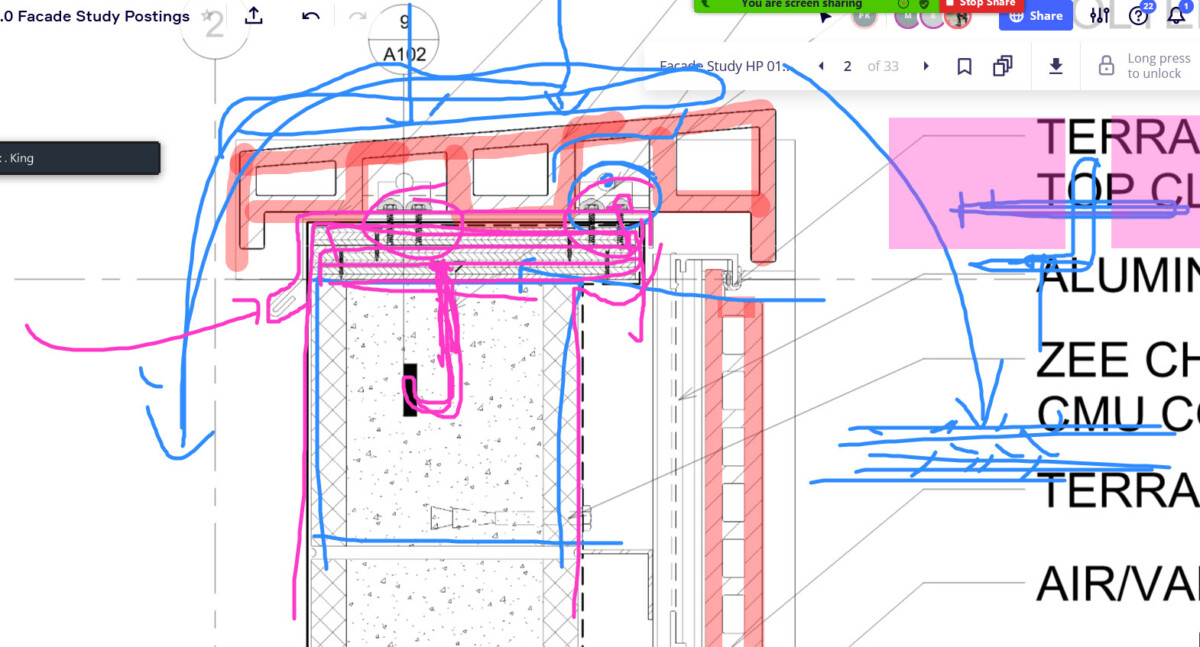
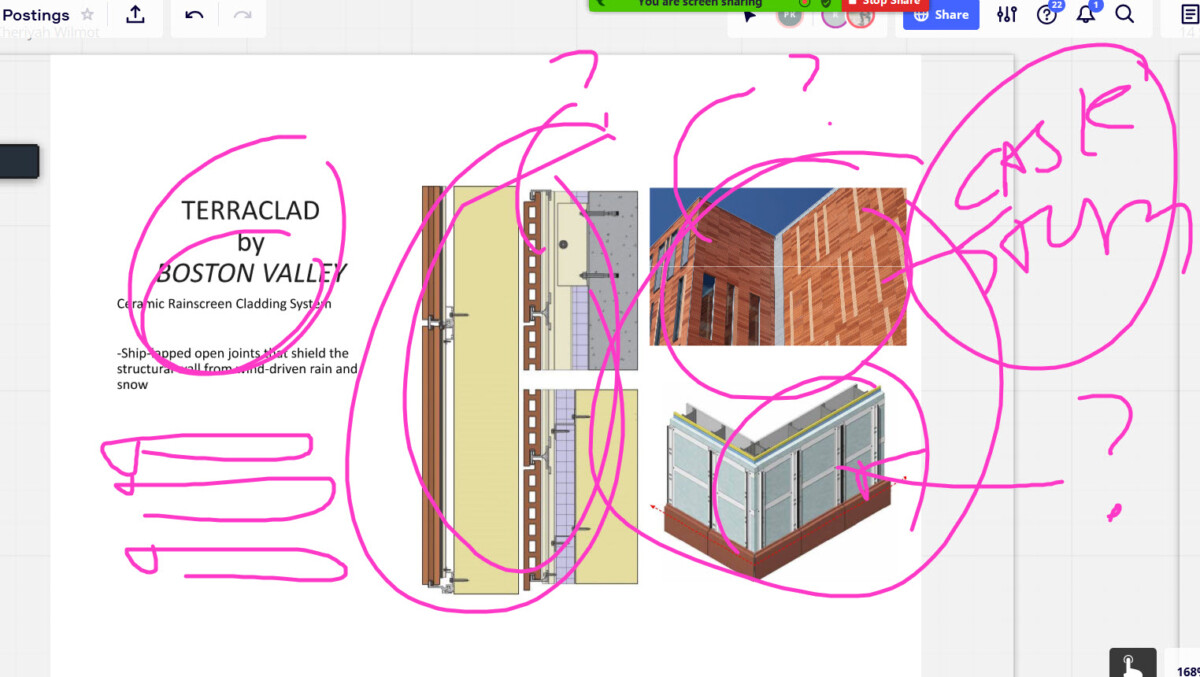
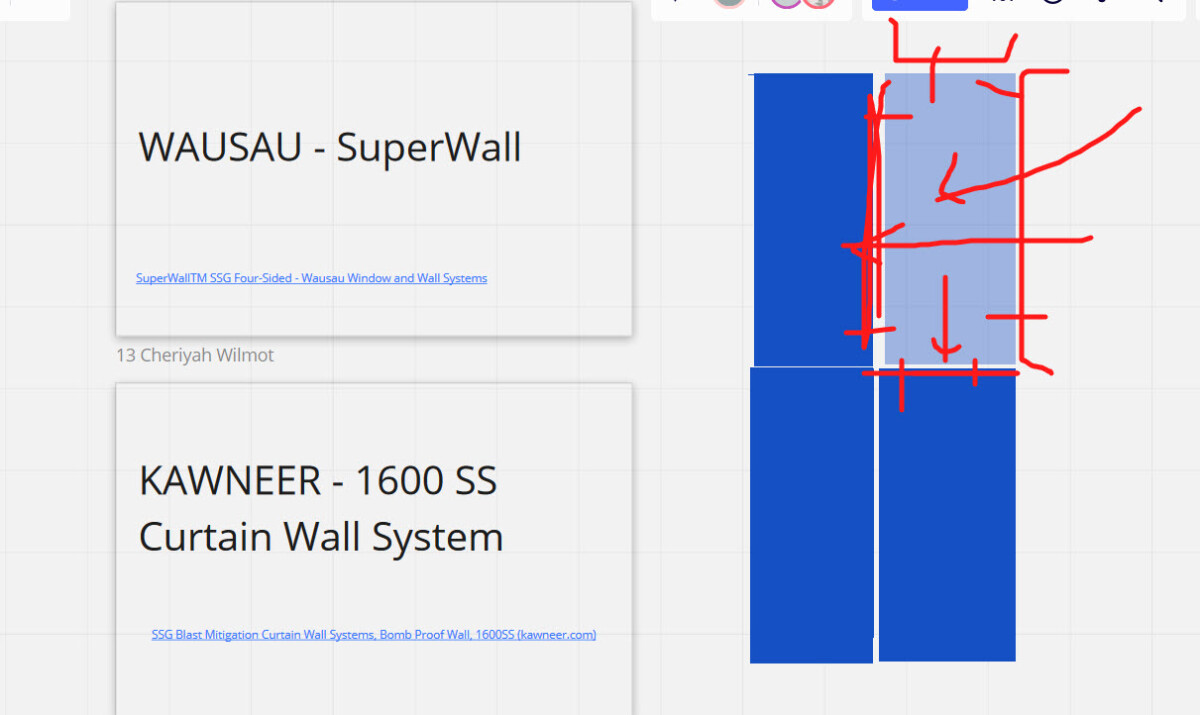
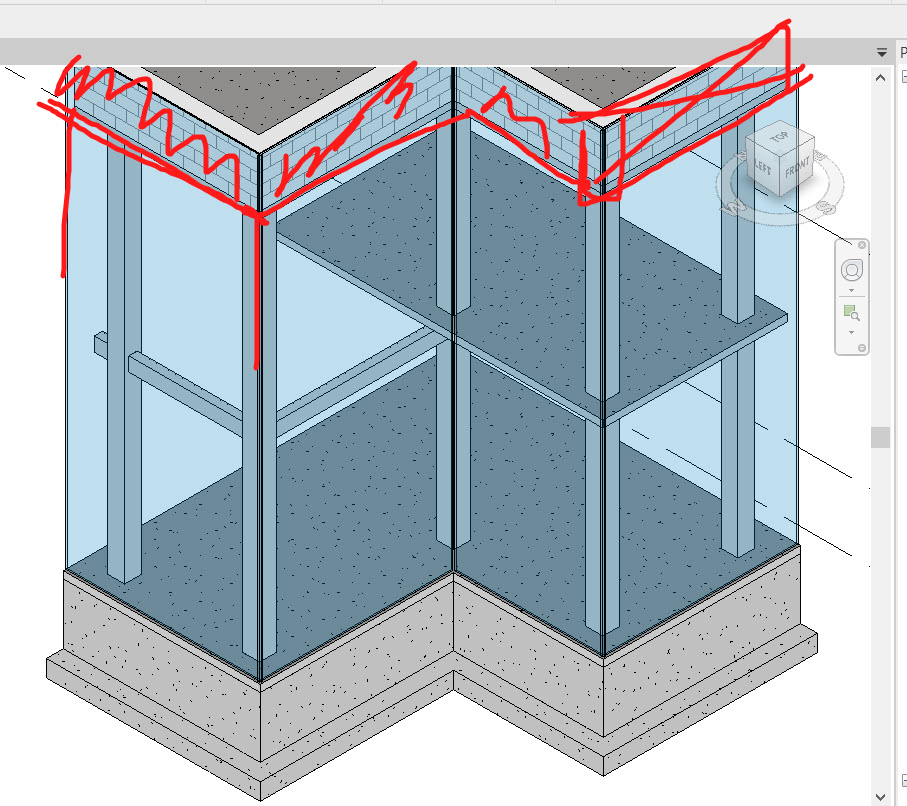
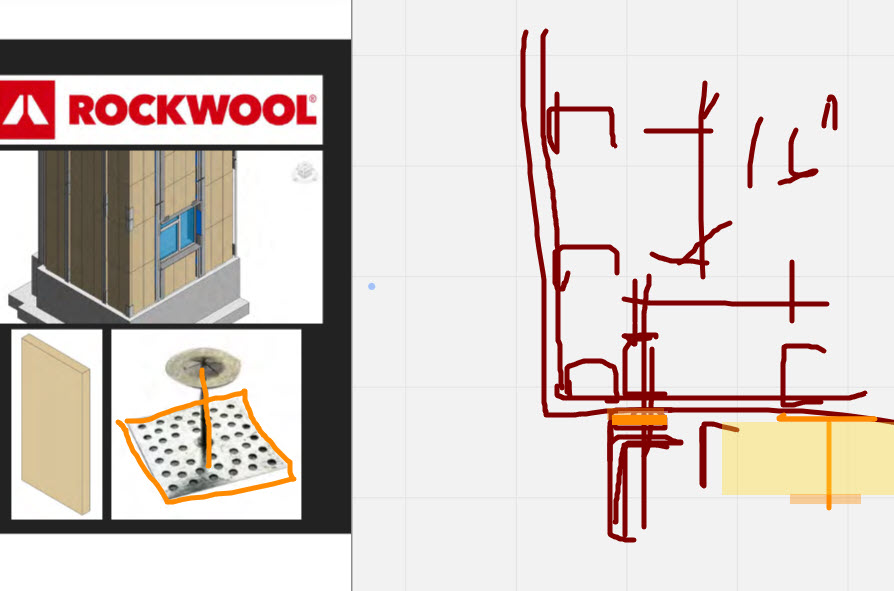
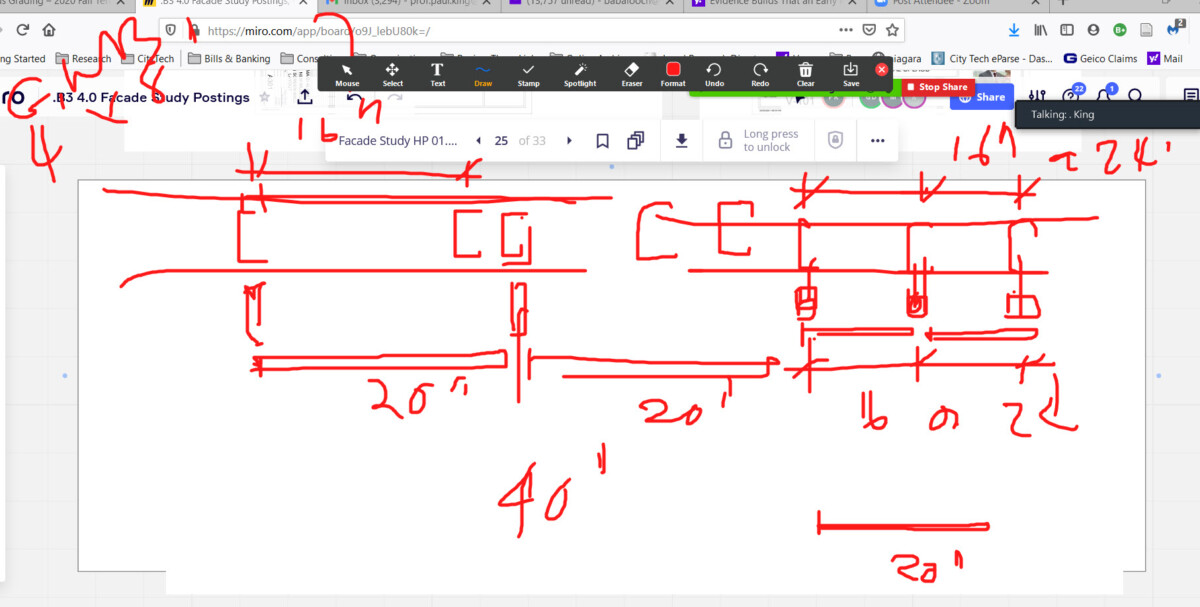
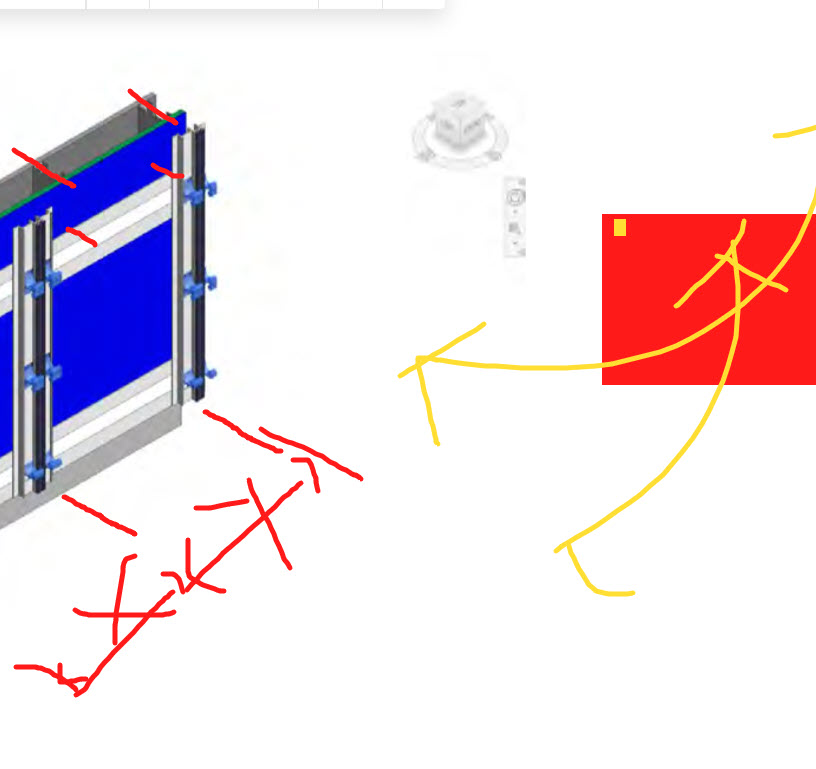
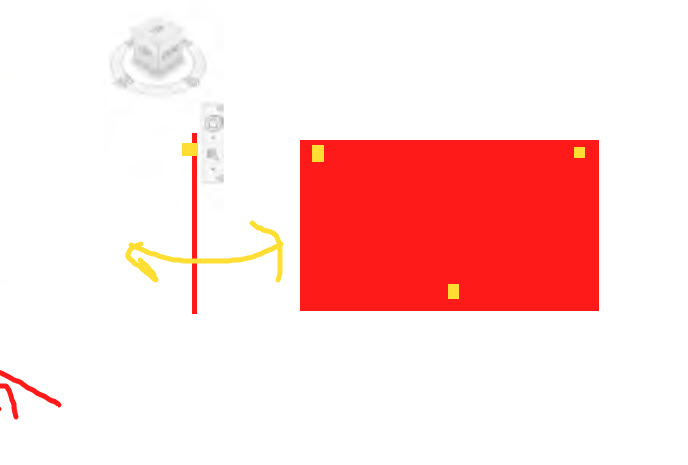
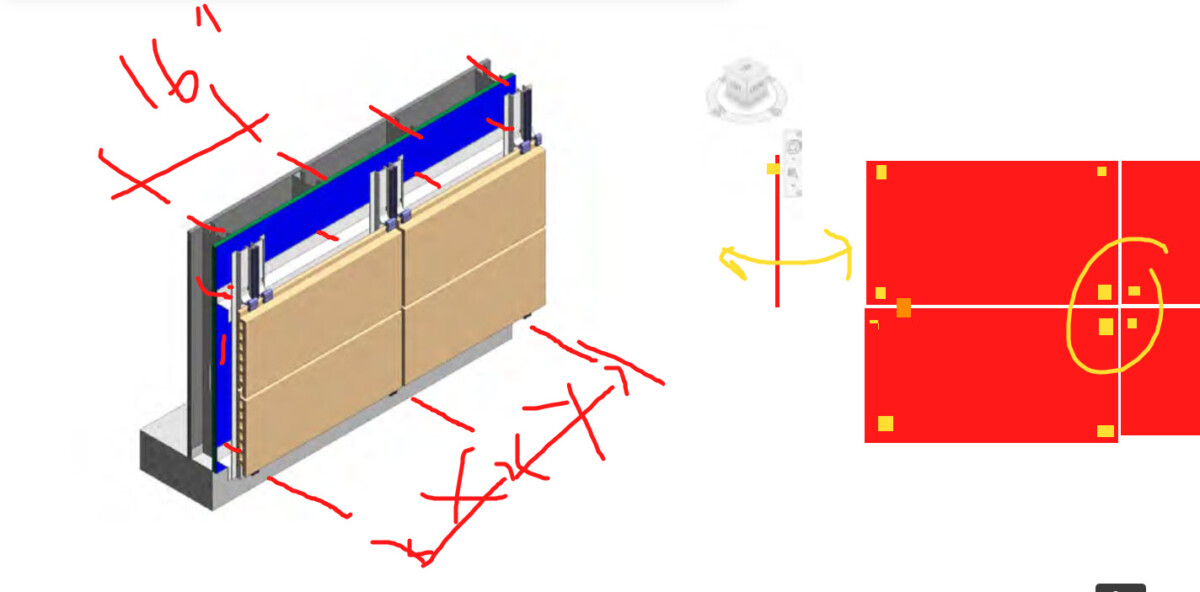
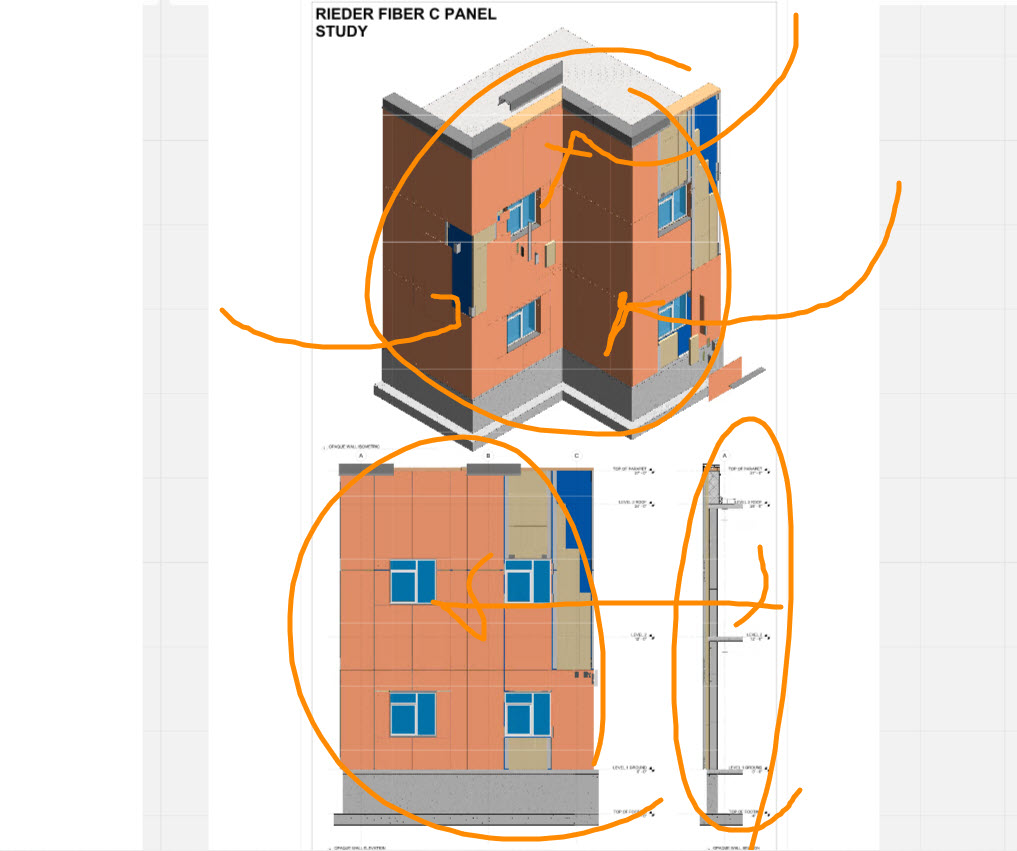
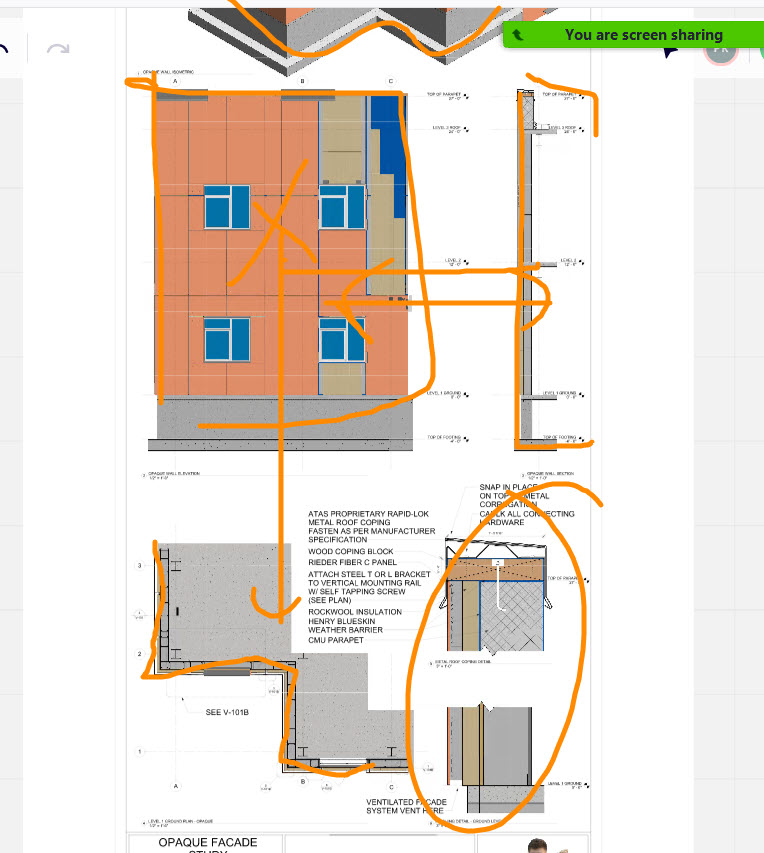
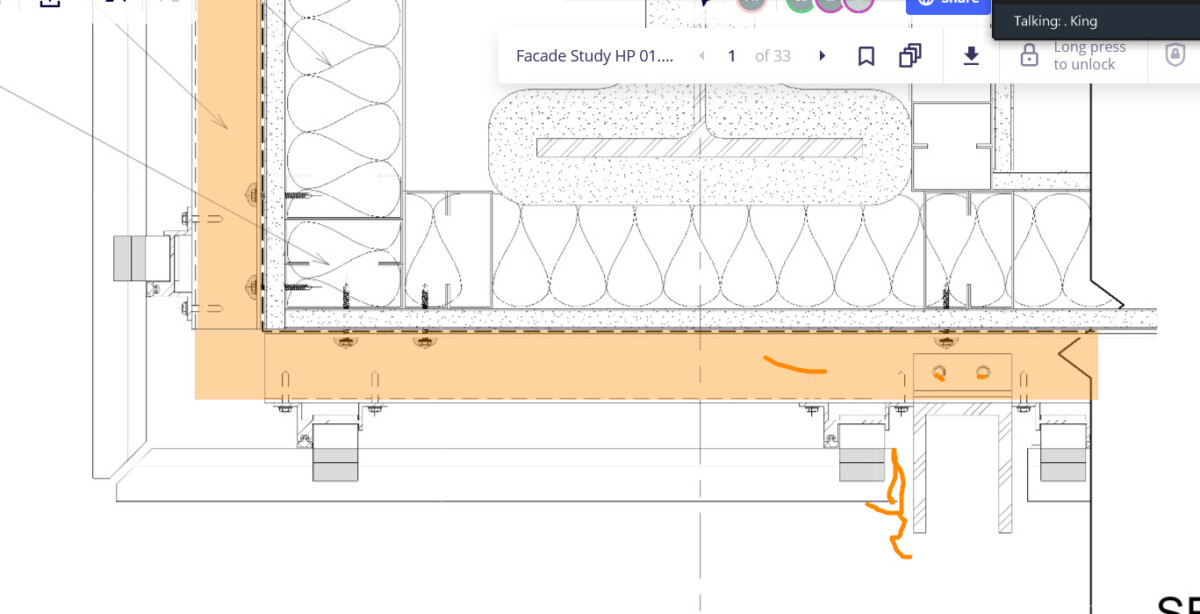
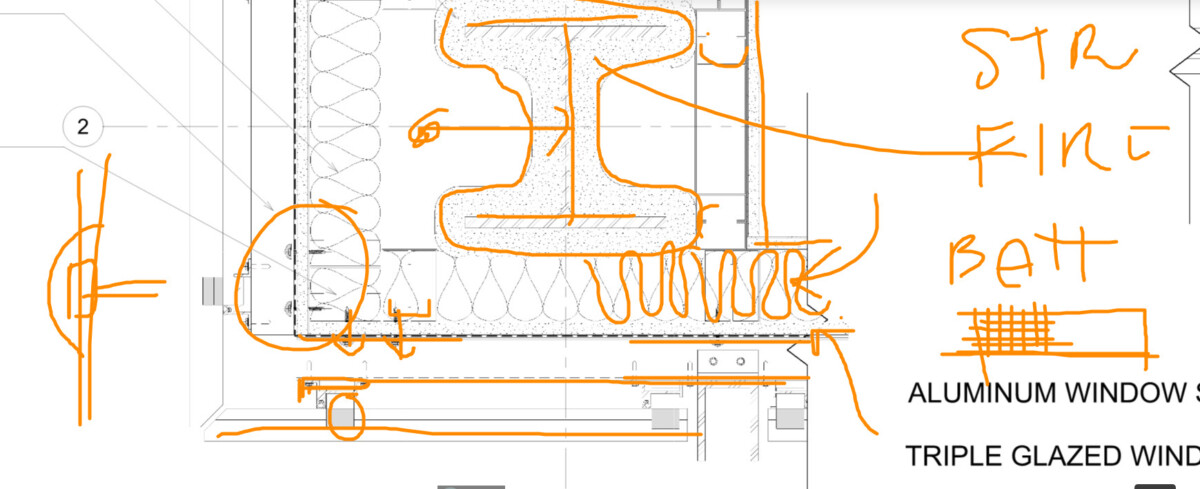
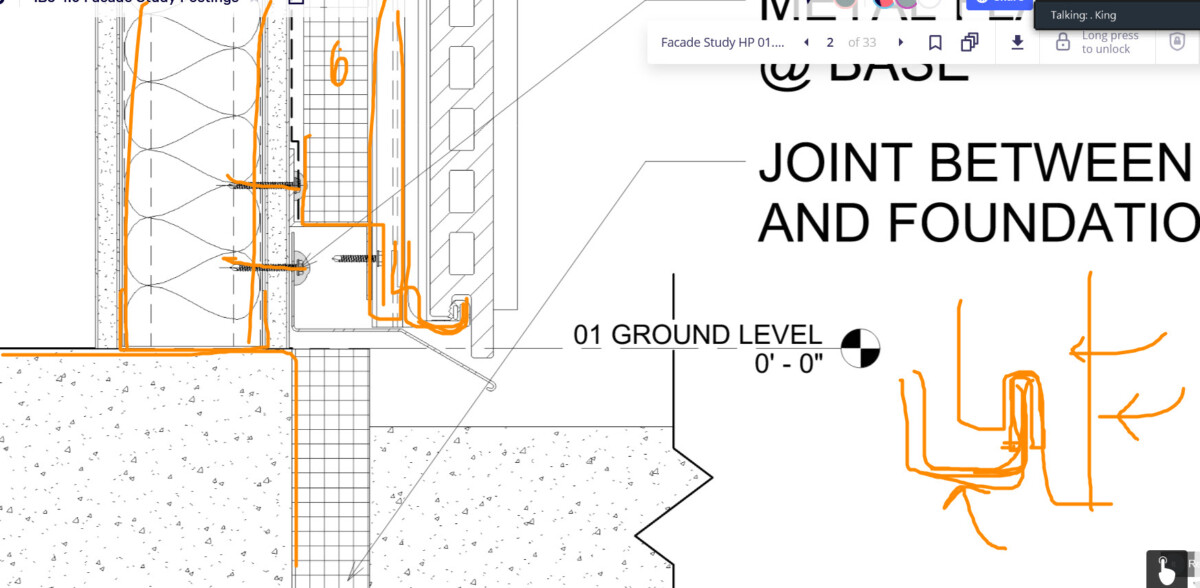
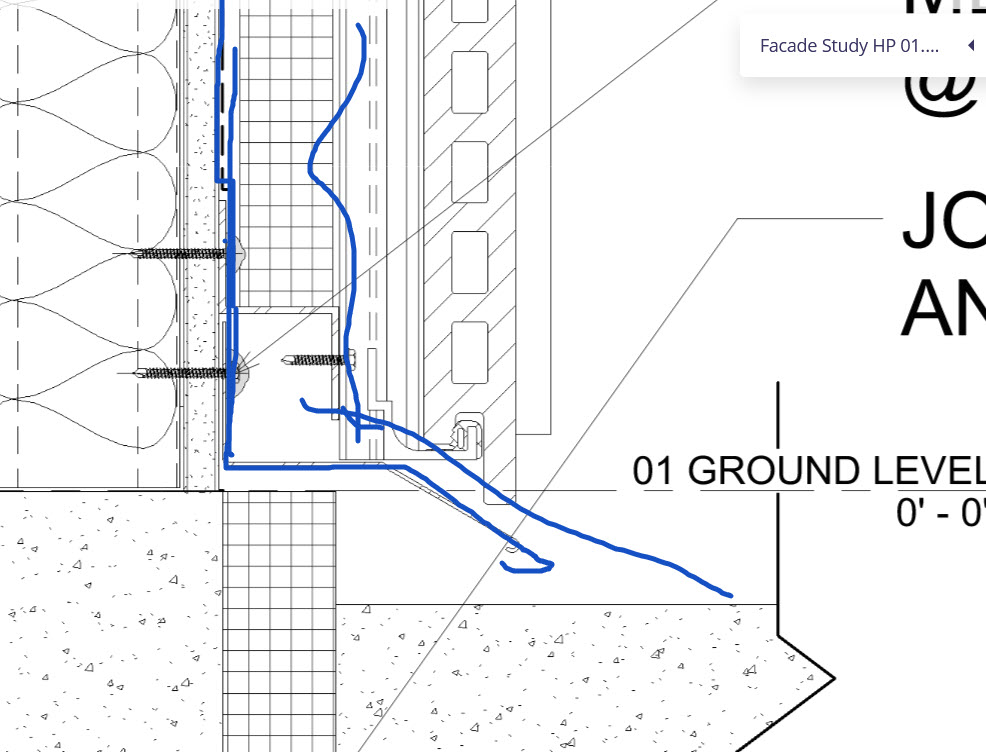
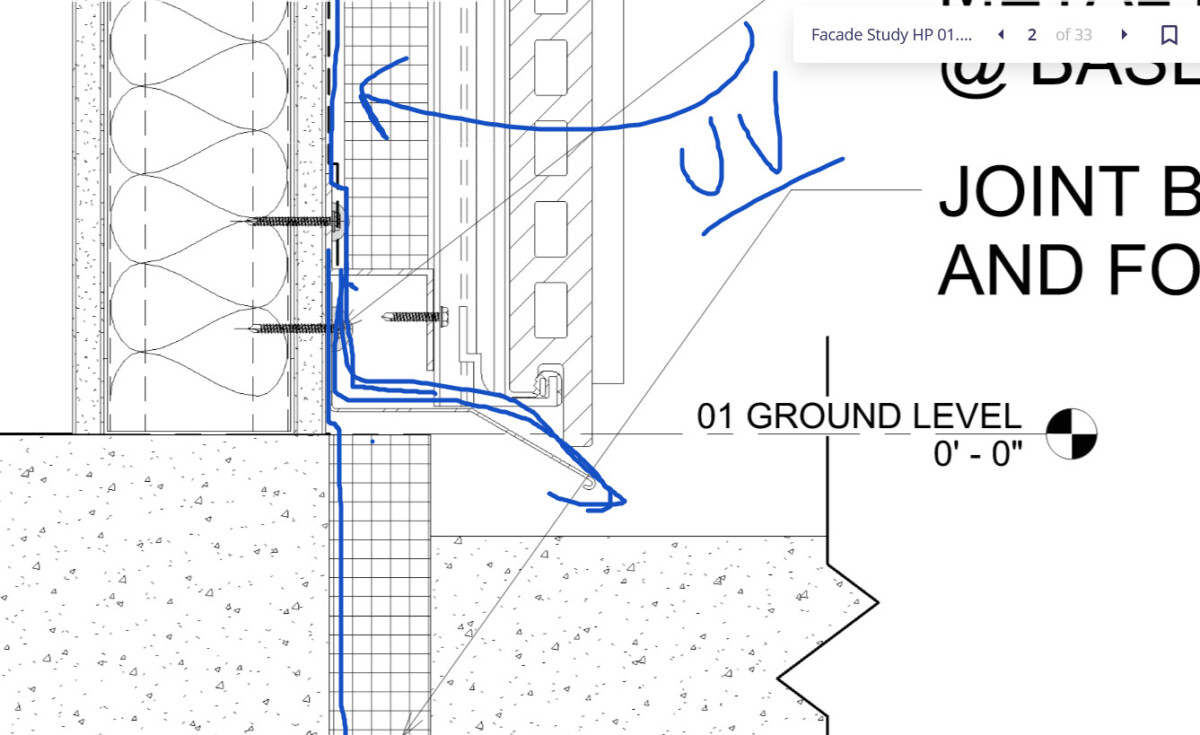
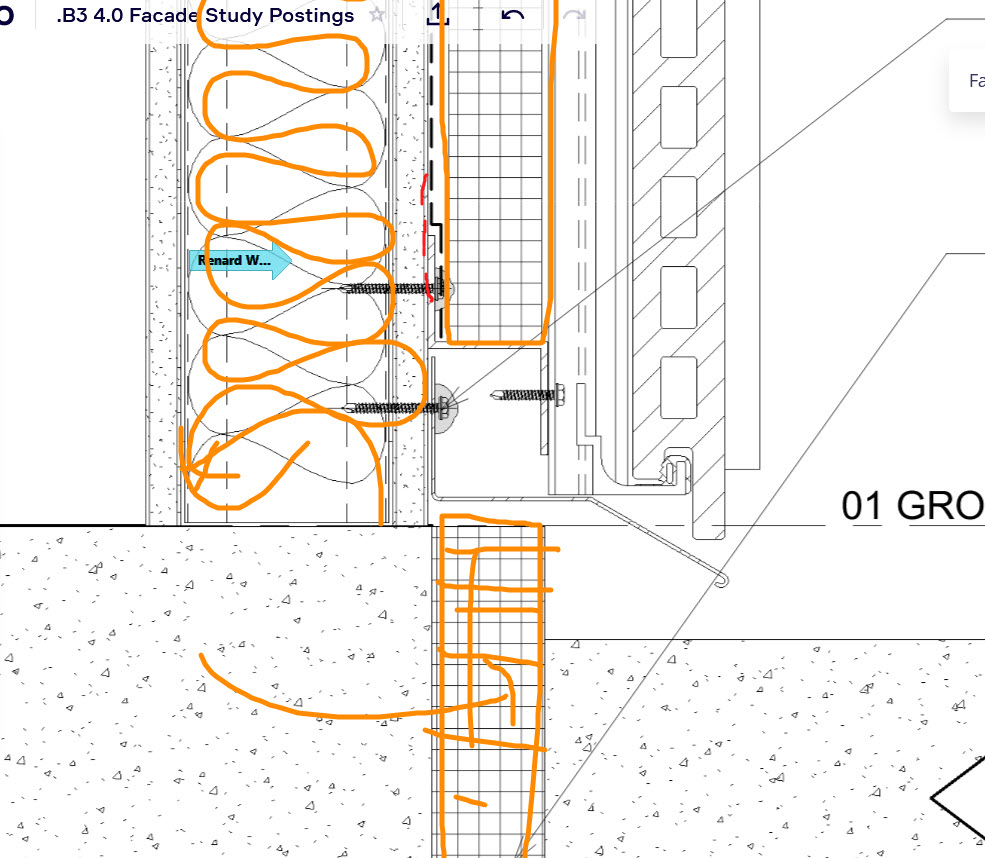
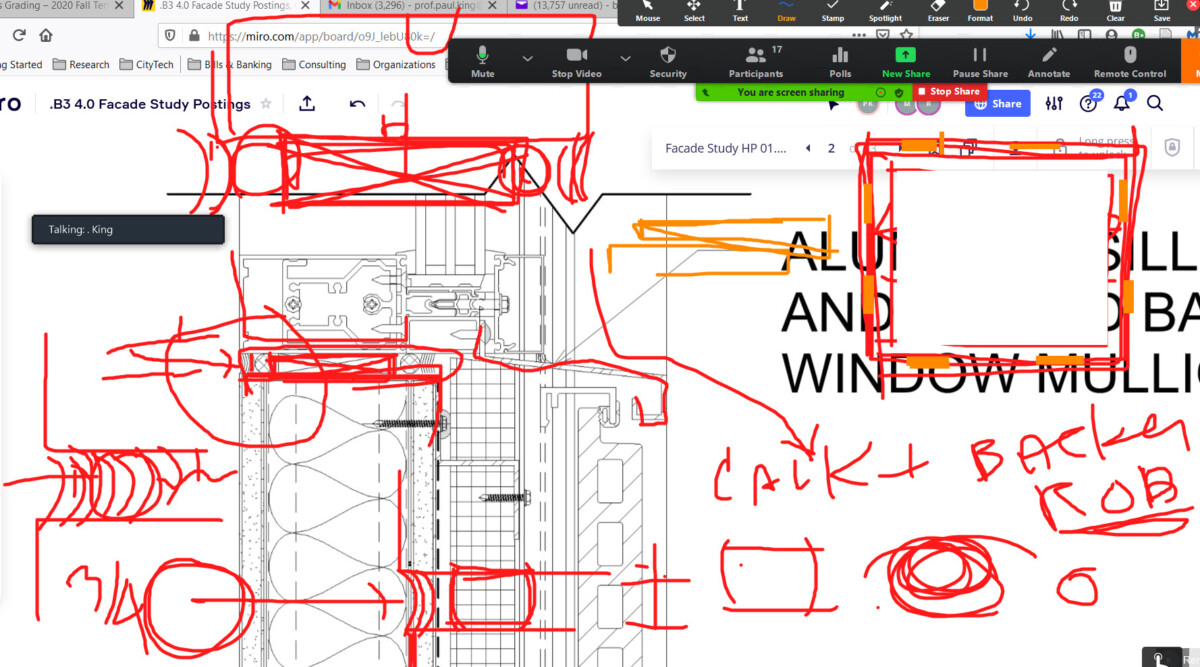
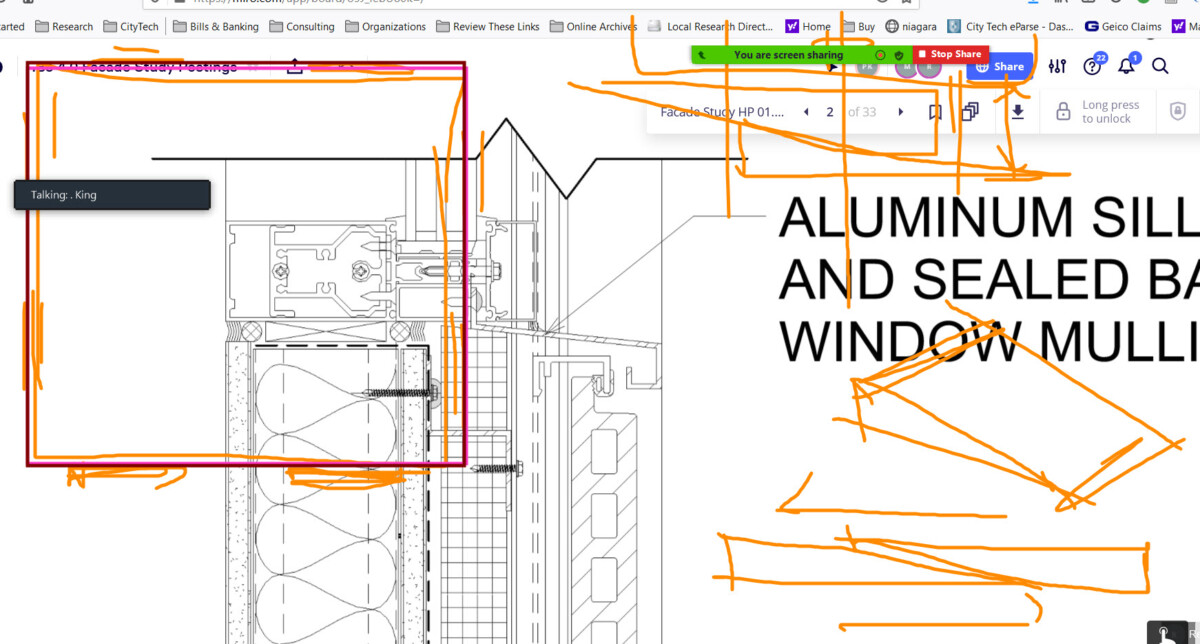
Screen Captures from Today’s Class