
Objective
To build our own personal cloud using the Raspberry Pi and a service called ownCloud. ownCloud is a free and open source software that gives you freedom and control to manage your own data. It’s a personal cloud that runs off of your own server / Raspberry Pi. The Raspberry Pi is a low cost, credit-card sized computer that plugs into a computer monitor or TV, and uses a standard keyboard and mouse. It is a capable mini device that enables people of all ages to explore computing, and to learn how to program in languages like Python.
Description
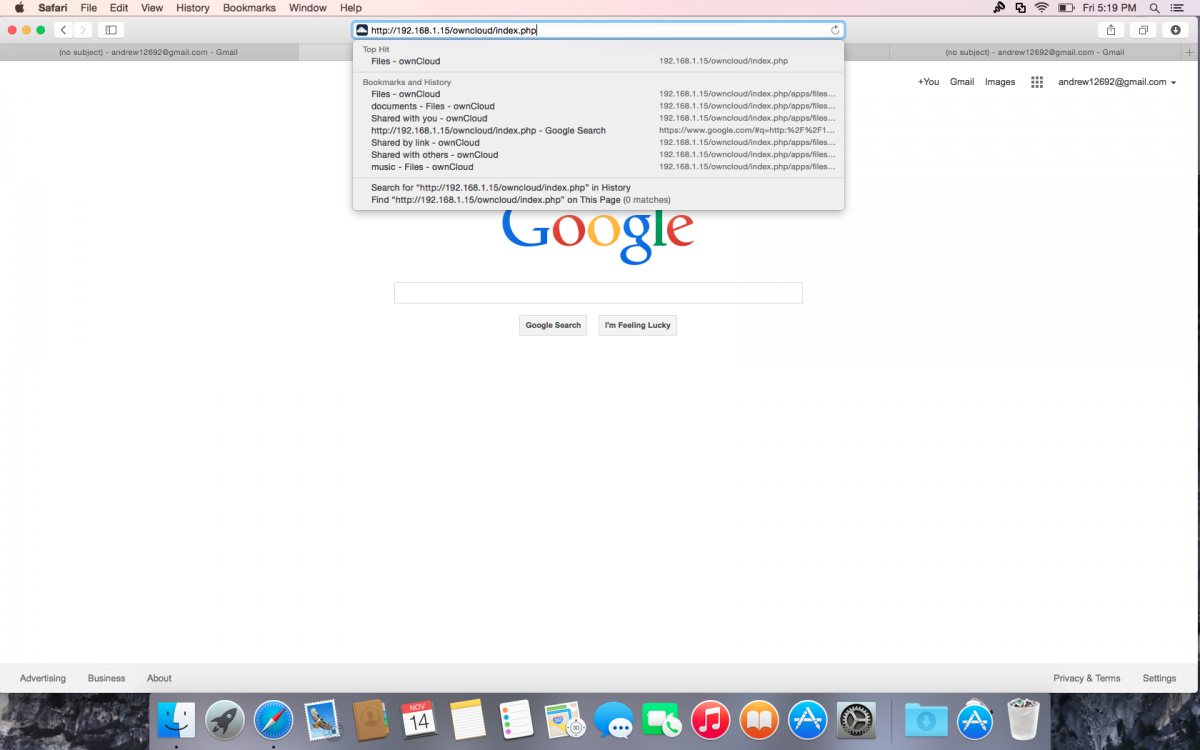
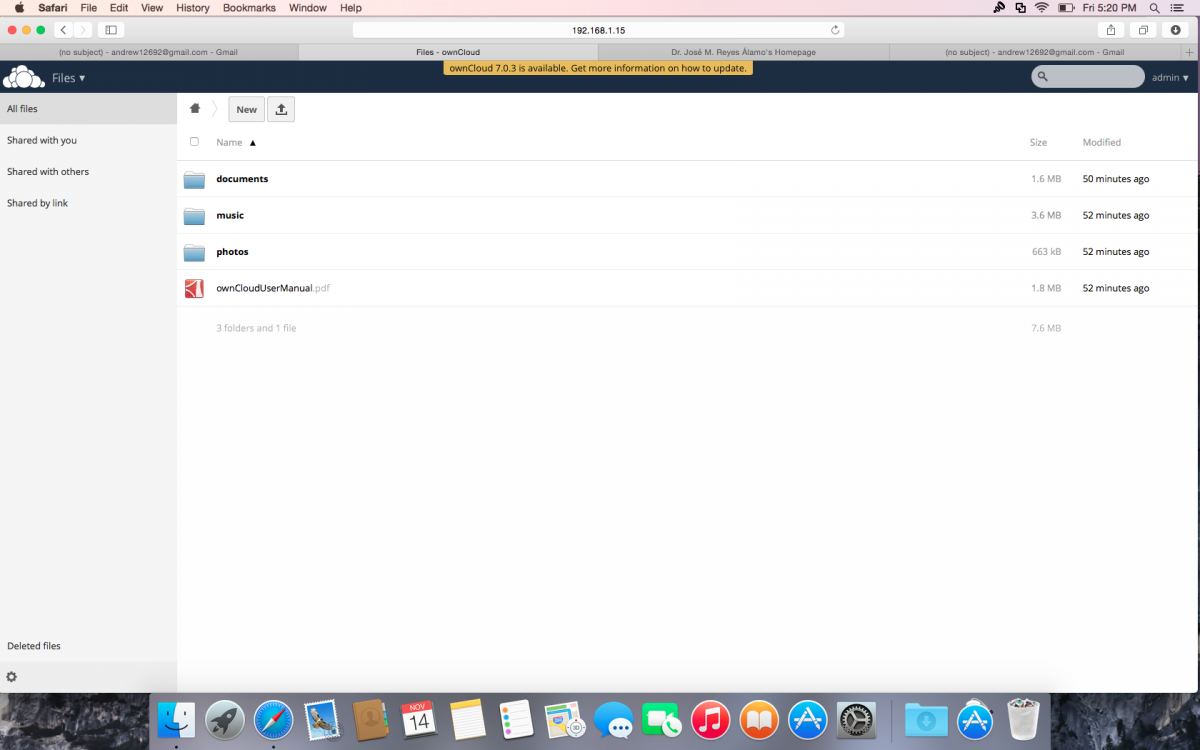
The Raspberry Pi is connected to the television using an HDMI and to the internet through an ethernet port. Connected to the Raspberry Pi is a mouse, keyboard and 2 TB Western Digital Black HDD inside a Vantec HDD enclosure. After all packages are installed and the HDD is partition to ext4, the Raspberry Pi will act as a personal home cloud which could be useful to store files within the use of your home network without physically connecting an external HDD into your computer. The Raspberry Pi uses a service call ownCloud which allows you to create a folder, upload files, download files, delete files and share the files within the home network. You can simply access ownCloud using the Raspberry Pi ip address; in this case http://192.168.1.15/owncloud/index.php. Once you enter the link into the browser you will be prompted to enter a user name and password which you would’ve created during the setup process. Note: To access ownCloud, the computer/ devices you use to access the cloud must be connected to the same network as the Raspberry Pi.
Team Members
For the project I worked with Devindra Bramnarain, Jaime Santos and Mabel Fermin.
Contribution
My specific contribution to the project is:
- Purchasing all necessary parts for the project.
- Took part in installing file packages using linux commands that was necessary to make the cloud work.
- Tonido Cloud
- Made PowerPoint presentation
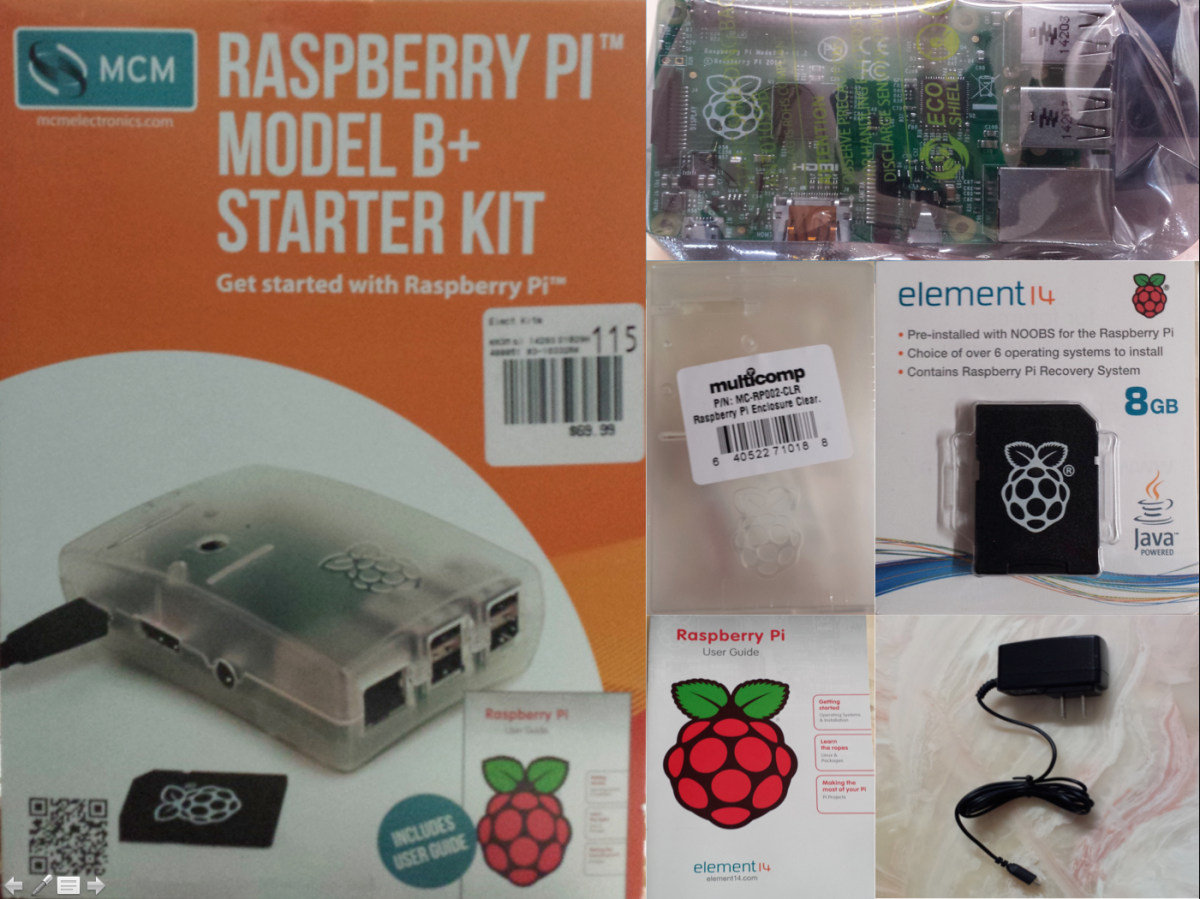
Part Used
- Raspberry Pi (Model B+)
- Raspberry Pi Enclosure
- Micro SD (pre-installed with NOOBS)
- HDMI
- Ethernet
- Mouse
- Keyboard
- Television
- WD Black 2TB HDD
- Vantec HDD Enclosure
Source Code/ Commands/ Scripts
Step 1. Configuring the Raspberry Pi
To configure the Raspberry Pi we use the command:
- sudo raspi-config
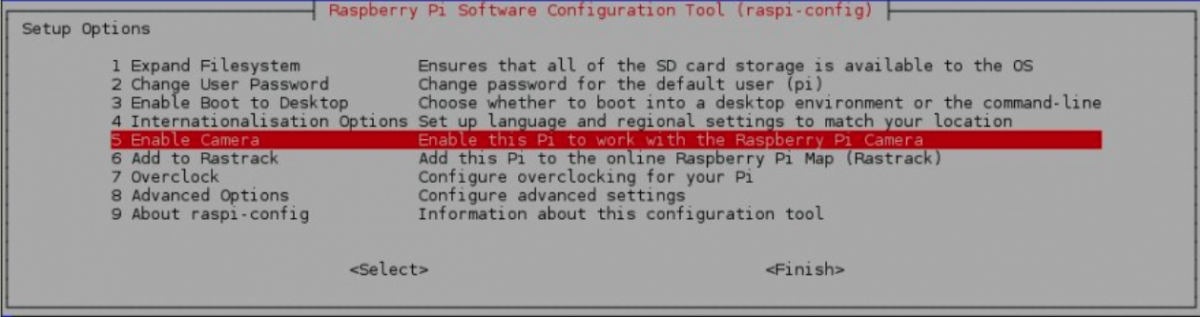
“Expand Filesystem”
“Internationalisation Options”
Change to en_US.UTF8
“Advance Options” –> “Memory Split”
Change to 16M
“Overclock”
Select Modest
Step 2. Updating Raspberry Pi
Update and upgrade Raspberry Pi packages using the following command:
- sudo apt-get update
- sudo apt-get upgrade
This ensure all packages on Raspberry Pi are up to date.
Step 3. Installing Packages
- sudo apt-get install nginx openssl ssl-cert php5-cli php5-sqlite php5-gd php5-common php5-cgi sqlite3 php-pear php-apc curl libapr1 libtool curl libcurl4-openssl-dev php-xml-parser php5 php5-dev php5-gd php5-fpm memcached php5-memcache varnish
Step 4. Remove php5-curl
Remove or make sure php5-curl is not installed
- sudo apt-get –purge remove php5-curl
Step 5. Create SSL certificate for 2 years
- sudo openssl req $@ -new -x509 -days 730 -nodes -out /etc/nginx/cert.pem -keyout /etc/nginx/cert.key
- sudo chmod 600 /etc/nginx/cert.pem
- sudo chmod 600 /etc/nginx/cert.key
Step 6. Configure Ngnix web server
- sudo nano /etc/nginx/sites-available/default
Copy and paste below into text editor.
Step 7. Configure max upload limit in php
- sudo nano /etc/php5/fpm/php.ini
You can use ctrl+w to search lines and update how much you want the upload limit to be:
upload_max_filesize = 512M
post_max_size = 512M
Step 8. Configure PHP
- sudo nano /etc/php5/fpm/pool.d/www.conf
Change
listen = /var/run/php5-fpm.sock
To
listen = 127.0.0.1:9000
- sudo nano /etc/dphys-swapfile
Change
CONF_SWAPSIZE=100
To
CONF_SWAPSIZE=512
Step 9. Restart web server and php
- sudo /etc/init.d/php5-fpm restart
- sudo /etc/init.d/nginx restart
Step 10. Installing ownCloud
- sudo mkdir -p /var/www/owncloud
- sudo wget https://download.owncloud.org/community/owncloud-7.0.1.tar.bz2
- sudo tar xvf owncloud-7.0.1.tar.bz2
- sudo mv owncloud/ /var/www/
- sudo chown -R www-data:www-data /var/www
- rm -rf owncloud owncloud-7.0.1.tar.bz2
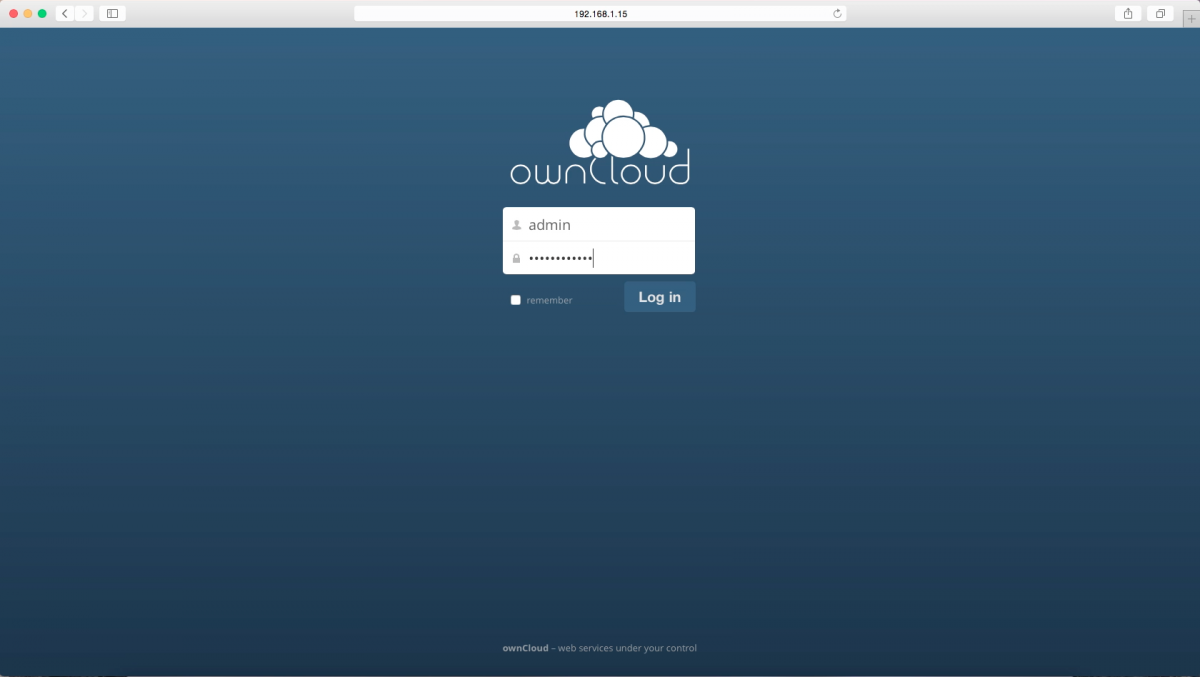
Step 11. Create user name and password
Type ip address of Raspberry Pi into browser
http://RASPBERRYPIIPADDRESS /owncloud/index.php
http://192.168.1.15/owncloud/index.php
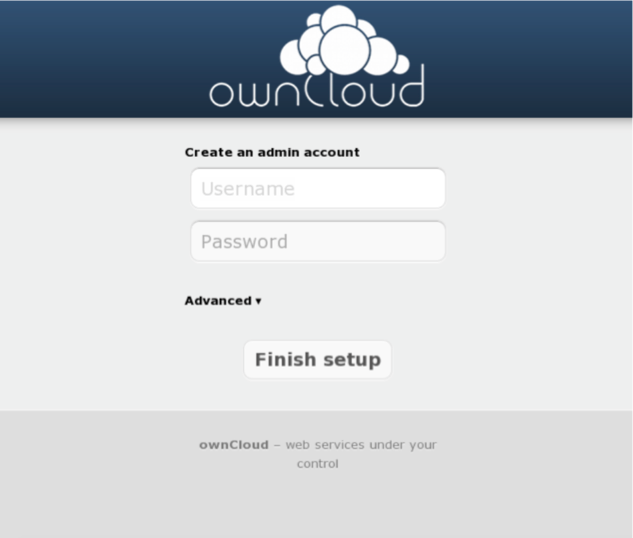
Create a user name and password
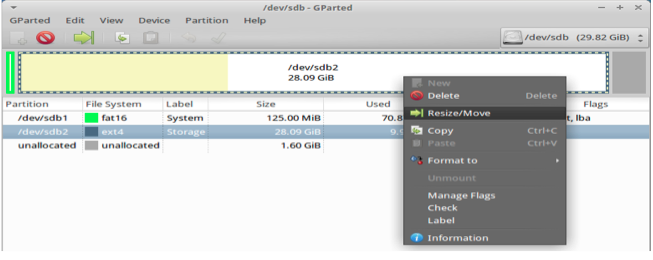
Step 12. Partition HDD to ext4
- sudo apt-get install gparted
- sudo gparted
Step 13. Permanently mount HDD to Raspberry Pi
Create directory where HDD will be mounted. We named our directory extstorage
- sudo mkdir /media/extstorage
Identify the correct device id for the external hard drive.
- ls -al /dev/disk/by-uuid/
- lsblk
Update the fstab file so that this device can be mounted automatically every time we restart the Raspberry Pi.
- sudo leafpad /etc/fstab
Step 14. Linking your external USB HDD as the storage instead of tiny micro SD card
The micro SD card loaded with the Raspberry Pi operating system will eventually run out of space. Using a external HDD will help us get the most out of our Cloud. We need to follow the below steps to create a directory in USB HDD to hold the ownCloud data folder.
- sudo service nginx stop
- sudo mkdir /media/USBHDD/OwnCloud5
- sudo chown www-data:www-data /media/USBHDD/OwnCloud5
- sudo mv /var/www/owncloud/data/ /media/USBHDD/OwnCloud5/
Configure USB directory path in Nginx config.php
- sudo nano /var/www/owncloud/config/config.php
Change the below line
‘datadirectory’ à ‘/var/www/owncloud/data’
TO
‘datadirectory’ à ‘/media/USBHDD/OwnCloud5/data’
- sudo service nginx start
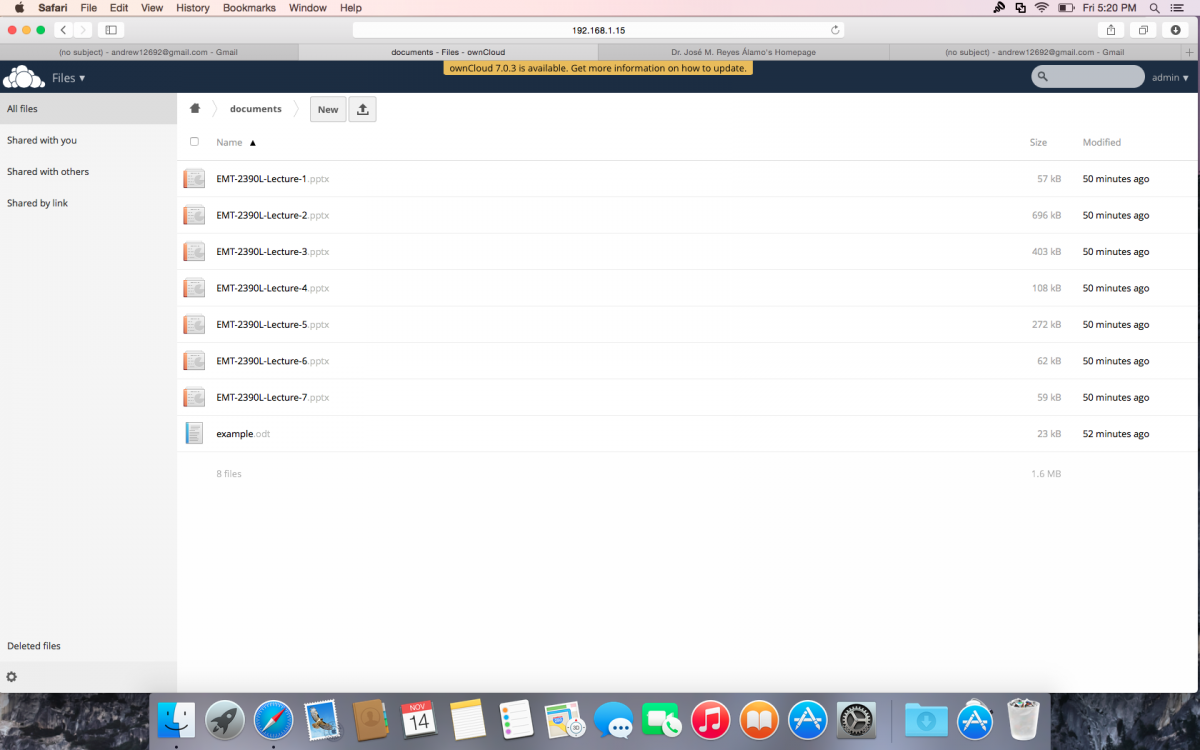
ownCloud Working
NOTE: We tried creating a VPN (Virtual Private Network) so we can extend the limits of our cloud and use it outside the home. After following numerous tutorial we failed to get the VPN up and running.
Additional Pictures

Tonido Cloud (Easier to install)
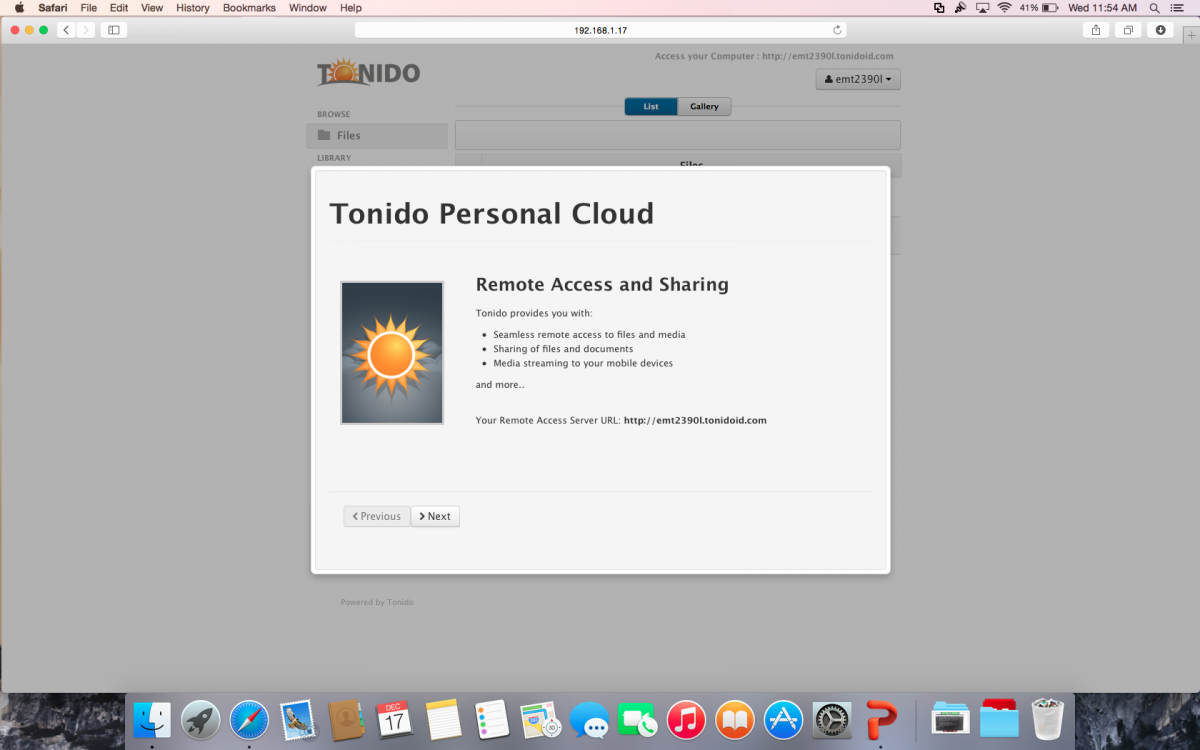
Features
- Access, Share, Sync files and media from anywhere
- Automatic media indexing and organization of photos, music and videos
- Automatic Smartphone photos and videos backup
- Automatic multi-format music streaming and playlist support (including FLAC, OGG, WMA, MP3, and more)
- Native Mobile apps for all the popular mobile OS’s (iOS, Android, Windows Phone and Blackberry)
- Plug- and-Play remote access. No fiddling with router settings
- Easy to remember web URL access to your Raspberry PI
- Available for both Raspbian and Raspbmc
Installation
- sudo mkdir /usr/local/tonido
- cd /usr/local/tonido
- sudo wget http://patch.codelathe.com/tonido/live/installer/armv6l-rpi/tonido.tar.gz
- sudo tar -zxvf tonido.tar.gz
- ./tonido.sh start
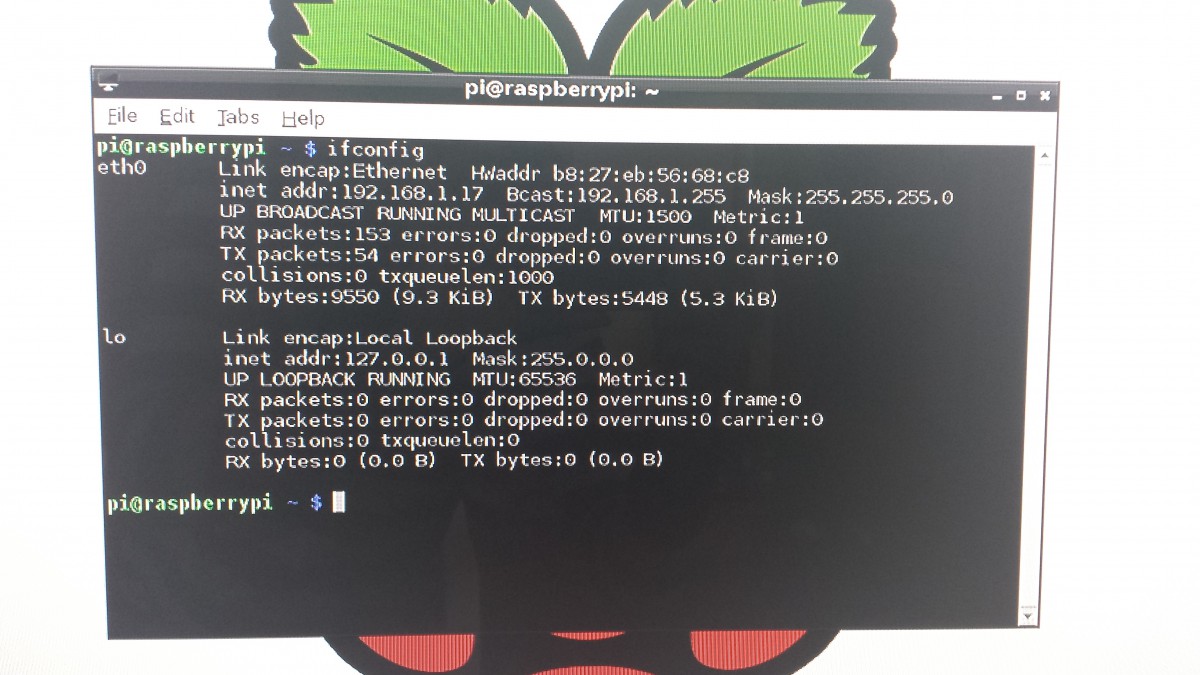
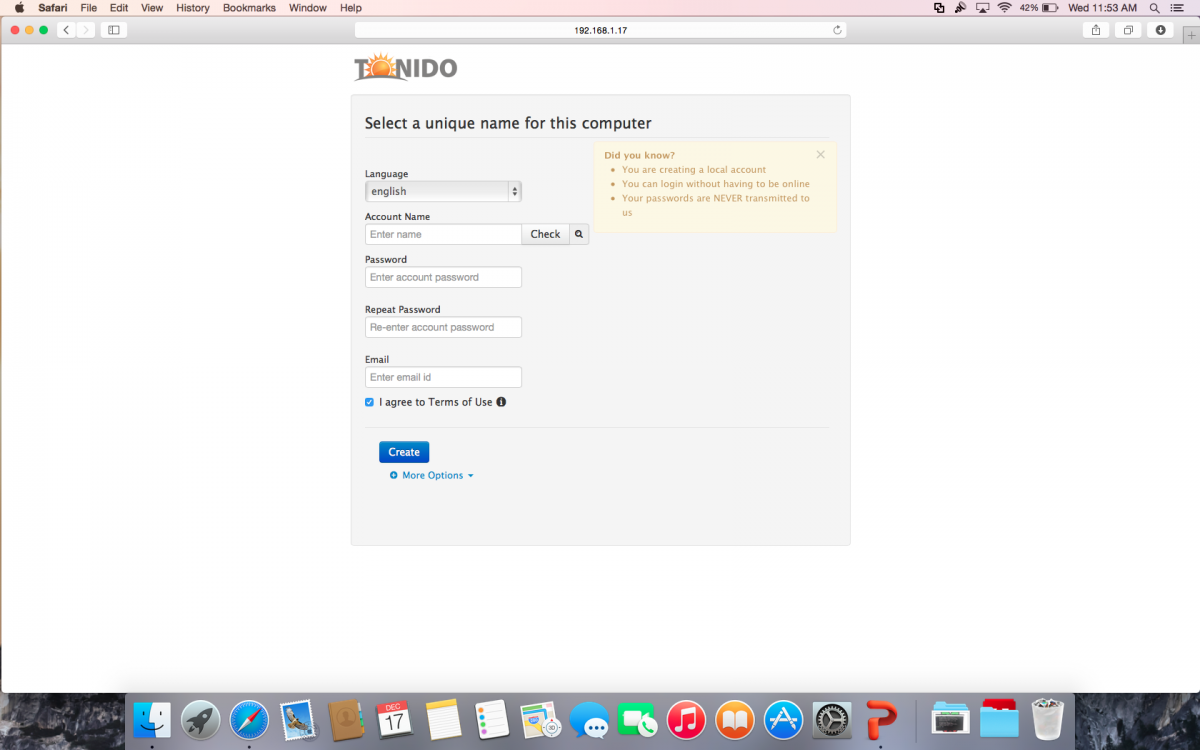
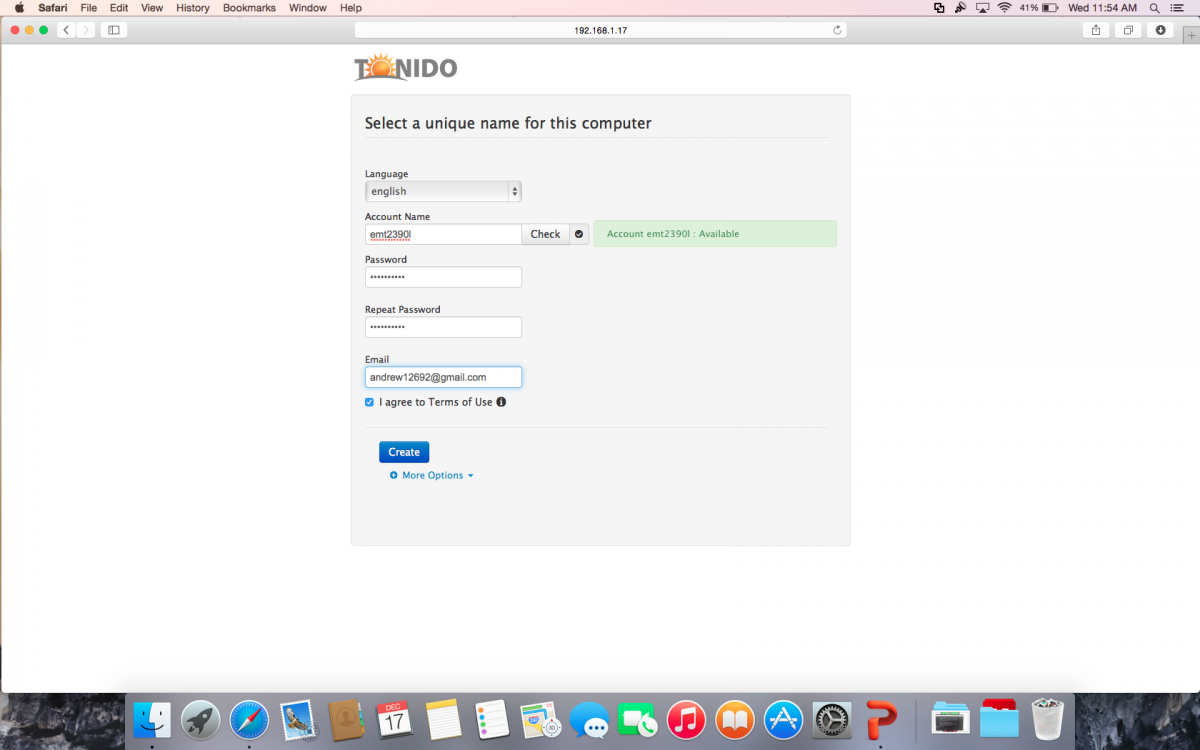
Open Tonido Website using the address http://<RaspberryPi IP Address>:10001 to begin the setup process.
So for example: http://192.168.1.17:10001
Audio Playback for FLAC, M4A etc
- cd /usr/local/tonido
- sudo apt-get install ffmpeg
- sudo ln -s /usr/bin/ffmpeg ffmpeg.exe
- sudo ln -s /usr/bin/ffmpeg ffmpegv.exe
Auto start on Boot
- Download the init script from here: tonido init.d script
- Place the file under /etc/init.d
- sudo cp tonido /etc/init.d/
- sudo chmod +x /etc/init.d/tonido
- sudo update-rc.d tonido defaults
Commands Used
- sudo allows you to execute commands as a superuser.
- apt-get update is used to update the system package.
- apt-get upgrade is used to upgrade the system package.
- apt-get install is used to install a new program from the repository.
- chmod is used to change a mode or permission of a file.
- chmod 600 allows owner to read and write.
- nano is a text editor.
- mkdir is used to create a new directory.
- wget is to download a file from a remote location.
- tar is used for archiving files.
- mv is used to move or rename files or directories.
- chown is used to change the owner of a file.
- rm is used when removing files or directories.
- ls displays the lost of files and sub-directories of the current directory.
- leafpad is an open source text editor.
Reference
- “https://www.youtube.com/watch?v=UeyTyI5av6Q”
- “http://www.instructables.com/id/Raspberry-Pi-Owncloud-dropbox-clone”
- “http://www.raspberrypi-spy.co.uk/2012/06/resize-sd-card-partitions”
- http://www.tonido.com/tonido-for-raspberry-pi-2/

