Step by Step Guide: Metal Restoration: First stage
Download Metal Restoration-First stage pdf
Caution: Wear lab coat, safety glass, gloves, mold mask.
Before Construction of Maxillary and Mandibular Master Casts, Obtain the sterilized final impression from the dentist. The case must include dentist signature, prescription, dentist instructions, and patient’s information such as name, age, and sex.
A. Construction of Maxillary and Mandibular Master Casts
1. Add water to clear plastic bowl. Add improved stone powder into the bowl and mix the content with plaster spatula. Insert the bowl in the vacuum mixer and start the machine. Remove the bowl. Spray the maxillary mold and mandibular mold with debubblizer and use the airgun to dry the molds. Setup a layer of newspaper.
2. Start and adjust the setting of the vibrator machine. Add a small amount of the improved stone content with plaster spatula at one corner of each mold. Let the mixture flow around the mold. Make sure the mixture flows well into important landmarks such as the cusp and ridges. Pour more improved stone content to fill the top of mold.
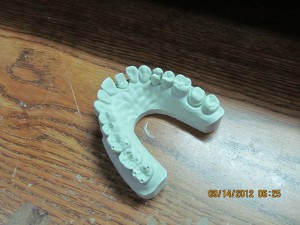
3. Let the molds sit for 25 minutes. Remove the both maxillary cast and mandibular cast from molds and wait 45 minutes. Construction of Maxillary and Mandibular Master Casts are completed.
 preparation- the tooth or teeth prepared by the dentist that will be restored
cast- positive reproduction of an area of the oral cavity, may reproduce hard tissue, soft tissue or both
maxillary cast- upper model
mandibular cast- lower model
B. Model Trimming
1. Wet the models before trimming (To decrease the attachment of wet and dry stone particles). Maxillary and mandibular base surfaces should be parallel to horizontal plane.
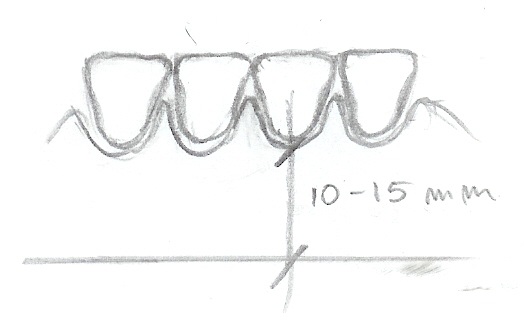
2. Turn on the Trimming machine. Use two hands to guide the model into the Trimming machine. Trim the bottom and side of the master casts. Maxillary cast should be 10mm high from the bottom of the base to the gingival margin of the tooth. Mandibular cast should be about 15 mm high from the bottom of the base to the gingival margin of the tooth.
3. Use the air gun to dry and remove little stone particles for both master casts. Use the router to trim the inside of the both master casts. Model Trimming is completed.
C. Pindex the maxillary master cast
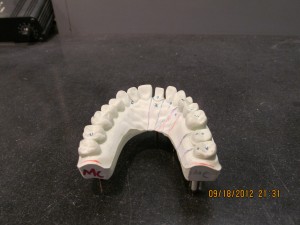
1. Use a blue pencil to mark pin hole area location. Use a red pencil to mark the saw lines.
2. Insert the master casts into the pindex machine. Align the laser light to the blue circles. Push the lever up to drill holes in the blue circles.
3. Use the handpiece machine to handpiece micromotor with bur to create notches for every saw line in the maxillary master cast.
4. Insert dowel pins and dual pins to the master casts. Mark sure the large pin and small pin are parallel to each other. Insert the correct sleeves to the respective pins. In my model, I use one dual pin for the both #10 and #11 teeth, and dowel pins for the rest of the teeth. Pindex of the model is completed.
D. Base mold Construction
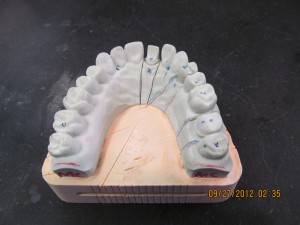
1. Insert both master casts into the respective mold bases. Add water to clear plastic bowl. Add Buff stone powder into the bowl and mix the content with plaster spatula. Insert the bowl in the vacuum mixer and start the machine. Remove the bowl.
2. Spray the maxillary mold and mandibular mold with debubblizer and use the airgun to dry the molds. Setup a layer of newspaper. Start and adjust the setting of the vibrator machine. Add a small amount of the buff stone content with plaster spatula at one corner of each mold. Let the mixture flow around the mold. Make sure the content flows well into the base mold. Pour more buff stone mixture to fill the top of mold.
3. Let the molds sit for 25 minutes. Remove the both maxillary model and mandibular model from molds and wait 45 minutes. Base mold Construction is completed.
E. Die Sectioning
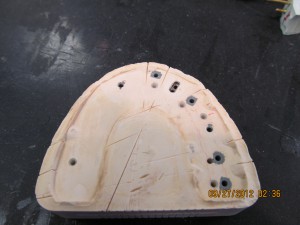
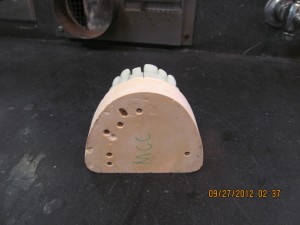
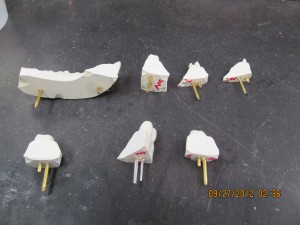
1. Cut the dies parallel to the red line carefully and slowly using a saw. Use the red lines as guidance. Do not cut the pins and teeth. Die Sectioning is completed.
References: Budny, R. (2011). RESD 1115 fixed prosthodontics I: laboratory section.








Hurrah! Finally I got a website from where I be capable of genuinely take valuable
data concerning my study and knowledge.