Working on making a sample section of crown molding for the straight sections of wall.
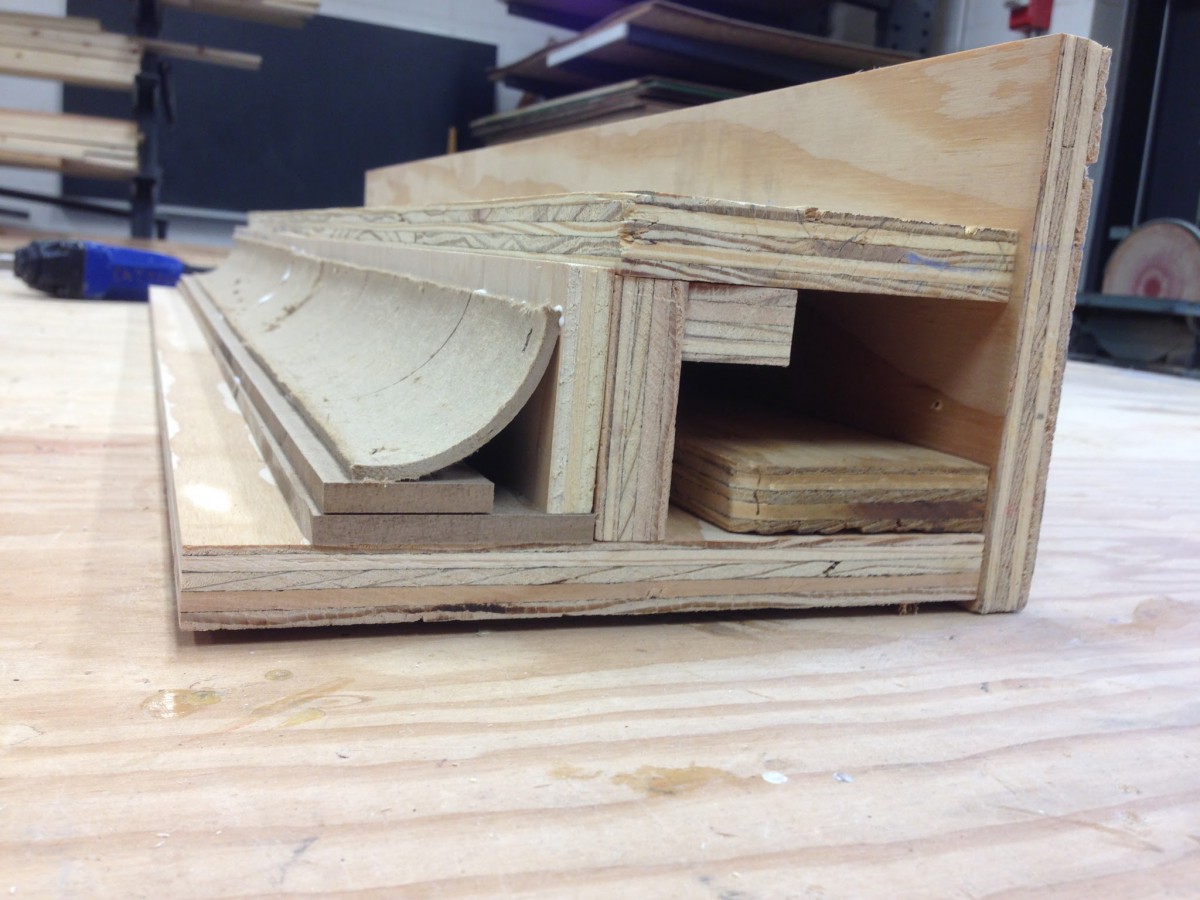
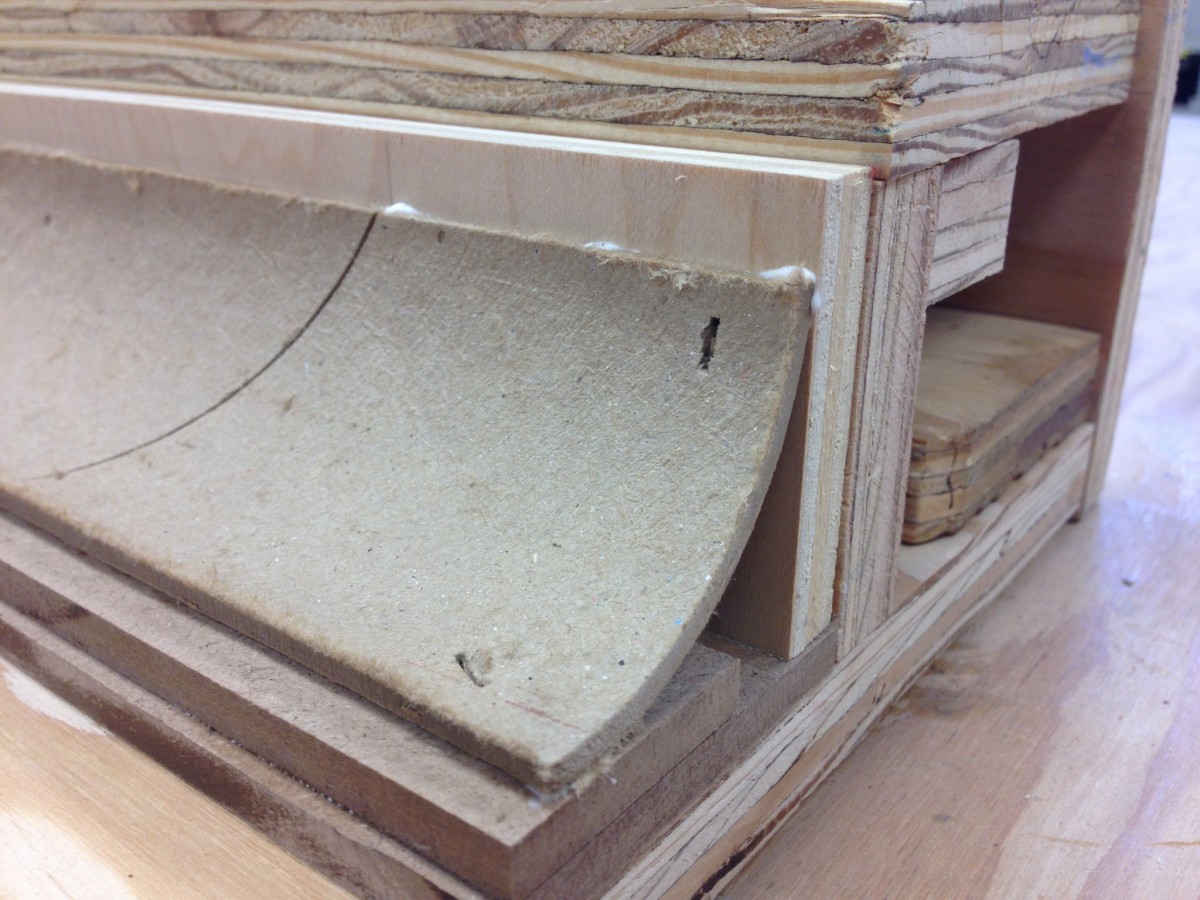
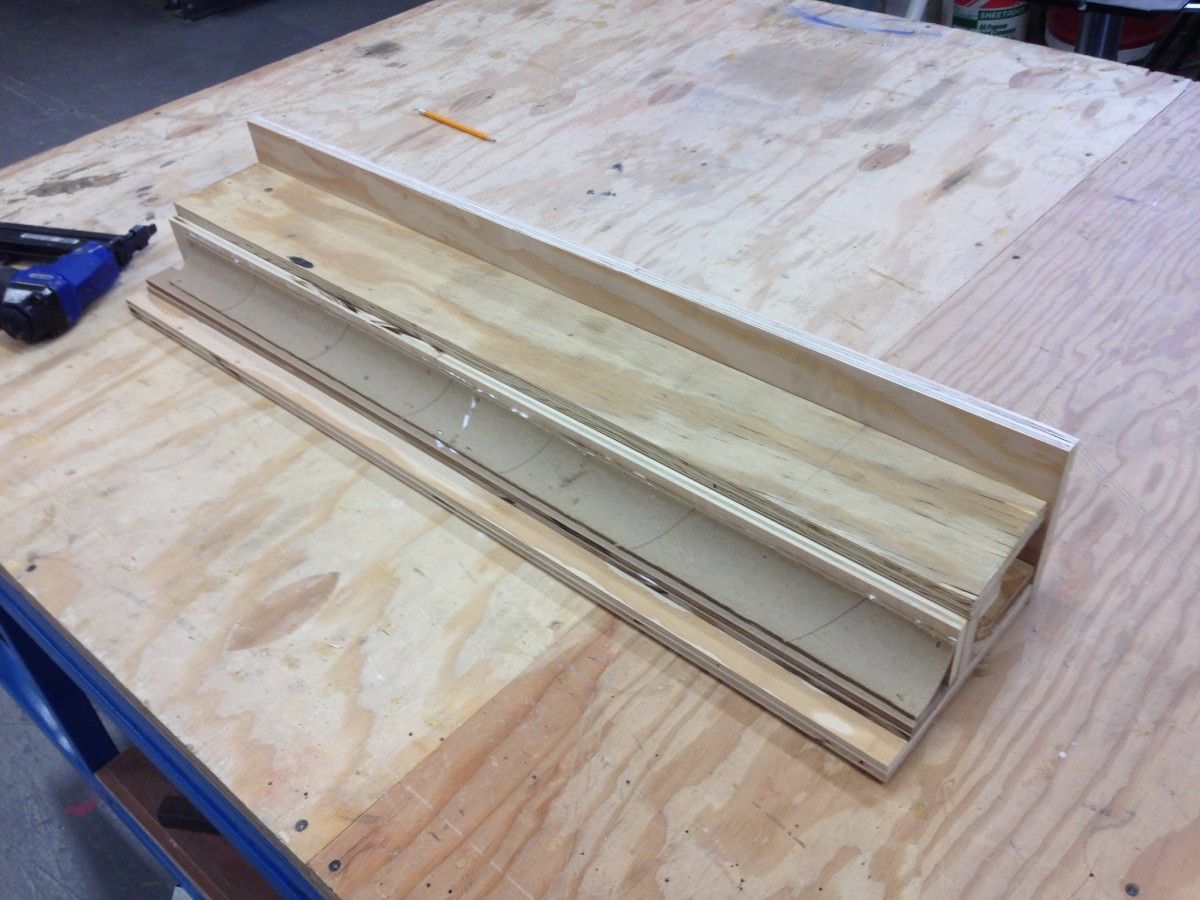
We boxed out the main sections with 3/4″ plywood then made a cove with quartered tube and strips of material to see how building up cove molding with layers would look.
the smaller cove did not a cardboard tube available to sample so a composite negative form was made and will be tested with the vacuum form to see if it can be scaled for the rest of the flats.
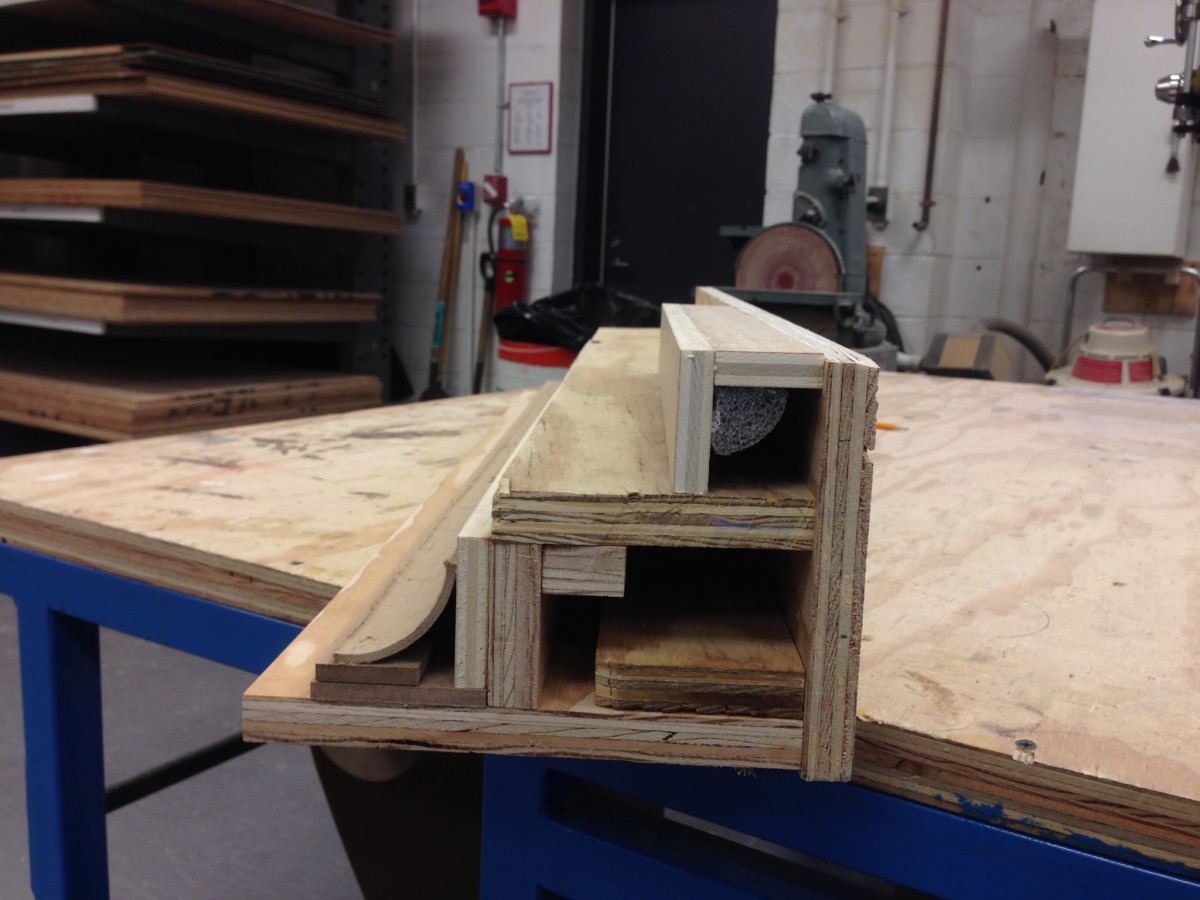
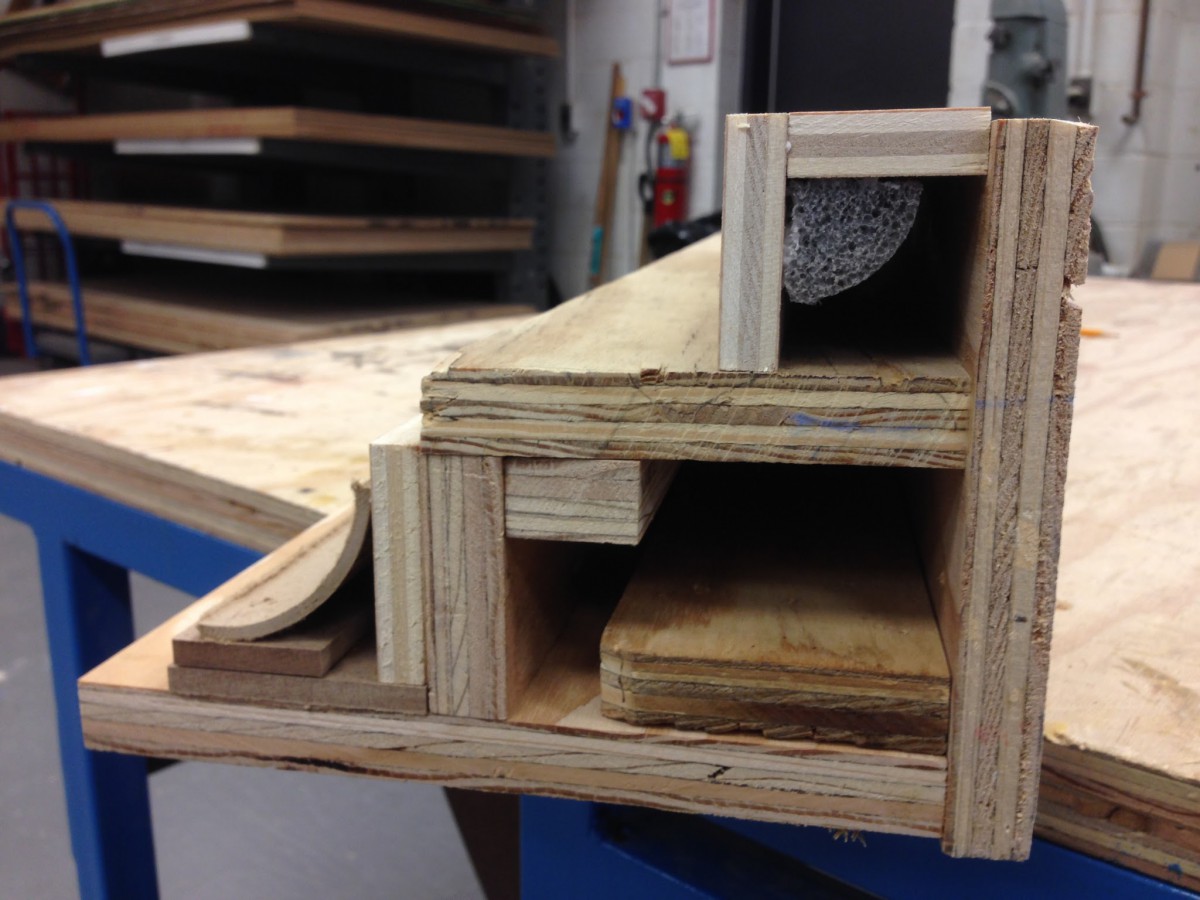
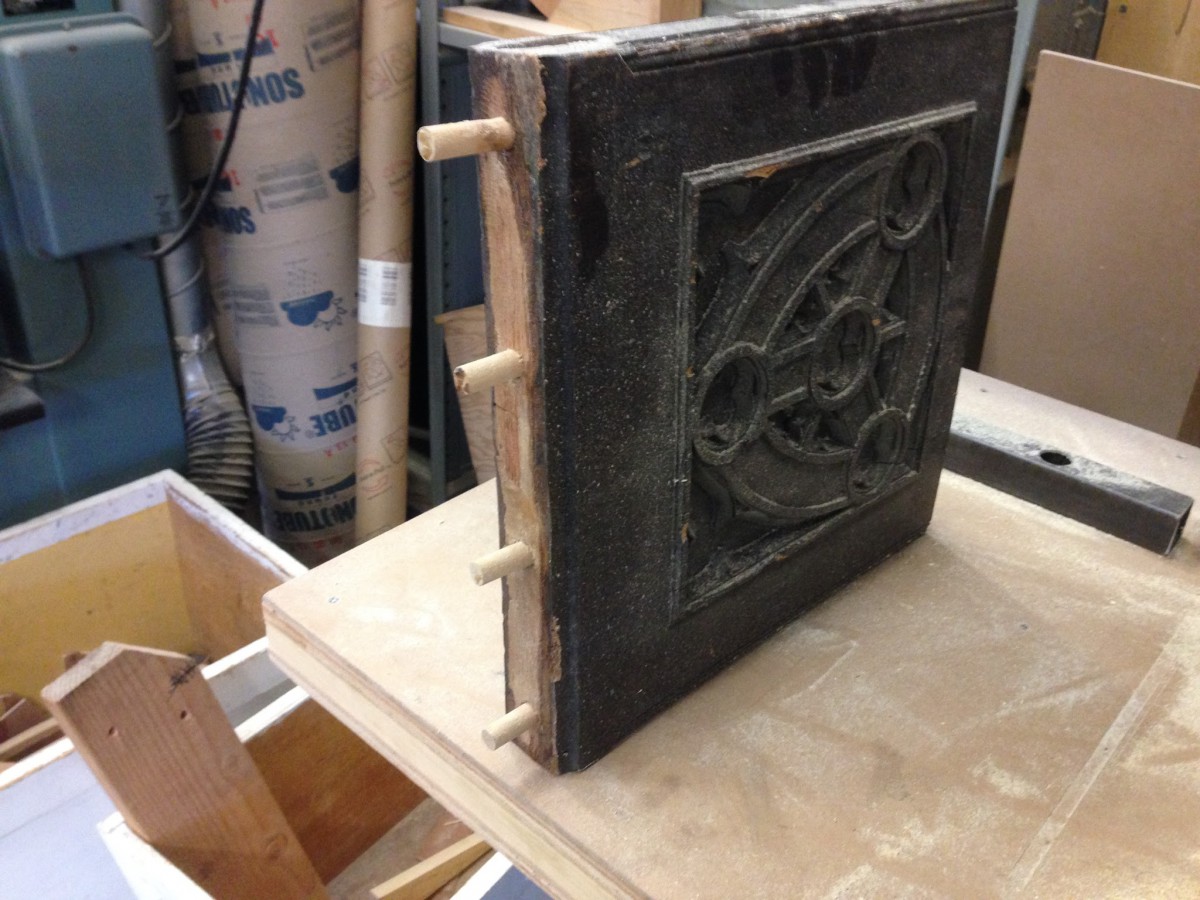
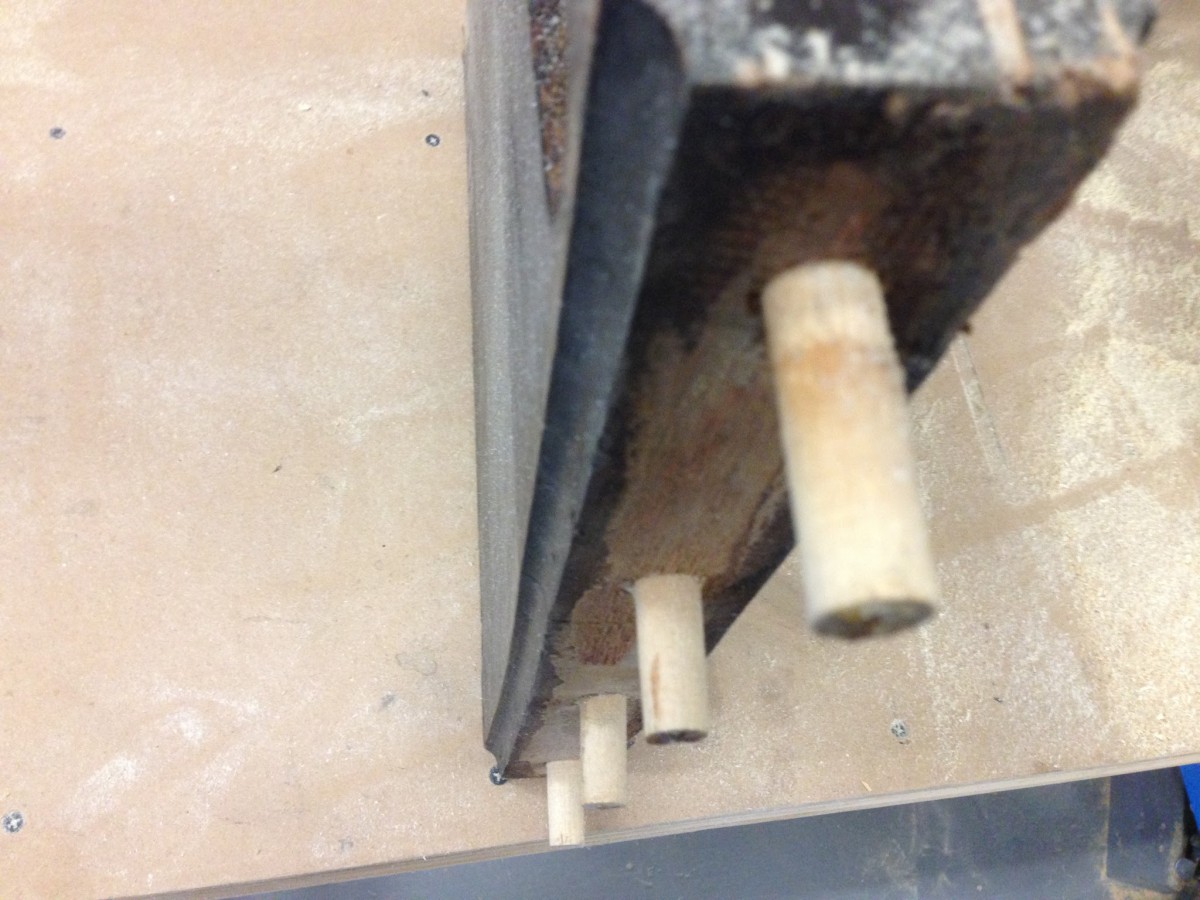
Observations from other pieces in the shop made me want to investigate other methods of attaching molding including drop-pegs and fixed crown molding.
Quarter tube cove on boxed out molding frame. It’s still pretty heavy per foot, may use lighter materials for interior minor surfaces.
Quartered foam round to form vacuum form negative.
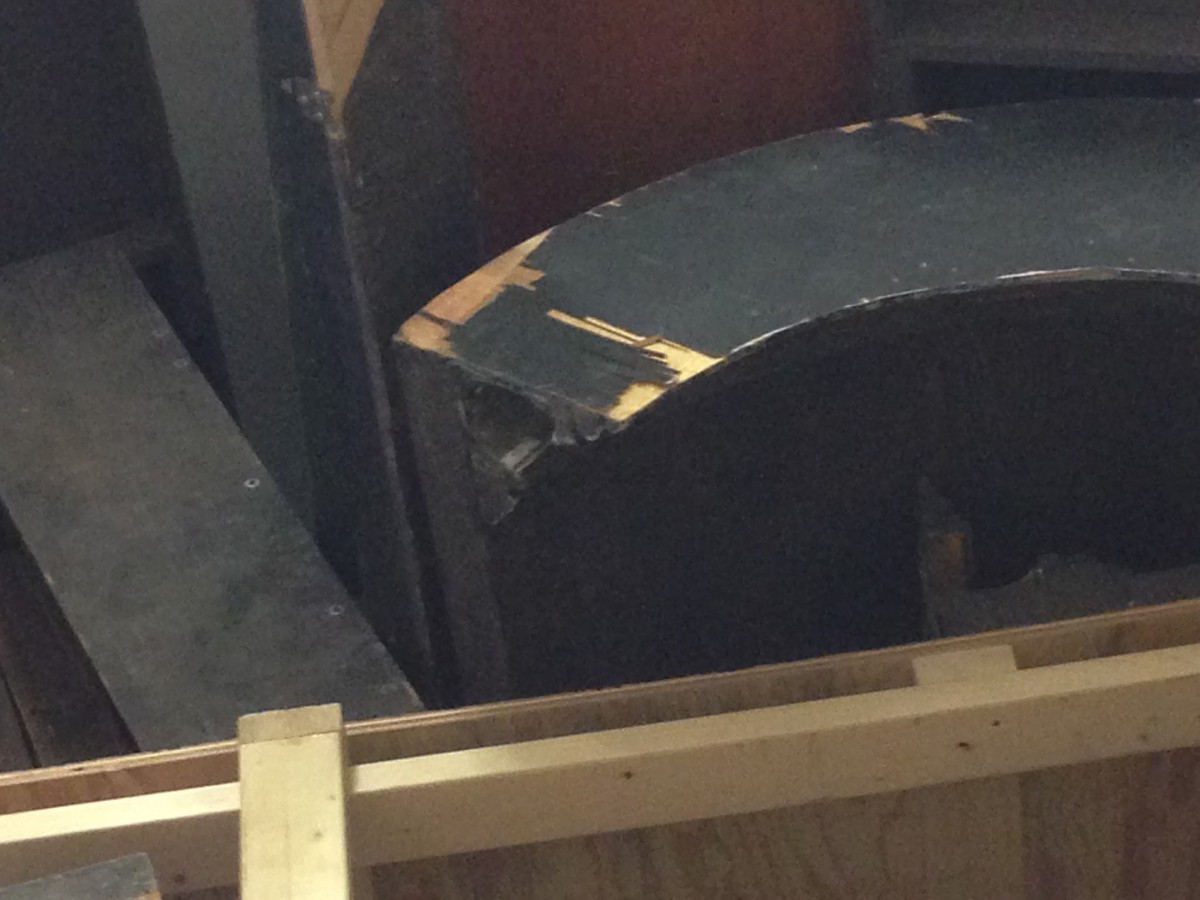
Haunted hotel fixed crown molding on curved wall flat.
Piece with pegs to be dropped into slotted piece.
Cove Molding
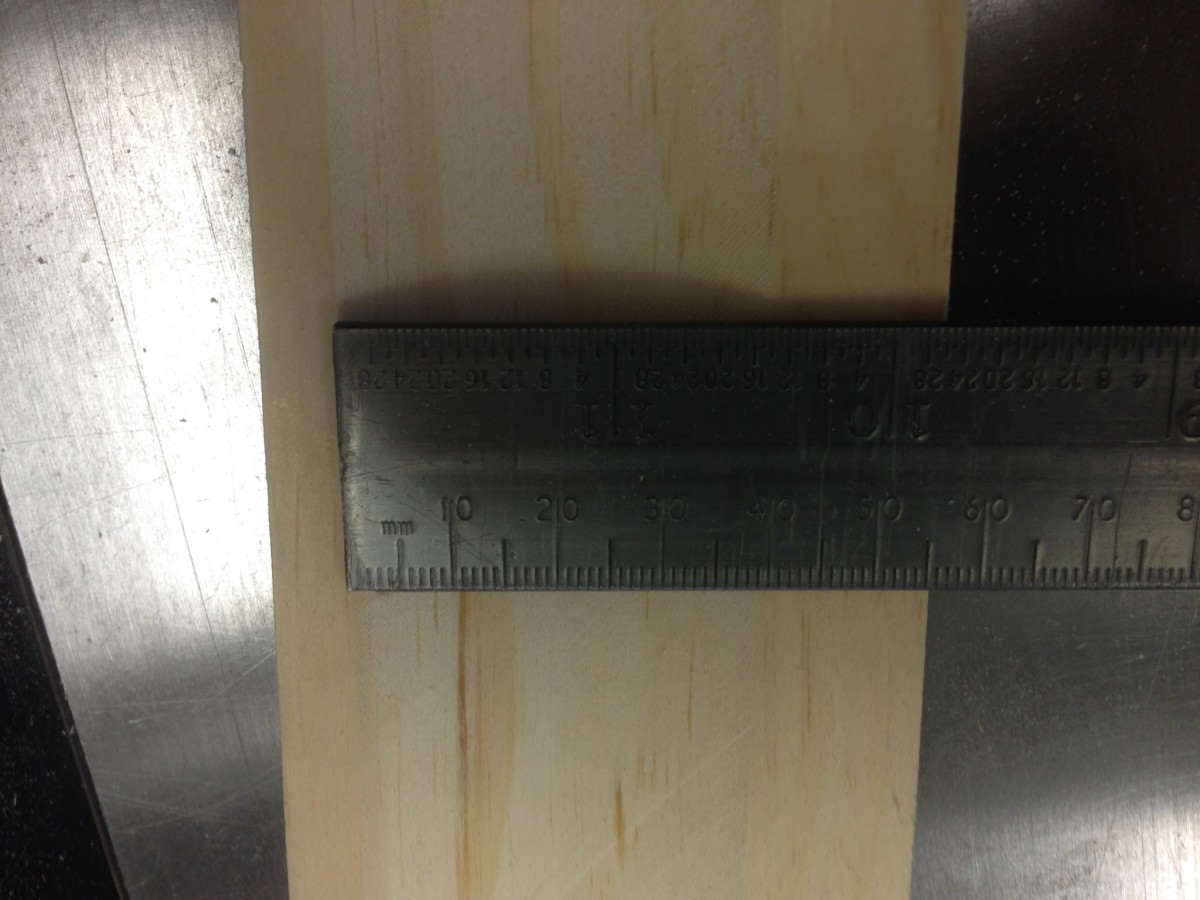
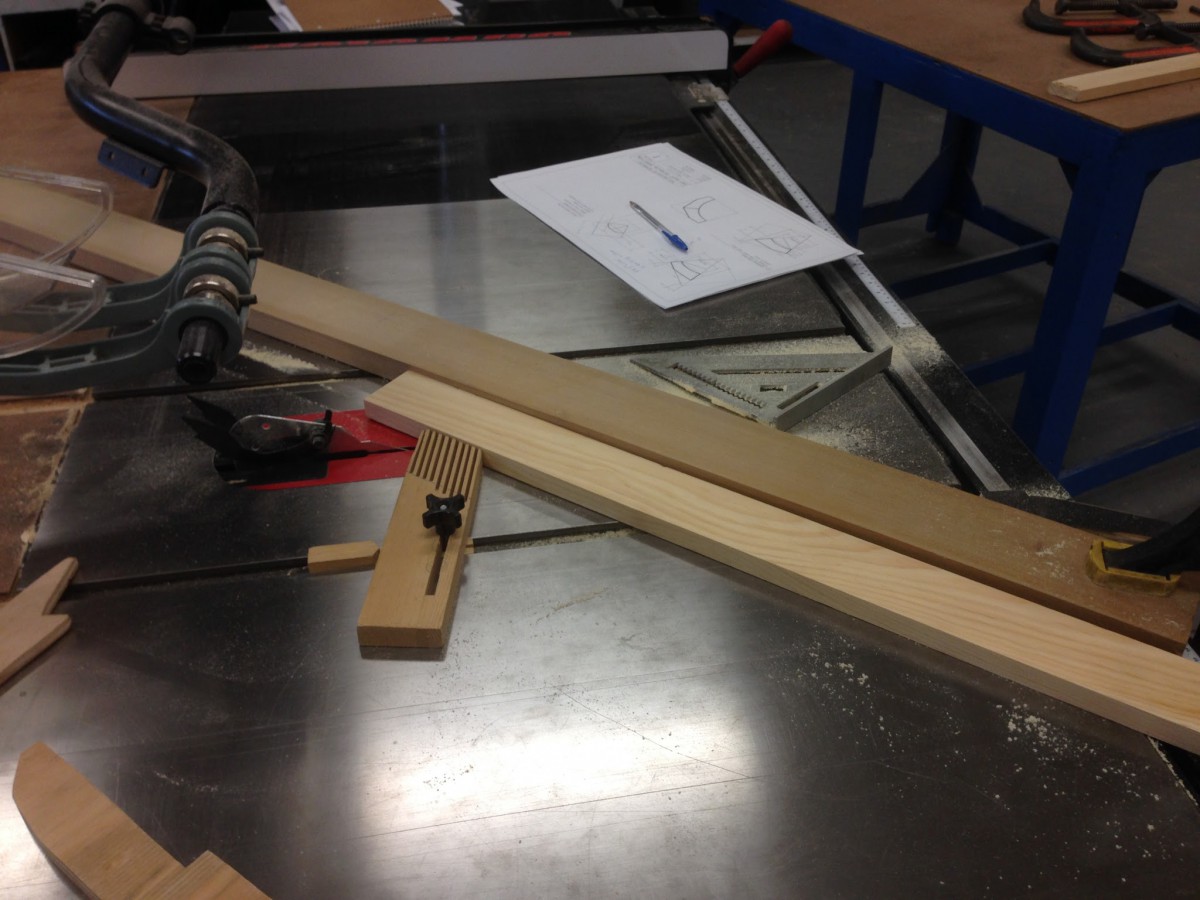
The 2 inch radius cove had to split it into 2 pieces that would be combined later. I set up the angled fence with the speed square gauge on the table saw and used a jig to maintain pressure. All measurements for the cove cheat-sheet are all done in millimeters, and units should be converted accordingly.
Even though, the cove came out mostly even, it still had a few heave grooves from the unevenness of the lumber and uneven vertical pressure from the some of the passes.