
Today’s class was dedicated to moulding types and concepts. At the very beginning we quickly discussed how productive was each group’s time spent on the project last week, and how do we manage our time and set up priorities in general.
Then we moved to the shop, where Mike demonstrated how to make cove moulding on the table saw. He set up diagonal fence, and then controlled the cove height by adjusting the height of the blade, cove width – by varying fence angle, and cove asymmetry – by tilting the blade. Here is the setup:

The process:
And final product:
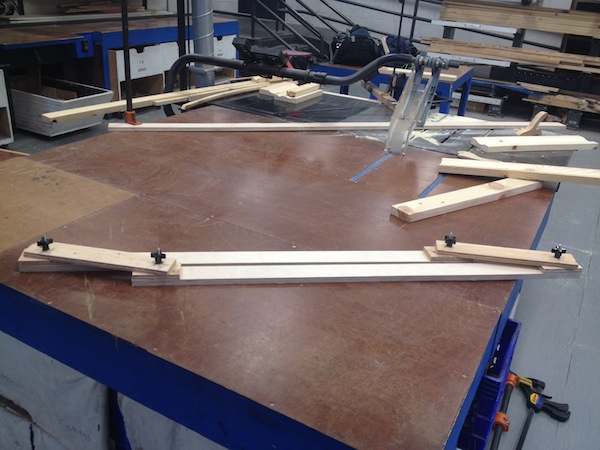
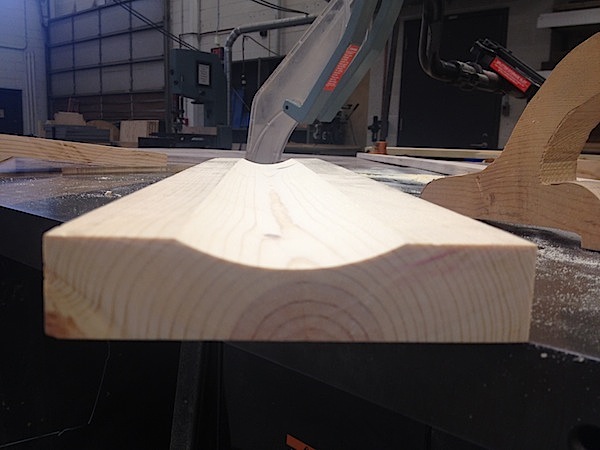 Mike explained that wood knots are really hard to get through when doing cove moulding. Another drawback is excessive dust that can probably damage internal parts of the saw. Then he demonstrated special adjustable jig that one can use when a large amount of cove moulding is needed:
 Also, he brought samples of flexible moulding, made of some sort of resin, that can be used for curved walls.
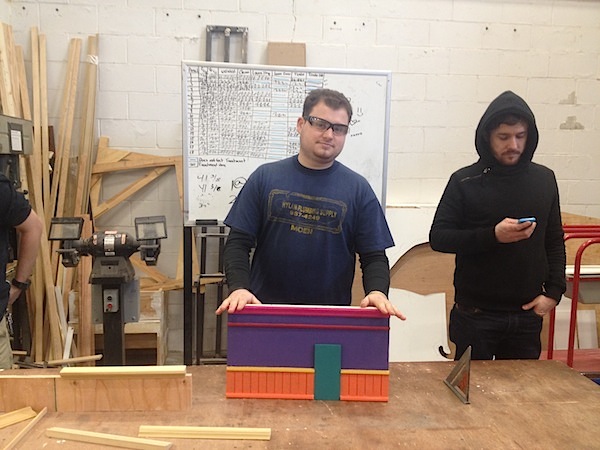
After Mike’s demo, Sergio did a demonstration of different types of moulding used in interior design. He built a very cool wall model, and explained where each moulding is going and how it is called:
Elements are as follows: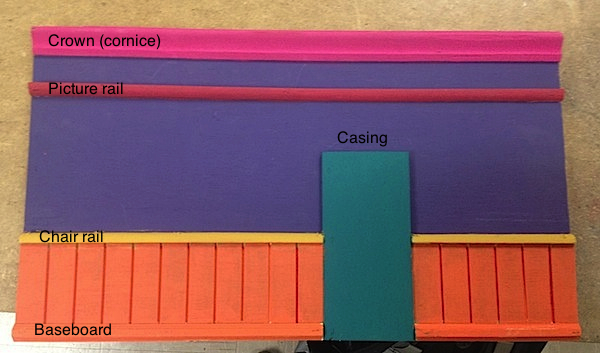 Square corner blocks that are sometimes used on the upper edges of the door(window) casing are called the rosettes. Poplar is one of the most popular moulding materials, but is kind of ugly, and often requires additional treatment. Also, Sergio showed sample moulding made of polyester, which is lightweight and probably good for scenery.
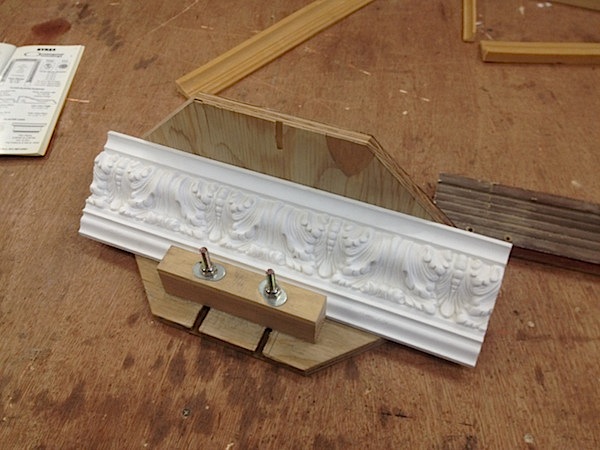
After Sergio’s presentation John showed us ‘Vin’s jig’ – adjustable jig for crown coping. This jig duplicates the intersection of the wall and the ceiling. The base of the jig represents the ceiling, while the side represents the wall. With this device one can easily determine the angle of crown at corner joint.
Then we discussed the ways to make curved moulding. The most interesting, though time consuming method was to put moulding into steam tube, leave it there for a while, and then bend it. Other ways were to use styrofoam, or to combine different materials.


Pingback: Moulding Class Write-Up | Irene Iarochevitch's ePortfolio
Nice pictures. ‘Vin’s Jig’ is actually for making miter cuts on cornice moulding. Coping moulding is a different joining technique, although it also starts with a miter cut. You can see more about coping and installing moulding here. Notice how Vin’s Jig would replace the clamp on that miter saw, making multiple cuts a lot easier and more accurate.
Why do you think the video presenter suggested that the first piece of moulding you install should be opposite the door that enters the room?
Because it’s the first thing people are going to see when entering the room? So you always want all joints on this wall to be as square and good looking as possible. Whereas when exiting the room people are already familiar with the interior, and wouldn’t pay big attention to details.
That sees right. How can you apply that idea to the moulding on a set?
In case of theatre, audience members are people ‘entering the room’, so set (and moulding on the set) becomes the ‘opposite wall’, the first thing that people are going to see. In general, we want everything on stage to look as nice as possible. But on the other hand, audience members are usually sitting quite far from the set, and are unable to see all the details. So, the best way would be to find a right ratio between aesthetics of the set and amount of visible details in it. But I have no idea how to find this ratio, rather than by trial and error, or by having a lot of experience)