Try-Unique Cycle is a product developed in Senior Design Project class. Professor Angran Xiao, elected me as the team manager consisting of 19 members to work on one single project as a team. As the team manager, I had a lot of responsibilities. For instances, I had to develop, communicate, and enforce a schedule; divide each team members into three groups- they were design team, manufacturing team, and documentation team; assign tasks to each members (depending on their teams, strengths, and weaknesses); communicate regularly with team leaders and team members, etc.
Introduction: The purpose is to design and build a functional tricycle for use in the Human Powered Vehicle Challenge (HPVC). Human-powered transport is often the only type available in underdeveloped countries and other inaccessible parts of the world. If well designed, it can be an increasingly viable form of sustainable transportation for a majority of people. A project plan will be developed and submitted to the project Sponsor for approval. The project plan will include: scope statement; schedule; cost estimate; budget; and provisions for scope, resource, schedule, communications, quality, risk, procurement, and project control. The challenge is to develop a vehicle that is capable of satisfying all the rules yet preform efficiently and well enough for the scored obstacles in the event. Our design will entail a different approach than many other teams. With minimal funding, resources and teammates, compared to other teams, we will design our human powered vehicle accordingly. Our product will be able to accommodate riders up to 250lbs from 5 feet to 6’2” tall and be capable of being brought on a commercial airline for traveling.
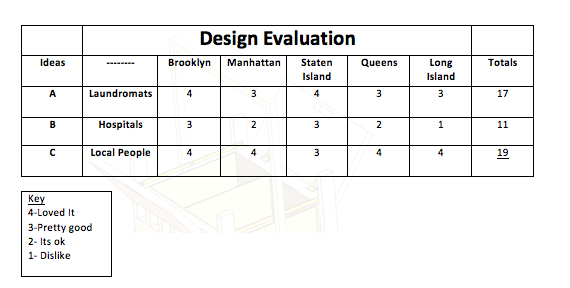
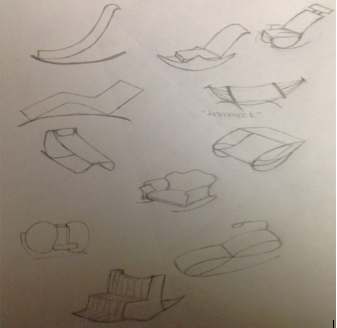
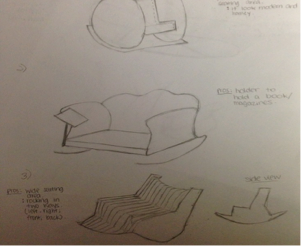
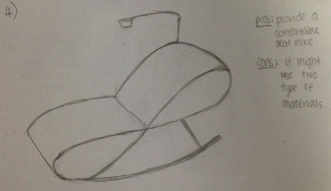
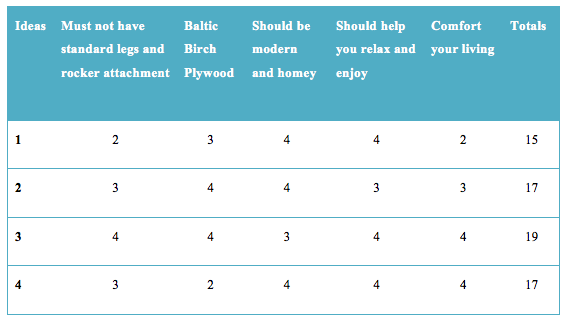
Design Process: The design idea was decided on a decision matrix table that display the grading of each concept and its effectiveness in each category. ‘Cost’ is the one that resonates with the consumers’ budget. If the price of the product is too high, it limits the customer base and the amount of retailers that would be willing to hold a floor model with the hope to eventually sell. Due to this element ‘Marketability’ had to be included in the category listing. This not only factors in price but also quality, features, and other major points about such a trike in its class. ‘Durability’ was placed to take note of how long the product stays in great working condition, as well as how it deteriorates over time with use. We don’t want to sell an expensive product that has to be completely replaced frequently. It has to be able to withstand the wear it will be subjected to in its use. ‘Safety’ is included to touch upon retaining the well being of the customer, even in the event that something happens to disable the trike; the rider needs to be kept safe and protected. ‘Mobility’ is really important in this product, because a bike is supposed to be one of the freeing methods of traveling or transportation in terms of being able to move at whatever pace you feel comfortable with. The rider is the engine and heart of this product. Our motive is to sell a lifelong investment that enriches the user’s life, not a costly expense that does not reap a benefit. Then based on the decision matrix, we narrowed the design to two types of three wheeled vehicles: Delta and Tadpole. We also analyzed how each design holds up in these features (stability, braking, turning, etc.) Then begin the CAD works (draft and create parts on solidworks) and documentation works (draft the HPVC report).
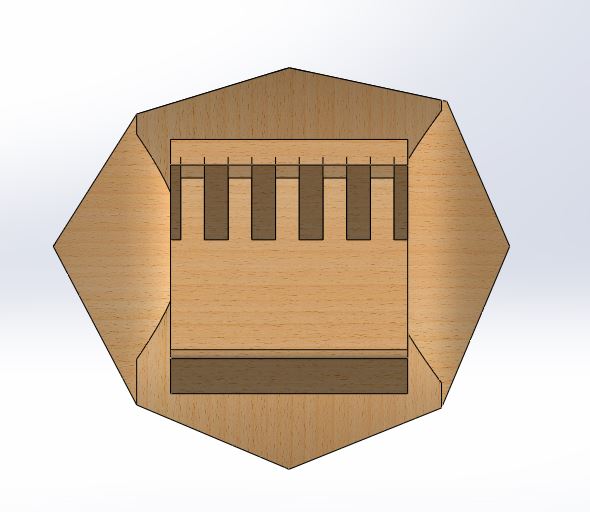
Manufacturing: Before we begin the manufacturing process, the conceptual design for the project finite element analysis (FEA) testing must be done. FEA is a computer based method of simulating and analyzing the behavior of engineering structures and components under a variety of conditions. It is an advanced engineering tool that is used in design to augment experimental testing. Real world forces will be applied to the material. After running the program, we observed how the pipe react to the static load then begin the manufacturing process.
Machines used: Johnson® Horizontal BandSaw, Powermatic®-Drill Press, Cincinnati®-Surface Grinder, Bridgeport®-Vertical mill, Clausing®-Vertical Mill,Clausing®-Horizontal lather, Powermatic® -Vertical Bandsaw, Dimension® sst -3s BP machine, Miller®-AC/DC Arc welder, and Fortus® 400mc-3D BP machine.
Delivery: The final product was delivered on the last day of class. Final presentation was prepared and every team members got a chance to presented about their part in front of everyone in the department.
Entire final report here: Final Report.

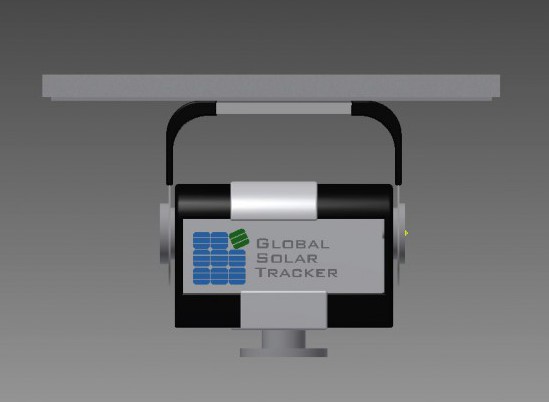
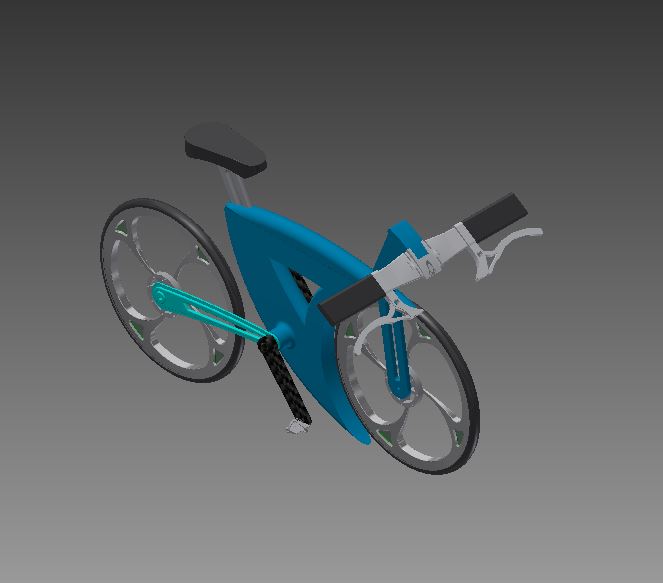
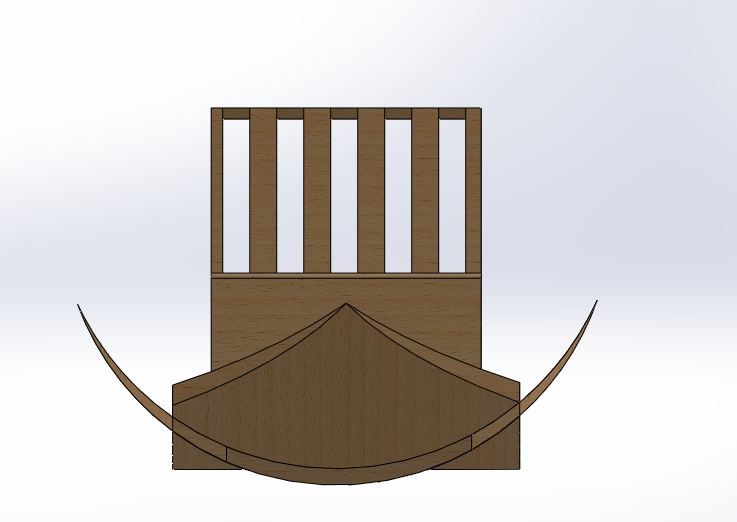
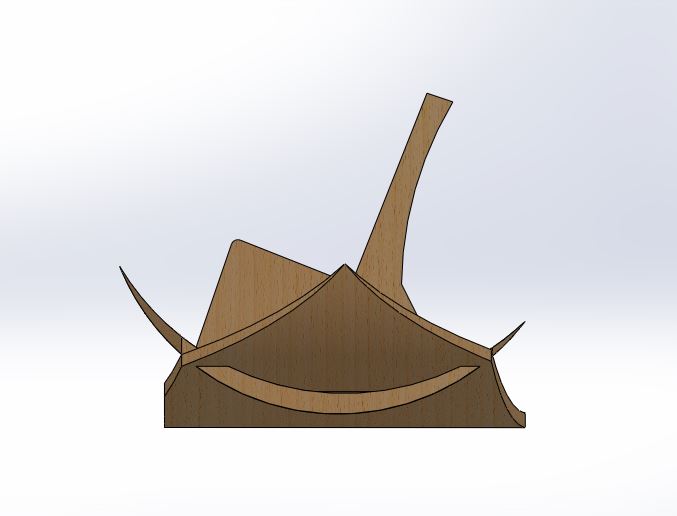
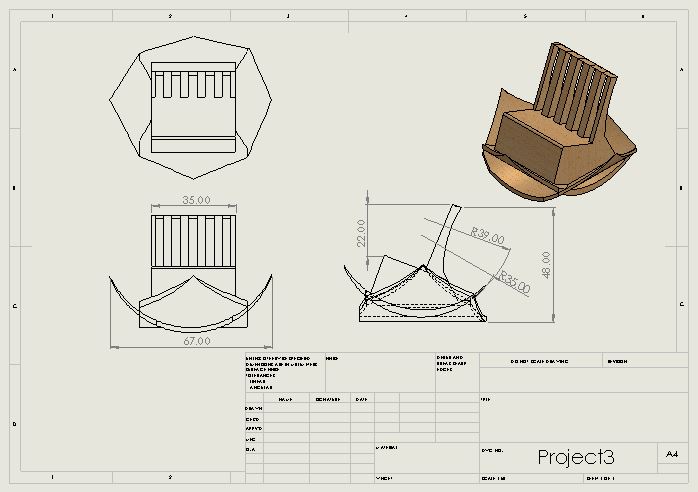
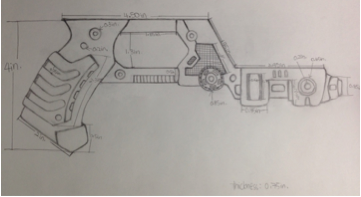
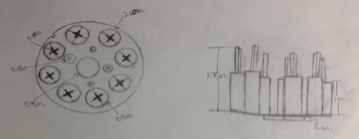
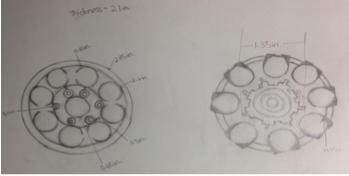
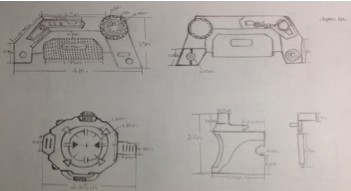
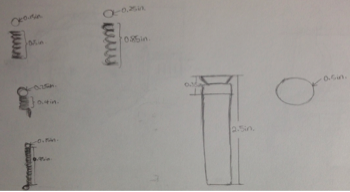
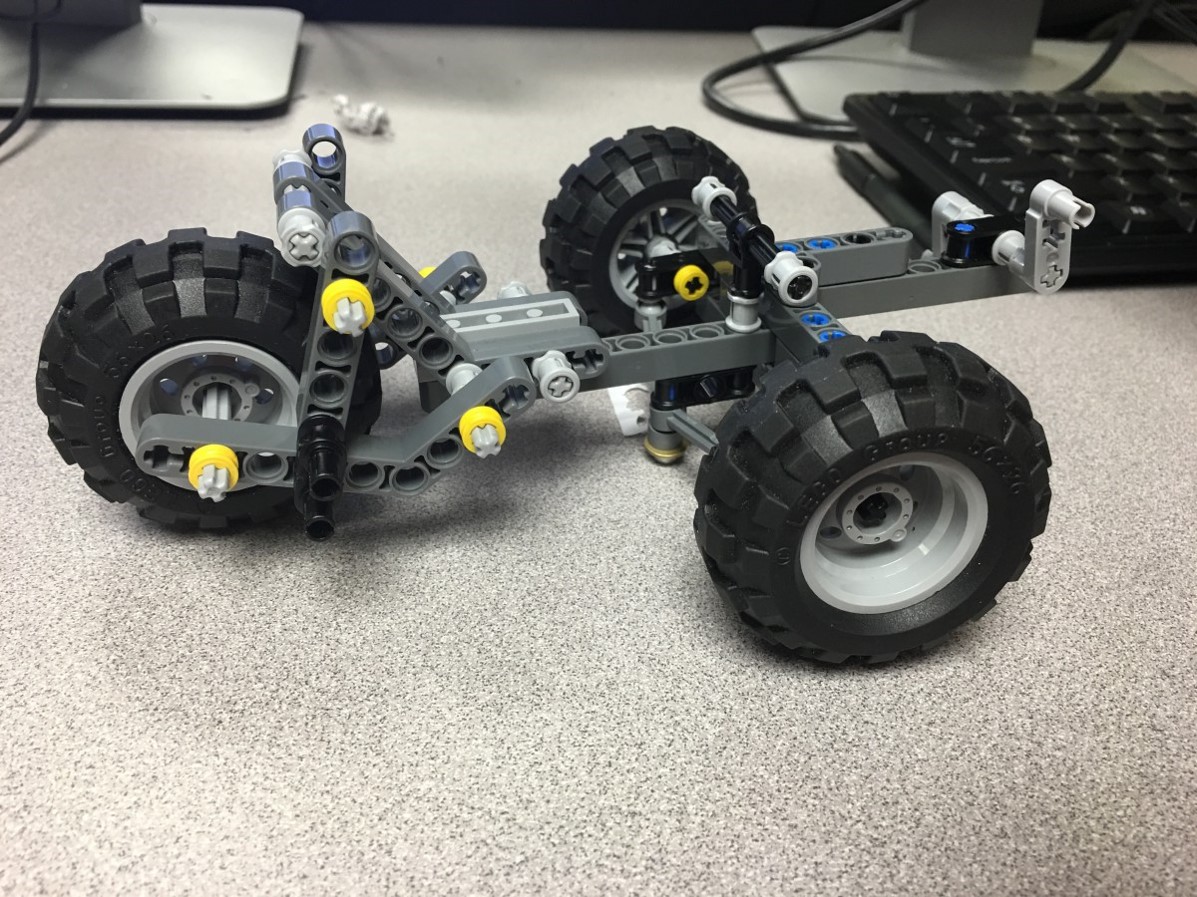
Final CAD model
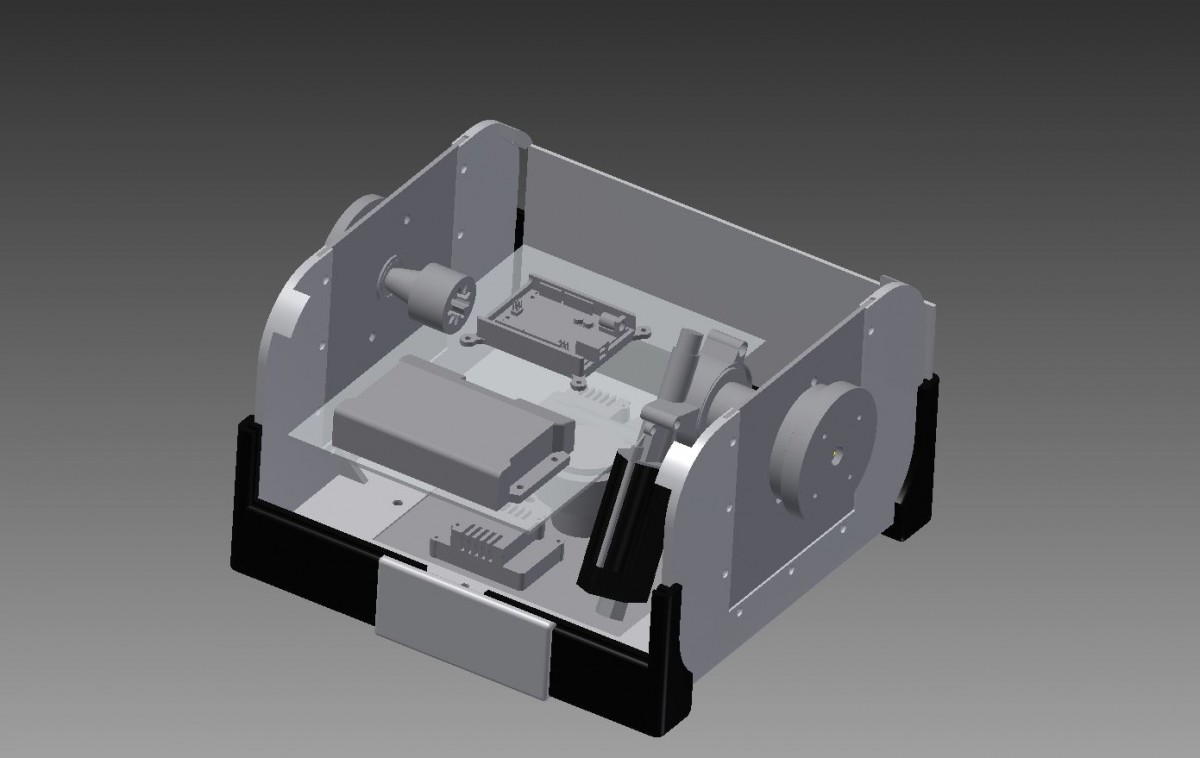
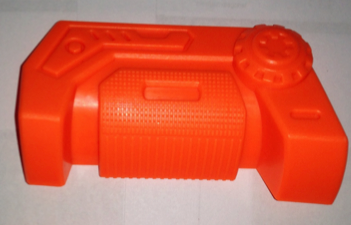
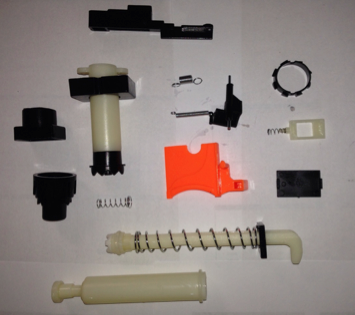
Prototype
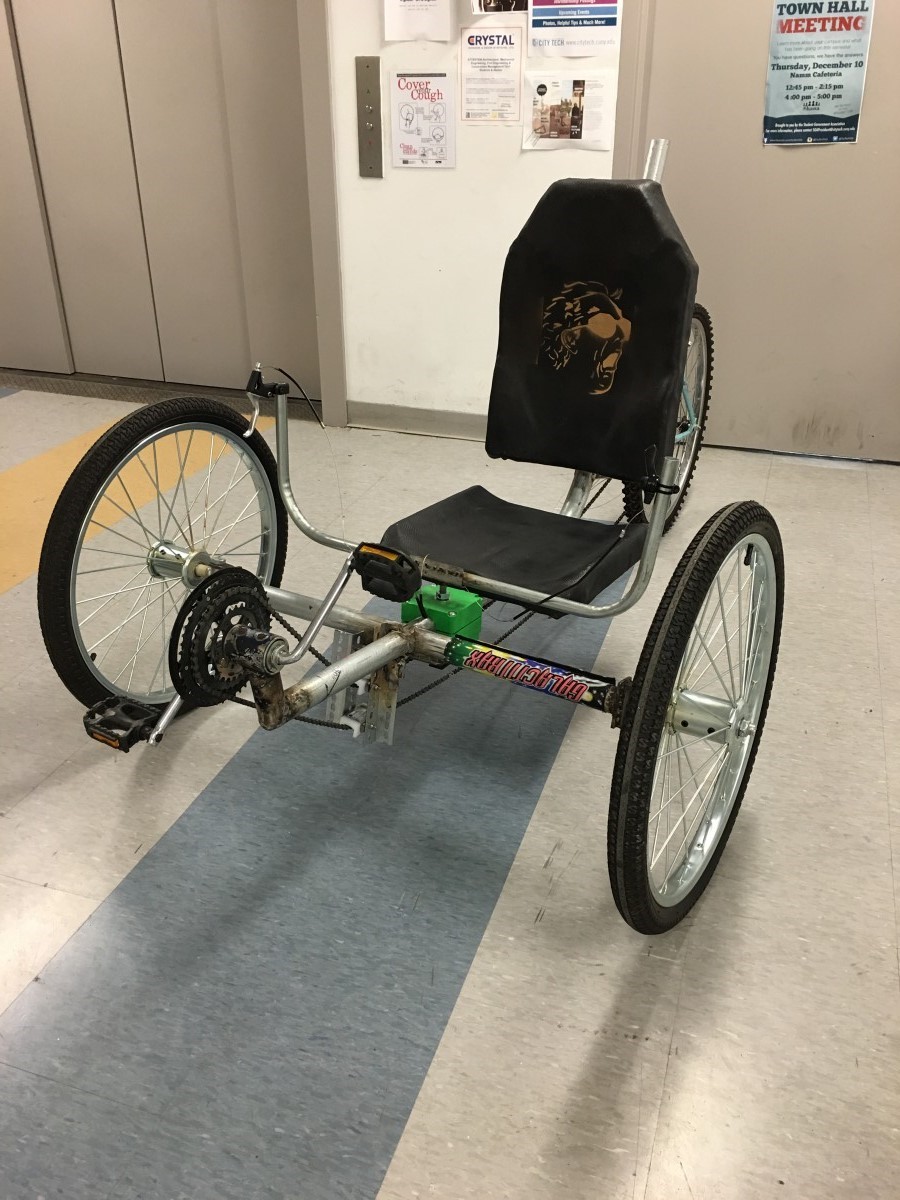
Final physical model