Contents
Thumbnail Sketches
STEP 1 BEGIN IN CLASS
- Write your concept out in the form a of a sentence in your sketchbook, to refer back to as you sketch.
REMEMBER:
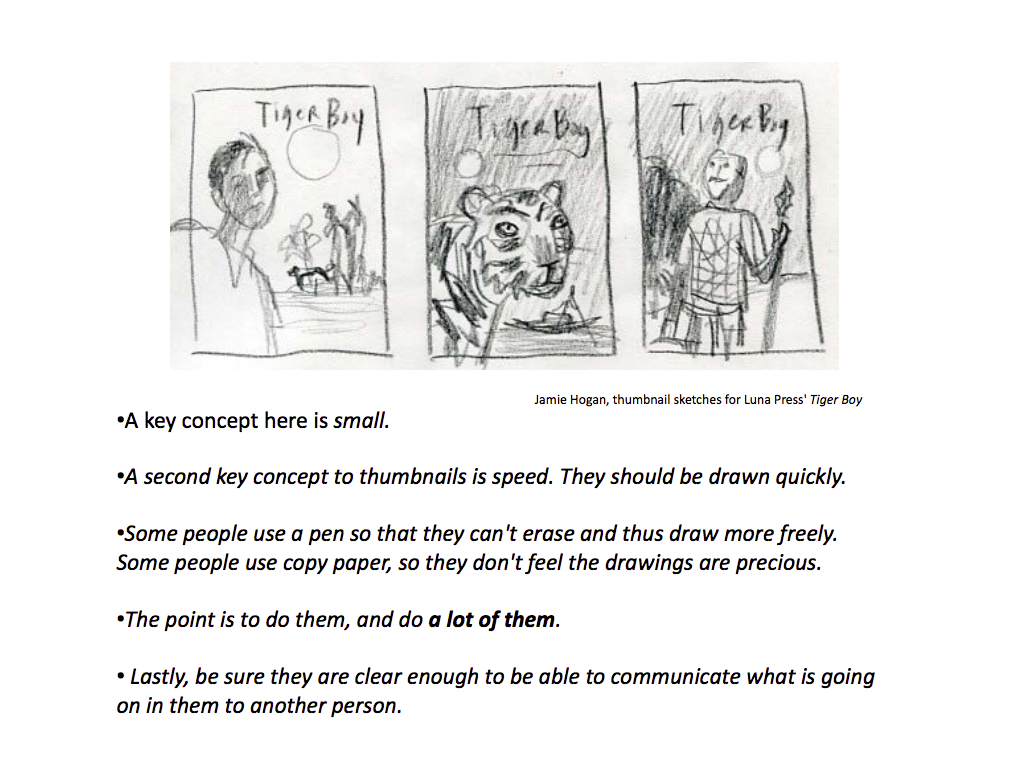
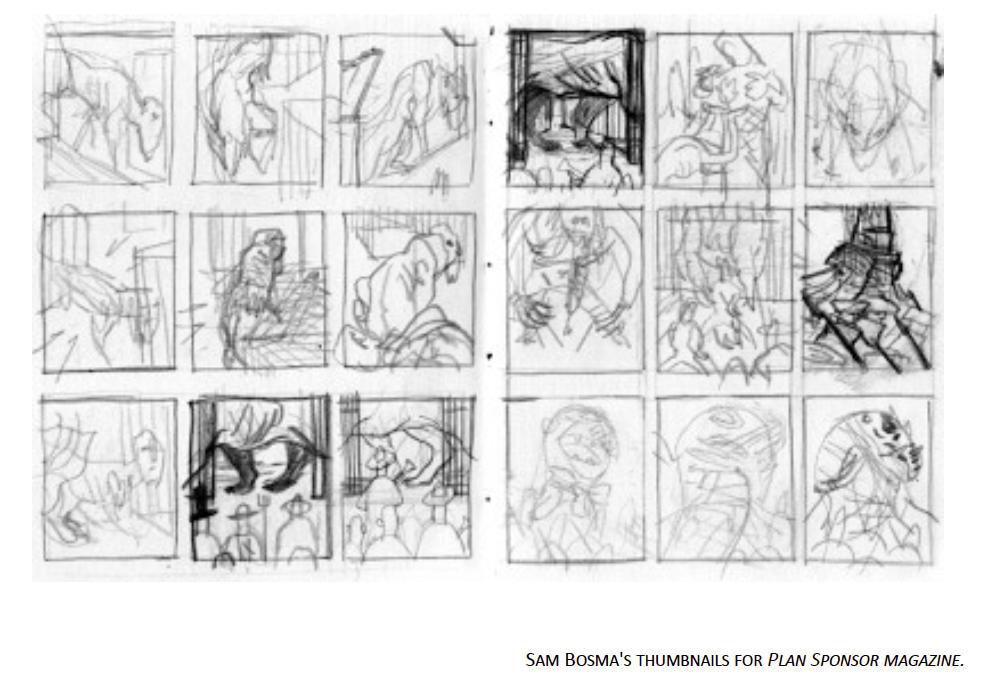
- Using a Ruler make 10 -15 boxes in your sketchbook approx 2-3″ on the longest side.
- Always draw thumbnail boxes in proportion to your final art!
- Be sure thumbnails don’t share edges. Leave a space between boxes.
- Fill these boxes with 10 – 15 thumbnail sketches exploring your concepts.
- Look at your word web/inspiration board as you explore your concepts visually.
REMEMBER:
Concept Sketches
STEP 2
- Decide on your top 2-3 thumbnail sketches.
- Choose based on feedback you received from your Art Director (In this case ME.) and your peers, as well as your own passion and design sense.
- Research : Collect any reference images needed to fully realize each design concept.
- Create mock-ups using digital media to aide in rapid work.
- Sketch 2-3 Concept Sketches.
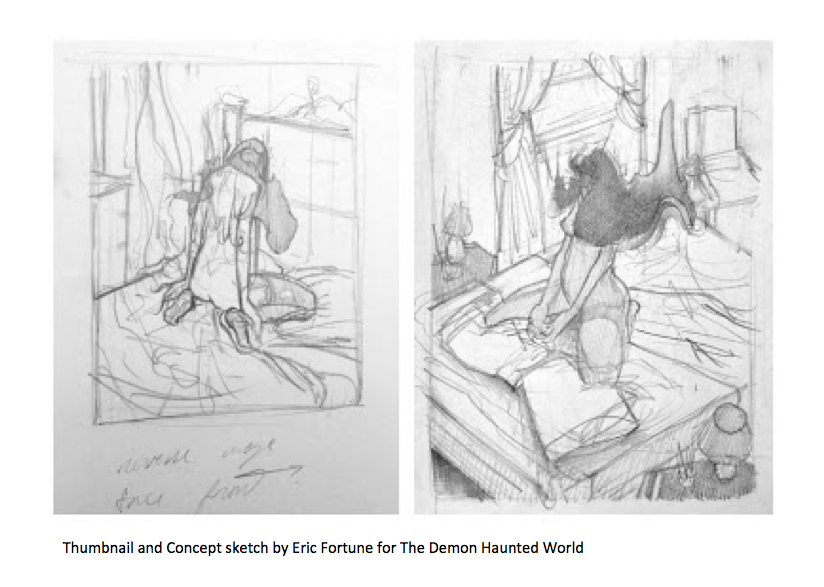
EXAMPLES:
Compare the approved thumbnail sketch with the corresponding concept sketch. Consider where changes were made.
DUE NEXT WEEK:
Post your
- Post your concept sketches and thumbnail sketches carefully labeled, with name of client, a link to the article you chose, and a description of concepts illustrated, along with any additional sketches you may have done.
- Categorize your post Work in Progress.


0 Comments
1 Pingback