First Year Learning Community

Category: COMD1100 Project #3 (Page 2 of 8)

High-Key & Low-Key: Phase 1


20161019_122626

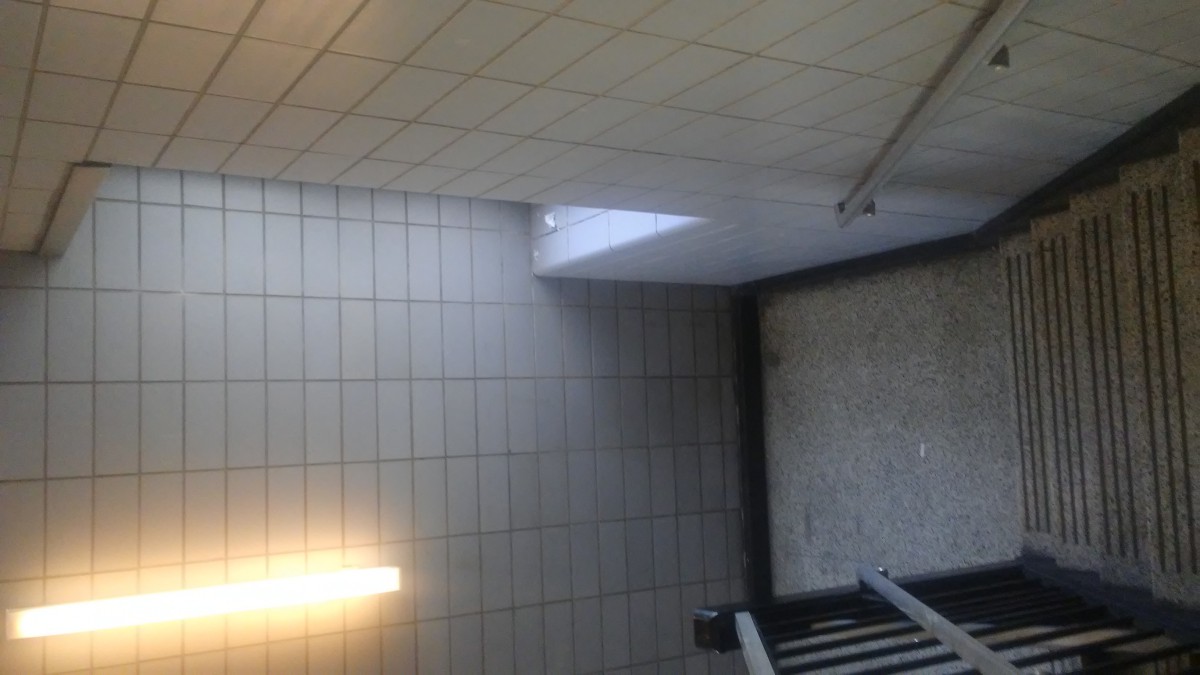
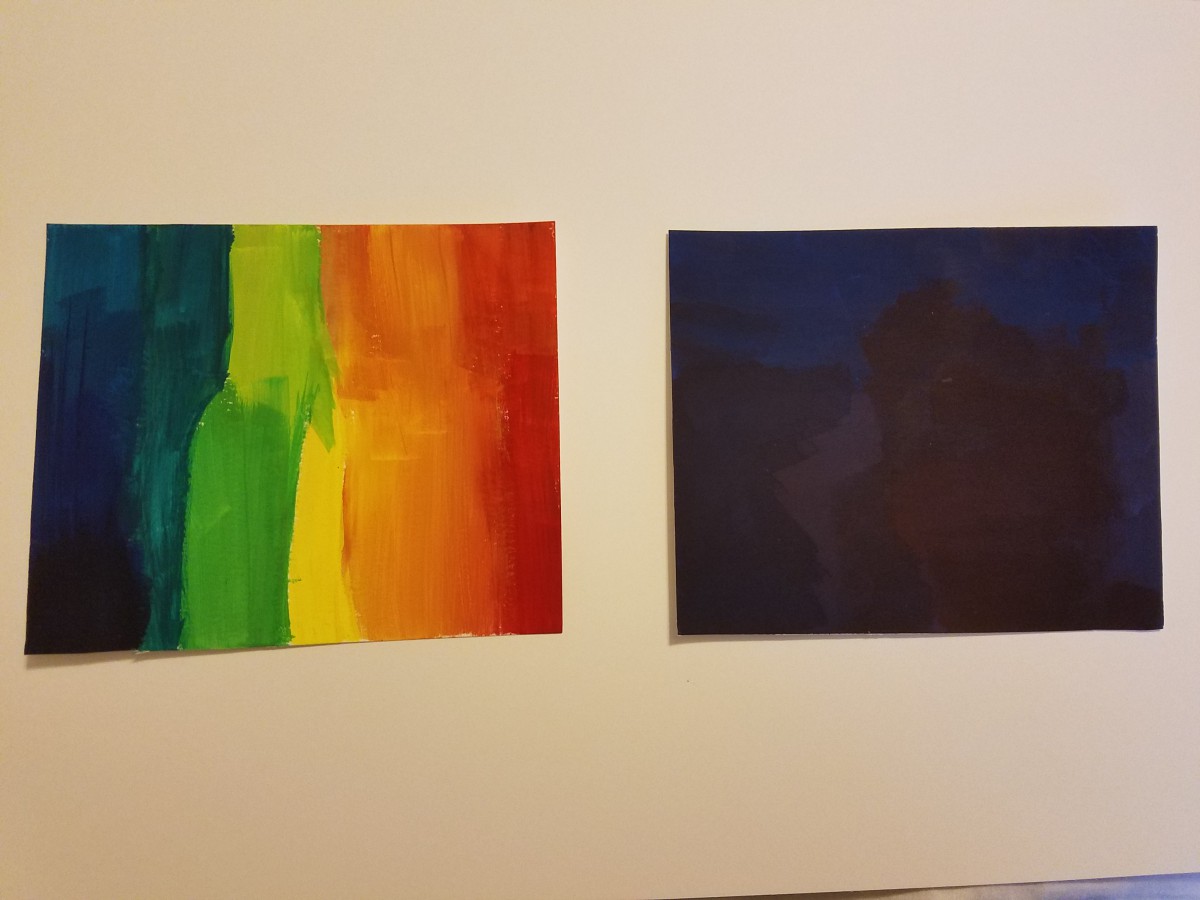
In this picture we can see the light coming straight to the object. Then you could also see the shadow of the object. In the back of the object the light seems to be dimming out. You can deffinetly see from what side the light is coming from.20161019_122704_burst01

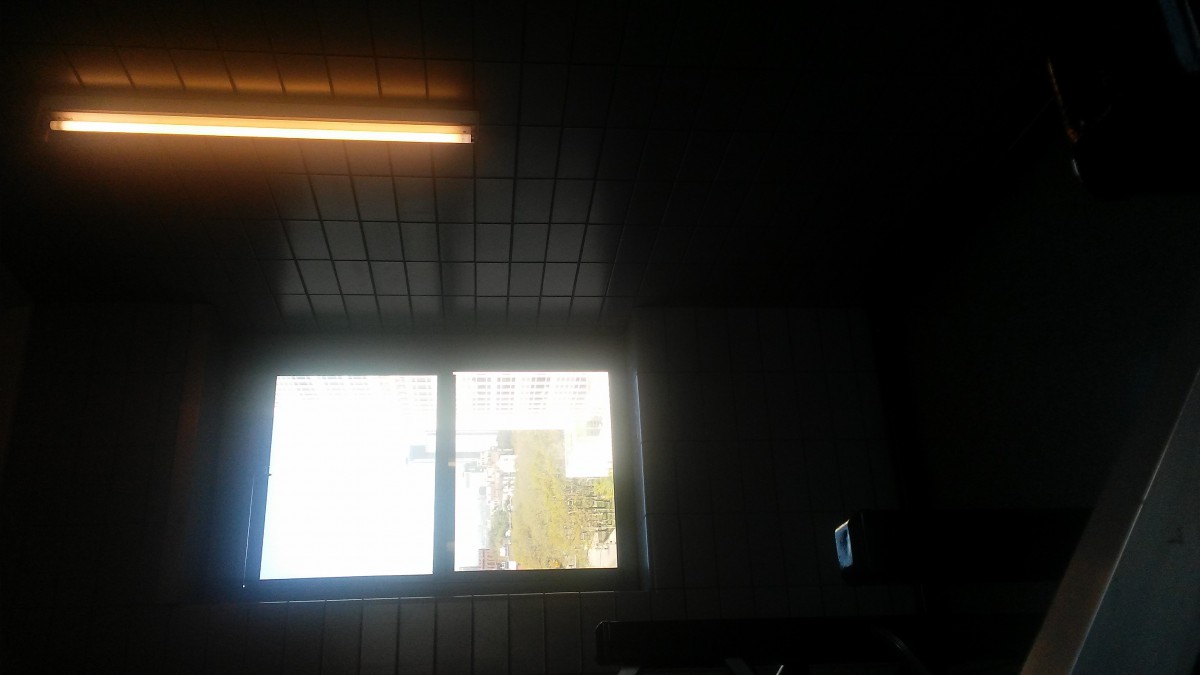
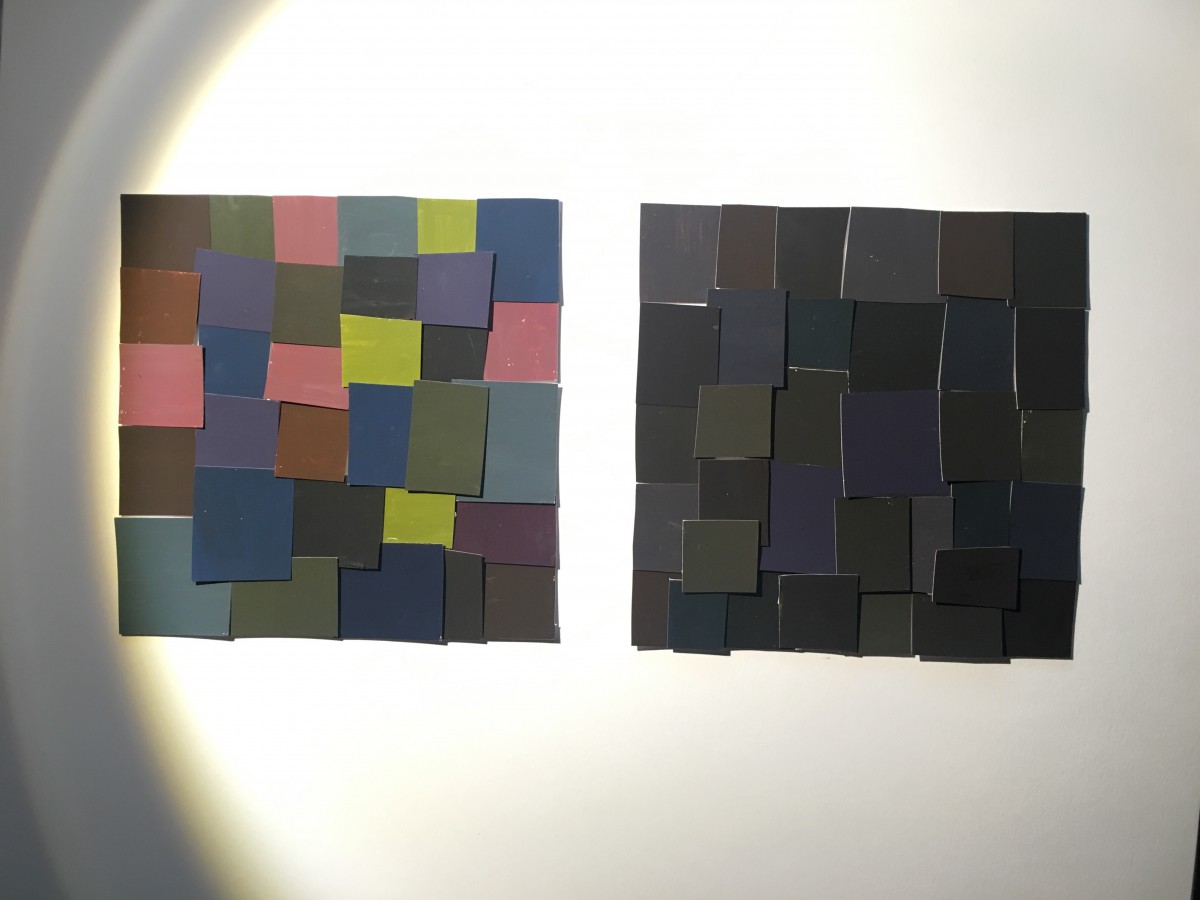
This picture shows the light standing out. Around the light although you can see the shadow and contrast of darkness. Towards the top and bottom there is a dark highlight of light. You can see where the light source is coming from. The light and the dark come together to make shadow appear most.

Value added portraits: phase 4

phase 1

phase 2

phase 3

Doing this project helped me understand the meaning behind photography, I wasn’t aware of the two types of ways that pictures(low-key and high-key) can be taken. It was pretty interesting and once we understood the concept of broad and narrow range, the next step was to experiment with gouache. Painting is something I have no experience in but it helped put my skills to the test. Everyday I learn something knew and unlock abilities that I thought I didn’t have. Doing this project was very helpful.

Value added portraits: phase 3

Narrow Range


time spent: 2 hrs

Value-Added Portrait : Phase 4

Value-Added Portrait :Phase 3

Value-Added Portrait :Phase 2

Value-Added Portrait: Phase 1

When completing this project , it was bit challenging to work with  gouache. I was able to work my way around the gouache and complete the project. This project helped me have a better understanding of the terms : value, broad-range and narrow-range. For the future, I will be more open to different types of materials , and not be afraid to mess up on the first try.


Value-Added Portraits: Phase 4

Throughout this project, it was fun and creative, this is because we created a different image of ourselves and no one could possibly think it came from our portrait. I learned how to use gouache paint. This was a challenging part for me, the color that I wanted to get,  it did not look similar to the original image. I would retry painting my broad image over and over again. The narrow composition was easy to convert it to Photoshop. What I learned from this project, that could be helpful in the next, is using gouache paint and the amount of color being used.

Phase 1: Discover / Phase 2: Define / Phase 3: Develop

Value Added portraits- Phase 1

The first image is of the water fountain that’s next to the class. The image gives an ominous mood, if it wasn’t for its reflective surface, it would have been difficult to see that it is a fountain. The second image I chose to make high key because of the amount of light that bounced of the floor and on to the plants surface, which gave it a reflective amount of light even with the grayscale filter.

Value-Added Portraits: Phase 1

The first image was took in the class room and edited in Photoshop to give more of dark look. The darkness gives a very mysterious feeling, maybe it just me but I feel almost afraid to walk in to it. The highlight is the small paper cup on the right, and the darkest part is the deepest part of the counter top. As you move from the paper cup further in towards the center, the items on the counter top get harder to see.

The second image was also taken in the classroom. It was just cropped to have more white in the composition. The strong contrast created by the white mouse and the black pad make a closed value composition. The little marks and dust gives the mouse a ton of character. The white specks give the black pad texture.   The highlights are the reflected light coming from the open windows on the left.

Time Worked : 1 hour.

High-Key & Low-Key: Phase 4

During this project, I learned about the roles that grayscale can play in bringing a composition together. While I was searching for pictures to use for this project, I saw many different choices so I was a little overwhelmed at first, even though I managed to make the choices I needed.

Taking apart those pictures and putting them back together as something completely different was the next task that I found challenging during this project. I felt like the results that I could have had with the pictures I had were limited, but I cast that thought aside and continued with what I thought to be fitting for the project.

On the third phase of this project, I felt that I had a significantly easier time moving through this project. I wasn’t sure if it was because I was already accustomed to the medium we were using, which was Adobe Photoshop, or if it was because it was similar to one of the tasks we had earlier in the project. Either way, I feel that I performed better in this phase compared to the others.

Phase 1

Phase 2

Phase 3

« Older posts Newer posts »