This is my final presentation of project #3. I spent approximately 5 hours of work time from the beginning of the project till the final phase. I feel my value range digital collage was more successful than the broad range painting, maybe due to my preference to using digita media. But overall I am pretty satisfied with the final product.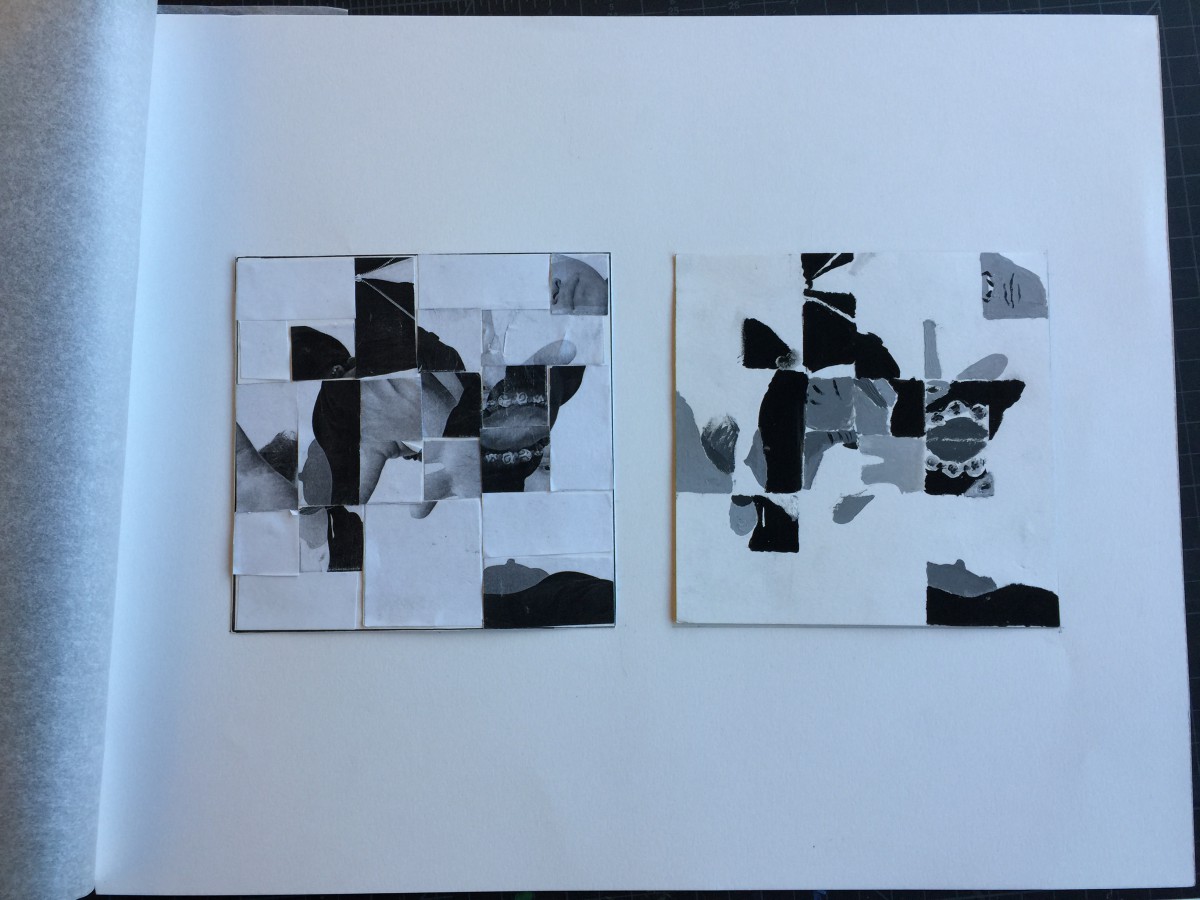
Category: COMD1100 Project #3
Project 3 : Value-Added Portraits: Phase 2
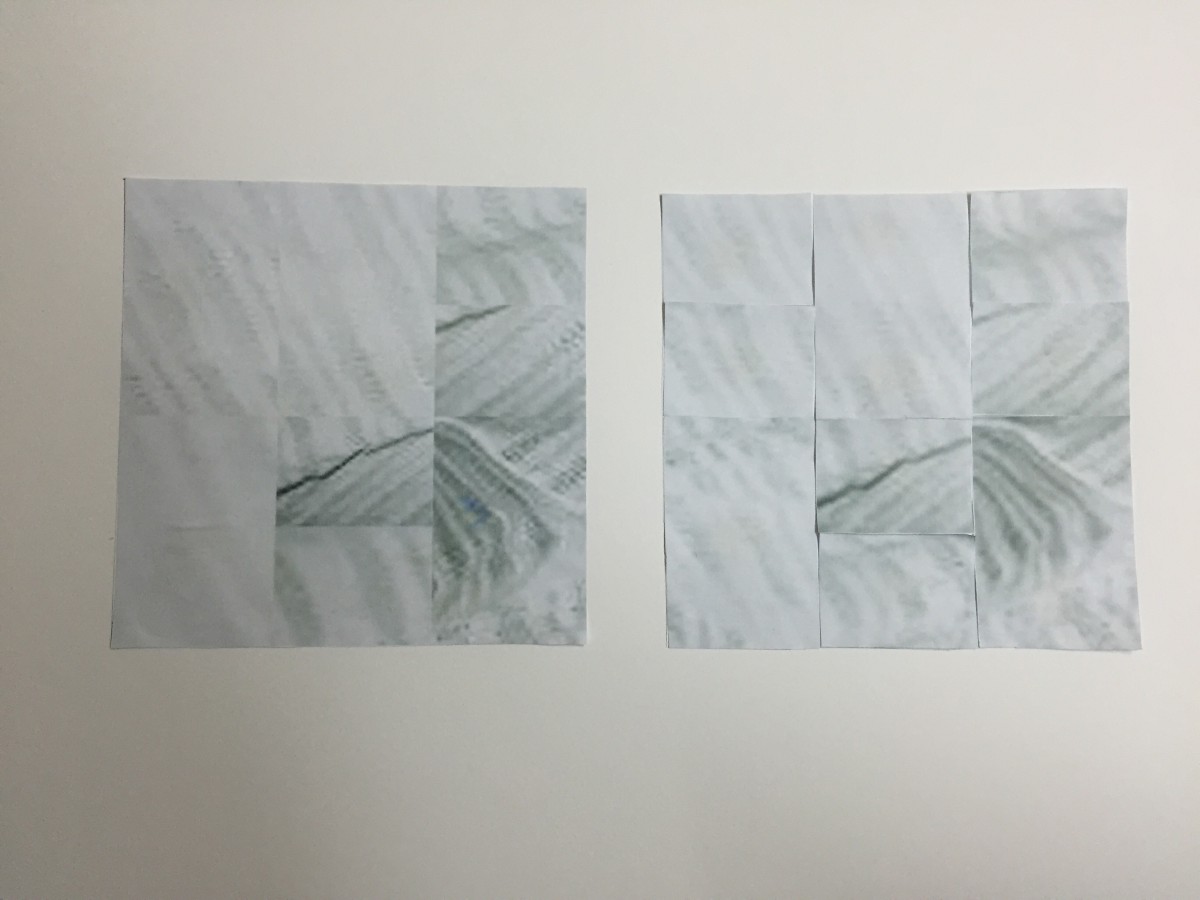
The one on the left took 20 mins to finish, the other one took 40 mins to finish.
Value-Added Portrait: Phase 4
Project#3 was very interesting where I got to use paint and Photoshop in order to create my finial work.I learned many things from this project that will benefit me to the next project. Hardest part of this project was the painting, since the last time I painted was when I was in elementary school in Japan. I also screwed up on measuring my collages, so that the final project looks off for the Photoshop. I do not know what happened when I printed out my image version in JPEG. I specifically out it into 6″x 6″ however, I do not know how library printer works so the image came out smaller. Also, since my collage’s measurement was off by 2 to 5 millimeters, I had to add in more to the side. When I looked the final project, I noticed many errors that I can work on further more. Above all, I did pretty much “Ok” with the above all project #3. However, I could do them better next time.

Value-Added Portrait: Phase 3
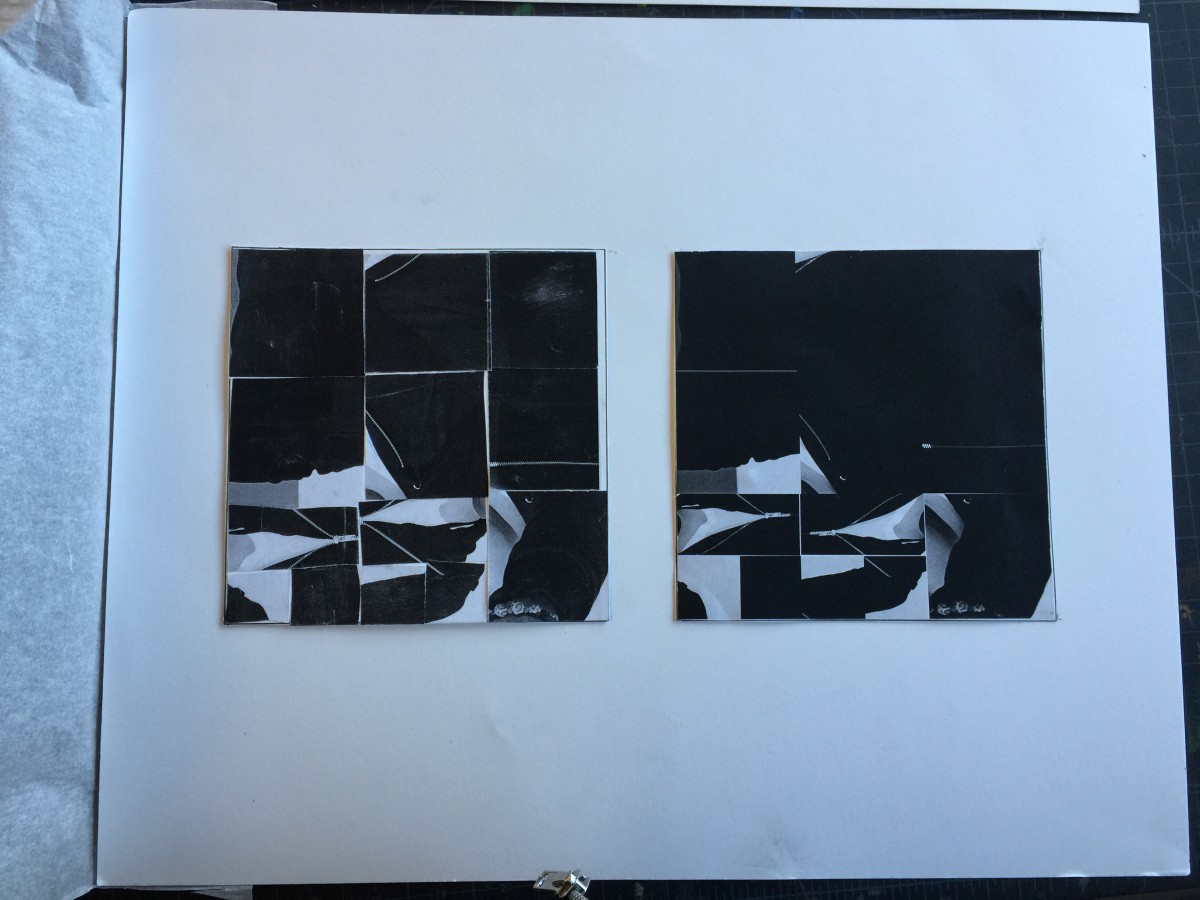
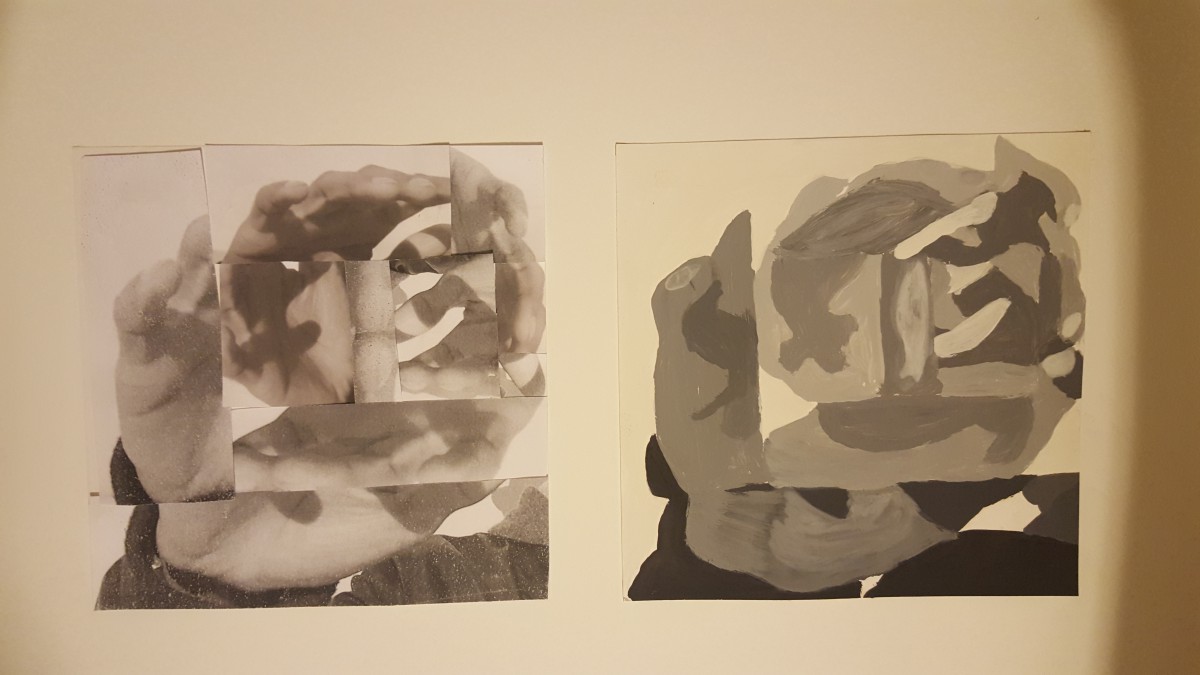
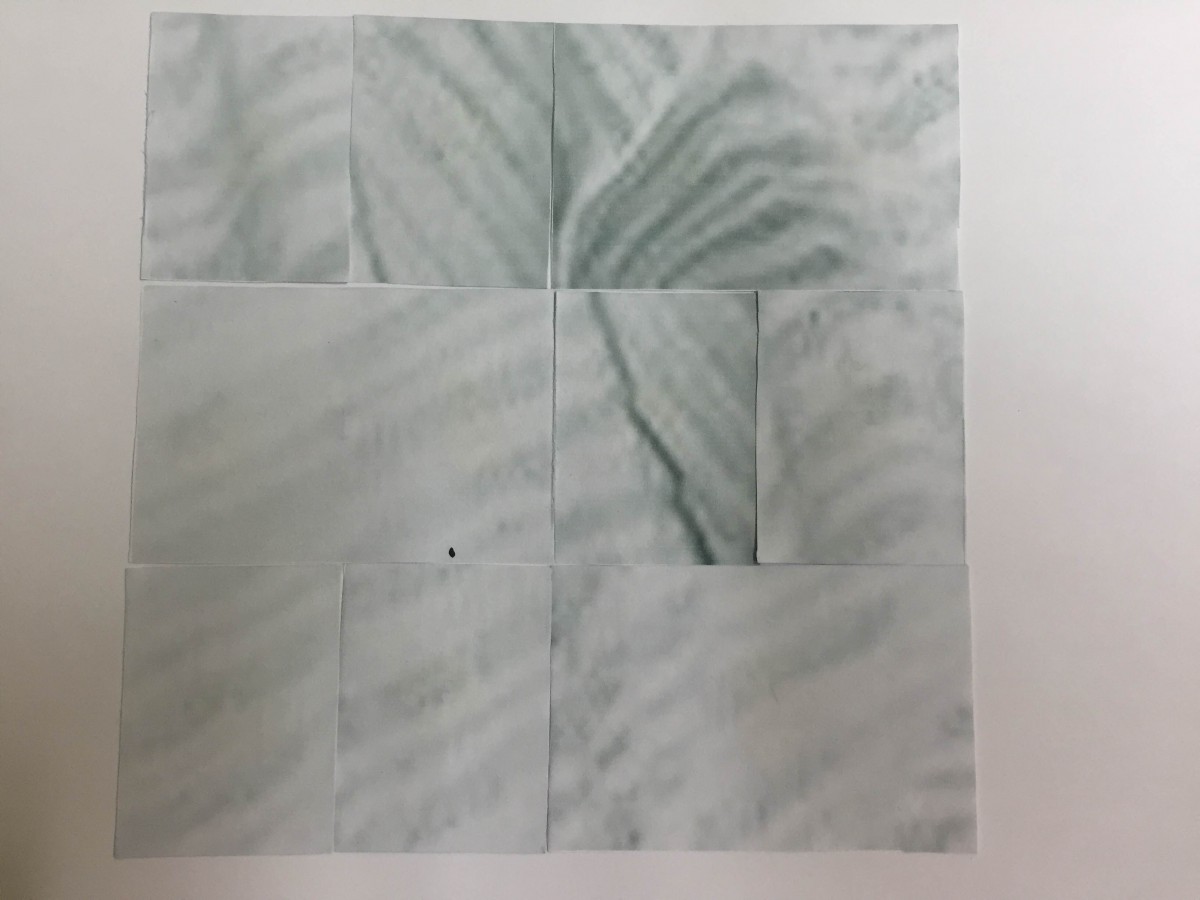
It took me about three and half hours to finish everything. The focus point on my broad-range painting is the a little dots of the middle area. The other focus point on my narrow-range is the LOGO of my clothes.
Value-Added Portrait: Phase 3+Phase 4
It took me about a hour to finish everything. The focus point on my broad-range painting is the most lightest part of two pieces of collage, you can easily find it out. And the focus point on my narrow-range is the curves with darker colors. The most difficult part of this project for me is painting. The last time I used brush was in elementary school, I used to use graphic tablet to draw and paint on laptops, so when I paint with brush, it didn’t work as I imagined, a pretty hard challenge for me. Other steps are fine, I enjoyed to work on them, easily accomplished. This project helps me to realize I’m better as doing digital art than physical art which is painting. I spend more time to paint on bristle than making a collage on mac. Learn to paint physically is one thing I have to improve on in the future, I hope next time when I worked on the painting it will done as I imagined.
narrow-range
Broad-range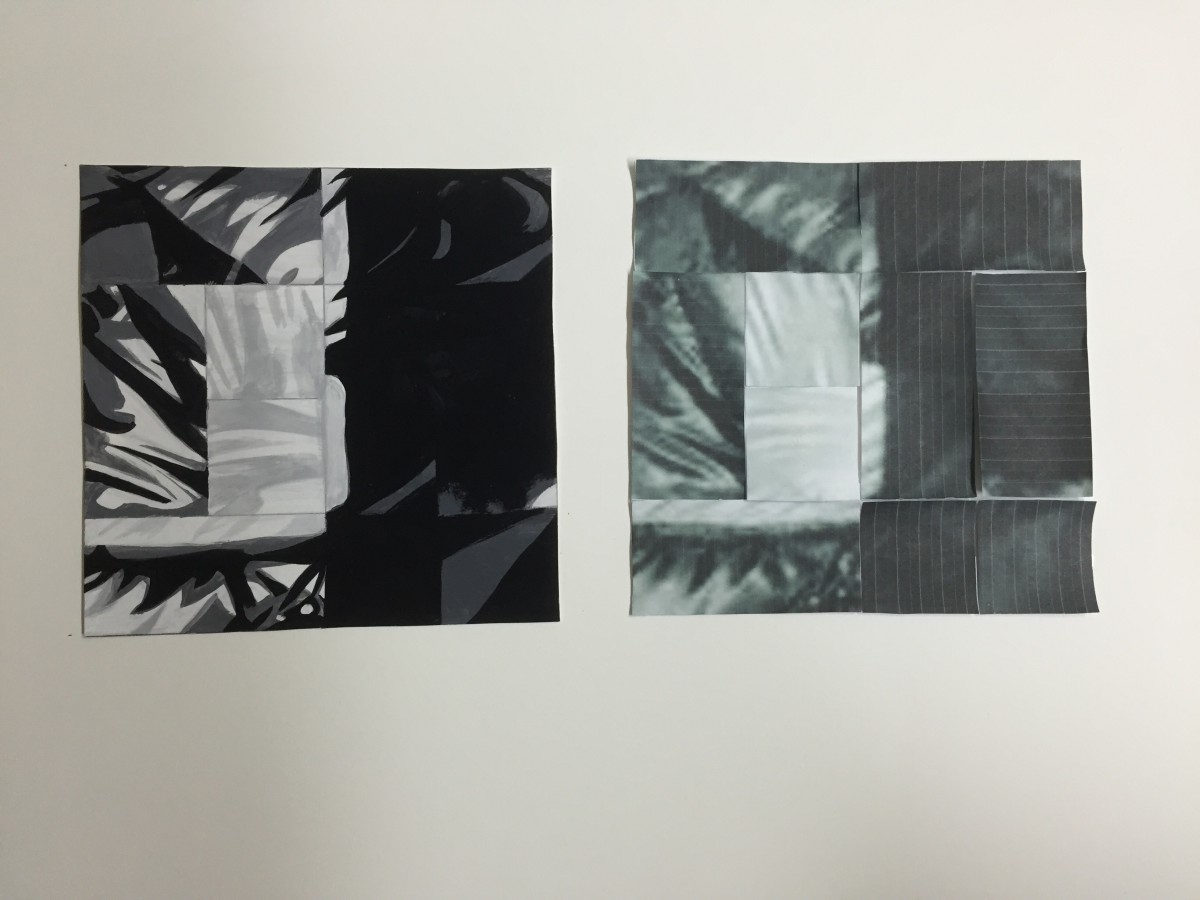
Value-Added Portraits: Phase 3
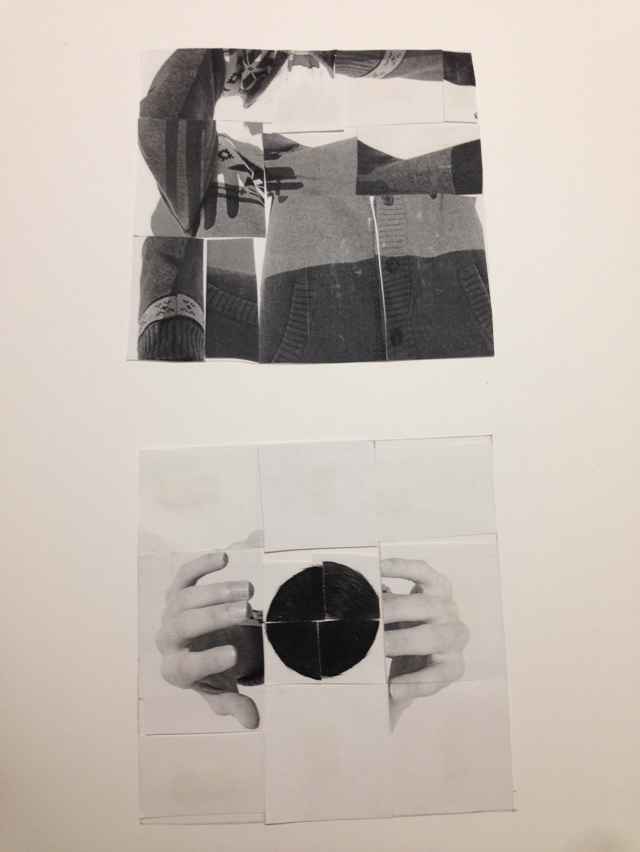
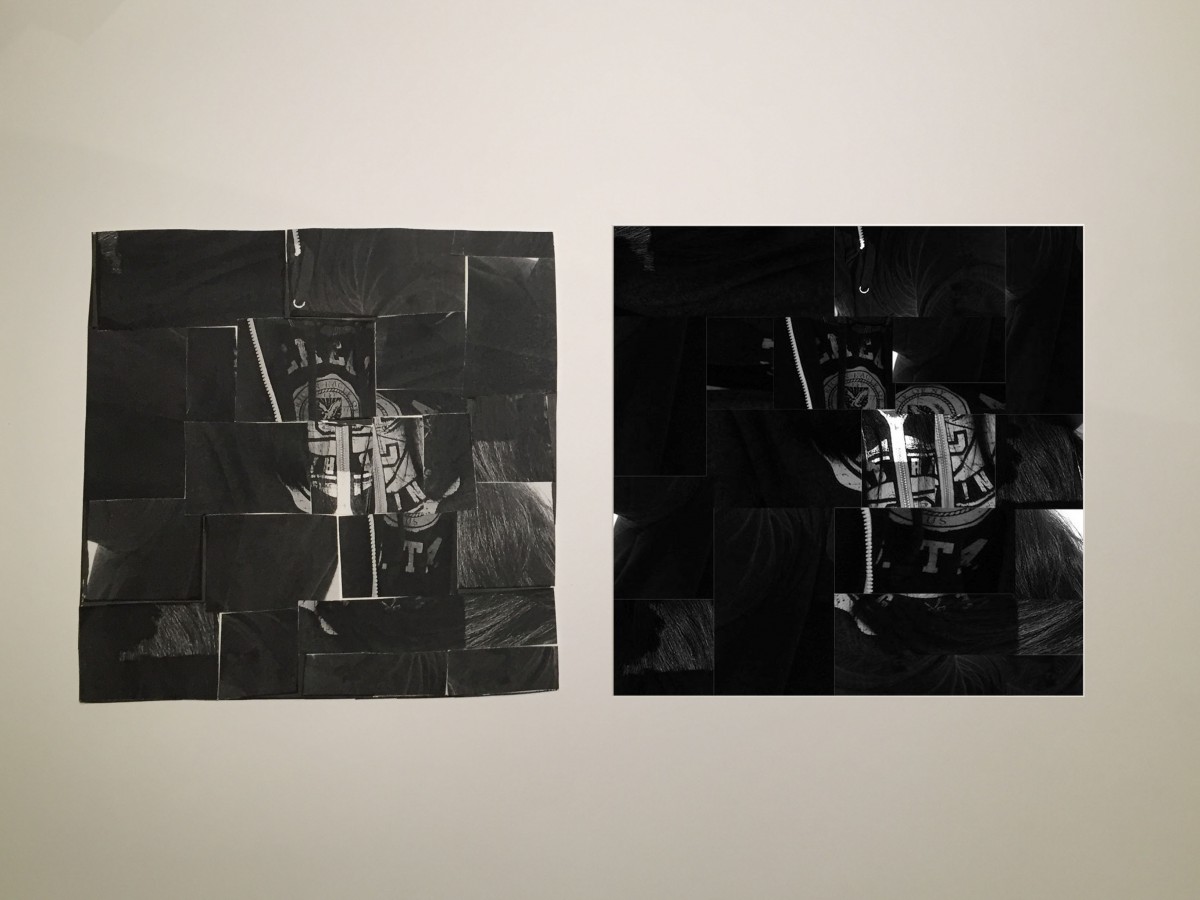
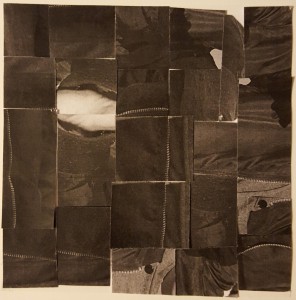
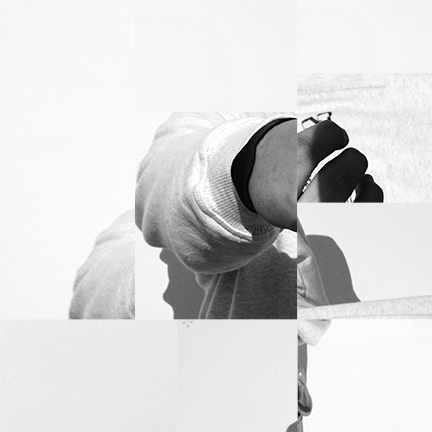
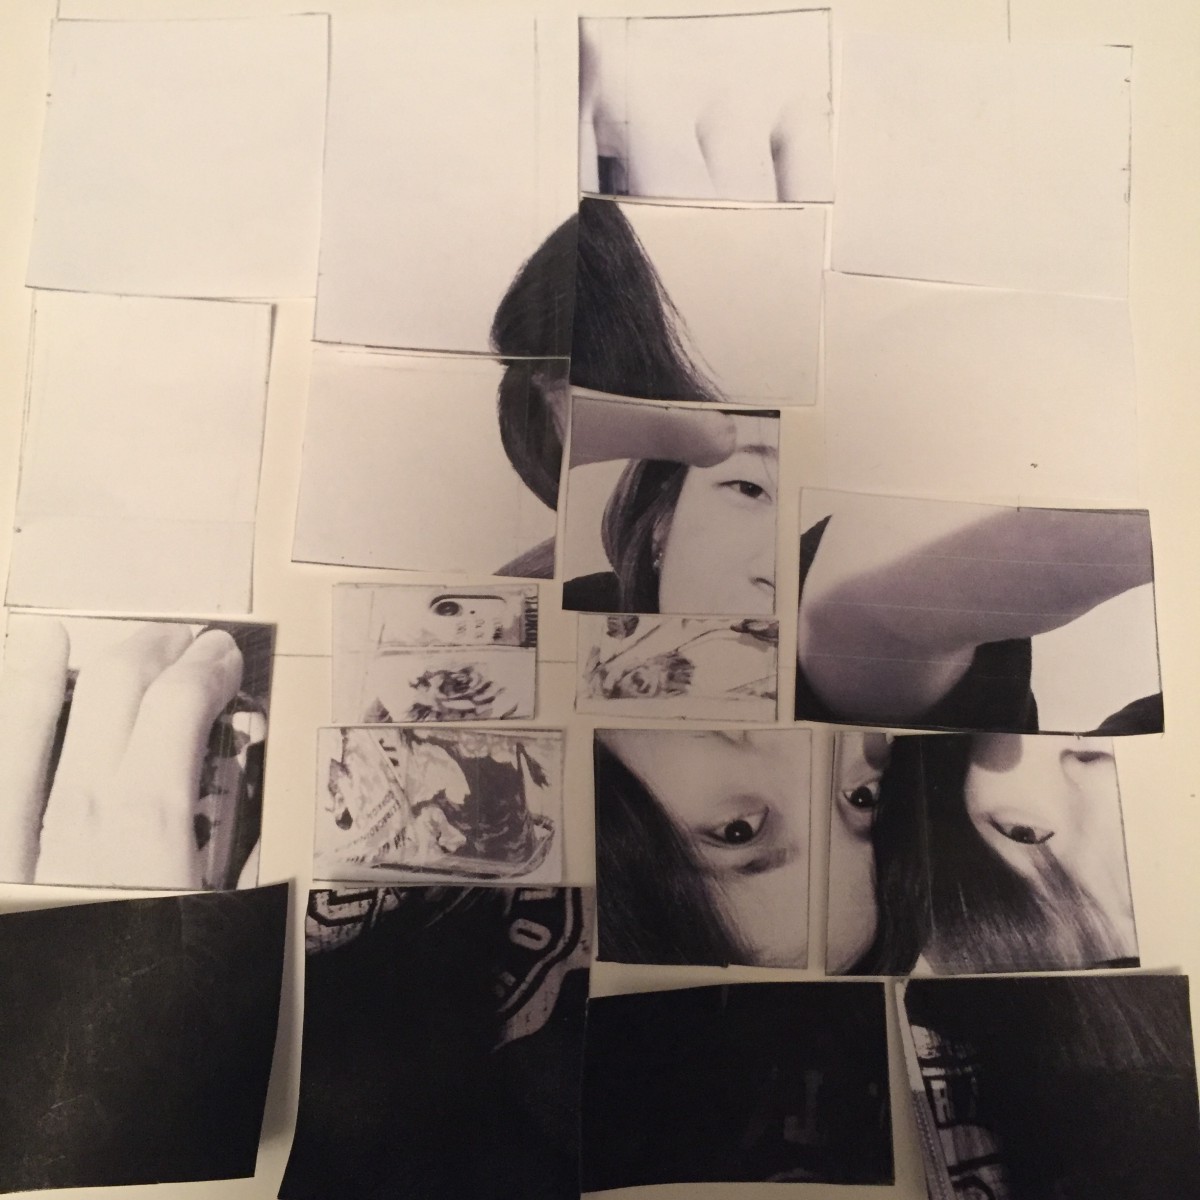
This is my finished Narrow Range Collages, as you can see the focal point is on the top left. You can get there by following the zipper.
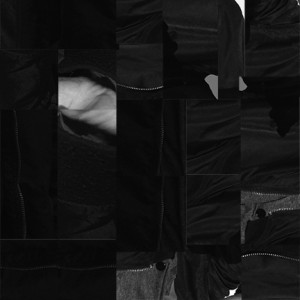
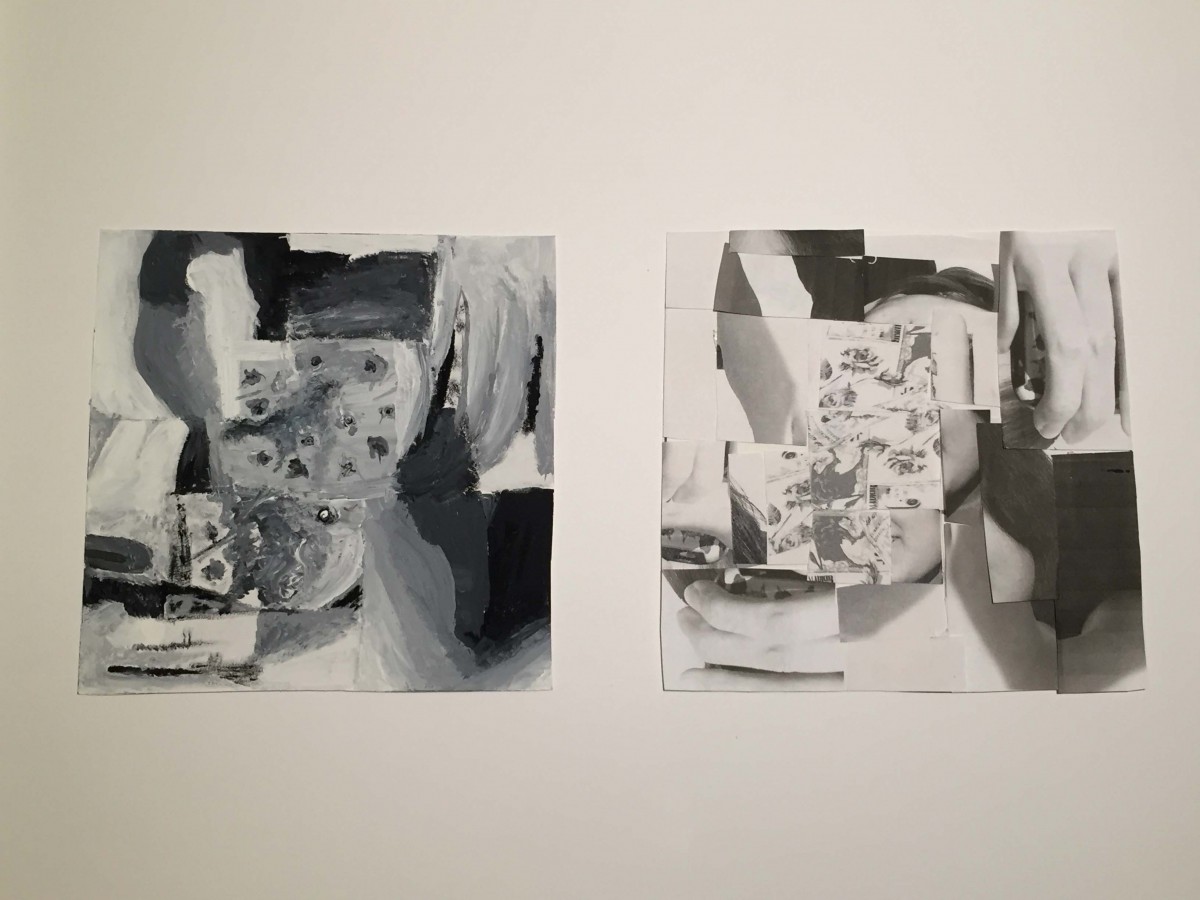
This is my finished Broad-Range Painting & Broad-Range Collage. The focal point is in the middle, where the hands folds-in in a way like a flower.
Time Spent of this part of the project, about 5 hours.
Value-Added Portrait: Phase 3
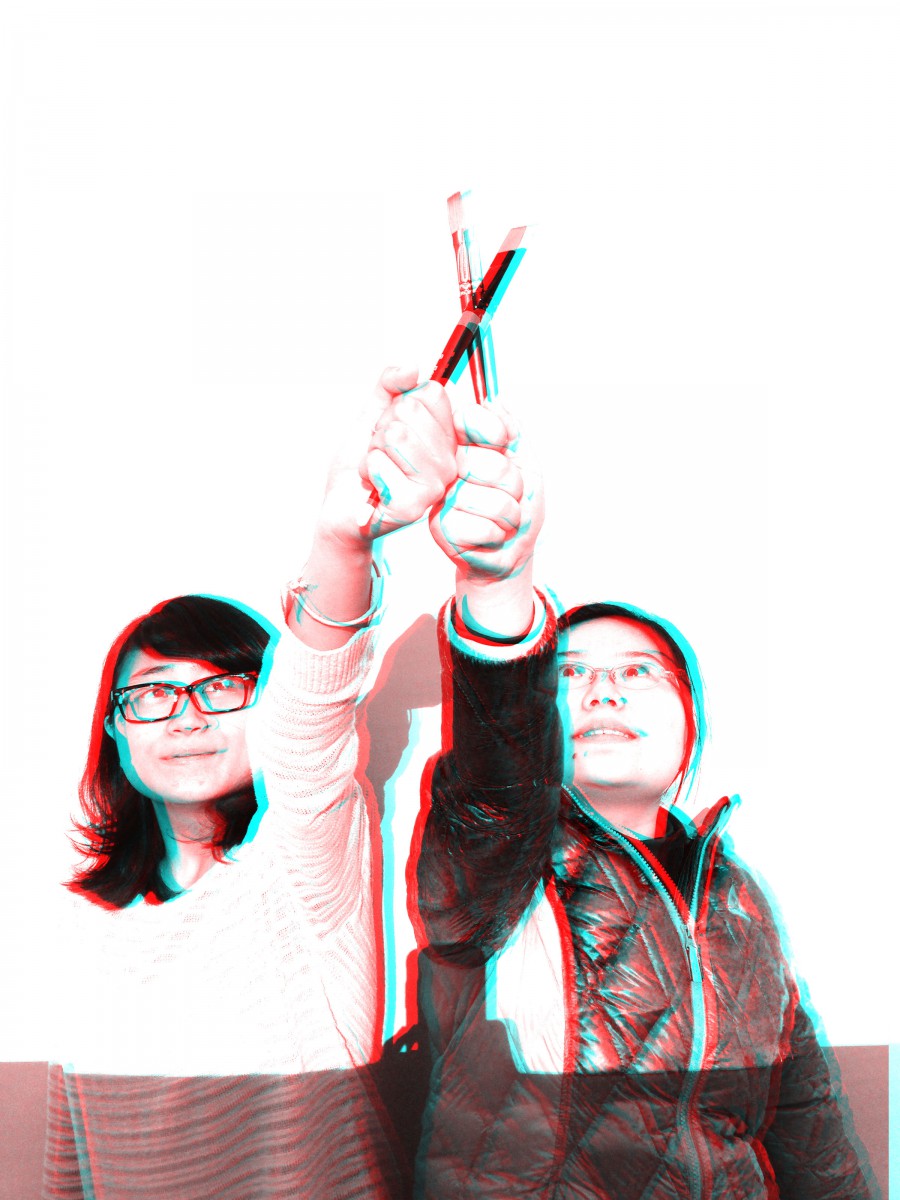
Took me about three to four hours to complete the painting, and the animation took about hour and a half. Mounting to Bristol took me about 2 hours. When I was working on it, the print out for the Photoshop version did not came out right. I specifically out it into 6″x6″ however, I do not know how library printer works so the image came out smaller. Also, since my collage’s measurement was off by 2 to 5 millimeters, I had to add in more to the side. (Will explain more in phase 4) The 3D Anaglyph was easier for me to do them, because I learned almost everything from my other class.
Project #3 Phase 3
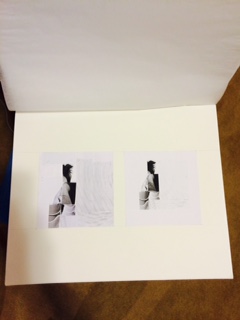
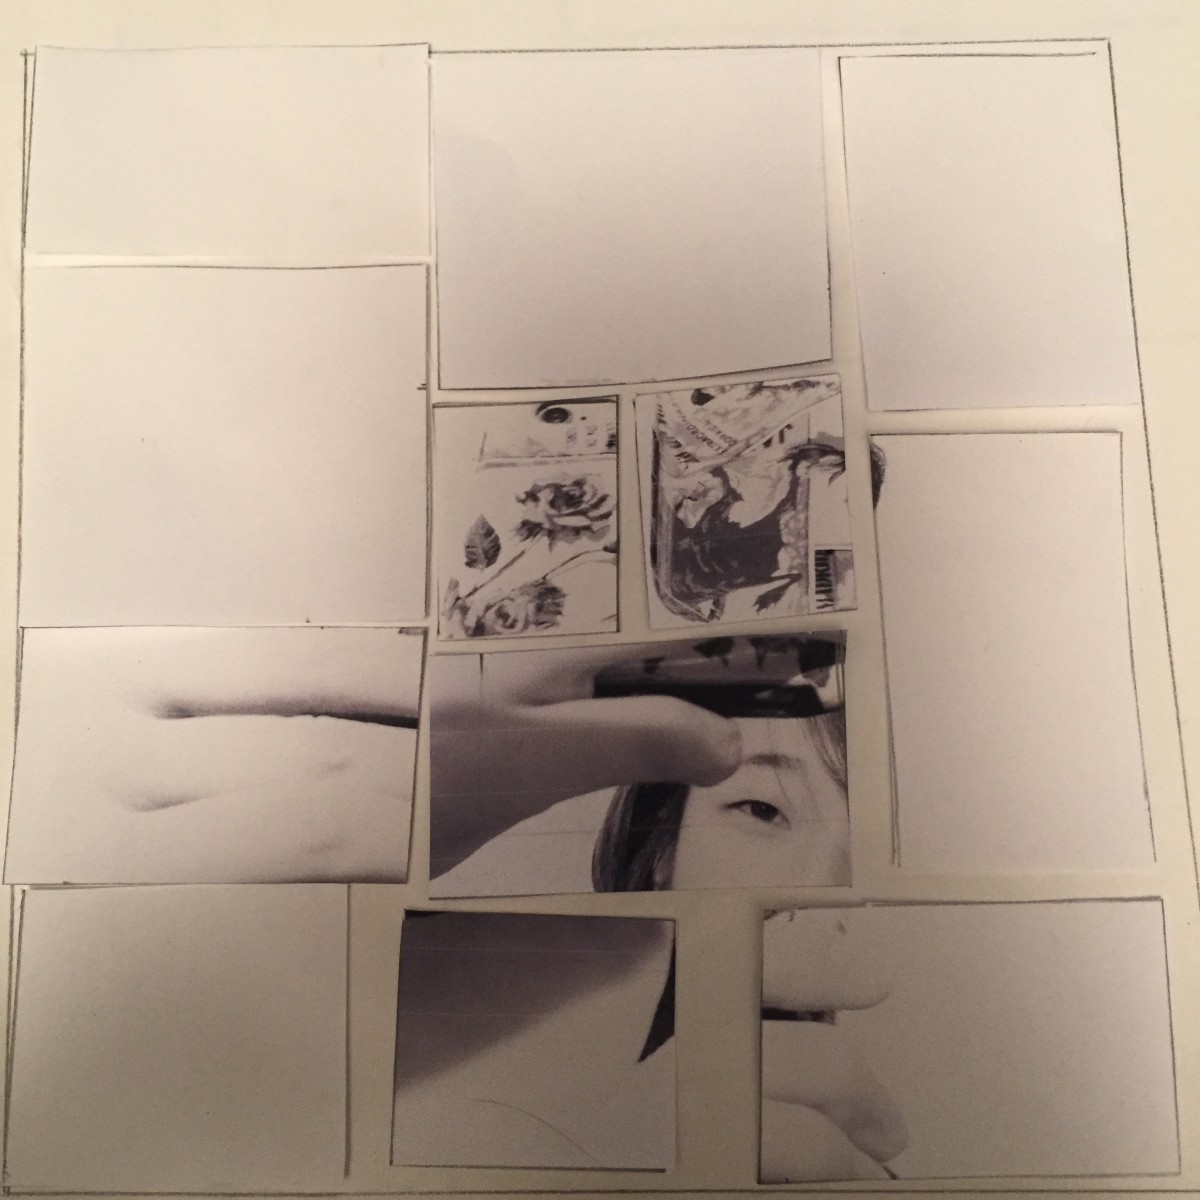
This is my re-creation of my project in photoshop
Value-Added Portraits: Phase 2

Each of these took me about an hour to finish.
Value-Added Portraits: Phase 2
Each of the images took about an hour to do. In total it took 2 hours.

