
“Some ships are designed to sink… others require our assistance.”
Nathan Zelk, former RM2(SS) USS Montpelier (SSN 765) August ’93
At this point in time (December 1st) I can safely say that I still don’t know anything about the actual assembly of submarines. What I can comment on at great length is the pre-building process. My group went in several different directions while trying to choose a design and ultimately decided to go with a sub kit, manufactured and sold by a well respected hobbyist here in the north east. His kit is modeled after a Russian WWII sub called the Akula, which means shark. So we ordered it – from a hobby supplier – found out that it was on back order after it was supposed to be delivered. We then canceled that order and got it directly from the guy who makes them. I also ordered additional parts that we needed from and Michael Perez got almost everything else.
Grand total – $370.00
It still took a while. An earlier post described the processes of organizing and check listing everything.
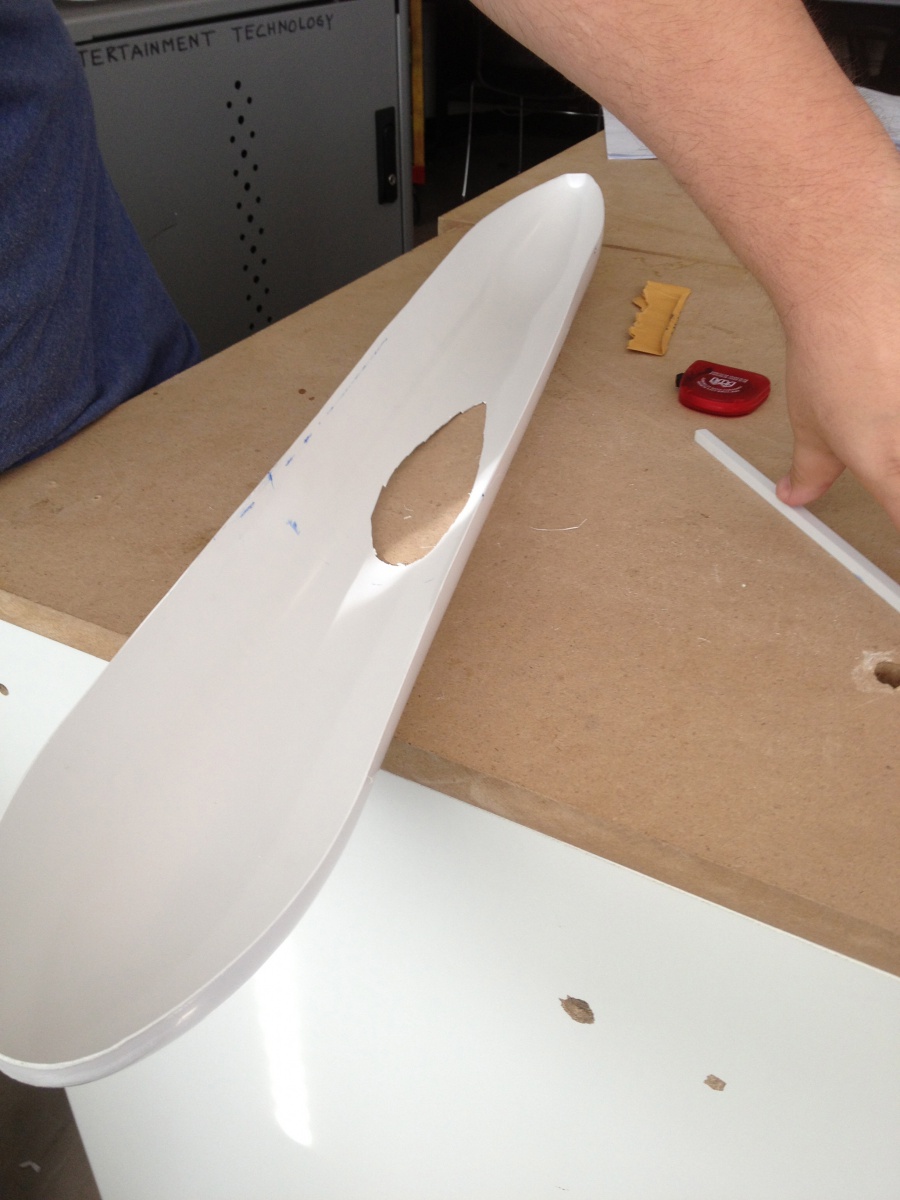
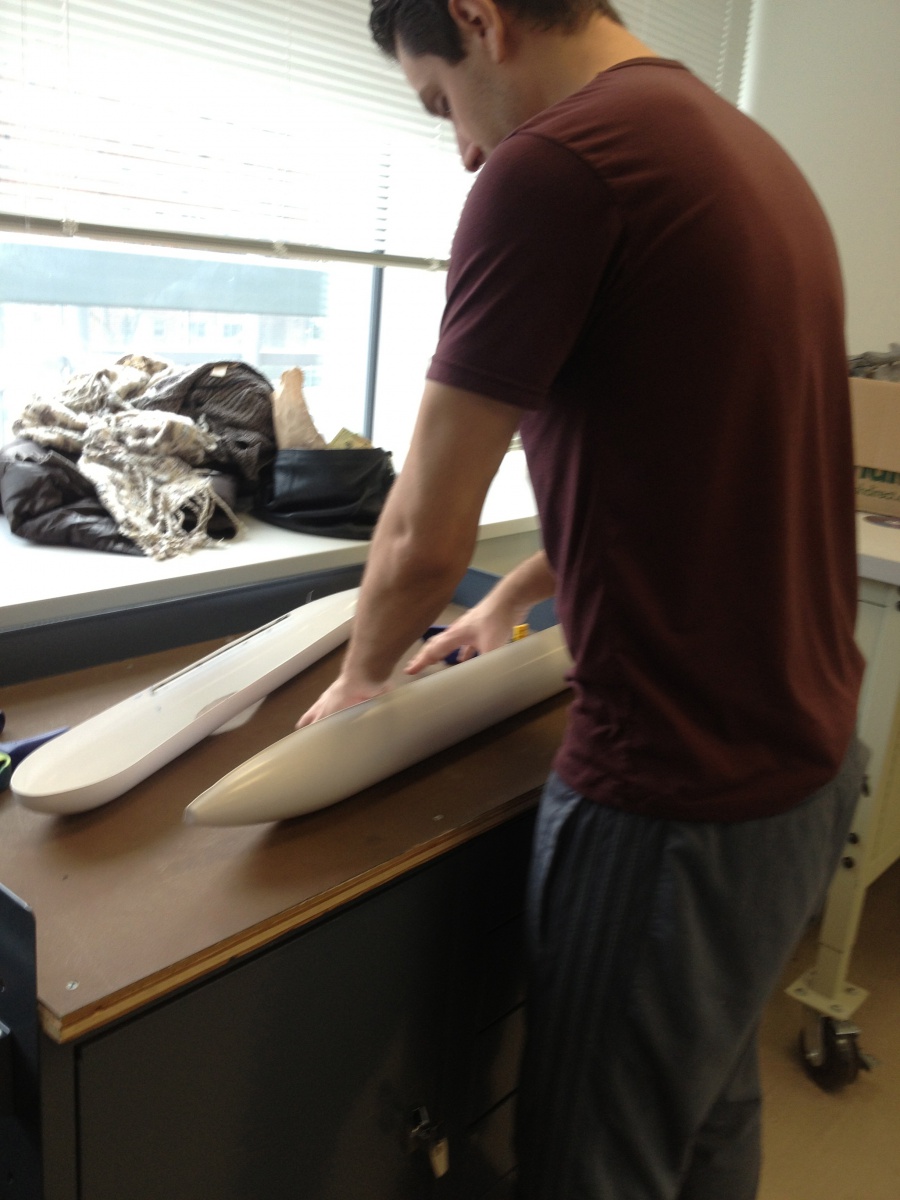
We now were ready to start our actual work. The very first thing we were to do is cut out all the parts that are made of molded plastic. Sounds simple right? Not so much. The plastic isn’t good quality and was supposed to be marked to show where to cut. Again not so much. In the instructions it said that all this cutting and sanding to make it level could take an hour. End result – it took four of us 2 full lab classes and a few hours on a Saturday. In addition, we cut a 6 inch hole in the top part of the hull that wasn’t supposed to be there. (see below) And it is safe to assume that holes and submarines don’t go that well together. After much discussion with Prof. Baker and Dr. Smith we came up with a handful of solutions to try out. It remains to be seen which if any of them will be successful. By the time all of this cutting and sanding was done we were all rather stressed out (see Dino’s submariners post). JOY
Next in the process is to attach the struts and anchors which support all the internal machinery. For this we needed a very specific type of epoxy. One that is completely waterproof and can adhere to a variety of materials. The first product that we used performed beautifully at first but then came apart as soon as we started working with them. ARGH!!! However we had all gone rather epoxy crazy and had 4 other products we had brought in as backups. So we re-glued everything. (In case any of you are keeping track that means we spent 4 classes and a Saturday doing what the instructions said would take 2 hours!) That brings us to Thanksgiving. Schools closed, lab closed, all our tools locked up safe and sound at school. Time to take a breath and a break.
I feel comfortable speaking for the group when I say that we are dying to get to the mechanics. You know; servos and engines and rotors and soldering. Hopefully we will get a little momentum going and get this thing together in time to test it in a local pool and perfect the programming we have planned.
More to follow……
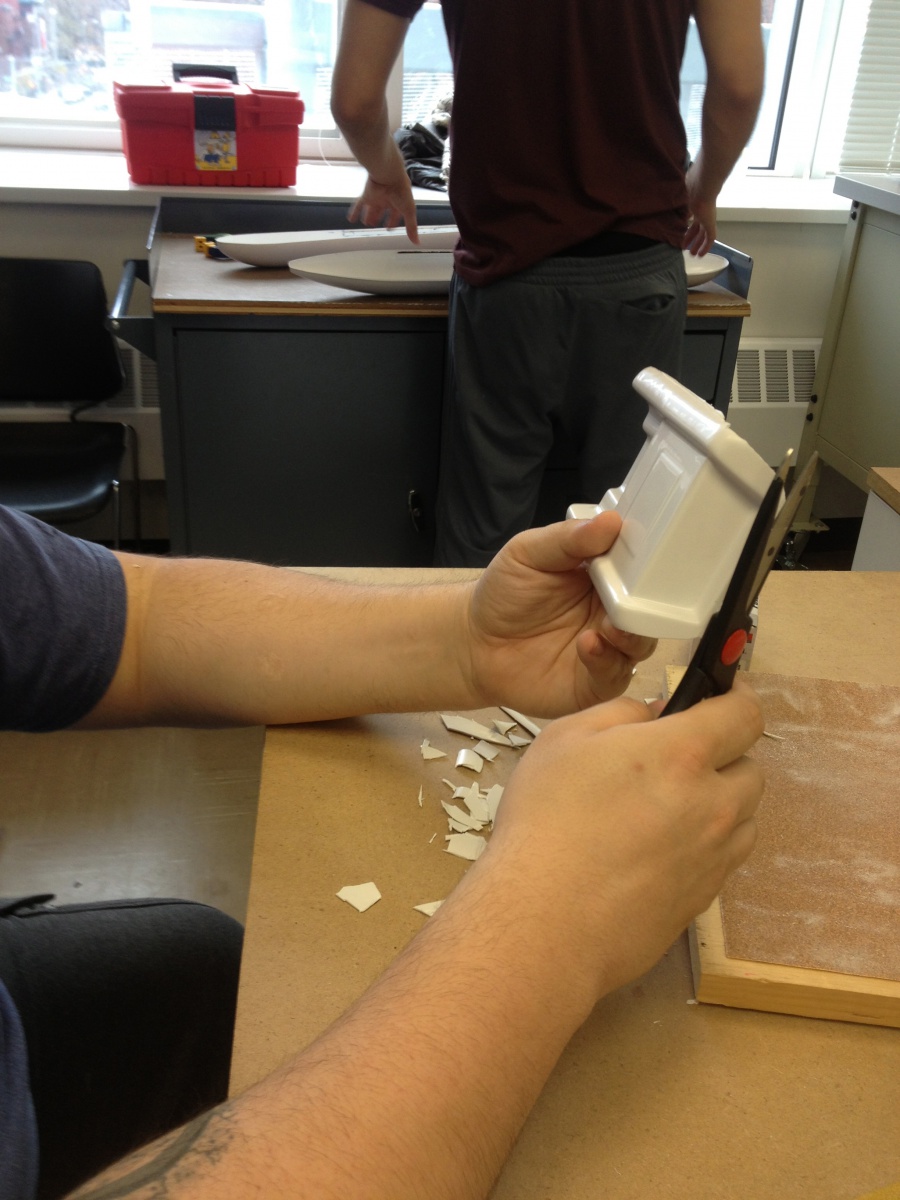
cutting and cutting
sanding and sanding


This is definitely the most ambitious project as far as complexity of build goes, hundreds of moving parts and all of them seem to need some sort of tinkering to make work. It is definitely moving forward though. Keep at it and keep up the good work with the documentation.