
What You're Doing, Where We're Going

The simplest way to resize an image is to use an online service like PicMonkey.com. We don’t endorse any particular online service here at the OpenLab, and there are many online resizing free services. But this one is solid in that it has the things most people need when resizing (a bit of color changing, a size change option, a crop feature, and a way to reduce file size). If you don’t like PicMonkey, go ahead and search online for “free image resizing” and you’ll find more options than you can handle. And here’s an article that looks at a few similar editors.
Most of these are pretty simple. Just two things to keep in mind:
1) most of the time, roughly 600 pixels wide is the most you need for an image on one of our sites.
2) when it comes to file size, you don’t need a large file for most online work. Save a large image somewhere else, and post images that are less than 60KB. To do this with PicMonkey, move the ‘quality’ slider when you go to save the image.
Here’s an example. The image below was originally 1440 X 1080 pixels–way larger than we need. What we end up with is a thumbnail that’s 600 pixels wide which you can click on to see the full-size image. It’s pretty rare that we need that second size, but it’s on the site now, and taking up an enormous amount of space.

(image by j_bary on Flickr via Creative Commons)
So if we resize the image (I used PicMonkey here) to 600 px wide, and then lower the quality to 50KB, we end up with this:

It’s not quite as nice, but it’s going to save you a lot of space on your site, and if you don’t need the larger image, it’s a great idea to do it in advance. Of course, if you do need the larger sizes, you should by all means post them. The key is to think through what you need your images for, so that you can use the extra space when you need to. Images that come straight out of your camera or phone, for example are almost always much larger than you probably need.
Of course, PicMonkey is, as we said, very simple. Much more can be done using Photoshop or Gimp. Here are two short tutorials on doing these simple tasks with these two much more robust applications:
Here’s a tutorial on resizing using photoshop:
And here’s a tutoria on resizing using gimp:
That’s it! As always, contact us if you have any questions.

Image by Perfecto Insecto via Creative Commons License
Upcoming Launch!
With the Brooklyn spring here a bit early, consider this your first invitation to the official CityTech OpenLab launch, scheduled for mid-April. More details to follow, but pencil it in for the 19th of April. We’ll see you there!
____________________

____________________
This Week’s Tutorial

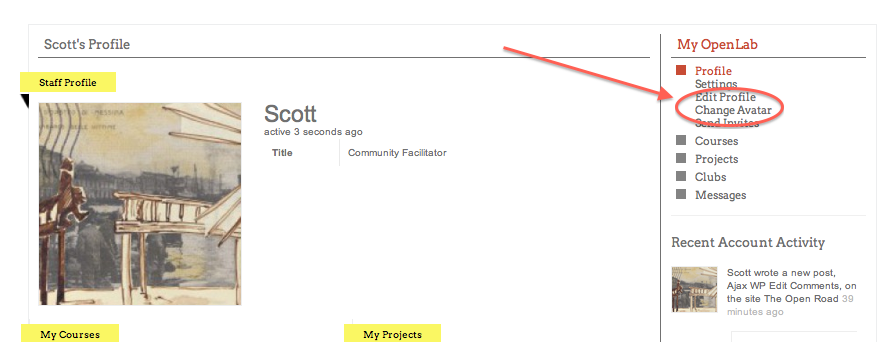
Many of our professors use the ‘comments’ function on course sites to have students respond either to one another’s work or to a prompt, as in the example from Professor Rosen’s above.
And comments are not just useful for professors–encouraging comments from users is one of the main ways for a site to interact with the public, particularly the larger public outside CityTech. But until recently, users couldn’t edit their comments if, say, they rethought what they had said, had something additional to add, or even just misspelled something.
To deal with that, we’ve installed a new plug-in called “Ajax Edit Comments.” This plug-in allows for comments to be edited by users for a set length of time (the administrator of the site can set that time-length), and it also has a spell check feature.
Unlike most plug-ins, which usually have a specific audience, we really recommend that all OpenLab users activate this one. There’s a tutorial on it here, and as always, contact us with any quesitons!

Maybe there’s no mail, maybe the school is closed, but we here at This Week in OpenLab are working away to bring you this week’s highlights! And here they are, in no particular order:
________________
CityTech Club Fair!
(video from 2011 CityTech Club Fair, posted by The New Tech Times)
On Thursday February 16th, The CityTech Club Fair 2012 will be here–this is a great place to find fellow students who share your interests and check out all that the CityTech student body has to offer. Events like this remind us that our school is the place where we can make lifelong connections that will enrich our CityTech life both inside and outside the classroom. The event will be held in the Atrium Building from 12:45 to 2. See you there.
And if you are a club hosting a table at the Club Fair, be sure to mention it on your OpenLab page!
____________________
This Week in the Digital Humanities
It’s no secret that many of those behind and in front of the OpenLab are dedicated and prominent Digital Humanists, and at the forefront of thinking about how technology like the OpenLab can affect learning. And if you’re wondering what all that means, you’ve come to the right place: Our very own Charlie Edwards, Project Coordinator of the Living Lab Title V grant, and a graduate student in the English PhD and IT & Pedagogy Certificate programs at CUNY Grad Center, will join one of the OpenLab founders, Matt Gold, at the CUNY Graduate Center to discuss Matt’s new book, Debates in the Digital Humanities. The event is on Friday February, 17th, and it’s free and open to the public. You can find more information here.
_____________________
Weekly Tutorial
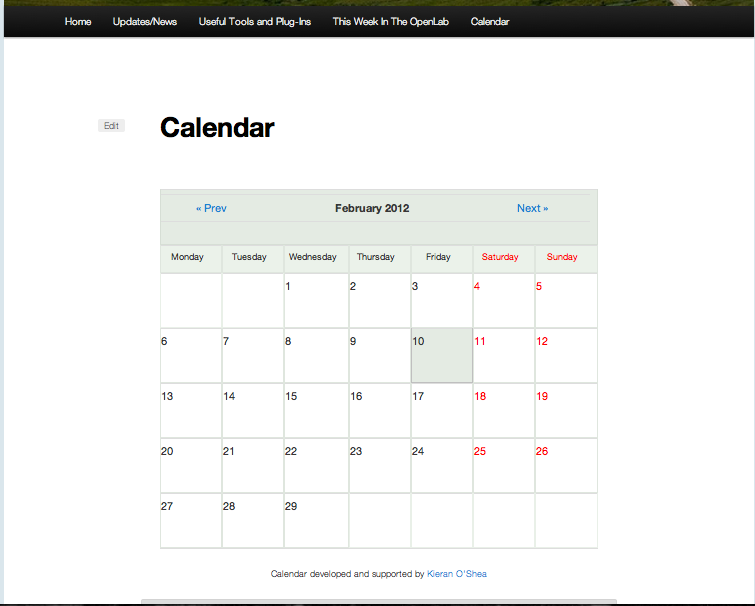
This week we’re featuring the new Calendar Plug-in. ‘Calendar,’ the not-so-creatively-named but very-nicely-designed plug-in, allows you to create a customizable, searchable calendar for your course, club, or project. And that calendar can be hosted in a post or on a page, and ‘today’s events’ and ‘upcoming events’ drawn from the Calendar to appear in your site’s home sidebar! You can learn more about it here.
As always, contact your Community Team with any questions!
The KB Gradebook is our new grader option for the OpenLab. It allows a professor to upload a spreadsheet that the student can then access directly, via a secure password. That means, say, you can as professor put in all your mid-term grades in one place (the place you already keep them, probably), upload it to the class site, and save yourself the trouble of distribution, etc. It’s extremely easy to use once set up, and so as always, if you need help with set up, contact us.
The best tutorial I’ve found on the KB Gradebook is the video you find at the bottom of this post, by Kyle Jones, alias “The Corkboard.” Because the KB Gradebook is already installed on our system, you can skip past the first minute of the video. There are a couple of key points, though, that I want to emphasize because they can cause a bit of trouble. The only thing that I’ve found a bit confusing about KB Gradebook is that it sometimes will produce an error message that doesn’t give much or gives improper information. So if you’re getting ‘Your spreadsheet has too few columns,’ or something like this, look for these issues. But I would watch the video first, then look for these problems.
And here’s the video (this will take you to Vimeo):

The OpenLab is an open-source, digital platform designed to support teaching and learning at City Tech (New York City College of Technology), and to promote student and faculty engagement in the intellectual and social life of the college community.

